How to Grill Pizza
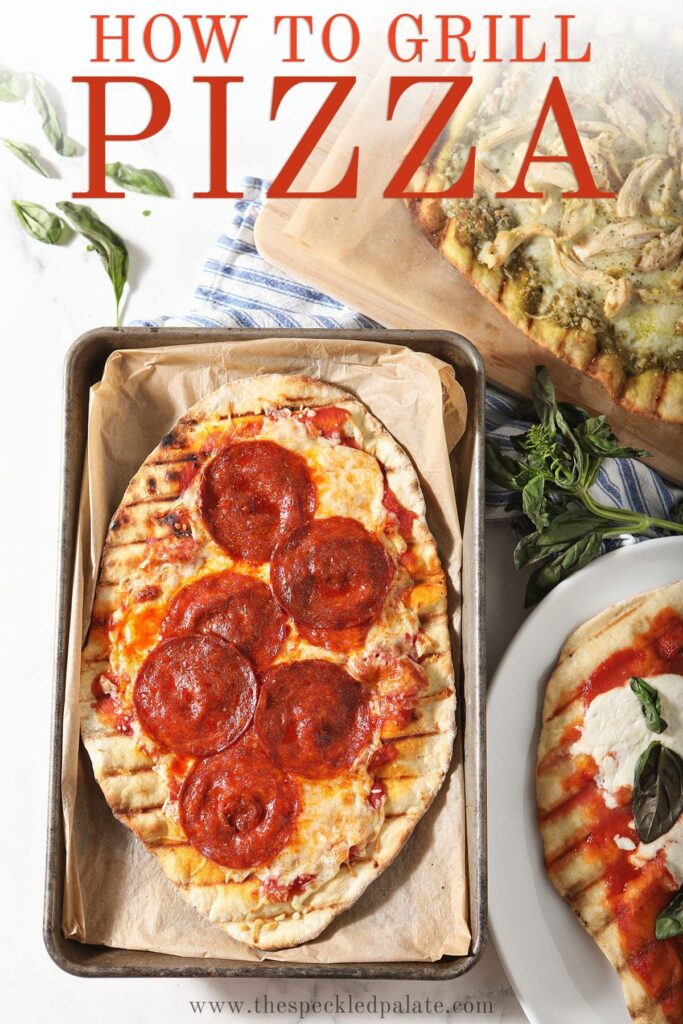
Grilled Pizza couldn’t be easier to make during the hot months. Fire up your grill (gas or charcoal work), then grill the pizza dough directly on the grates before adding toppings. Learn how to grill pizza, as well as all my tips and tricks to the best homemade pizza.
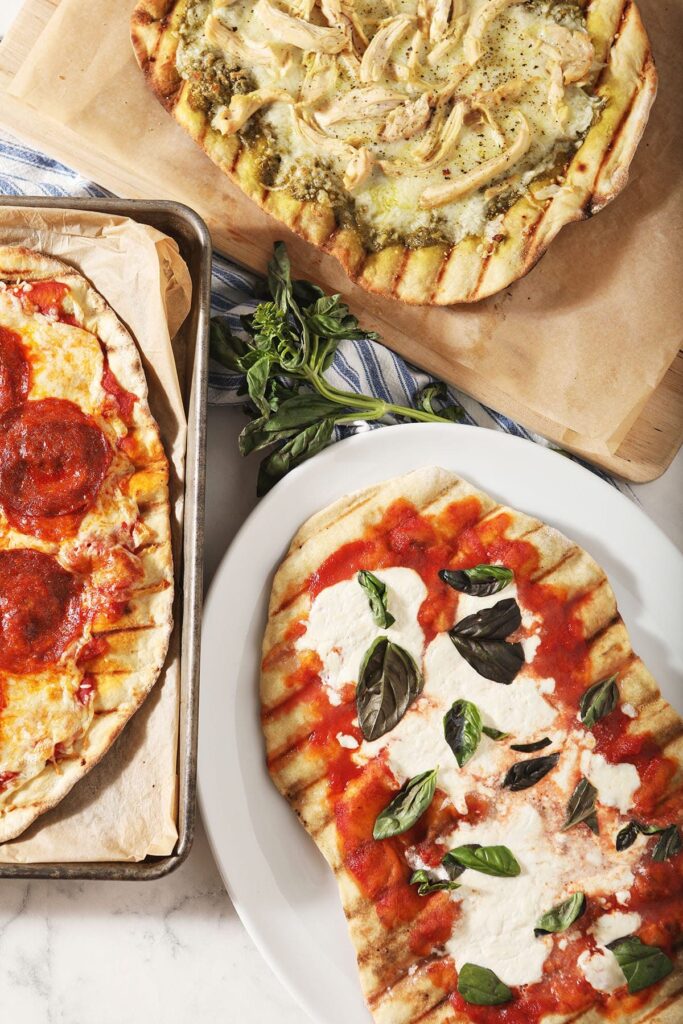
Pizza on the grill is a THING, and it’s a summertime favorite!
As some of you know, we make pizzas most Friday evenings, and it’s a favorite tradition.
However, I don’t dig how hot our kitchen gets in the summertime because of this since it’s already so dang hot outside.
Enter: Grilled Pizza!
Why I love this recipe:
Not only do you get awesome flavor from the grill, but this grilled pizza cooks up faster than a traditional pizza.
Why? A grill can get a lot hotter than an oven.
You can also choose your own adventure with this method, which y’all know I love, too.
Here are some things I adore about this:
- You can use a gas grill or a charcoal grill.
- Cook the pizza directly on the grates… or use a pizza stone. Personally, I like putting the dough directly onto the grates because they’ll get great grill marks.
- Add the toppings and sauces of your choosing!
No matter how you decide to make this grilled pizza, it’s definitely worth a try and less intimidating than you might expect.
Other grilling recipes you might enjoy: Grilled Shrimp Salad with Homemade Lime Vinaigrette | Ricotta Crostini with Grilled Peaches | Grilled Steak Flatbread Pizza Recipe | Grilled Chicken Shawarma | Grilled Shrimp Skewers | How to Grill Steak
Need grilling inspiration, but don’t know where to start? Head on over to my Outdoor Entertaining Recipe Index.
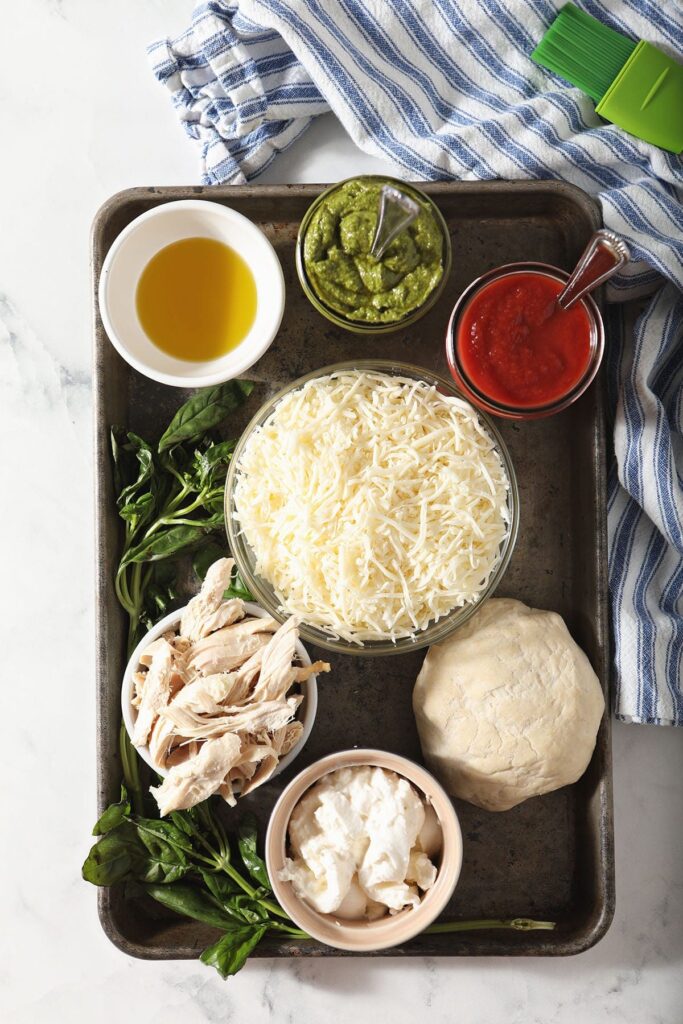
Tools to make Grilled Pizza:
The Speckled Palate participates in affiliate programs. As an Amazon Associate, I earn a commission from qualifying purchases. Please refer to my disclosure page for more information about these affiliate programs.
- Rolling pin — we’ll use this to roll out the dough. If you don’t have one, a wine bottle works in a pinch!
- Parchment paper — we’re going to use this to transfer our pizza dough to the grill. No pizza peel or specialty equipment required!
- Grill brush
- Pastry brush — to brush oil onto your dough
- Metal tongs — to flip the pizza dough
- Metal spatula — to move the dough on the grill and also remove it
- Sheet pan — to carry the pizza to wherever you’re serving it
- Pizza slicer or kitchen scissors — to cut the pizza into slices
Grilled Pizza ingredients:
Let’s talk ingredients!
In addition to the tools above, you’re going to need some ingredients to make this recipe, too! Chances are, you might already have some of them in your fridge or pantry. Scroll down to the recipe card for the full measurements and instructions.
Obviously, you can do whatever you want to make this grilled pizza recipe.
These are our baseline ingredients:
- Pizza crust — we love to make our own (and have been on the Sourdough Pizza Crust bandwagon for a while now), but you can use store-bought pizza crust, too.
- Cheese — mozzarella! You can purchase the pre-shredded stuff, shred your own or cut medallions from a buffalo mozzarella ball.
- Pizza sauce, like this Easy Red Pizza Sauce or Basil Pesto
- Various pizza toppings, like pepperoni, chicken, veggies and more
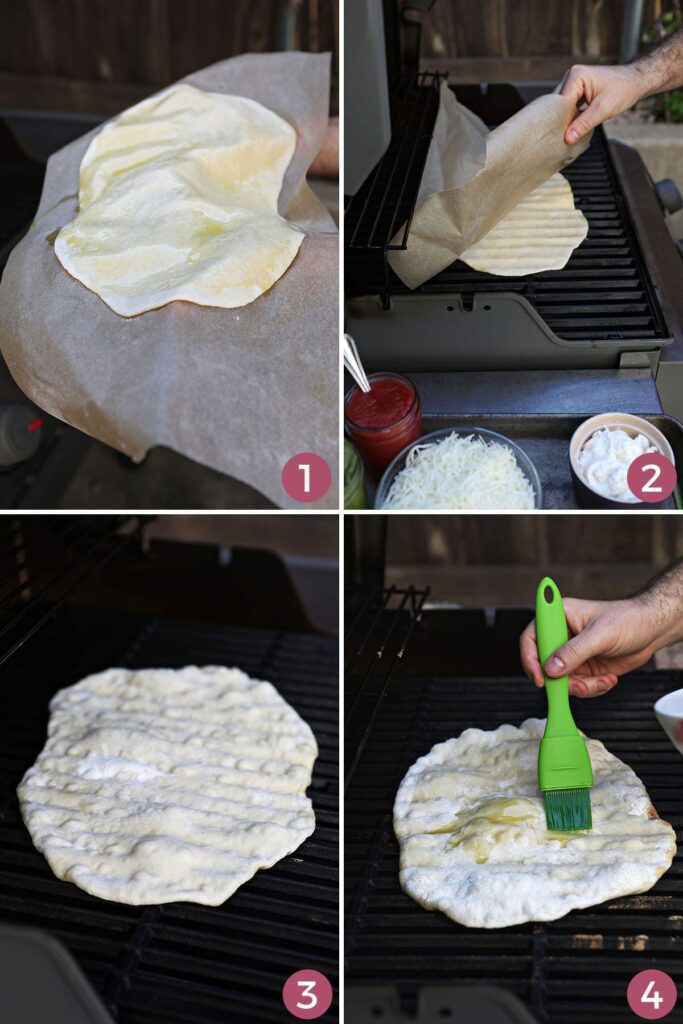
How do you grill pizza?
Prep your ingredients
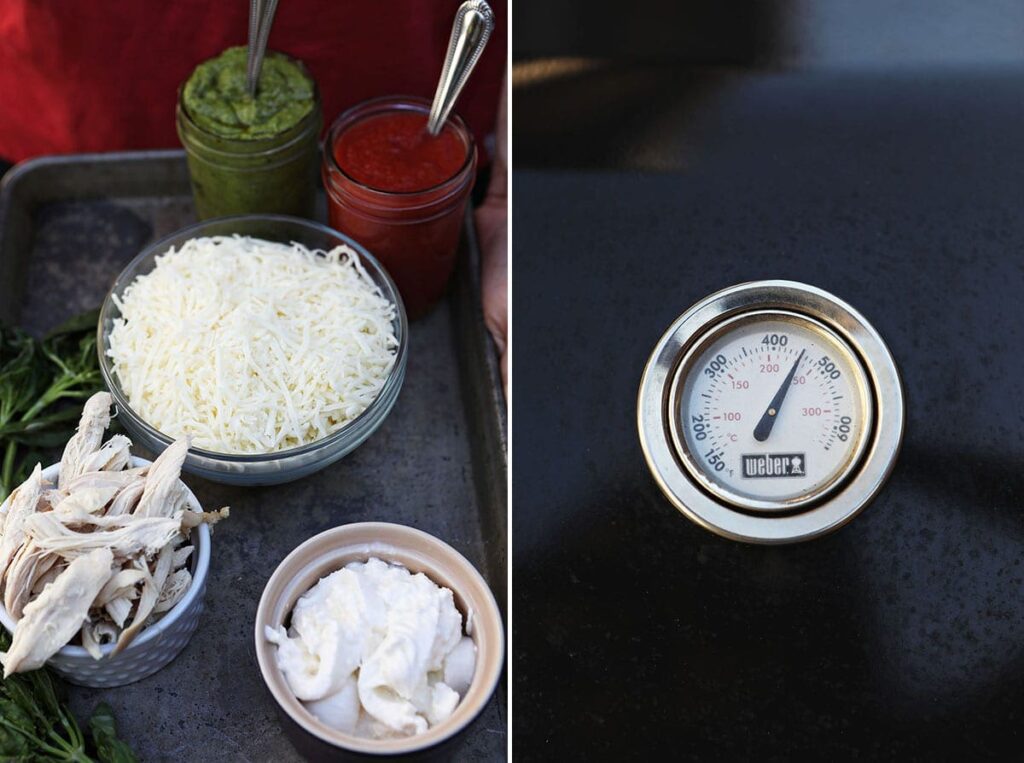
You need to be organized to make pizza on the grill. Since it cooks so quickly, you want everything you’re going to need with you outside as you’re grilling. Otherwise, your crust will burn.
Get out (and shred) your cheese, pizza sauce and whatever pizza toppings you’re going to be adding. Put them on a sheet pan or a tray to easily be able to carry them to your grill.
Lastly, roll out the pizza dough. My family will generally eat two pizzas between the four of us, so plan accordingly for your family or guests.
Your pizza dough needs to be close to room temperature. Why? This will ensure it’s easier to work with. Cold dough won’t roll as easily.
I like to roll the dough out on a lightly floured countertop using a rolling pin, then transfer the dough to a sheet of parchment paper.
Brush the top of it with oil. We’ll plop the top side down on the grill once it’s to temperature.
Heat the grill
Light your grill and get it up to temperature. Keep the lid closed for this part, as it will speed up the process. We want our grill to reach 450F before we open it up and start grilling the pizza.
If you’re using a gas grill, this process will take 10-15 minutes, while with a charcoal grill, it could take a lot longer. So plan accordingly if you’re going to use your charcoal grill.
Once the grill is preheated, use a grill brush to give the grates a good cleaning before getting the pizza started.
Grill your pizza
Set up your pizza station with all the toppings beside the grill, then open it up.
Place the lightly oiled side of the pizza dough directly onto the grill grates, and pull away the parchment paper. Brush the top with a little more olive oil. Work quickly because this is hot!
Pro tip!
If you don’t feel comfortable grilling directly on the grates, you can use a pizza stone* (affiliate link). Make sure you put it on the grill before preheating so it can warm up, too!
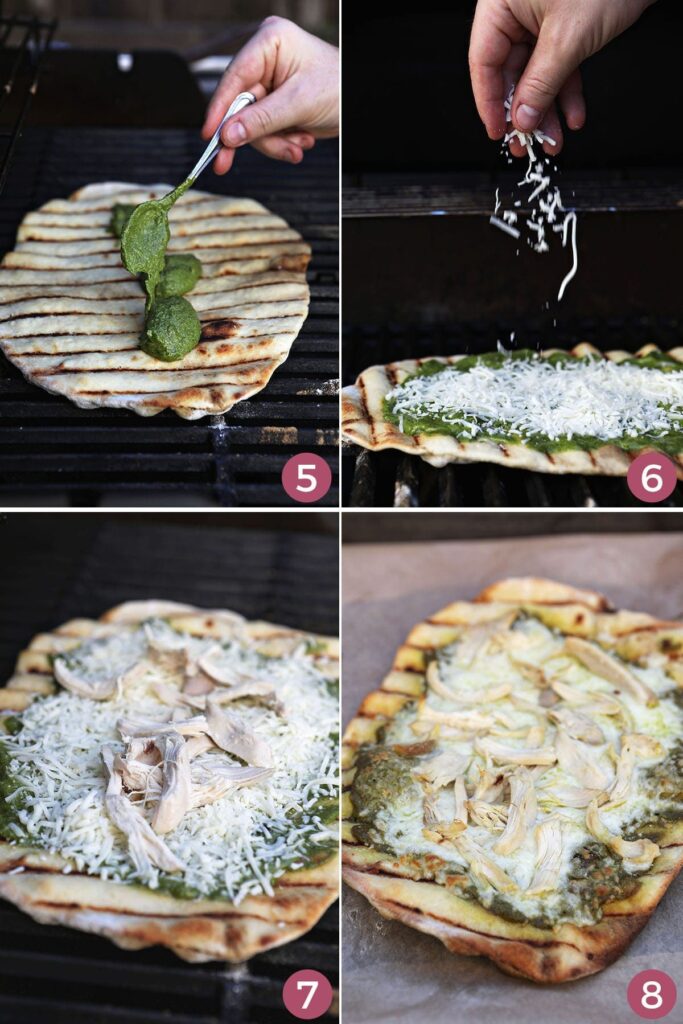
Close the lid, and let cool for 2-3 minutes, or until the bottom side of the pizza has browned and has defined grill marks.
Flip the crust using tongs, and layer on your toppings as quickly as possible.
When your toppings are on, cover the grill again, and cook for another 2-3 minutes.
Once the toppings have melted and the bottom of the crust is golden brown, you can use the tongs and a metal spatula to slide your pizza off the grill and onto a sheet pan.
Give the pizza a few minutes to cool, then slice and enjoy warm.
To make multiple grilled pizzas, work the grill one at a time, and let the grill have some time between rounds to come back up to temperature.
If it is less warm, you run the risk of your dough sticking and the pizza taking longer to cook.
Erin’s Easy Entertaining Tips
Grilled Pizza Party, anyone?
We used to make sheet pan pizzas for birthdays when I was a kid, but a grilled pizza gathering would be a blast… and it’s something everyone can have a say in, too!
Here are a few tips and tricks to transforming this grilled pizza into an entertaining mainstay:
- Depending on the amount of people you’re serving, you can double this recipe. Heck, you can triple or quadruple it, too. Just give your grill time to heat back up in between rounds of pizza, mmkay?
- Make the dough in advance—and keep it wrapped in plastic wrap in the fridge until an hour before go-time. We want it to be close to room temperature so it’s easier to roll.
- Create a toppings bar so guests can dress their own pizzas. Offer different types of toppings so guests can mix and match to make their ideal pie.
Please note that since we’re making the pizza on the grill, I do not recommend letting kids help while grilling.
Let kids tell you what they want and put it together for them since the grill is going to be screaming hot. A kid-safe activity you can set up is rolling out the dough, depending on their ages and skill levels.
Frequently Asked Questions
You’ll follow the instructions below in the recipe card, but essentially, you heat up the grill first, then cook the pizza crust directly on the grates.
No! While you can use a pizza stone on the grill, you don’t need it. In fact, I prefer the grilled pizza cooked directly on the grates because you get the good flare ups and crispiness that you’d get from a wood-fired oven.
Yes, you can! And if you’ve got all your ingredients together, it actually takes less time than it would in the oven.
Your grill is either too hot or you’re getting some major flare ups. The pizza cooks directly over the heat, so make sure your temperature isn’t too high.
You follow my instructions below. Again, you heat up the grill first, then cook the pizza crust directly on the grates.

The best flavor combinations for grilled pizza:
For an 8 oz. pizza dough round, I typically recommend using ¼ cup pizza sauce and about a cup of shredded mozzarella. After that, though, the world is your oyster.
Here are some thoughts for different variations of homemade pizza that you can make:
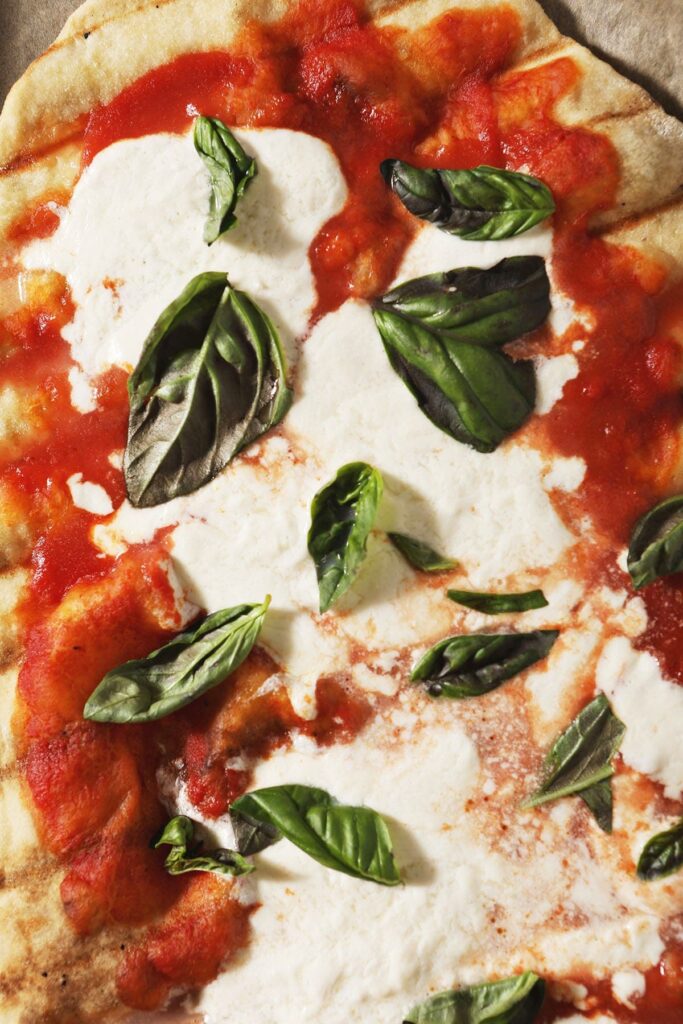
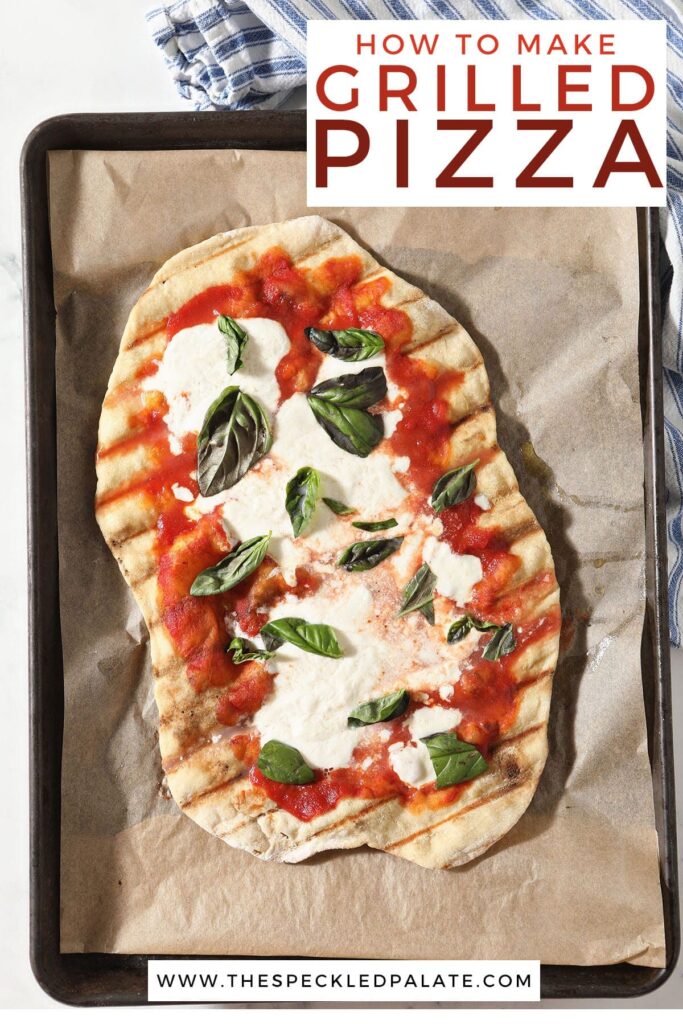
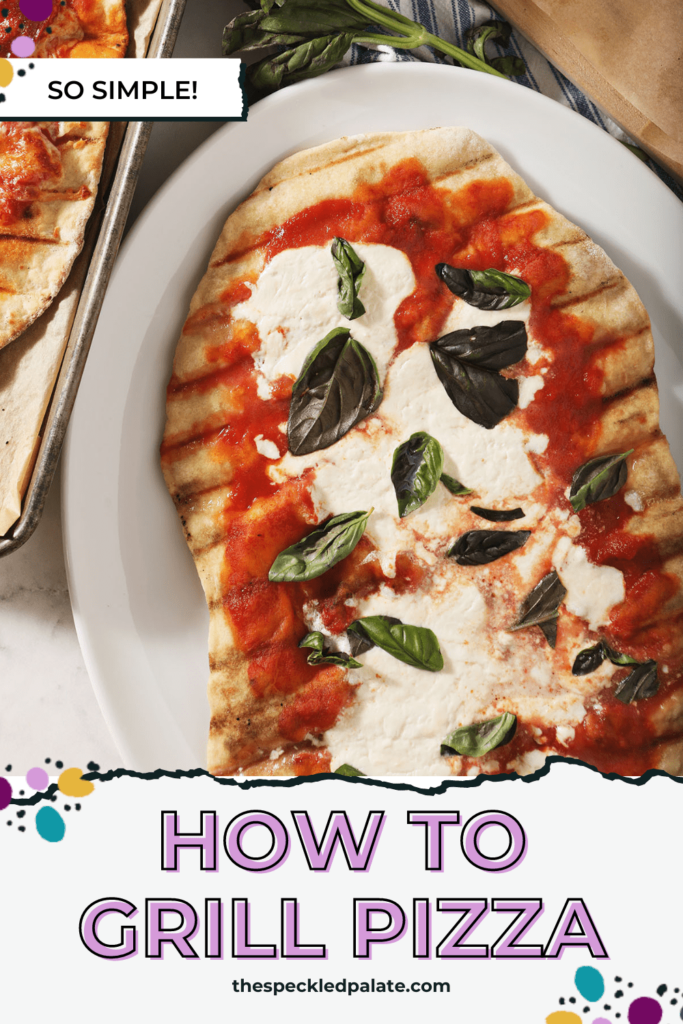
- Margherita — classic tomato sauce, buffalo mozzarella and fresh basil
- Four cheese (quattro formaggi) — use your four favorites or do it like the Italians and use mozzarella, gorgonzola, Parmigiano Reggiano and fontina. You can use whichever four cheeses are your favorite!
- Pepperoni — red sauce, mozzarella and your favorite pepperoni or other hard smoked meat
- Hawaiian — top the marinara sauce and mozzarella with 4 oz. Canadian bacon and ½ cup sliced pineapple
- Bacon — add crumbled, cooked bacon to the top of a cheese pizza for extra deliciousness
- Pesto Chicken — homemade basil pesto (or spinach pesto) serves as the base. Top with mozzarella and sliced, cooked chicken breast or thighs.
- BBQ chicken or pulled pork — make sure you drizzle a little bit of BBQ sauce onto the pizza dough with the tomato sauce
- Prosciutto and arugula — olive oil, parmesan and mozzarella. Top the cooked pizza with the prosciutto and arugula with additional shaved parm once it’s off the heat.
More pizza recipes to try:
- Puff Pastry Pizza
- Grilled Steak Flatbread Pizza Recipe
- BBQ Pulled Pork Pizza
- Pork and Pineapple Pizza
Here’s how you make this one:

Grilled Pizza
Ingredients
- 8 oz. pizza dough 1 round
- ¼ – ½ cup marinara sauce
- 1 cup shredded mozzarella cheese
- Additional toppings of your choice
- Olive oil for drizzling
As an Amazon Associate and member of other affiliate programs, I earn from qualifying purchases.
Instructions
Prep the Ingredients
- Shred mozzarella cheese for the pizza. Make pizza sauce or measure it out. Grab other pizza toppings, and put them onto a sheet pan or a tray.
- Roll out the pizza dough on a lightly floured countertop with a rolling pin. (This process will be easier if your dough is not cold because it will be more malleable.)
- Transfer the dough to a sheet of parchment paper.
- Brush the top of the dough lightly with olive oil.
Preheat the Grill
- Light the grill, and close the lid. We want it to reach 450°F. (This process will take 10ish minutes on a gas grill and significantly longer on a charcoal grill. Plan accordingly.)
- When the grill is hot, use a grill brush to give the grates a good cleaning before starting the pizza.
Grill the Pizza
- Set up an ingredient station beside the grill.
- When the grill is at temperature, open it up.
- Place the lightly oiled side of the pizza dough directly onto the grates. Pull away the parchment paper and brush the top with a little olive oil.
- Close the grill. Let cook for 2-3 minutes, or until the side of the crust in contact with the grates has turned golden brown.
- Flip the crust using tongs.
- Layer on your toppings, then cover the grill again.
- Cook for another 3-5 minutes, or until the toppings have melted/warmed through. The bottom of the crust should be golden brown, too, and have noticeable grill marks.
- Use tongs and a metal spatula to slide your pizza off the grill and onto a sheet pan.
- Give the pizza a few minutes to cool, then slice and enjoy warm.
Notes
- Margherita—classic tomato sauce, buffalo mozzarella and fresh basil
- Four cheese (quattro formaggi)—use your four favorites or do it like the Italians and use mozzarella, gorgonzola, Parmigiano Reggiano and fontina. You can use whichever four cheeses are your favorite!
- Pepperoni—red sauce, mozzarella and your favorite pepperoni or other hard smoked meat
- Hawaiian—top the marinara sauce and mozzarella with 4 oz. Canadian bacon and ½ cup sliced pineapple
- Bacon—add crumbled, cooked bacon to the top of a cheese pizza for extra deliciousness
- Pesto Chicken—homemade basil pesto (or spinach pesto) serves as the base. Top with mozzarella and sliced, cooked chicken breast or thighs.
- BBQ chicken or pulled pork—make sure you drizzle a little bit of BBQ sauce onto the pizza dough with the tomato sauce
- Prosciutto and arugula—olive oil, parmesan and mozzarella. Top the cooked pizza with the prosciutto and arugula with additional shaved parm once it’s off the heat.
Nutrition

About the Author:
Erin Parker is a Southern gal living in Texas with her husband and two daughters. She started The Speckled Palate to share what she was cooking as a newlywed… and over the years, it’s evolved to capture her love for hosting. Specifically, the EASIEST, lowest key entertaining because everyone deserves to see their people and connect over good food. Learn more about her…

Before leaving a comment or rating, ask yourself: