How to Grill Steak
Grilled Steaks are the perfect protein for any occasion! All you need are a few simple ingredients and tools, as well as a little time to make the best grilled steak. Come learn how to grill steak at home.
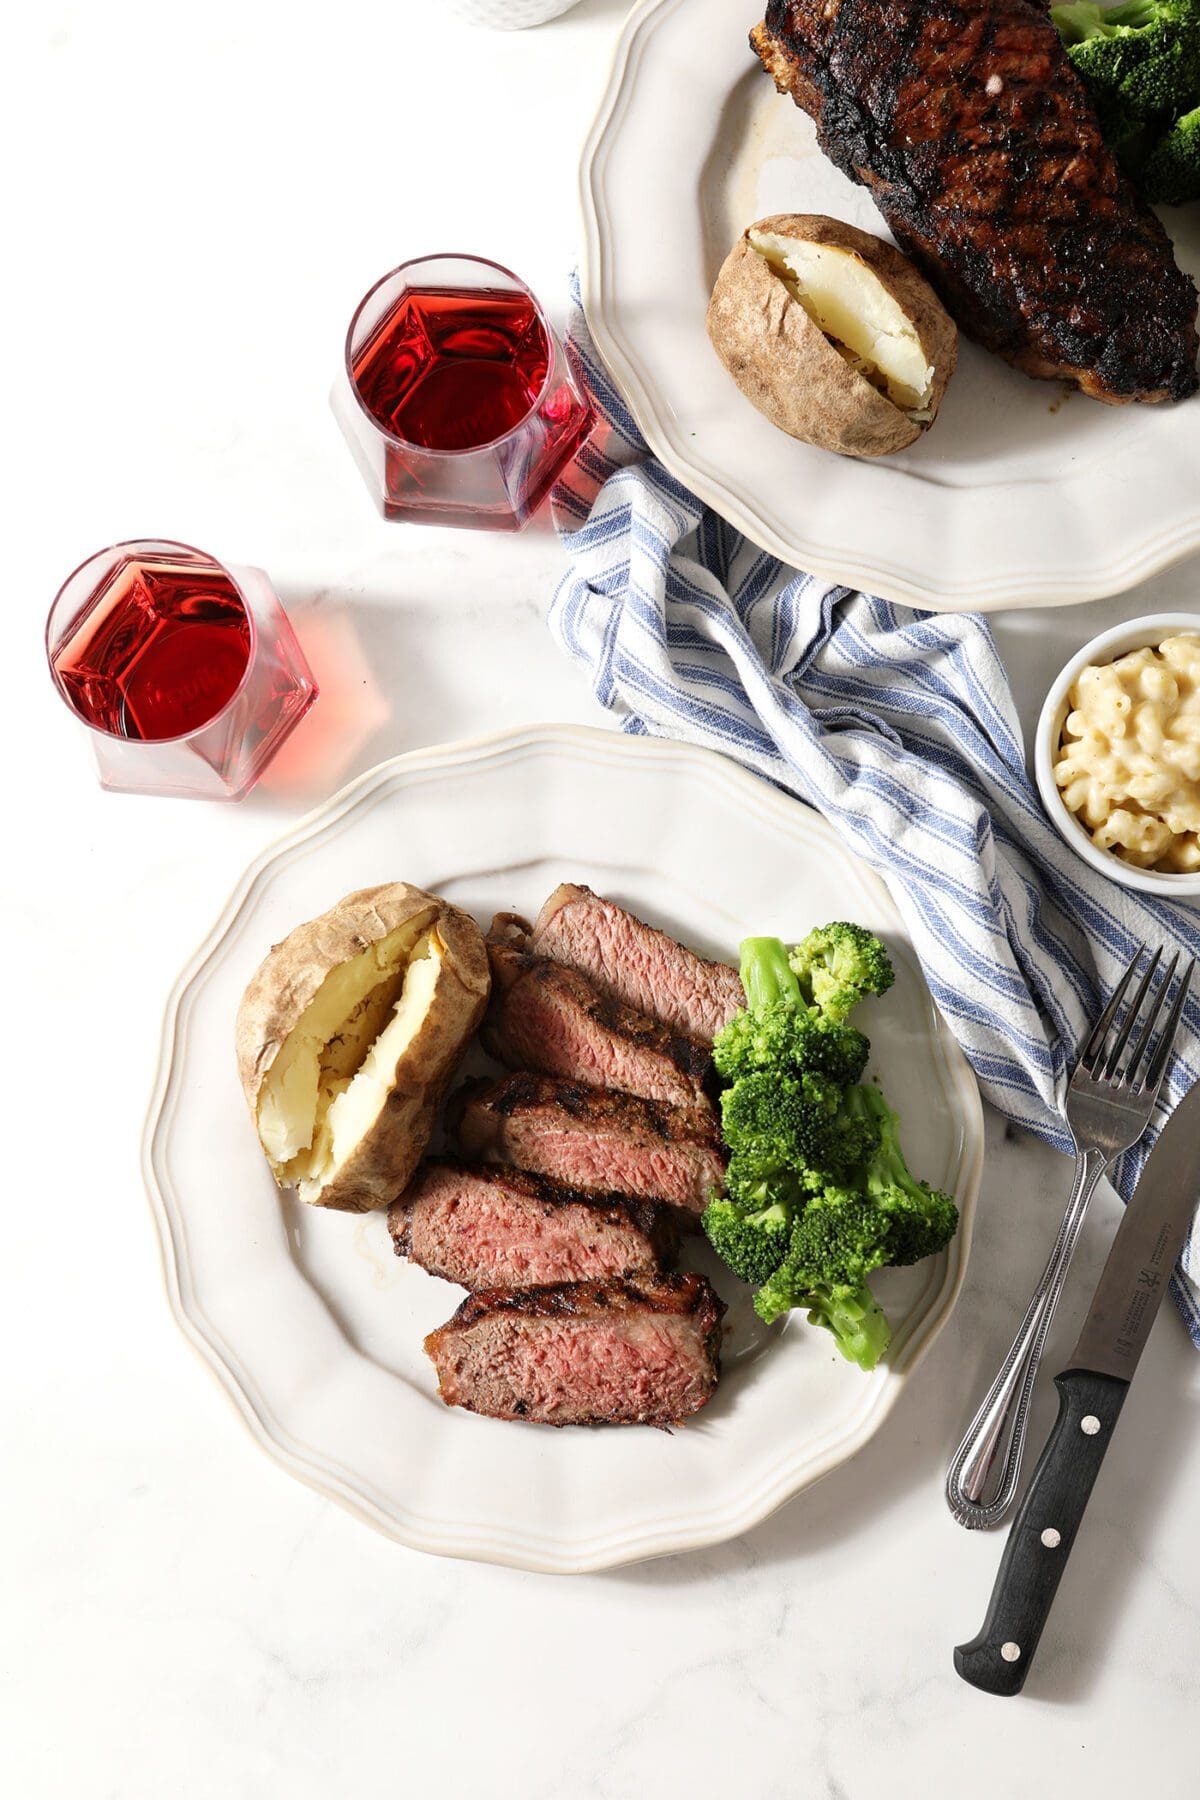
‘Tis the season for grilling, and I am so excited share my guide for how to make the best grilled steak with y’all today!
This how-to guide has been a long time coming, and I am excited because a tender grilled steak is one of the best things about the summer months.
Because, to me, summertime means firing up the grill and enjoying a juicy steak at home, no steakhouse (or steakhouse-sized bill) necessary.
I haven’t always been confident in my grilling abilities, but I have really worked on it in the previous years to feel more comfortable firing up the grill… and I’ve come a long way.
After all, I started this blog not long after our grill CAUGHT FIRE…
Why I love this recipe:
Honestly, it’s hard not to love a perfectly cooked steak from the grill, and there’s something so satisfying about knowing you’re going to knock it out of the park every time.
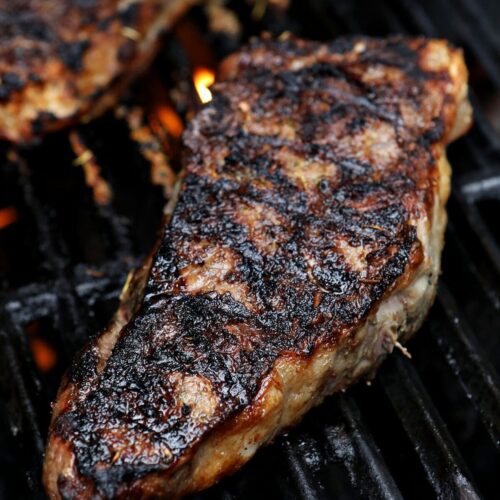
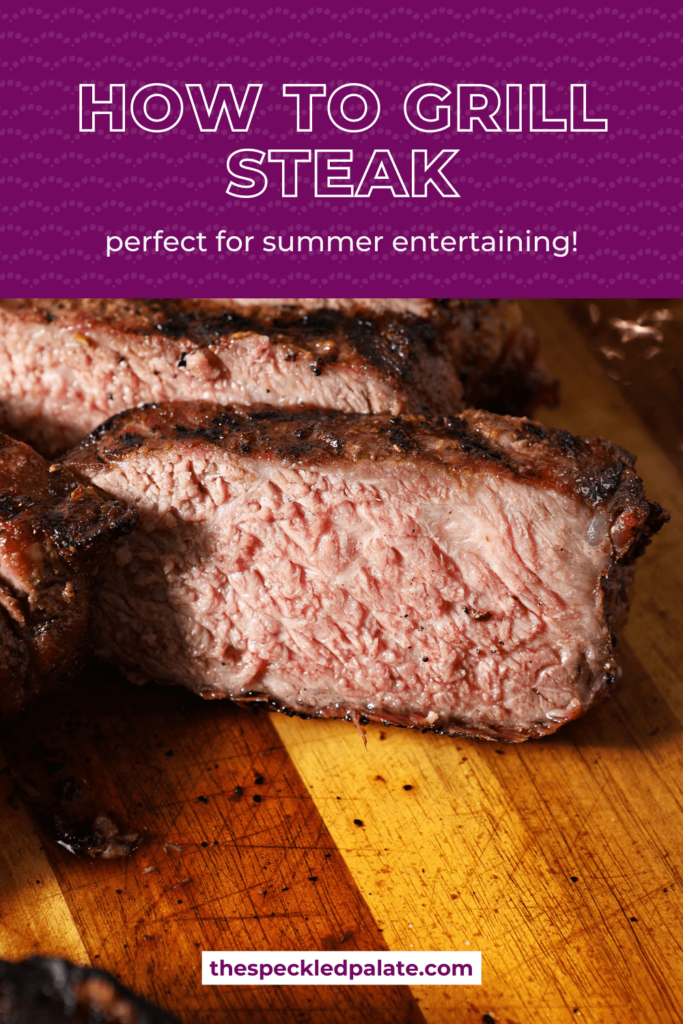
Grilled steak, when done well, rivals that of a steakhouse. From the char on the outside to the juiciness on the interior when you slice into it, it’s all around satisfying. And then when you pair it with your favorite sides? Oh my word.
There are a few things that you need in order to knock this out of the park — a good, high-quality cut of meat (I recommend using your favorite cut of steak), an instant read thermometer (so that the steak doesn’t overcook!) and some patience.
I’ve written my instructions to address a gas grill, but you can also grill the PERFECT steak on a charcoal grill! Please note that this steak guide is for outdoor grills and we do not recommend using a grill inside your home.
If you need a steak recipe to make indoors, let me suggest Broiled Steak or Cast Iron Ribeye.
Steak is my go-to protein for a fancy-feeling meal or special occasions for this reason. It’s not particularly challenging to make once you know how to do it, and it scales easily for a crowd, too.
Other steak recipes to try: Steak Alfredo | Skirt Steak Tacos | Grilled Skirt Steak | Steak Bruschetta with French Onion Marmalade
Want to learn more about steak? Check out Steak 101: Everything You Need to Know about Cooking Steak at Home!
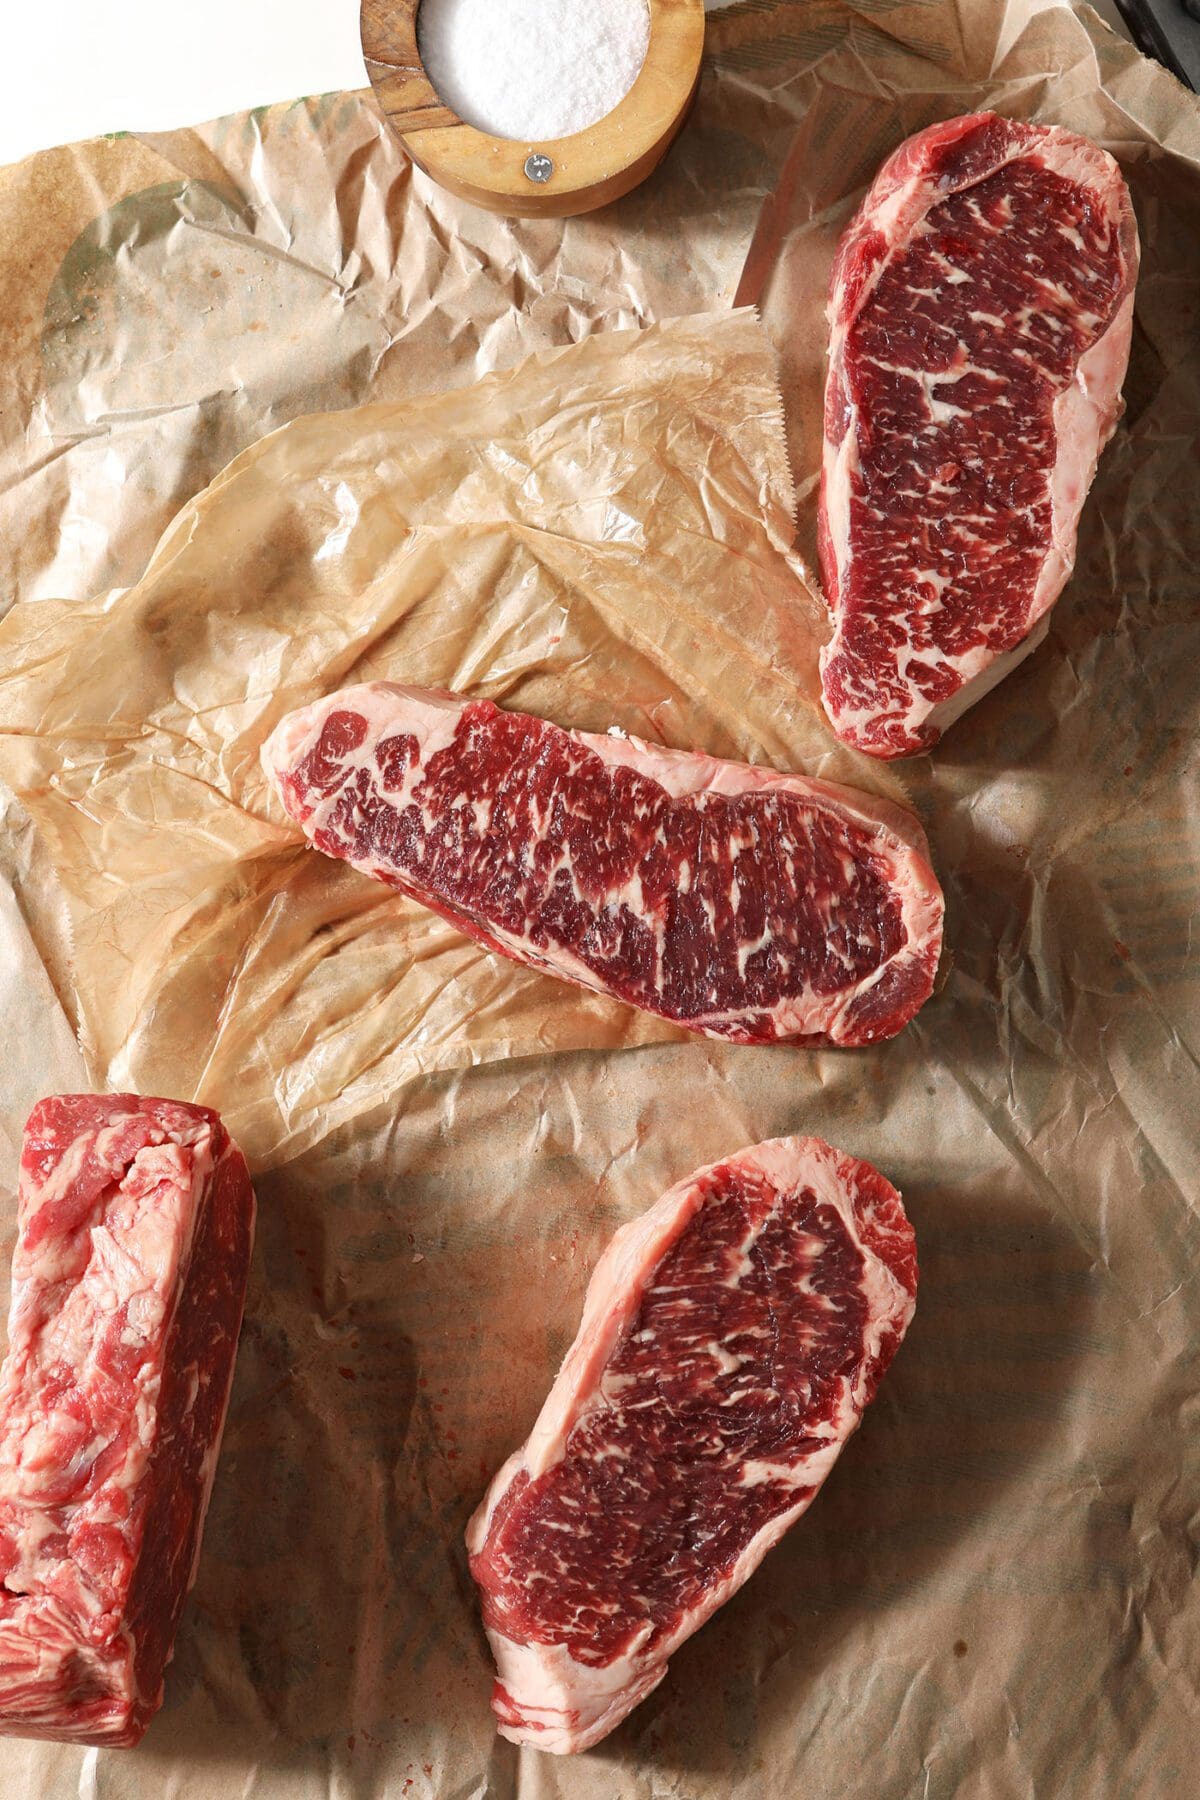
What you’ll need to make this recipe:
The Speckled Palate participates in affiliate programs. As an Amazon Associate, I earn a commission from qualifying purchases. Please refer to my disclosure page for more information about these affiliate programs.
- Grill — gas or charcoal works
- Rimmed baking sheet
- Wire cooling rack
- Foil
- Tongs
- Instant-read thermometer
- Cutting board and sharp knife
Let’s talk ingredients!
In addition to the tools above, you’re going to need some ingredients to make this recipe, too! Chances are, you might already have some of them in your fridge or pantry. Scroll down to the recipe card for the full measurements and instructions.
In addition to these tools, you’re going to need just three ingredients to make grilled steak:
- Steak — high-quality meat is key here. A good steak is going to sing when combined with the seasoning and the char of the grill. Look for prime meats when shopping at your local grocery and purchase a thick steak.
- Seasoning — you can make your own steak seasoning blend or simply use a combination of kosher salt and black pepper.
You can also use a steak marinade or dry rub to add extra flavor to your steak.
To me, the seasoning combined with the quality of the meat really gives you the most delicious steak.
Best steak for grilling
Honestly, this tutorial works with any type of steak you’ve got on hand… but I should stress that using thick cuts of steak give you a better chance of cooking it to your liking (unless you enjoy well done steak… in which case, you can use thinner steaks without fear.)
Whether you’re grilling bone-in ribeye steaks, a sirloin steak or something fancier, like a petite filet, a porterhouse, or a filet mignon, this how-to guide will assist you in grilling the cut of beef to perfection every time.
That said, some steaks need to be cooked for different lengths of time, and this is dependent on the thickness of the meat itself.
For example, a flank steak will cook for a shorter length of time than a flat iron steak or a New York strip steak.
How to grill steak
READ THIS FIRST!
This guide addresses how to grill the perfect medium-rare steak and has simple steps that you can follow. Personally, I think this is the best way to do it after testing how to grill a steak.
That said: all the pieces of meat that were used to test this recipe were thicker steaks; at least 2 inches thick. For best results, I implore you to use a thick cut steak because a 1-inch steak cooks a lot more quickly than one that’s 2+ inches thick.
If your steak is thinner, you will need to keep an eye on it. If you want your steak cooked through more, it will need to be grilled for longer.
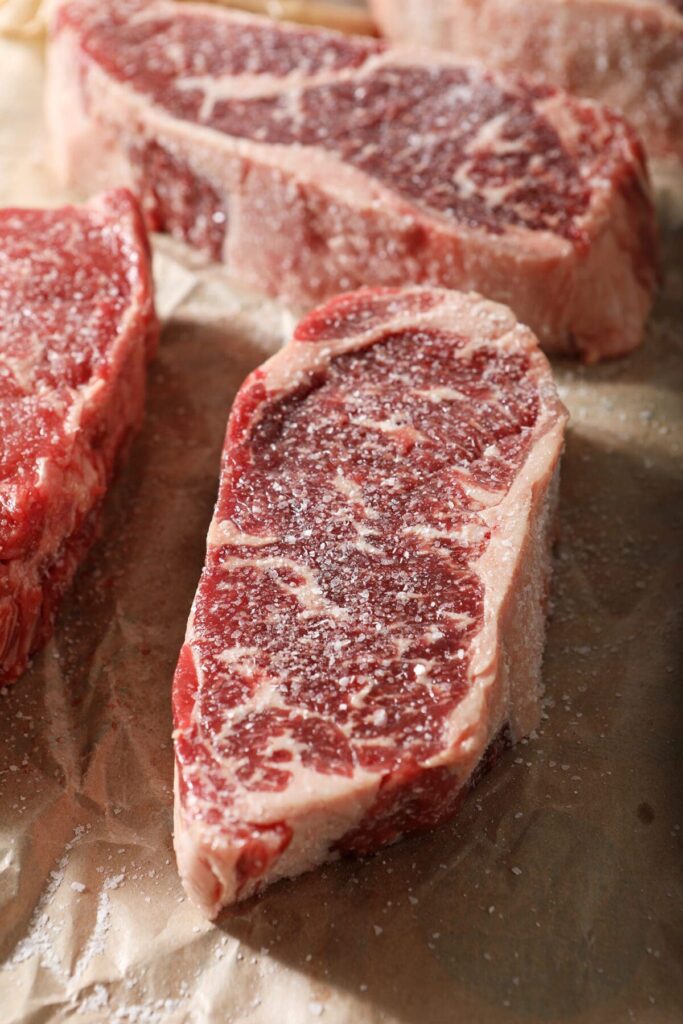
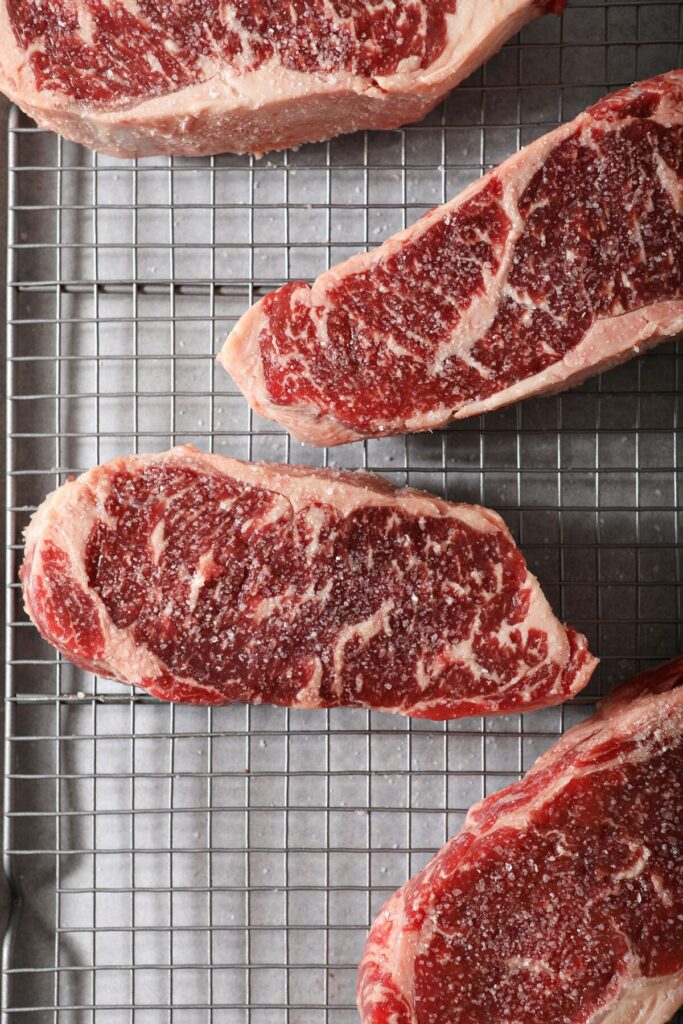
Once you get home from the grocery store, liberally season all sides of your steak(s) with a medium-grain kosher salt.
Place it in the fridge on a wire rack above a rimmed sheet pan, and let it hang out until it’s time for you to begin your grilling journey. This pulls liquid from the surface of the meat and helps with caramelizing the exterior.
First and foremost, fire up the grill well in advance of cooking. I’m talking 20-40 minutes before you plan to place the steaks on it because we want the grill to be screaming hot. If you haven’t already, clean the grill grates.
Remove the steak from the fridge when you heat the grill. We want it to warm up to room temperature. Why? A cold steak won’t cook as evenly.
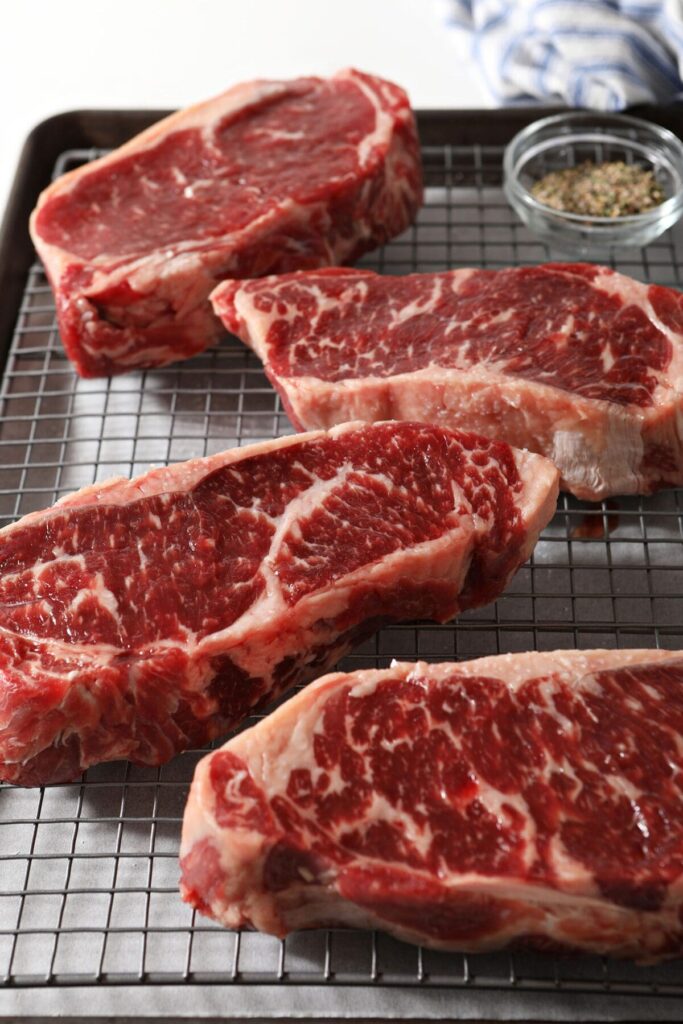
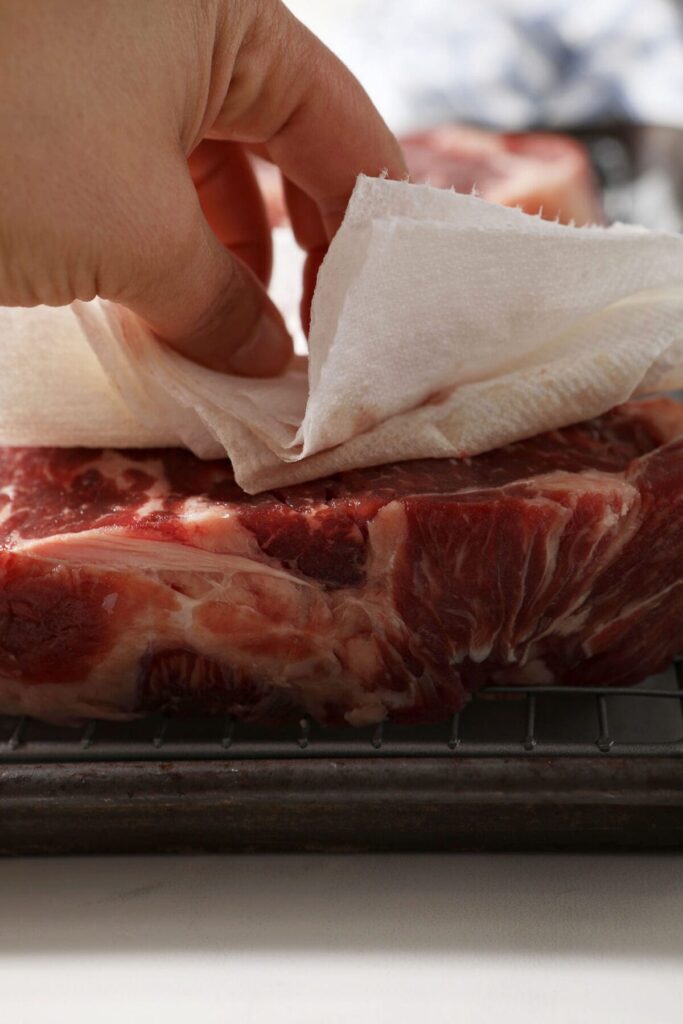
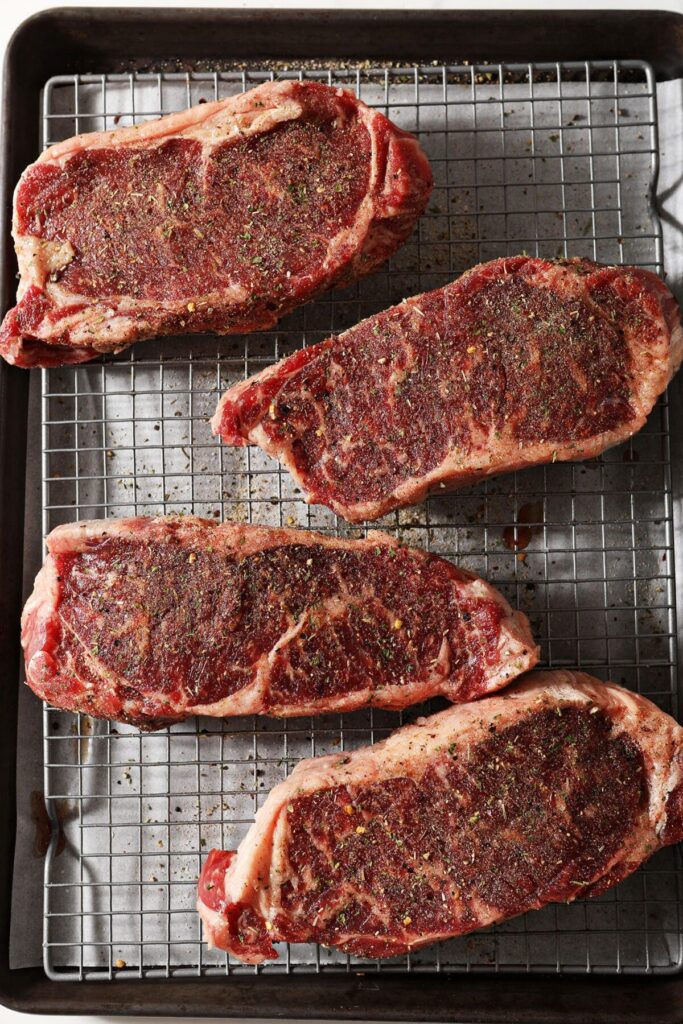
Season liberally with salt and pepper or your favorite steak seasoning dry rub.
As a rule of thumb, I use 1 teaspoon of salt per pound of steak. Make sure to season both sides of the steak. Don’t forget to crack some black pepper on all the sides, too.
Pro tip!
If your steak is thick, season the sides of it, so that every bite is seasoned.
When your grill is hanging out consistently between 500-550F, it’s time to grill.
This high heat is what we want and is the best grill temp for steaks. We want to work quickly when we open the grill so that we don’t lose a ton of the heat.
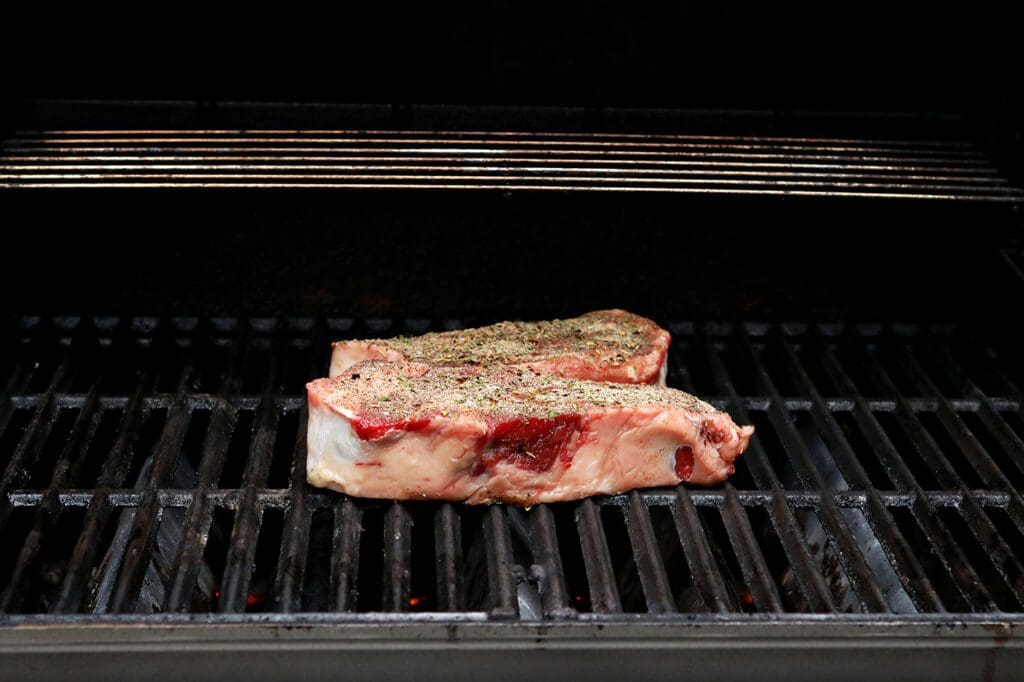
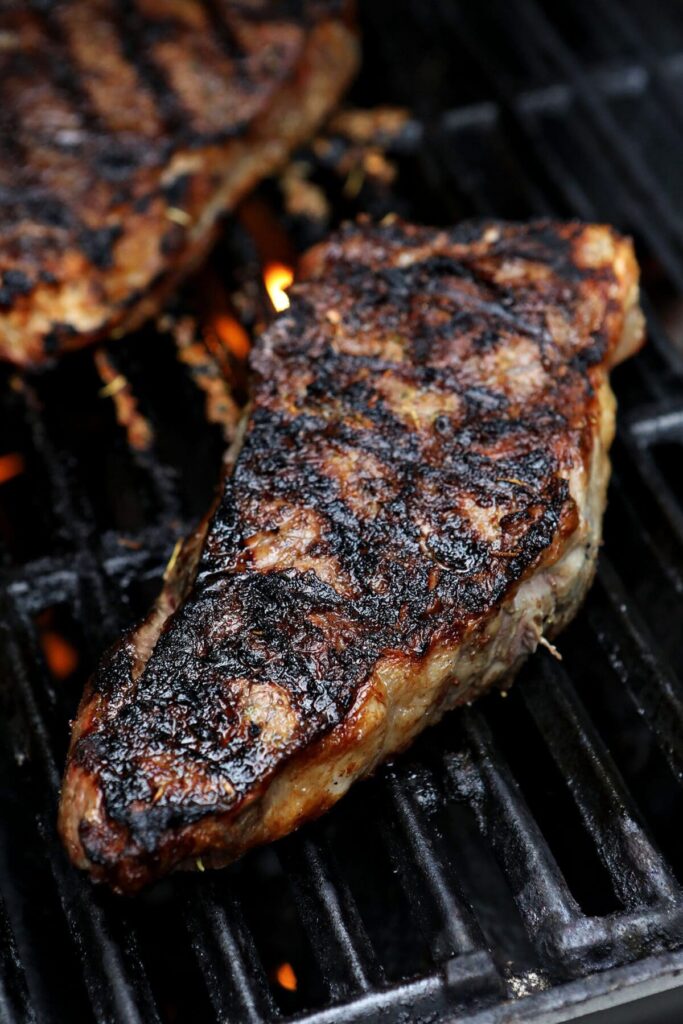
Turn off the middle burners (or a side of the burners), and carefully place the steak on the hot grill directly above the spot where the burners are not on. This will cook the steaks on indirect heat (as opposed to direct heat), which will prevent flare ups from burning the exterior of the steaks.
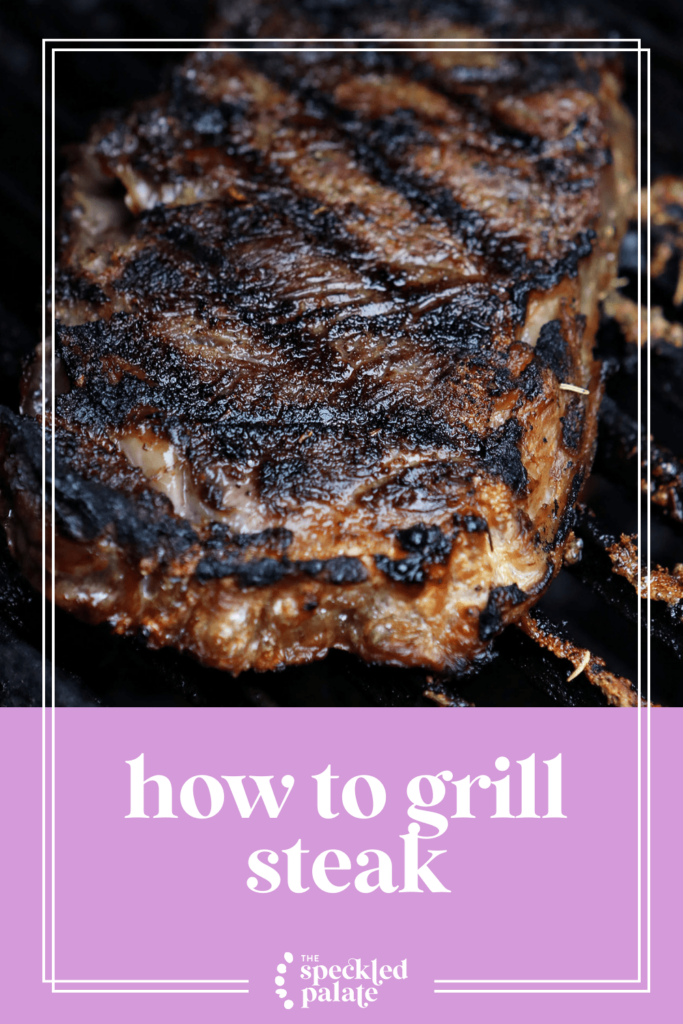
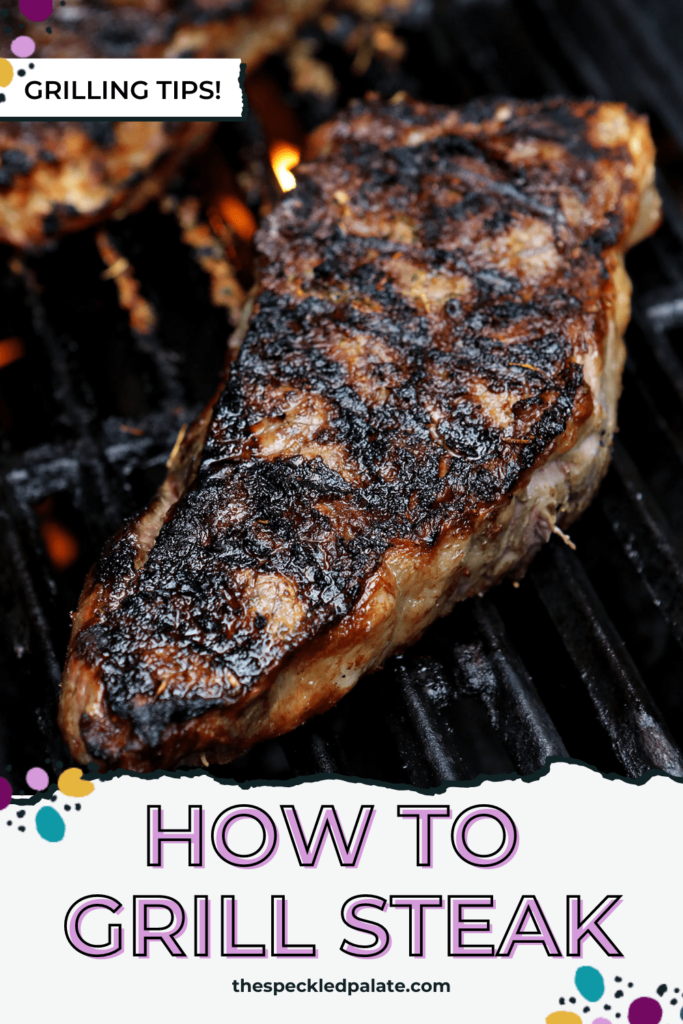
Close the lid, and cook for 4 minutes, then turn 90-degrees to get grill marks. Cook for another 4 minutes, and then flip.
Take the steaks’ internal temperature now.
Repeat on the other side, cooking for about 3 minutes, then turning 90-degrees and cooking for another 3 to get the criss-crossed grill marks.
Take the temperature of the steak, and remove the steak when it’s 10 degrees from the final temperature you want. I like to take my steak’s temperature when I flip it to see how far off it is and then check it as I do the turns for grill marks to ensure I do not overcook it.
DON’T FORGET!
The steak will continue to cook after it has been removed from the grill. Use a meat thermometer to ensure your steak cooks to your preferred level of doneness.
We like our steaks closer to rare than well done, so if you’re into well done meat, you should cook yours longer.
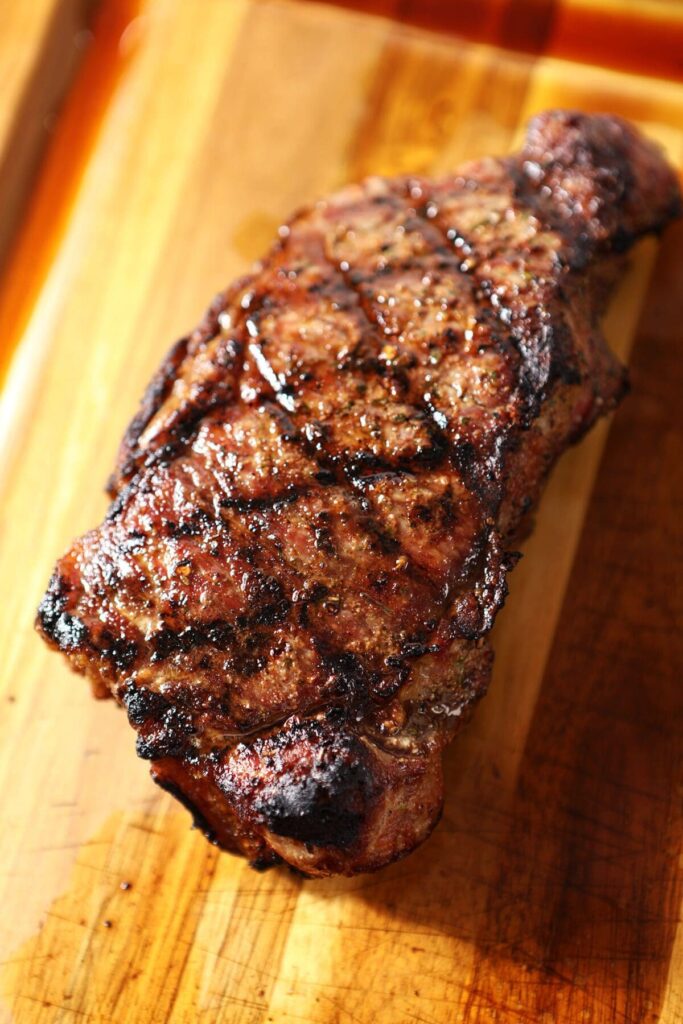
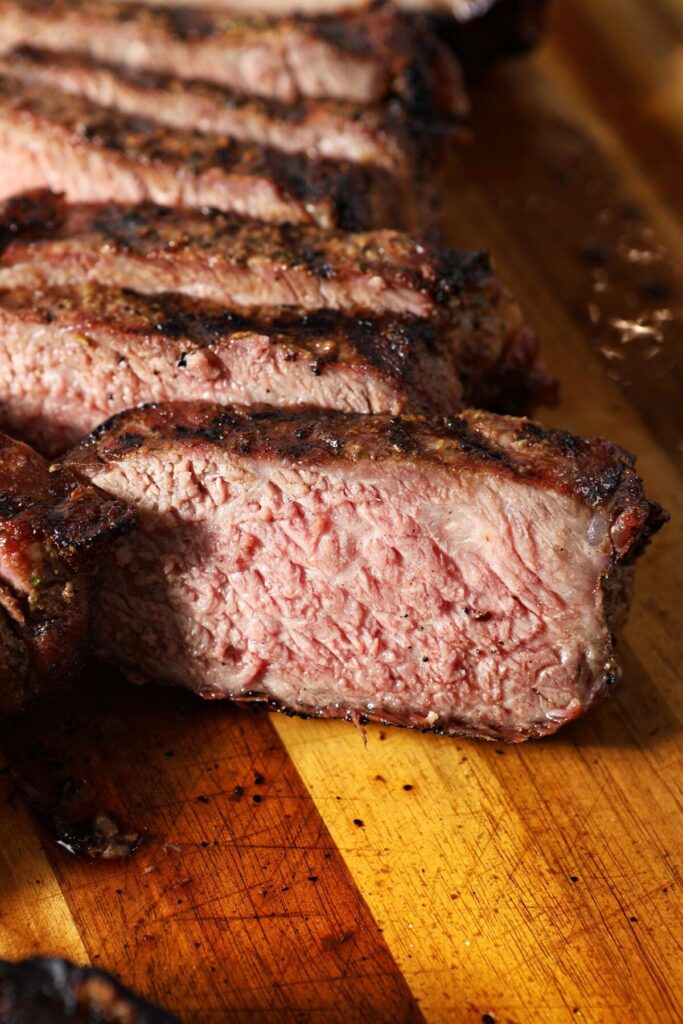
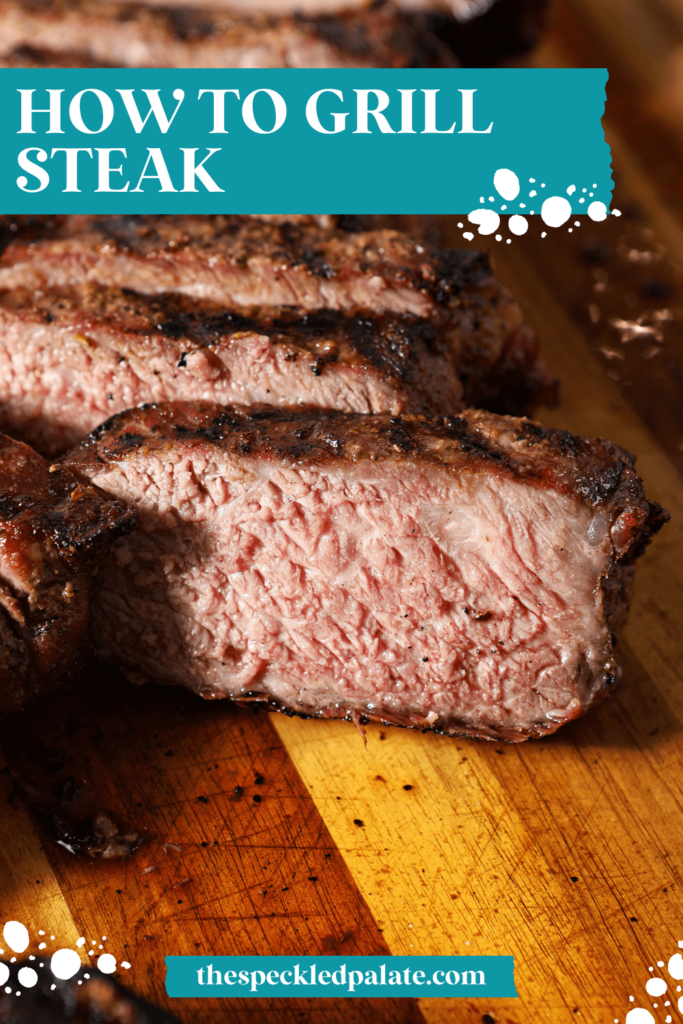
Remove the steak from the grill. Place it on a plate or a cutting board and cover loosely with aluminum foil, and let sit for 10-20 minutes before slicing so that the juices don’t run all over your cutting board.
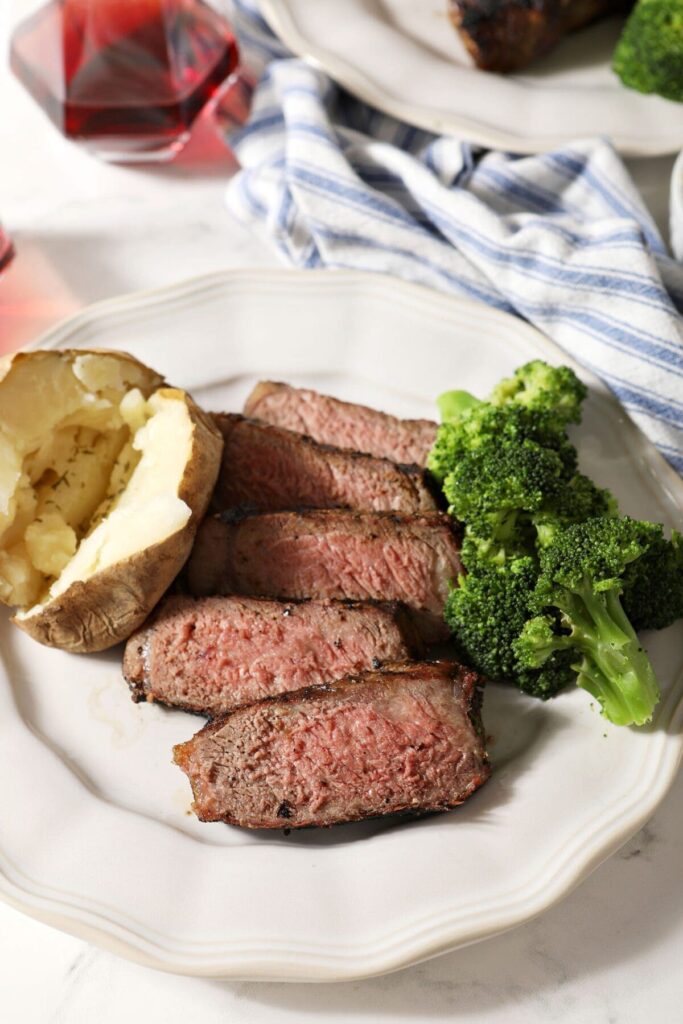
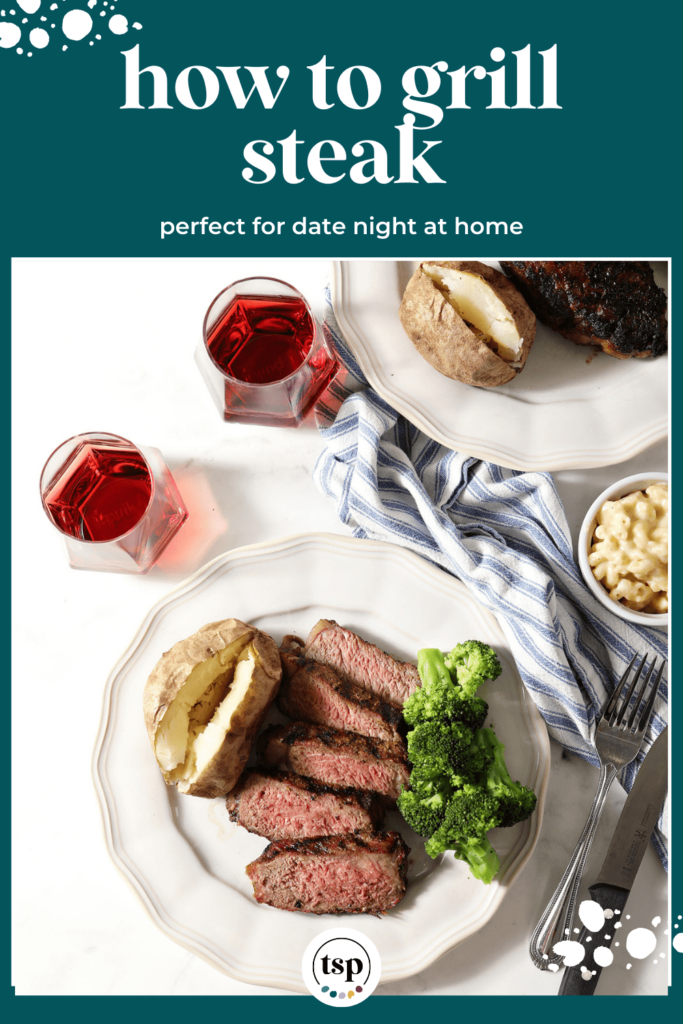
After you let the steak rest, slice and serve with your favorite sides, a pat of butter or a dollop of herb Garlic Butter (or your favorite compound butter), then enjoy.
A QUICK GUIDE TO
Steak Temperature
When you’re cooking steaks, you need to know the end temperature you’re aiming for so you cook it correctly. (Personally, I like my steak medium rare, but you do you!)
Pro tip: Your steak will continue cooking after it has been removed from the heat. Remove it from the heat when it is within 5-10 degrees of your ideal temperature.
Here are the temperatures:
Also, use an instant read meat thermometer* (affiliate link) to confirm the temperature.
Go in depth about the perfect temp and learn more at my Steak Temperature Guide!
How to store leftover steak:
Store the steak in an airtight container in the fridge if there is any left. I tend to pre-slice my steaks before serving them, so whenever I have leftovers, I let them come to room temperature instead of warming them in the microwave.
If you have a whole steak leftover that hasn’t been sliced, leave it that way! Give it a quick sear in a skillet with a little bit of butter or avocado oil to heat it up the next day.
You can then slice it and serve it with leftover sides or on a salad, like this Easy Steak Salad with Orange Vinaigrette and Steak Salad with Sweet Peppers and Vinaigrette. You could throw it onto a bed of greens and drizzle them both with Red Wine Vinaigrette Salad Dressing.
Erin’s Easy Entertaining Tips
Grilled Steaks are one of my favorite dishes to serve during the summer months when entertaining friends.
They feel fancy, but they’re actually pretty dang easy to make. They also feel special because generally speaking, we don’t eat steak every week.
One of the beautiful things about entertaining with grilled steak is that you can cook everyone’s to order and to their preference.
Here are a few tips and tricks for whipping up these broiled steaks in no time flat:
- Season the steaks early. One of the beautiful things about grilled steak is that you can season them as soon as you’ve gotten them from the butcher and let them hang out in the fridge for a few days.
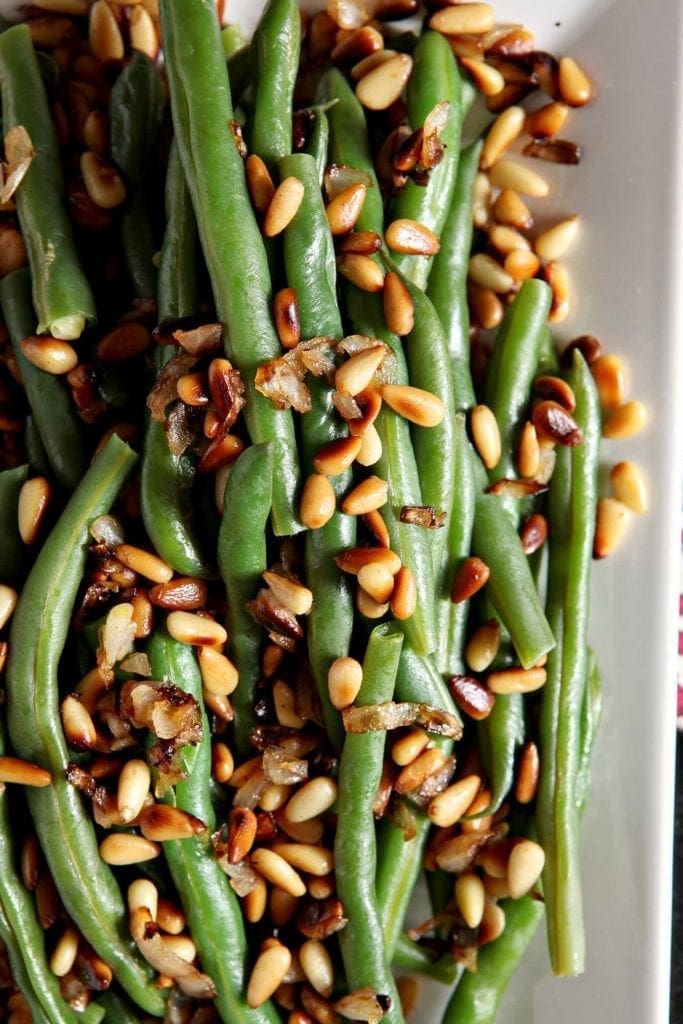
- Choose side dishes that can be made ahead of time. Our go-to sides for grilled steak are Instant Pot Macaroni and Cheese and Lemon Pepper Green Beans. If you’re hosting people (or having a date night at home), pre-make the side dishes so that the only thing that needs cooking are the steaks. We’ve got some great steak sides here.
Frequently Asked Questions
Use a digital meat thermometer to make your job easy. Simply poke the thermometer’s tip into the center of the steak. Be careful not to push it all the way through the other side.
Let the thermometer tell you what the temperature is, and then transfer the steak to a plate and cover if it’s within 5-10 degrees of your ideal temperature or pop it back onto the grill for a little more time if you want it more cooked through.
These steaks were 2-inches thick, and I grilled them for about 14 minutes—8 minutes for the first side and 6 for the second. The cook time for your steaks is greatly dependent on how thick the steaks are, as well as how hot your grill is running.
Quick tips for grilling steak
- Double or triple the recipe for a party or a backyard barbecue! Cook all the steaks at the same time if your grill is large enough—or do them in batches. Just be sure to take each steak’s temperature before removing them all from the grates.
- Store leftover steak in a food-safe container in the refrigerator.
- Let leftover sliced steak come to room temperature before eating it. Heating it in the microwave will make it tough.
- Have a whole (unsliced) steak leftover? Store it whole, and sear it in a skillet the next day with a little butter or oil.
Best side dishes for grilled steak
If you want to make something indoors while you’re grilling, try Homemade Mashed Potatoes, Spinach Madeline or Lemon Pepper Green Beans. These are three family favorites!
Want to make a side dish on the grill alongside your steak? Try Grilled Peach Salad with Burrata or Grilled Zucchini Rollatini.
Just want to fire up the grill already? Here’s how to do it…
How to Grill Steak
Ingredients
- 1 lb. 2″ thick steak
- 1 teaspoon kosher salt
- ¾ teaspoon black pepper
As an Amazon Associate and member of other affiliate programs, I earn from qualifying purchases.
Instructions
- Salt the steak. Season the steak liberally with kosher salt as soon as you bring it home from the store. After seasoning, place on a wire rack over a rimmed sheet pan. Store in the fridge for up to 4 hours. Pat dry with a paper towel before seasoning for cooking.
- Fire up the grill. When the temperature is hovering around 500°F, clean the grates with a grill brush.
- When the grill is preheating, remove the steak from the refrigerator.
- Season on all sides with salt and pepper. As a rule of thumb, I use 1 teaspoon of medium-grain kosher salt per pound of steak.
- Let the steak at room temperature for 20-30 minutes to come to temperature. This will ensure that the steak can cook more evenly.
- When the grill is screaming hot (around 550°F), turn off the middle burners. (Or one side of burners if you don't have middle burners.)
- Place the steak on the grates of the grill above the off burners. This will help cook our steaks with indirect heat and will prevent flare ups.
- Cover the lid and let cook for 3-4 minutes, then turn 90 degrees. This will help you get those pretty grill marks. Cook for another 3-4 minutes. Take the steak's internal temperature here.
- Flip and cook for another 3 minutes, then turn another 90 degrees for grill marks on this side and cook another 2-3 minutes, or until your steak is within 10°F of your ideal temperature. Keep in mind that the steak will continue cooking once removed from the grill.
- Remove from the grill when it is within your ideal temperature range.
- Transfer to a plate or cutting board. Cover loosely with aluminum foil, and let rest for 10-15 minutes. This is important to redistribute the juices of the steak. If you cut it too early, all the juices will run out!
- Slice the steak and enjoy with your favorite sides!
Notes
A quick guide to steak temperature:
- Rare (cool red center): 125°F
- Medium rare (warm red center): 135°F
- Medium (warm pink center): 145°F
- Medium well (light pink center): 150°F
- Well done (cooked entirely through): 160°F
Nutrition

About the Author:
Erin Parker is a Southern gal living in Texas with her husband and two daughters. She started The Speckled Palate to share what she was cooking as a newlywed… and over the years, it’s evolved to capture her love for hosting. Specifically, the EASIEST, lowest key entertaining because everyone deserves to see their people and connect over good food. Learn more about her…




Before leaving a comment or rating, ask yourself: