
Caramelized Apples
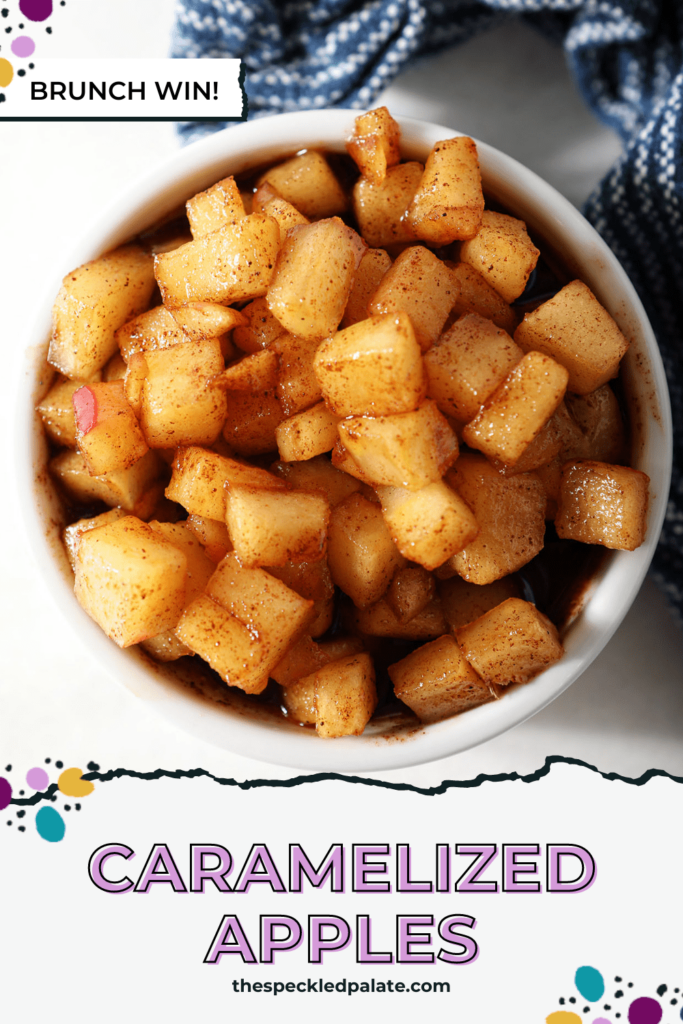
Caramelized Apples are an easy recipe to make at home! All you need are 5 ingredients and about 15 minutes to make this decadent topping, which is perfect for pancakes, waffles, ice cream, cakes and more! Makes 4 servings.
Apples are one of my favorite things about the fall. (Hi, hello, 40+ Apple Recipes for the Fall!)
And even though I don’t live in an area of the country where they’re harvested, I love making all kinds of apple dishes around this time of year.
I eat apples all the time, and I had a ton of fun developing this recipe because, well, it’s so great for so many different things.
I took some of our favorite ingredients to pair with apples and threw them into the skillet with said apples to transform into THIS.
Why I love this recipe:
I love a fruit-based topping for breakfast or dessert. (Hello, Fresh Blueberry Sauce, Homemade Peach Compote and Homemade Strawberry Syrup.)
There’s something so fun about taking fresh fruit and transforming it into something slightly different to pair with so many different recipes.
Singing of molasses and cinnamon, this Caramelized Apple recipe is something special and just tastes like the fall should.
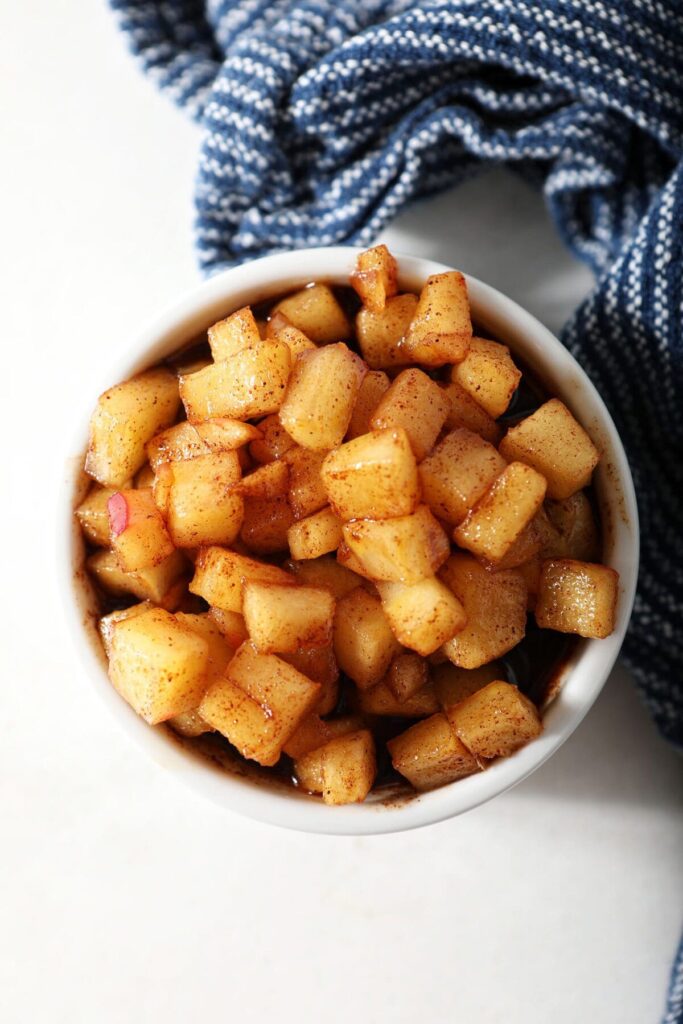
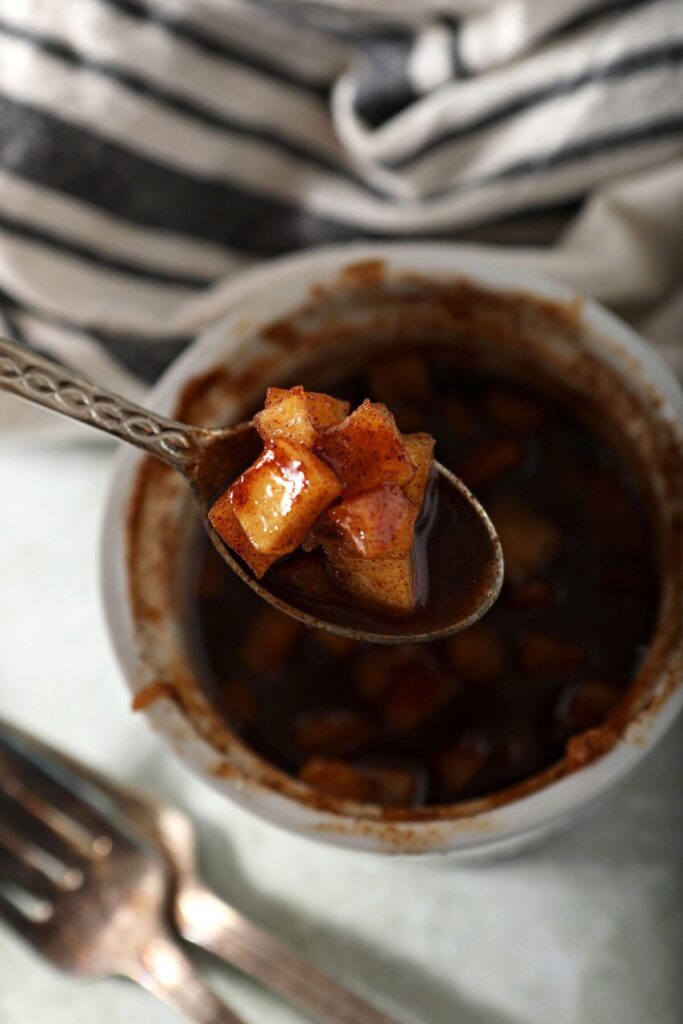
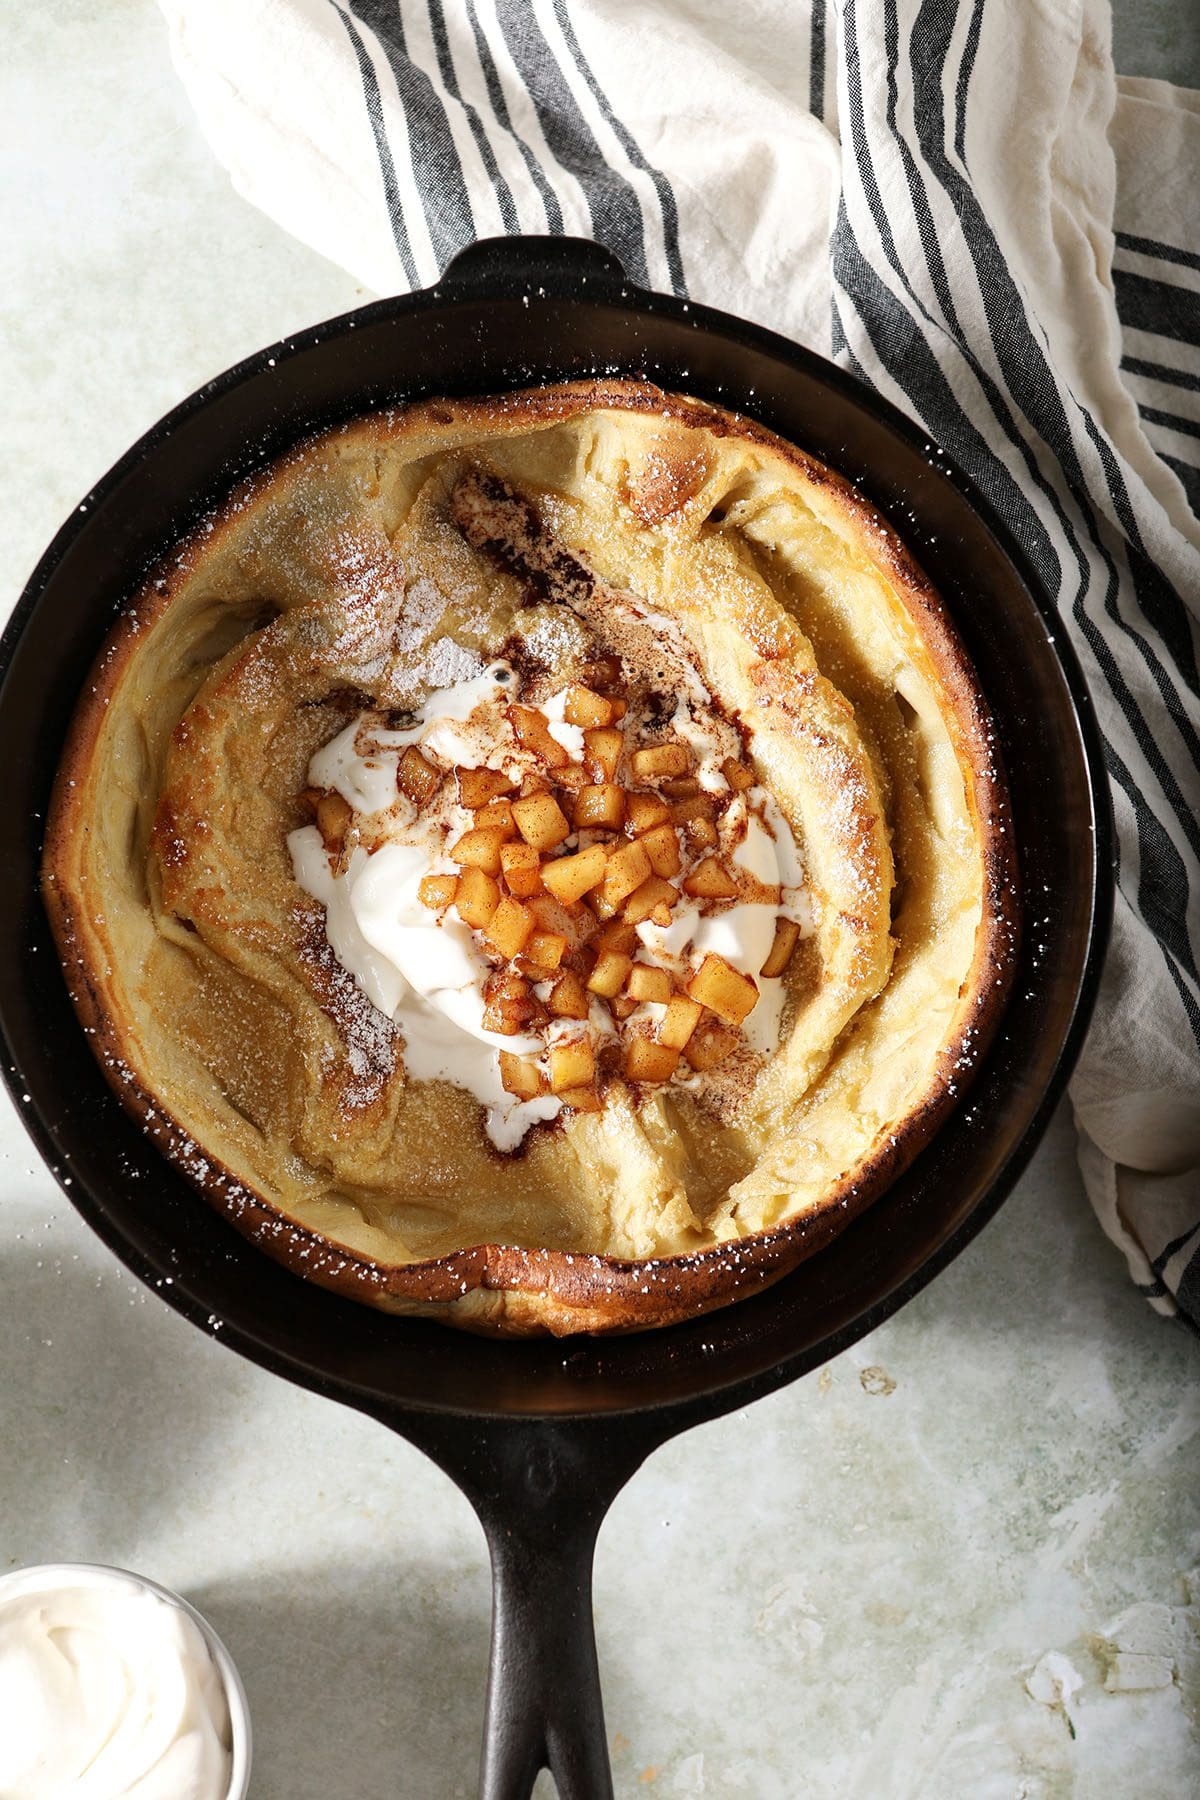
These Caramelized Apples are the perfect topping for old fashioned pancakes, waffles, French toast, oatmeal, a scoop of vanilla ice cream and more!
You can make it in advance to have on hand for later. You can also double or triple the recipe to share with a crowd.
It’s versatile, cinnamony and totally delicious.
More apple recipes to try this season: Chicken Spinach Salad with Apples and Strawberries | Apple Cider Moscow Mule | Cinnamon Apple Pork Chops | Apple Chutney Bruschetta | Apple Cider Pulled Pork with Apple Coleslaw | Spiced Apple Upside Down Cake with Bourbon Caramel Glaze
Need recipe inspiration for the fall? Head on over to my Fall Recipe Index for more ideas.
What you need to make this recipe:
The Speckled Palate participates in affiliate programs. As an Amazon Associate, I earn a commission from qualifying purchases. Please refer to my disclosure page for more information about these affiliate programs.
- Small mixing bowl or liquid measuring cup
- Rubber spatula
- Nonstick skillet
Let’s talk ingredients!
In addition to the tools above, you’re going to need some ingredients to make this recipe, too! Chances are, you might already have some of them in your fridge or pantry. Scroll down to the recipe card for the full measurements and instructions.
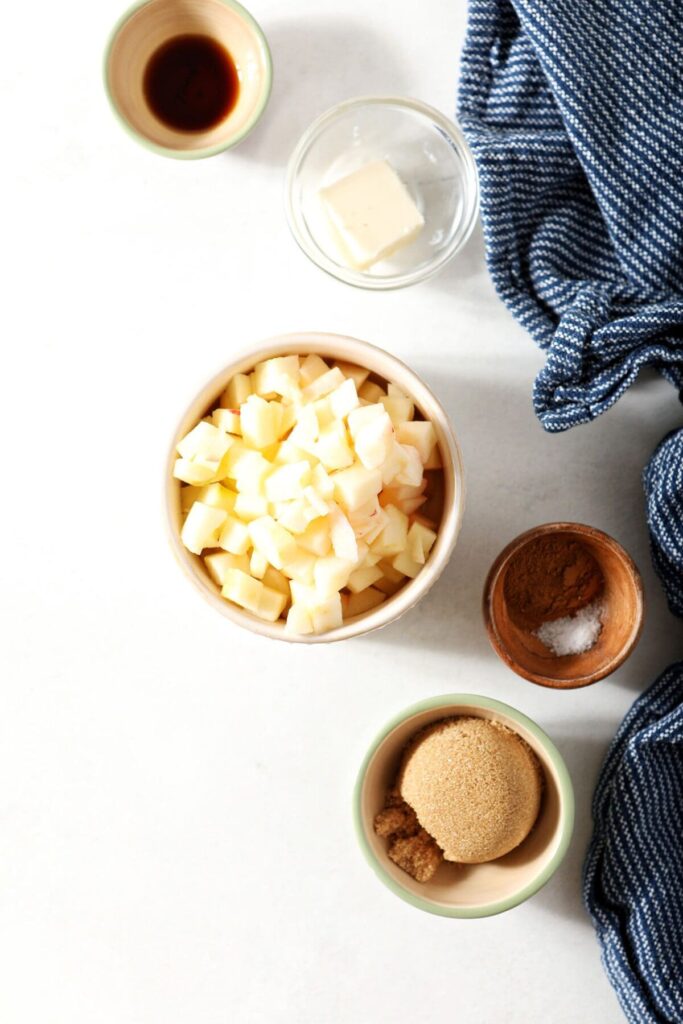
Here’s what you’ll need:
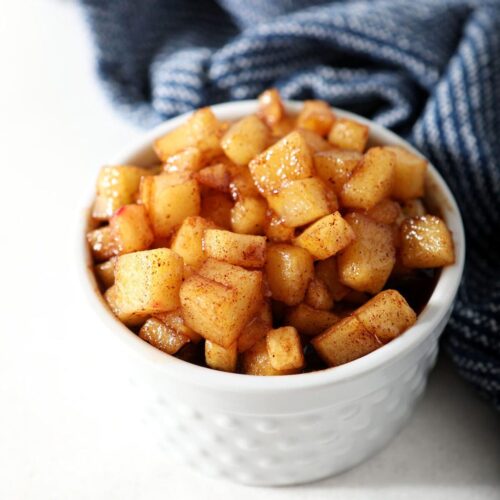
- Diced, peeled apples — I used honeycrisp apples because they hold their shape and aren’t too sweet or tart. You may use your favorite apple in place of them.
- Unsalted butter — this provides a little fat to our caramelized apples and provides some flavor, too! I do not recommend using an unflavored oil in its place.
- Brown sugar — you can use dark brown sugar or light brown sugar, though I will say I love the molasses undertones of the dark brown sugar.
- Vanilla extract — a little goes a long way! Be sure to use the real deal, not the imitation kind.
- Ground cinnamon — this provides the cinnamon flavor to our apples! You could swap this with apple pie spice or a pumpkin pie spice blend if you’d prefer that.
What apples should I use for this caramelized apples recipe?
I would use a more tart, firm apple, like a Honeycrisp, Braeburn, Gala or a Granny Smith… or any other apple you could use for cooking.
I would not use a softer variety because it will become mushy and won’t hold its shape, which is part of the fun of my Apple Cider Pancakes — to bite into a bit of apple.
How to make Caramelized Apples
Mise en place. Peel the apples. Measure out the other ingredients into bowls.
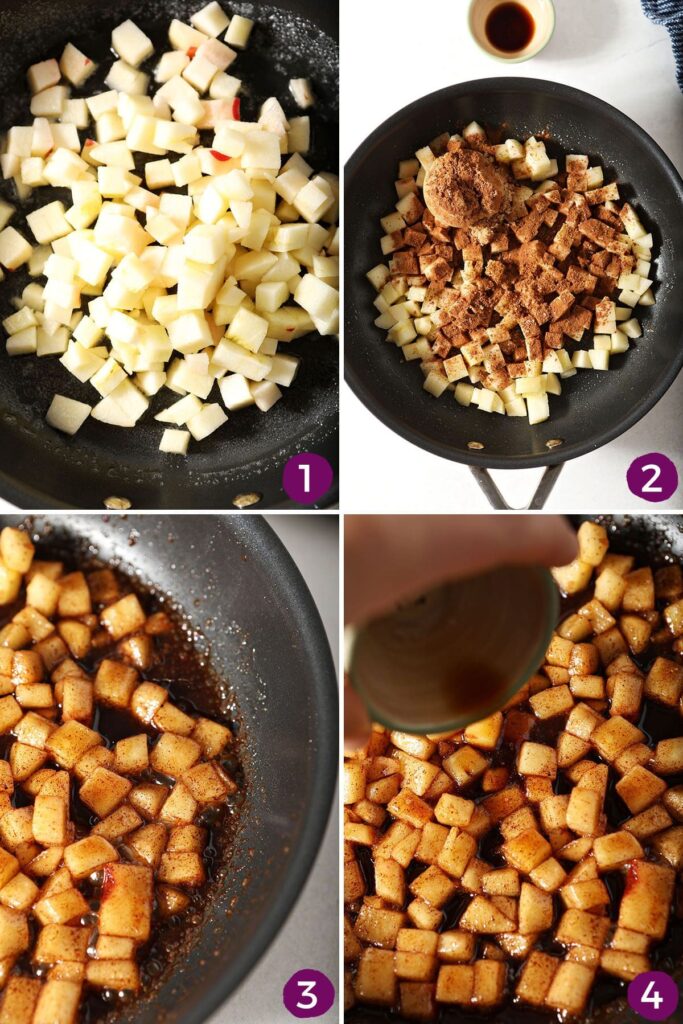
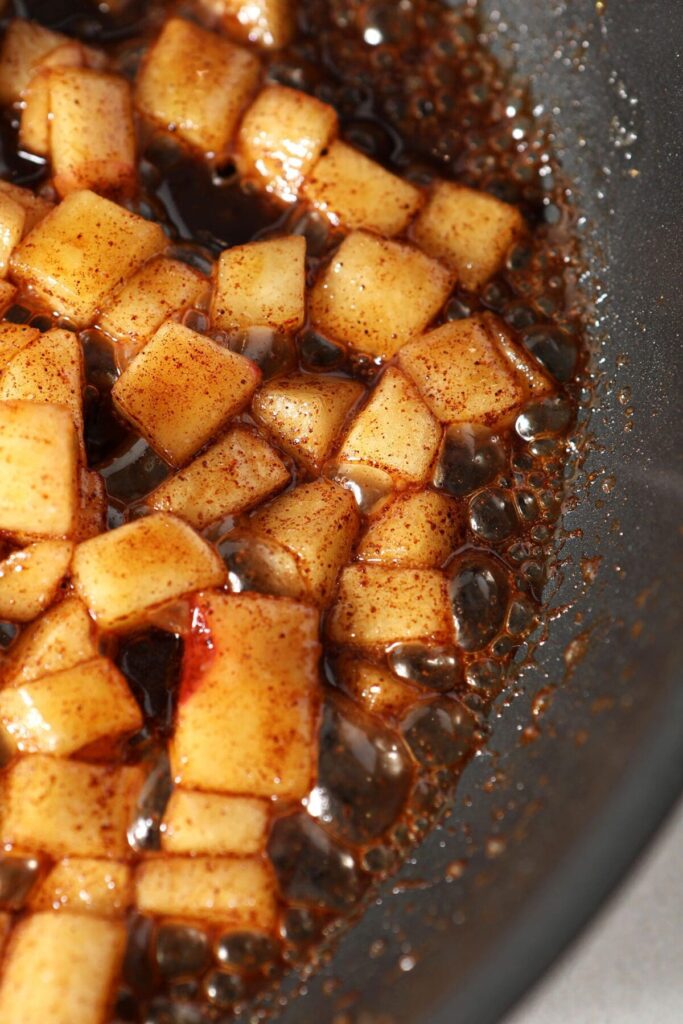
Melt the butter in a nonstick skillet over medium-high heat. Let it bubble up.
Add the finely diced, peeled apples. Cook until softened and tender, about 5-6 minutes. Give them a stir every so often.
Add the brown sugar and spices. Cook for a few more minutes, letting the caramel sauce thicken and become gooey.
Remove the pan from the heat and add the vanilla. Let it bubble out, then serve immediately over whatever you’d like.
Frequently Asked Questions
These can keep for well up to a week in the fridge (and I’ve read they can last longer), but I bet they won’t last that long.
Yes, you’ll need to refrigerate these caramelized apples after making them if you don’t eat them all immediately.
Quick tips and tricks to the best caramelized apples
- Double or triple the recipe. This makes enough for our family of four to enjoy them over a stack of buttermilk pancakes. If you’re looking to serve a bigger crowd, make more of the recipe! It shouldn’t be complicated to do.
- Make them for a party! Make more of ‘em and make them in advance. Store them safely in the fridge and warm through before serving with your breakfast or dessert of choice.
- How to store: Let them cool completely. Store in an airtight container in the refrigerator for up to a week. Reheat in the microwave.
Caramelized Apples
Ingredients
- 2 apples peeled, cored and finely diced (200g)
- 1 tablespoon unsalted butter 13g
- ¼ cup brown sugar packed (54g)
- 1 teaspoon pure vanilla extract 6g
- 1 teaspoon ground cinnamon 3g
Equipment
As an Amazon Associate and member of other affiliate programs, I earn from qualifying purchases.
Instructions
- Melt the butter in a nonstick skillet over medium-high heat.
- Add the apples and cook until softened, about 5-6 minutes.
- Add the sugar and spices. Cook for a few minutes until thick and bubbly. The longer you cook it, the thicker the syrup will become.
- Add the vanilla. The sauce will bubble up and begin to thicken after a few minutes.
- Serve and enjoy!
Notes
How to store: Let them cool completely. Store in an airtight container in the refrigerator for up to a week. Reheat in the microwave.
Nutrition

About the Author:
Erin Parker is a Southern gal living in Texas with her husband and two daughters. She started The Speckled Palate to share what she was cooking as a newlywed… and over the years, it’s evolved to capture her love for hosting. Specifically, the EASIEST, lowest key entertaining because everyone deserves to see their people and connect over good food. Learn more about her…

Before leaving a comment or rating, ask yourself: