Dark Chocolate Peanut Butter Cups
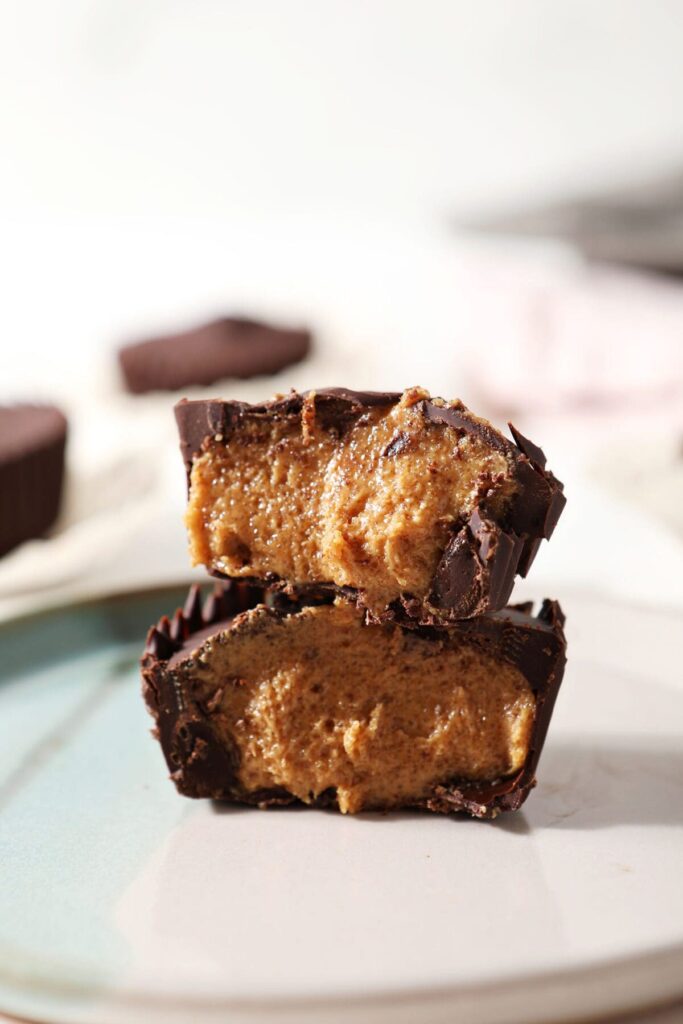
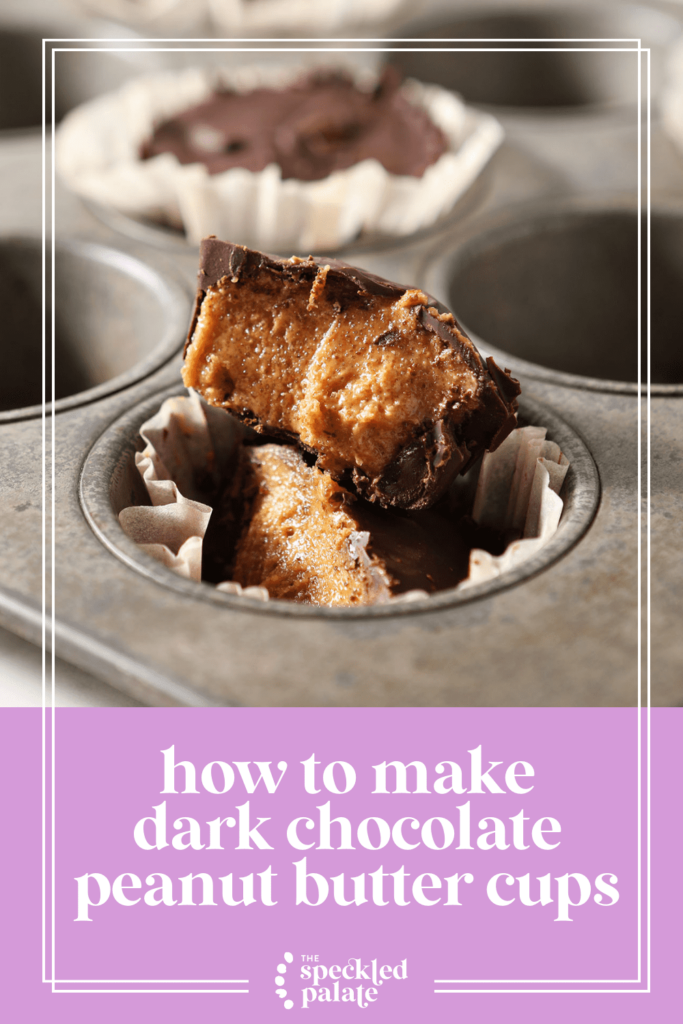
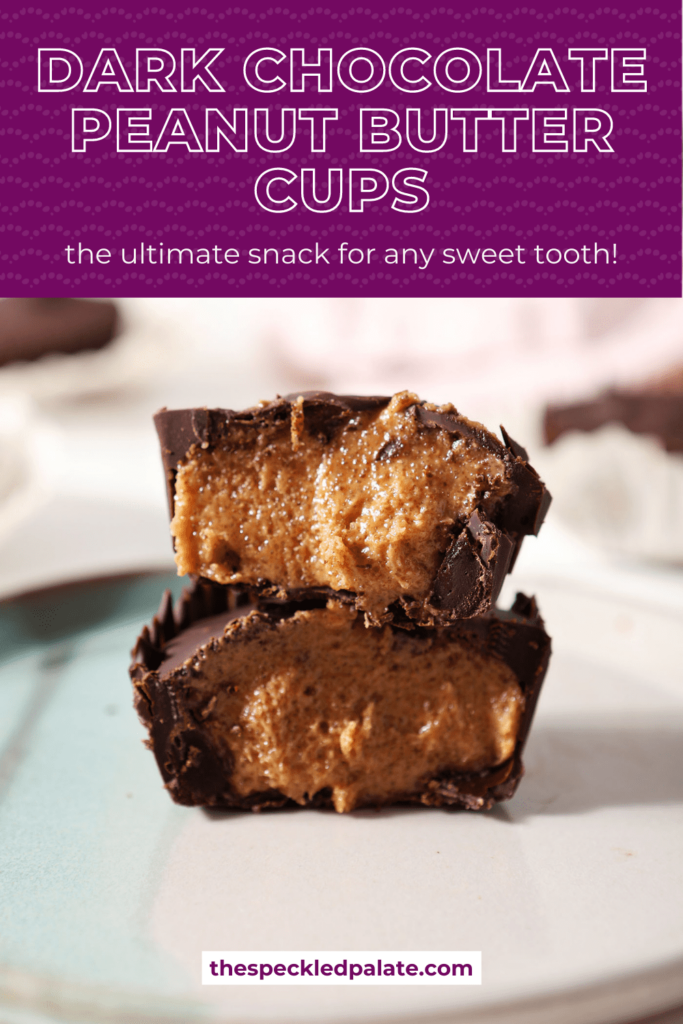
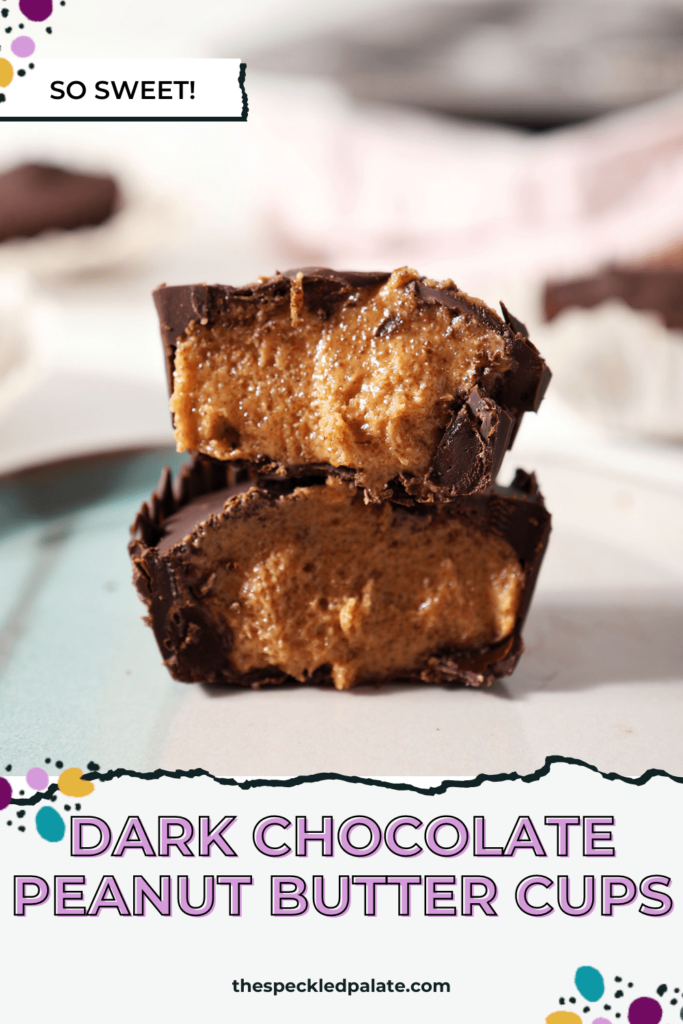
Dark Chocolate Peanut Butter Cups are the ultimate snack for any sweet tooth. Customize them with any kind of chocolate and your favorite nut butter. This easy dessert is great for anyone who loves a peanut butter-chocolate treat!
This post contains affiliate links.
2023 Update: This recipe was originally shared in April 2012. I have simplified this recipe and added measurements by weight. The post has been updated to include new photos, as well as more tips and tricks. I hope you love them!
Dark Chocolate Peanut Butter Cups Recipe
I have always had a soft spot in my heart for any mixture of peanut butter and chocolate. So much so that I stock up on Reese’s cups of any size, shape and form whenever possible.
I especially love the Reese’s Cup Easter eggs around Easter-time and the Christmas tree-shaped ones at the holidays.
Not this year, though — I wanted to try something different. So, in celebration of Easter (and in celebration of not purchasing myself a TON of Easter candy, post-holiday), I’ve made a little something to meet my craving.
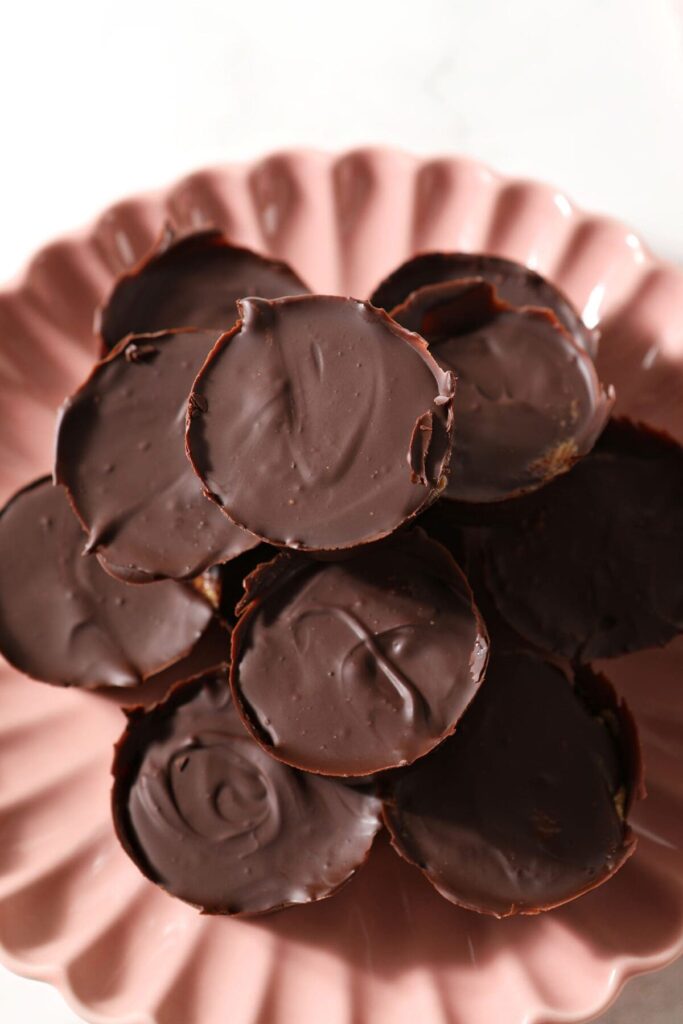
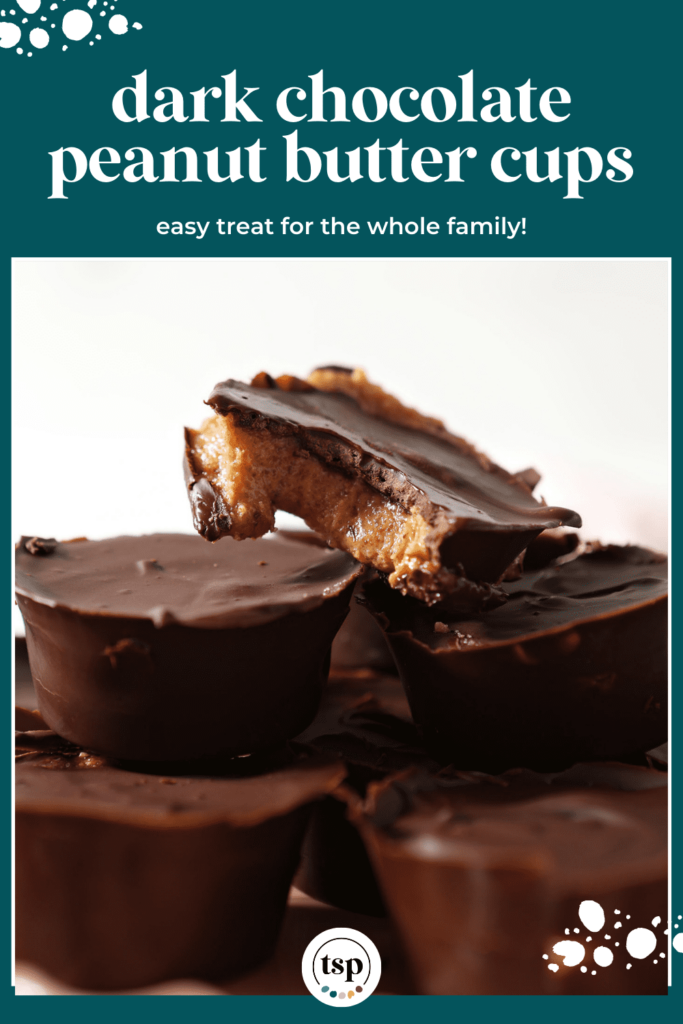
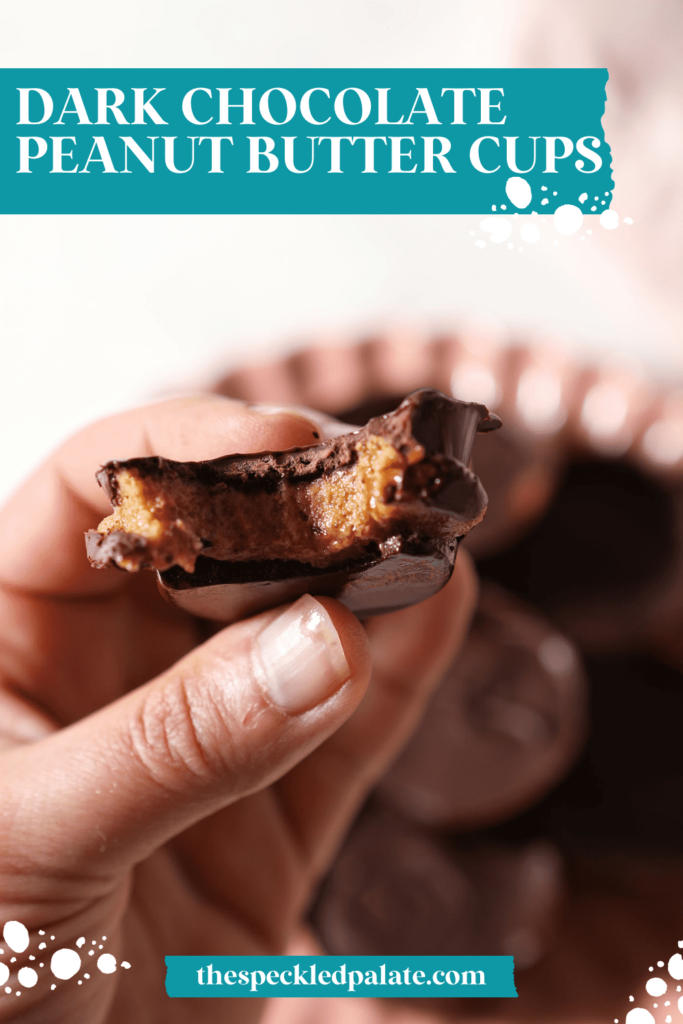
These melt-in-your-mouth 5-ingredient Peanut Butter Cups with dark chocolate are rich, and they’ll satisfy any sweet tooth. They’re a long-standing favorite recipe!
They’ll also make you lick your fingers and you might never purchase another store-bought version again. They’re that good — just sayin’.
Why I love this recipe:
This recipe is a favorite at my house for a few reasons:
- Homemade peanut butter cups are easy and fun to make with kids.
- They call for simple ingredients and are a delicious treat!
- They’re a great holiday treat for Easter, Christmas or any time, really. Give them as a gift or keep them all to yourself.
- Chocolate peanut butter lovers will appreciate how quickly they come together so you can bite into them ASAP.
- Dark chocolate happens to be my favorite, but you can use different types of chocolate if you like.
These treats are perfect for parties and festivities, like Halloween. Set them out alongside other treats like cookies, cupcakes and brownies.
More giftable treats recipes to try: Peanut Butter Pretzel Bites | Homemade Rice Krispie Treats | Saltine Cracker Toffee | Cinnamon Sugar Pretzels | Chex Mix Puppy Chow | No Bake Peanut Butter Bars with Pretzels
What you need to make this recipe:
The Speckled Palate participates in affiliate programs. As an Amazon Associate, I earn a commission from qualifying purchases. Please refer to my disclosure page for more information about these affiliate programs.
- Double boiler OR a small saucepan and a mixing bowl (or a chocolate warmer)
- Muffin cups or mini muffin liners (these parchment paper cupcake liners are my favorite)
- Muffin tin, mini muffin pan or nonstick silicone muffin pan, similar to the one shown in these photos
- Hand mixer and mixing bowl
- 1-tablespoon cookie scoop (for spooning melted chocolate into the cups)
- 1.5-tablespoon cookie scoop (for spooning the peanut butter mixture into the cups)
- Small spatula (for smoothing the tops of the cups)
You’ll also need to set aside a little bit of room in your freezer for the muffin tin!
If you don’t want to mess with muffin liners, you can invest in a special silicone mold for peanut butter cups!
Let’s talk ingredients!
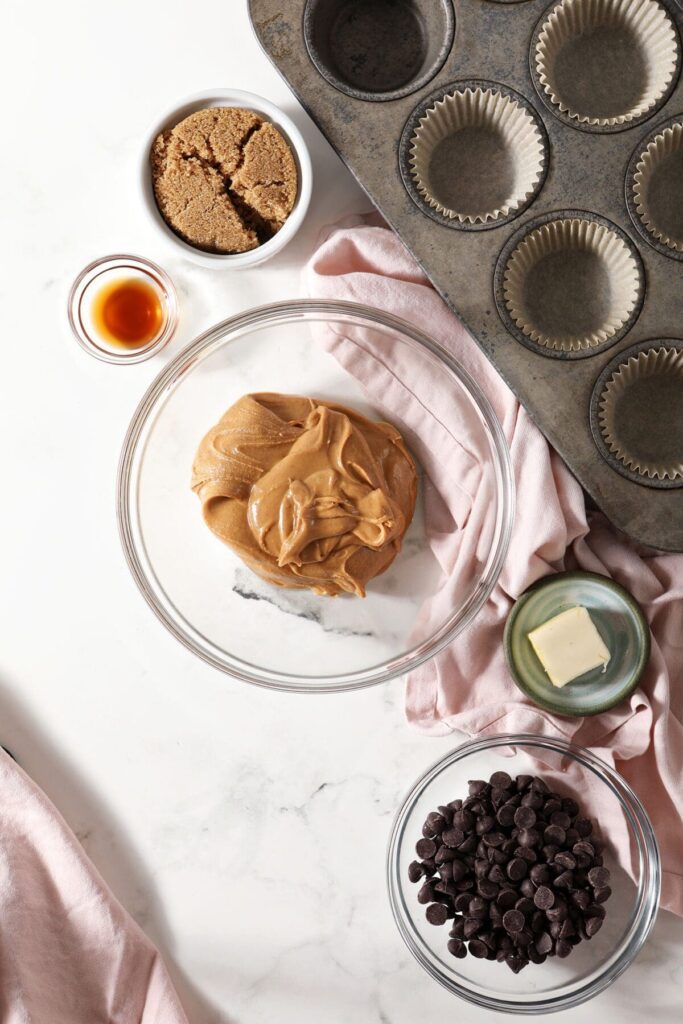
In addition to the tools above, you’re going to need some ingredients to make this recipe, too! Chances are, you might already have some of them in your fridge or pantry. Scroll down to the recipe card for the full measurements and instructions.
Here’s what you’ll need:
- Dark chocolate chips — you can also use chopped dark chocolate. Other types of chocolate work too; see the customizations section below.
- Unsalted butter — salted butter would work in a pinch but may give your chocolate a slightly salted flavor.
- Creamy peanut butter — natural peanut butter may be too oily to use in a recipe like this. If you keep it in the fridge, make sure to let it hang out at room temperature so it’s easier to blend.
- Light brown sugar — brown sugar has the best taste, but you could also use granulated sugar in a pinch.
- Vanilla extract — the highest quality you can afford will result in the best flavor for these sweet treats.
Customizations and substitutions
Milk chocolate peanut butter cups: Use milk chocolate chips if you like a sweeter PB cup.
Semi-sweet chocolate peanut butter cups: If you like a mix of dark and milk chocolate, semisweet chocolate chips are the way to go.
Dairy free: Substitute the chocolate with dairy-free chocolate chips and swap the unsalted butter for a plant-based butter.
White chocolate peanut butter cups: White chocolate chips are a great choice for chocolate haters. White chocolate is tricky to melt, so make sure you read up on how to melt white chocolate the right way.
Almond butter cups: Feel free to substitute other types of nut butter like almond butter or cashew butter. Some of these can be more oily than regular peanut butter, so you may need to spoon off any oil that has settled and/or add more sugar until it is a thick, scoopable mixture. I have not tested this, but let me know if you try it!
Seed butter cups: Use sunflower butter or another seed butter in place of the peanut butter.
Vegan peanut butter cups: Simply use vegan dark chocolate and vegan butter!
Shaped peanut butter cups: This recipe is for regular cup-shaped peanut butter cups but they could be made in molds if you want to get fancy with it. This set of molds includes a ton of cute shapes. You could also use an ice cube tray in a pinch.
Fancy peanut butter cups: If you’re feeling fancy, you could add toppings on top of the chocolate or drizzle them with more chocolate after they’re set up.
A few ideas include:
- Sprinkles
- Flaky sea salt
- Crumbled graham crackers
- White chocolate drizzle
- Milk chocolate drizzle
- Dark chocolate drizzle
- Colored candy melt drizzle
How to make these easy homemade peanut butter cups
Peanut butter cups are super simple to make! If you have little ones, bring them along for the ride, but be extra cautious with the hot melted chocolate. (Of course!)
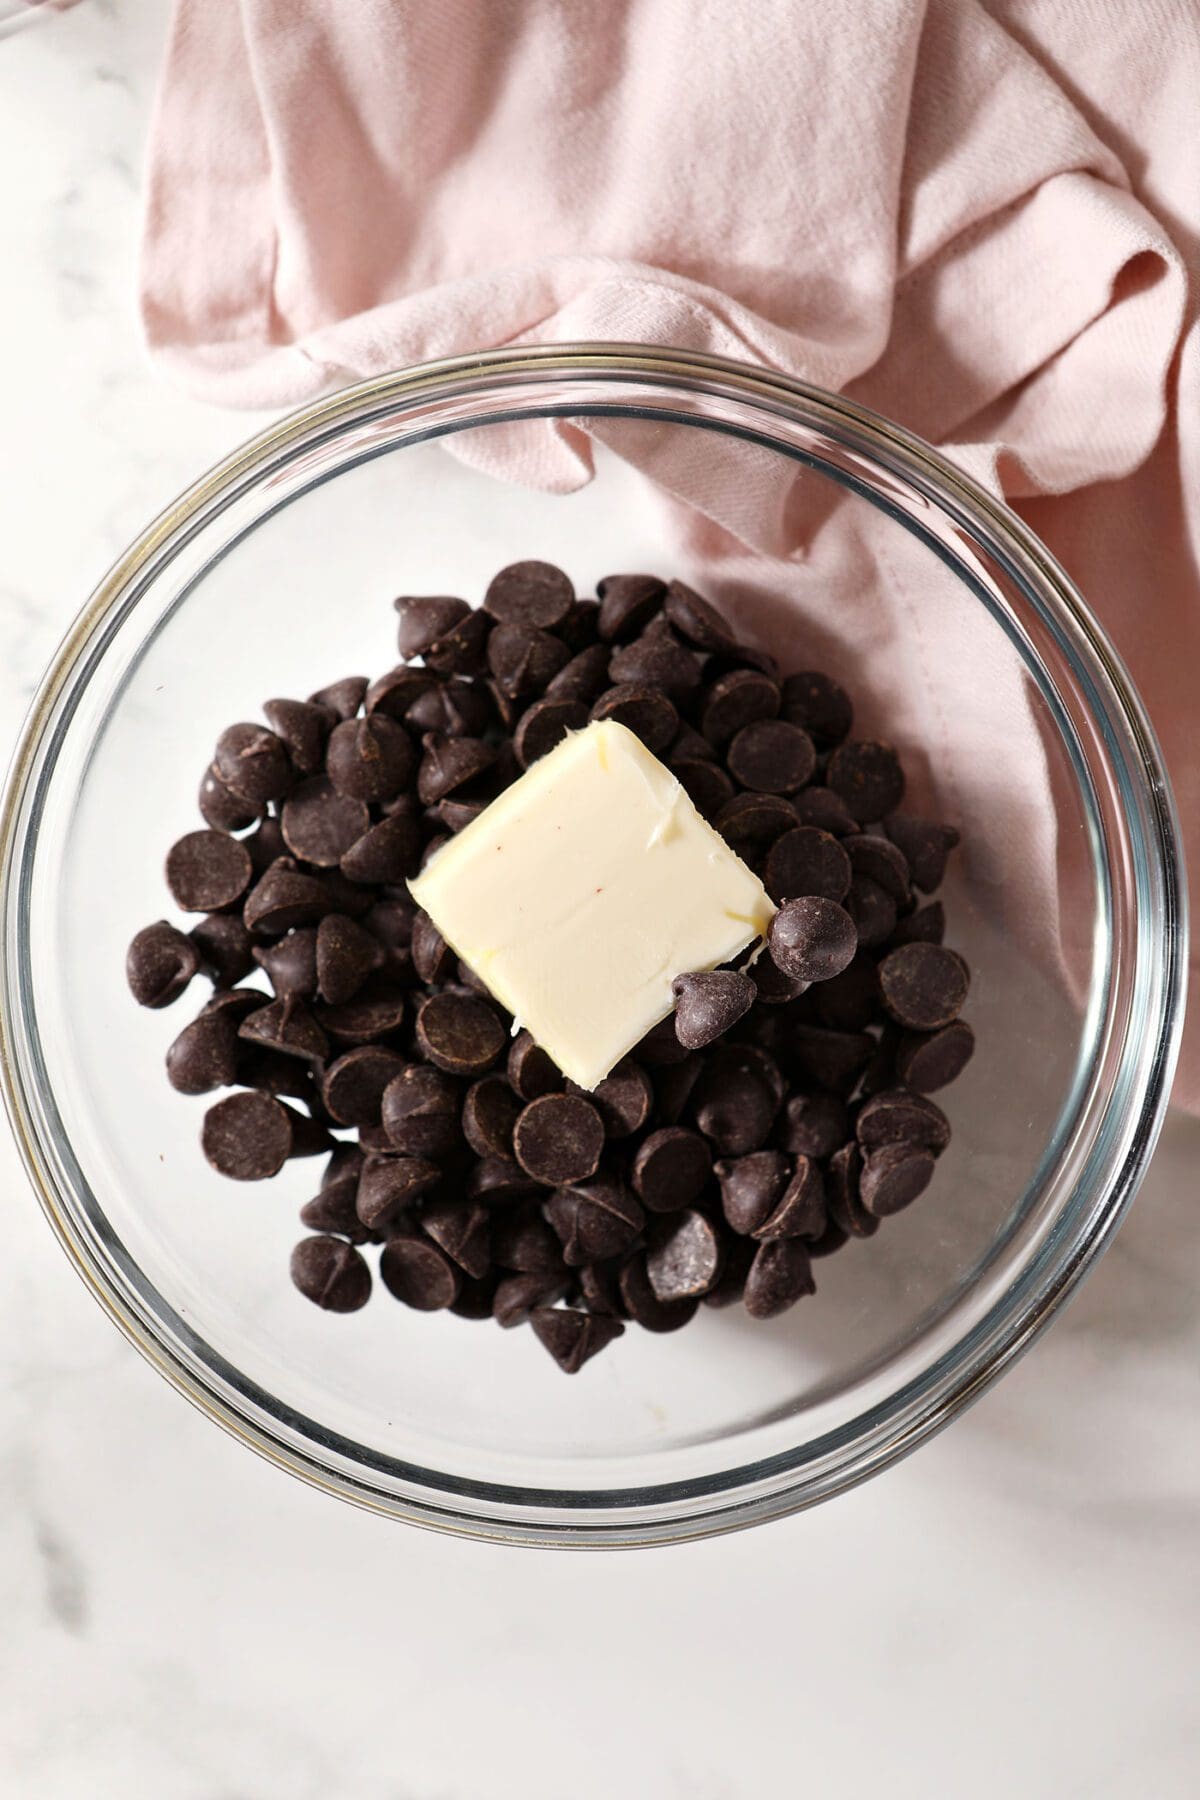
First, get out a double boiler. Add water to the pot and turn on the heat.
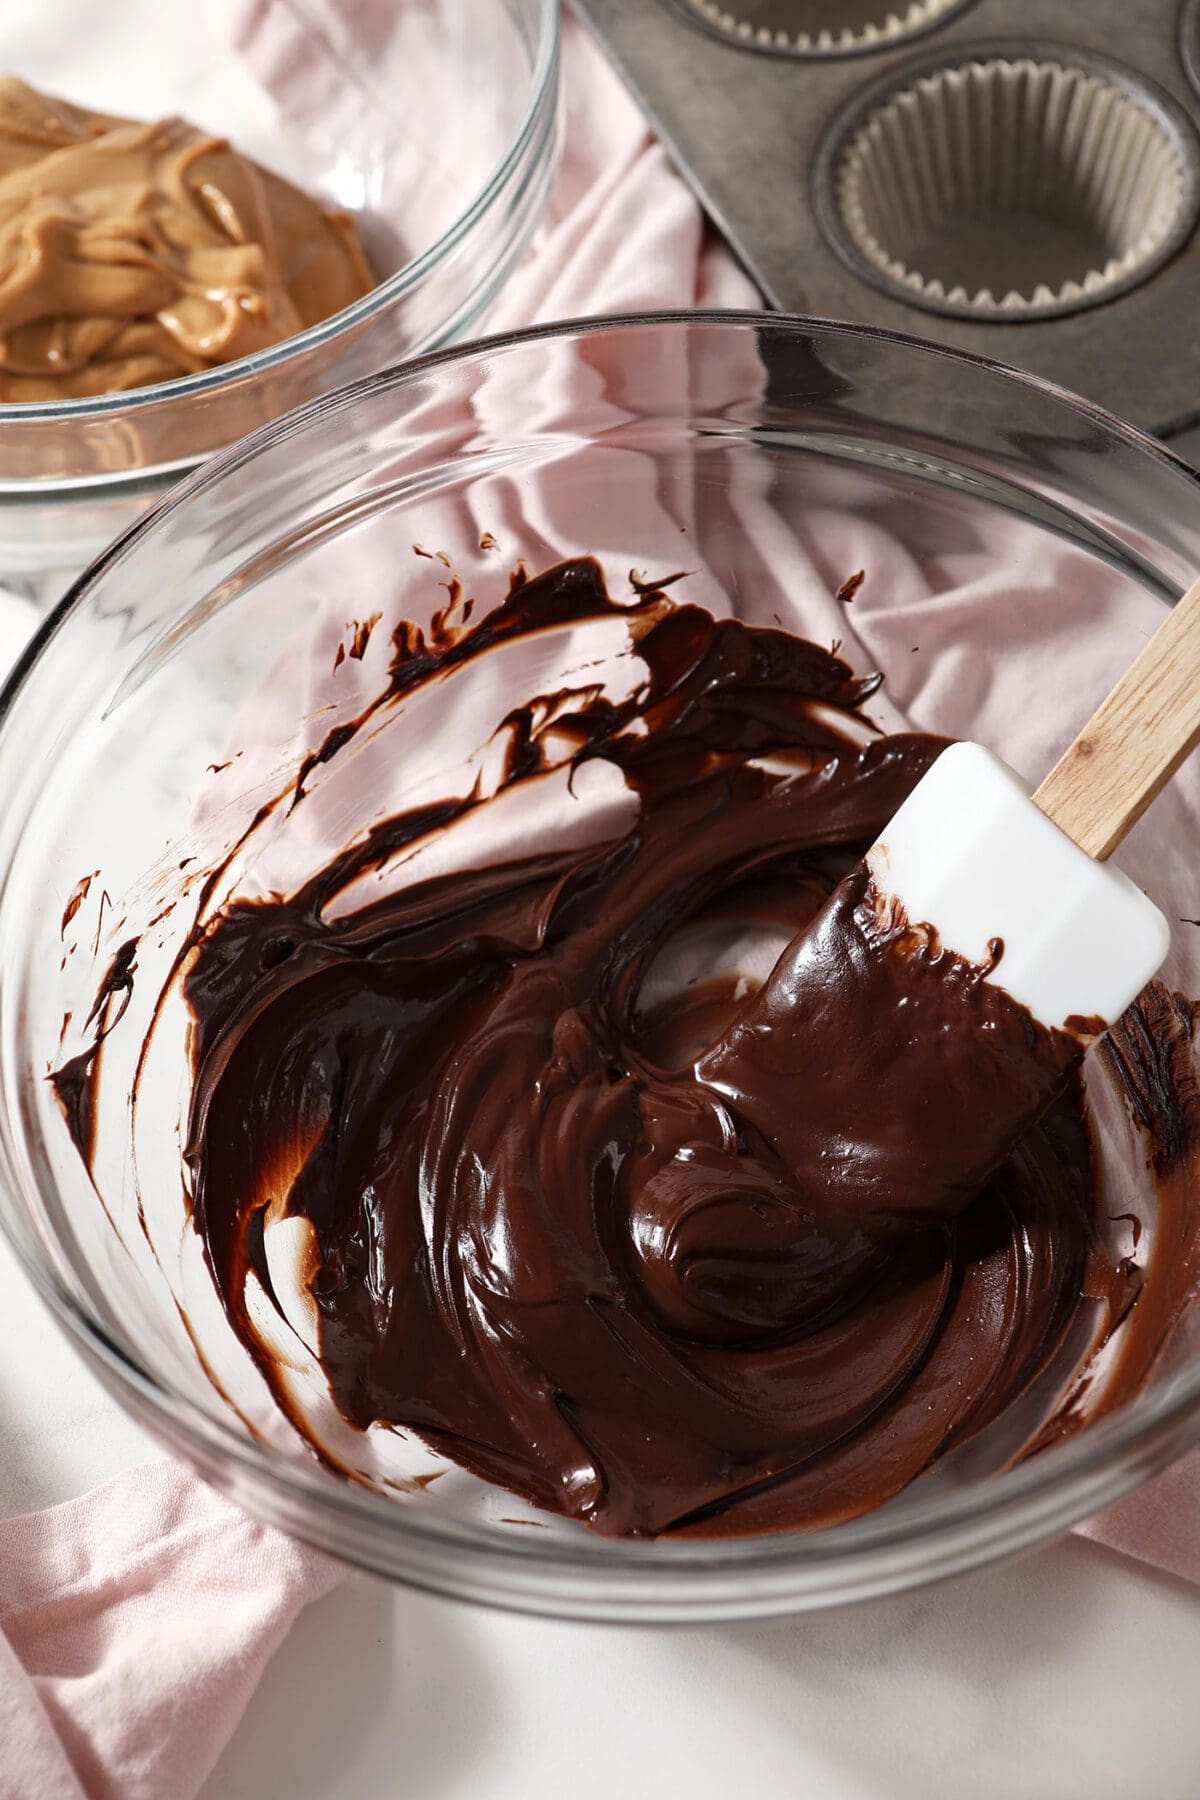
Place the chocolate and butter in the bowl on top as the water gently simmers. Heat until the chocolate is melted and smooth.
Pro tip!
If you’d rather melt the chocolate chips in the microwave, you can do it in a clean, microwave-safe bowl that is dry (because any water will cause the chocolate to seize up). Heat in 30-second intervals at 50% power, stirring in between. It’s easy to burn chocolate in the microwave, though, so I prefer the double boiler method.
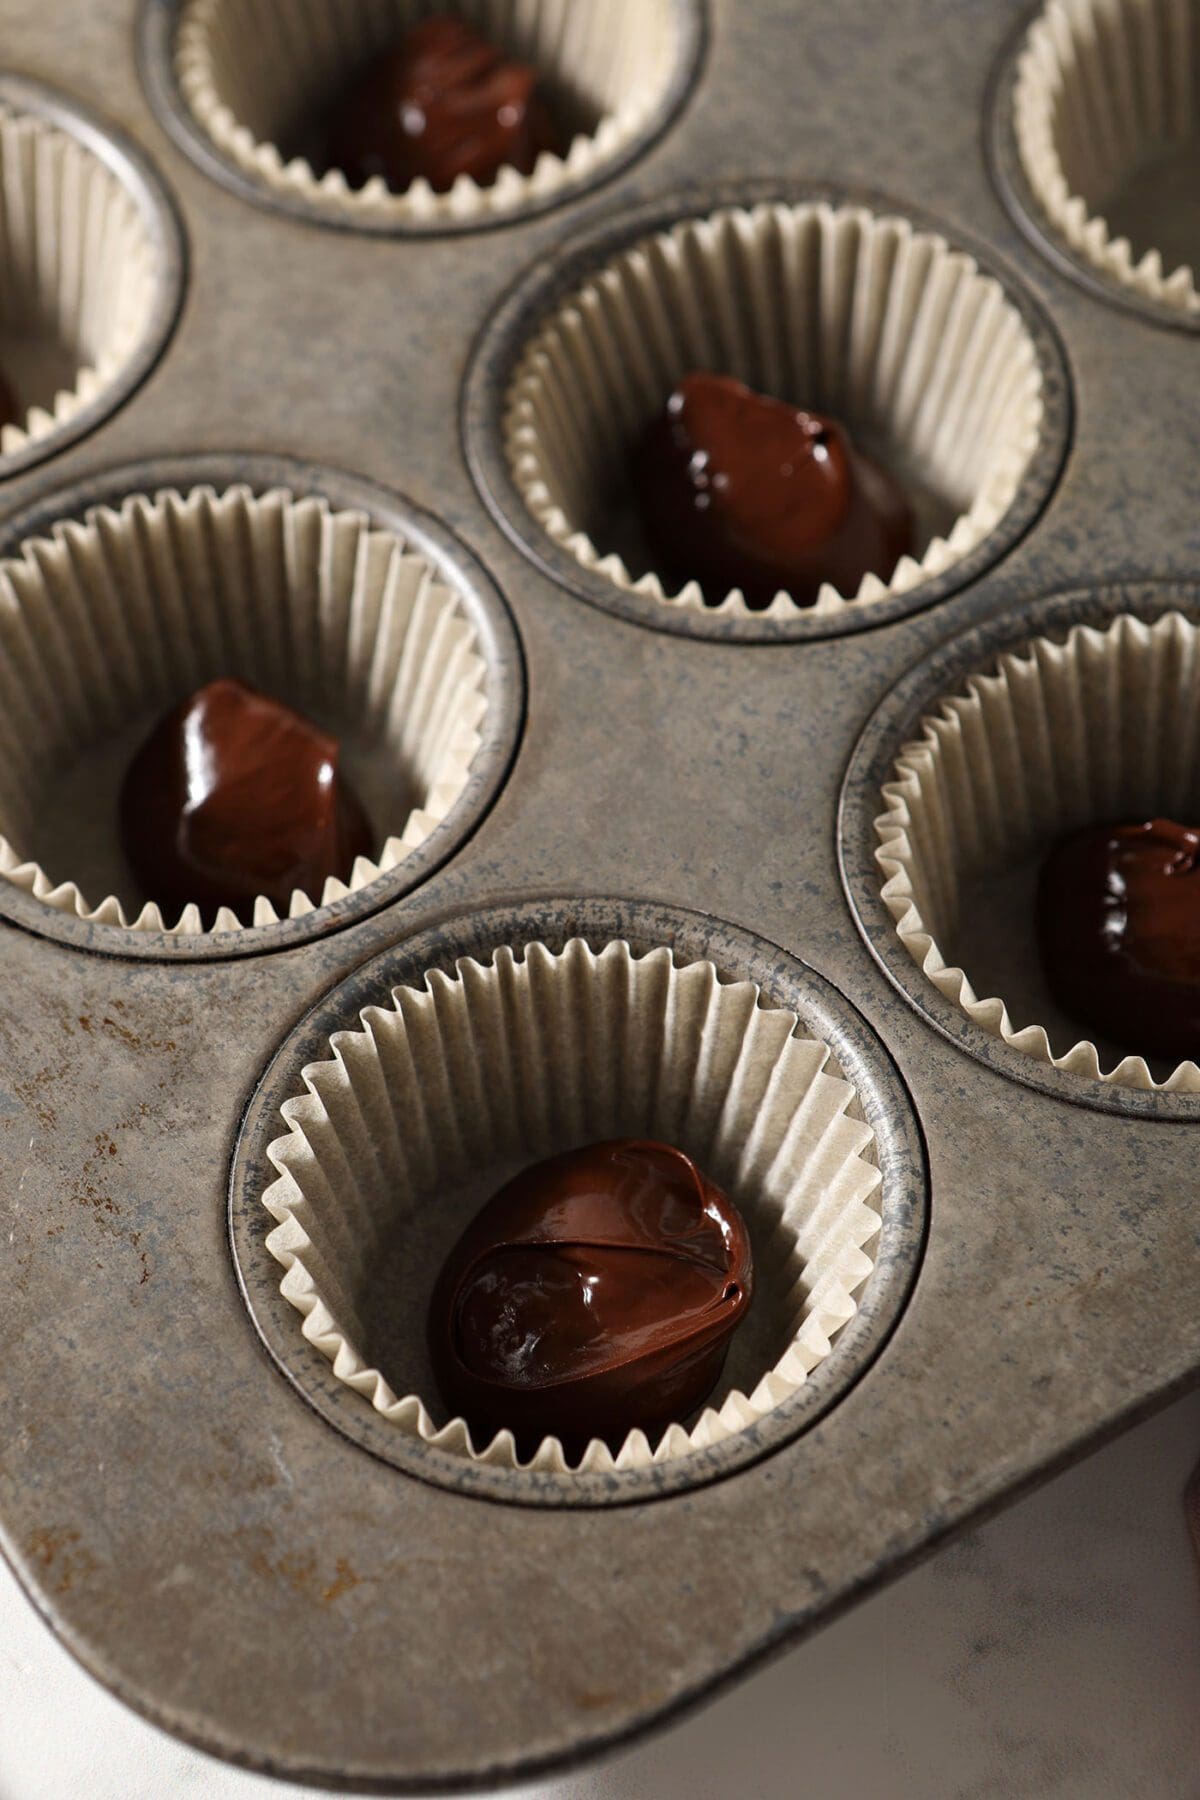
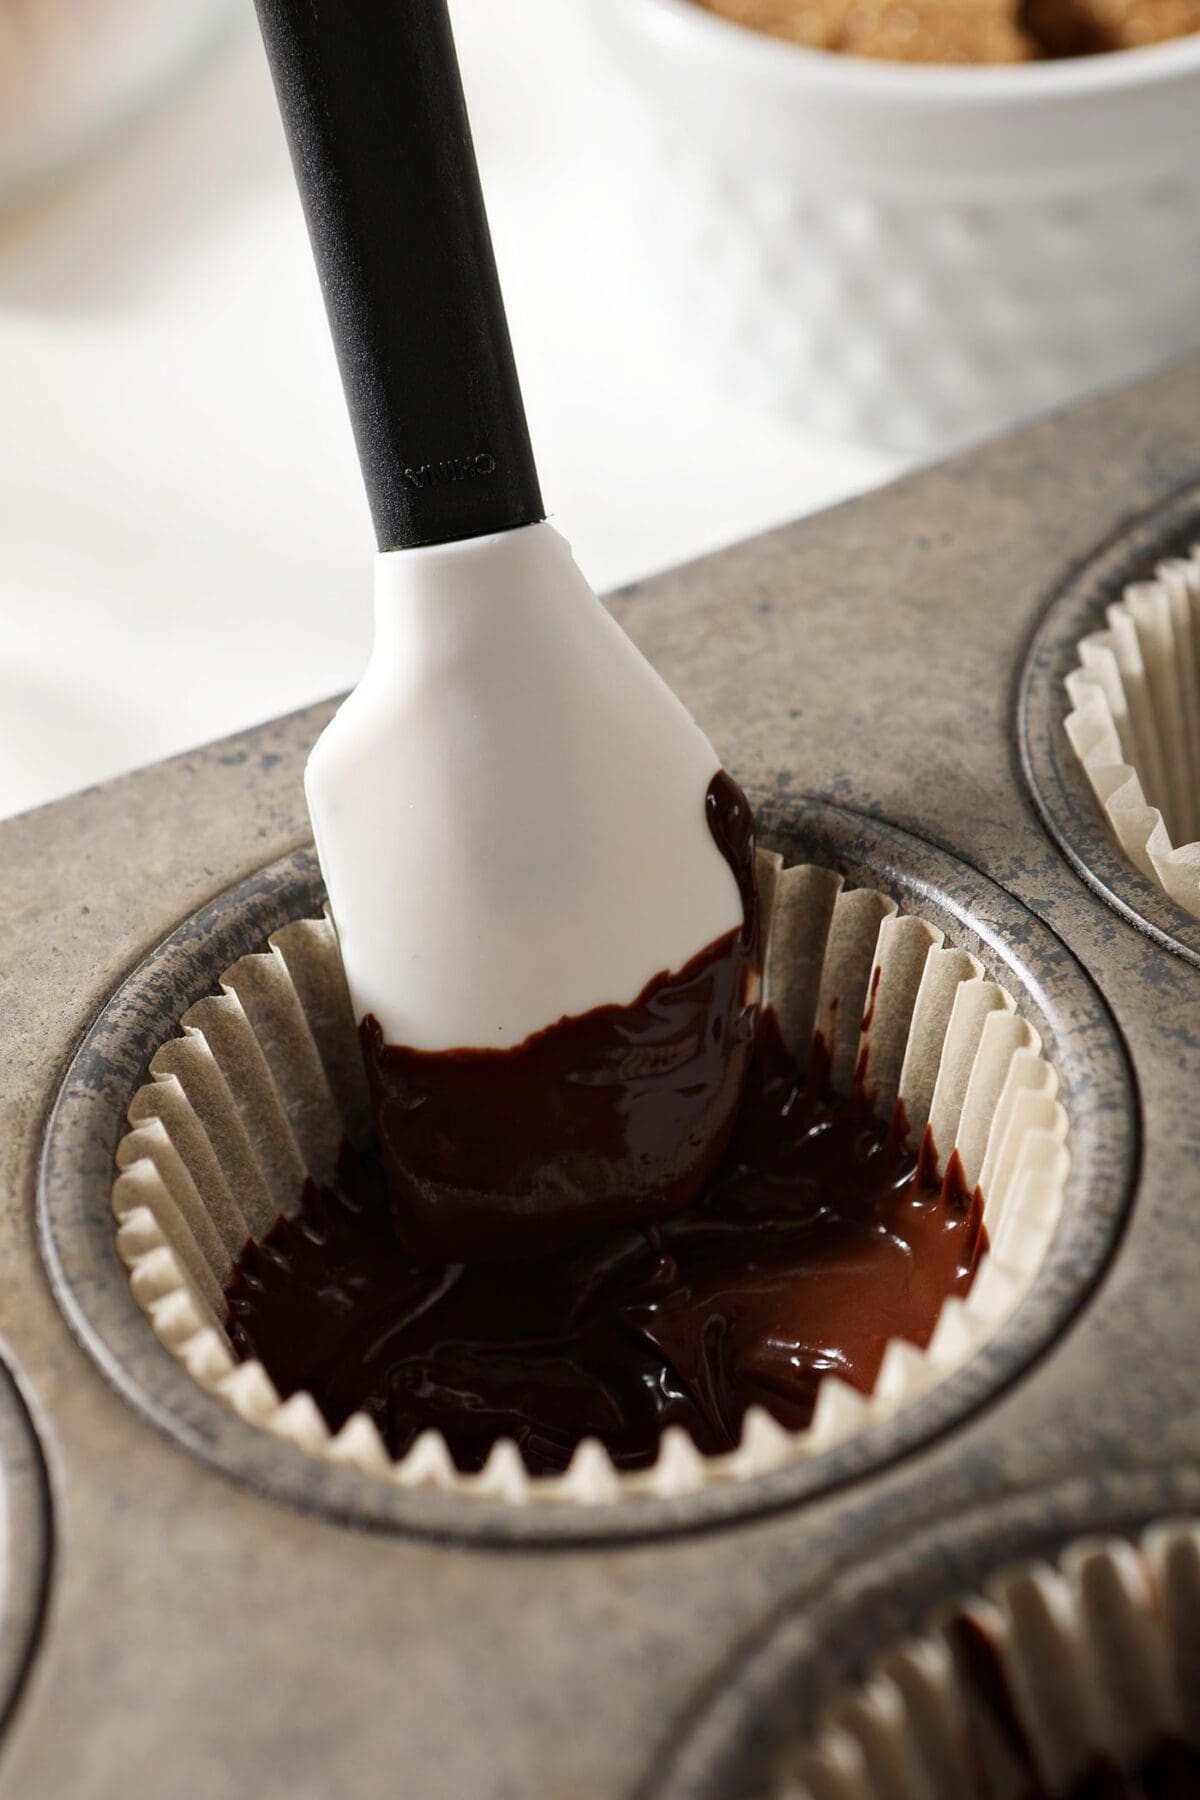
While the chocolate melts, place regular-sized muffin liners into a muffin tin. You can also use a mini muffin cups if you prefer little PB cup bites!
Pour about 1 tablespoon of melted chocolate into each muffin liner and use a spoon to spread the chocolate around the base, as well as the sides, of the paper cup. The cups should be about one-third full of chocolate.
DON’T FORGET!
There will be some chocolate left over. This will go on the top of your peanut butter cups!
Make some room in your freezer or fridge for the muffin tin, and place it inside.
Let the cups chill for about 30 minutes, or until the chocolate layer has hardened. This prevents the peanut butter from sinking to the bottom, so that it’s perfectly encircled in the cup.
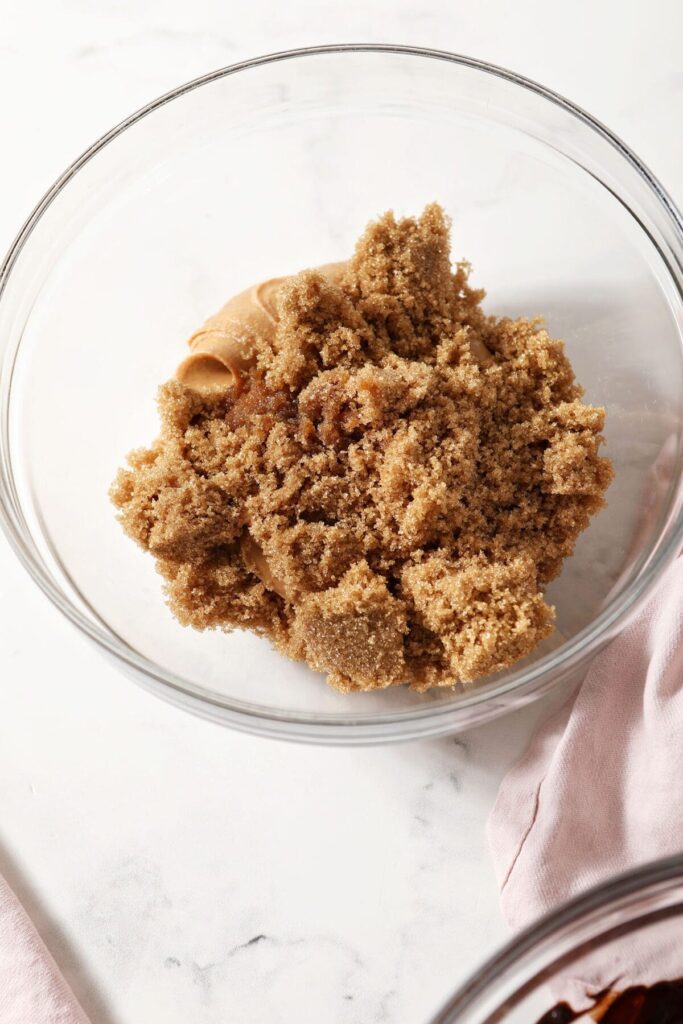
While the chocolate solidifies, make the peanut butter filling.
Measure the peanut butter, brown sugar and vanilla extract into a bowl and whip together using the hand mixer.
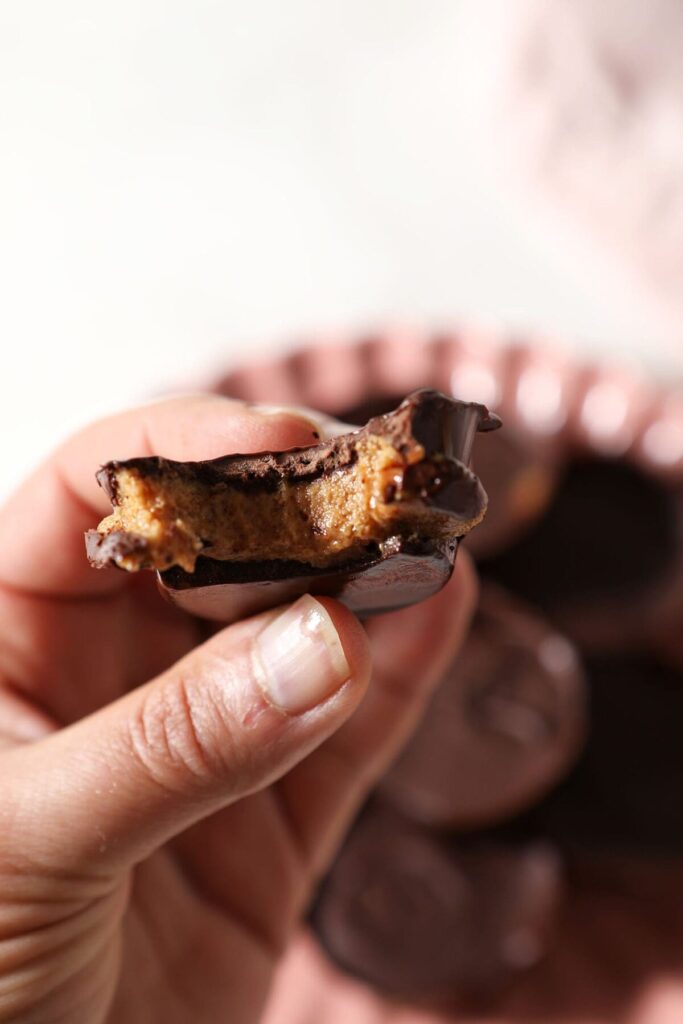
The mixture should be smooth and fluffy. You could also do this in a food processor.
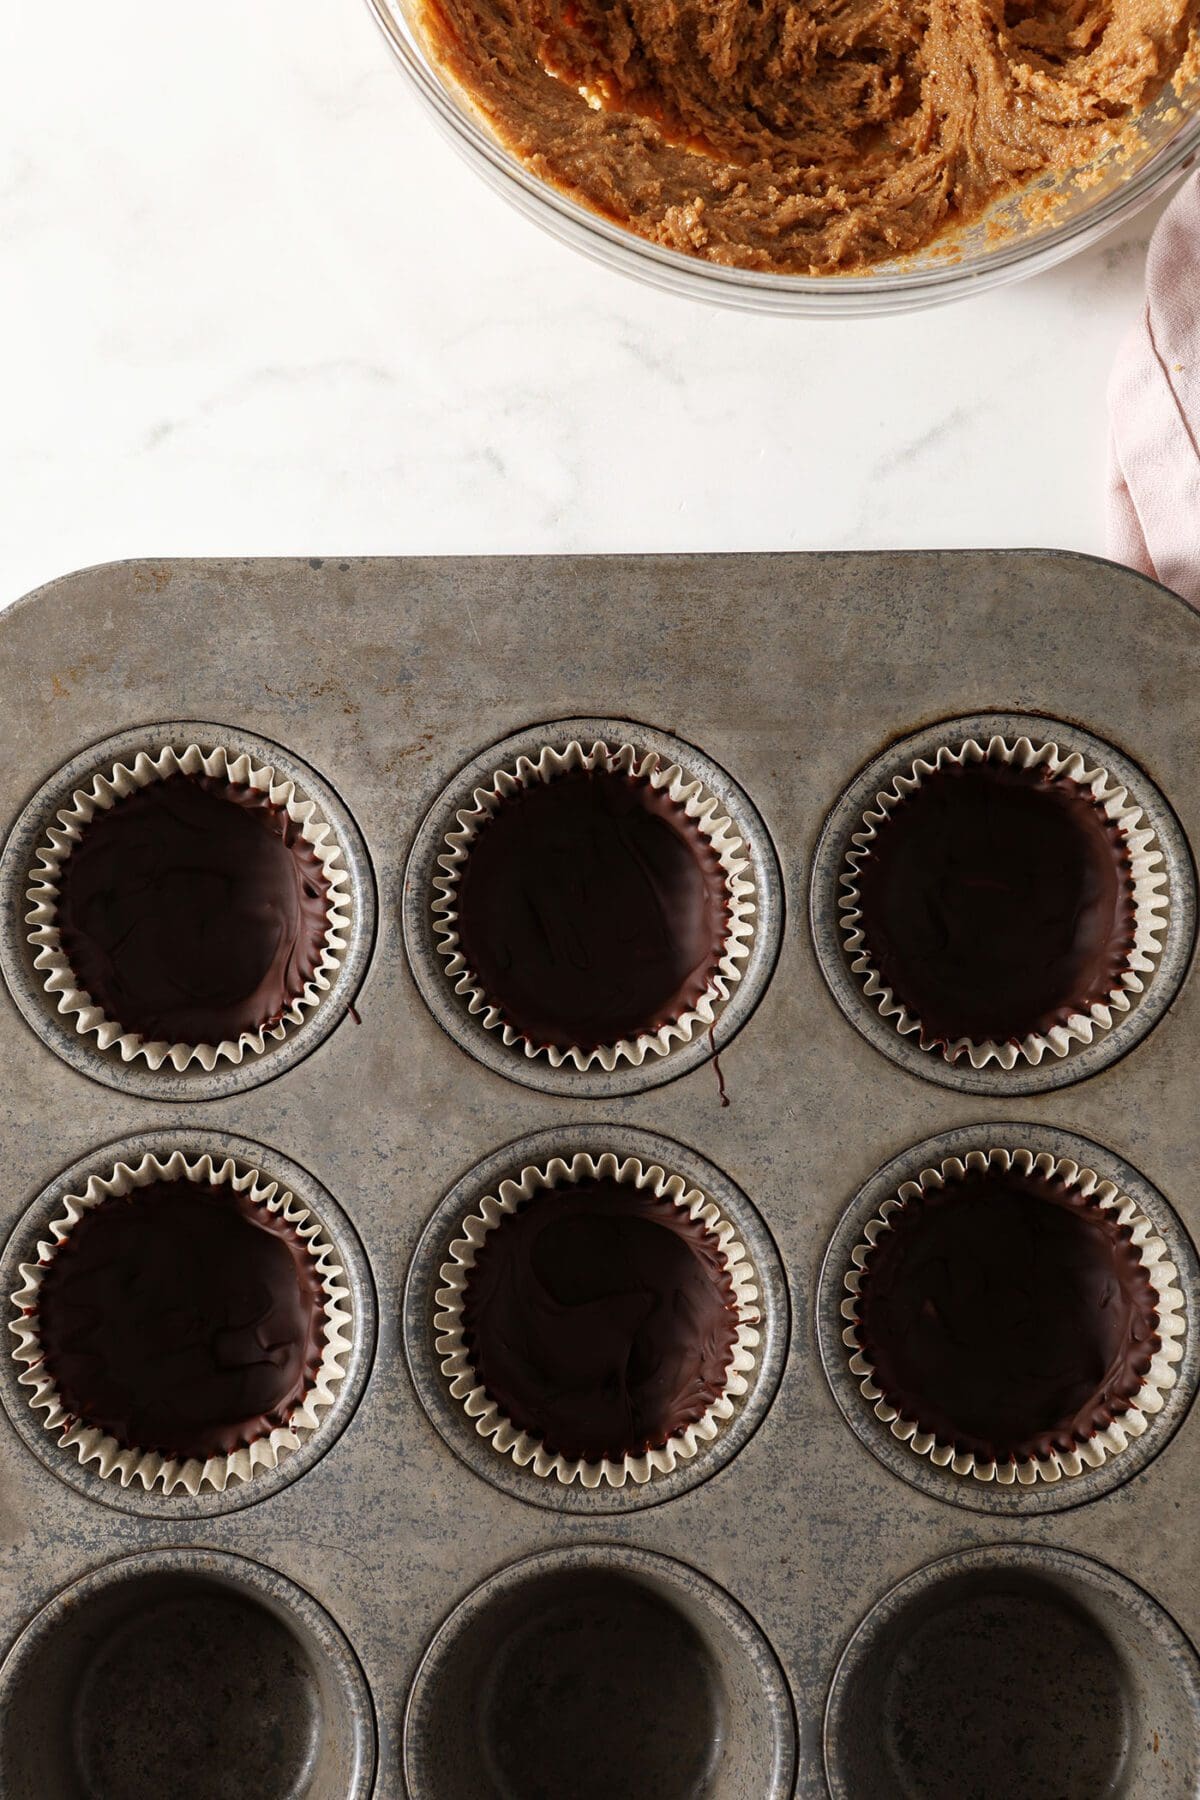
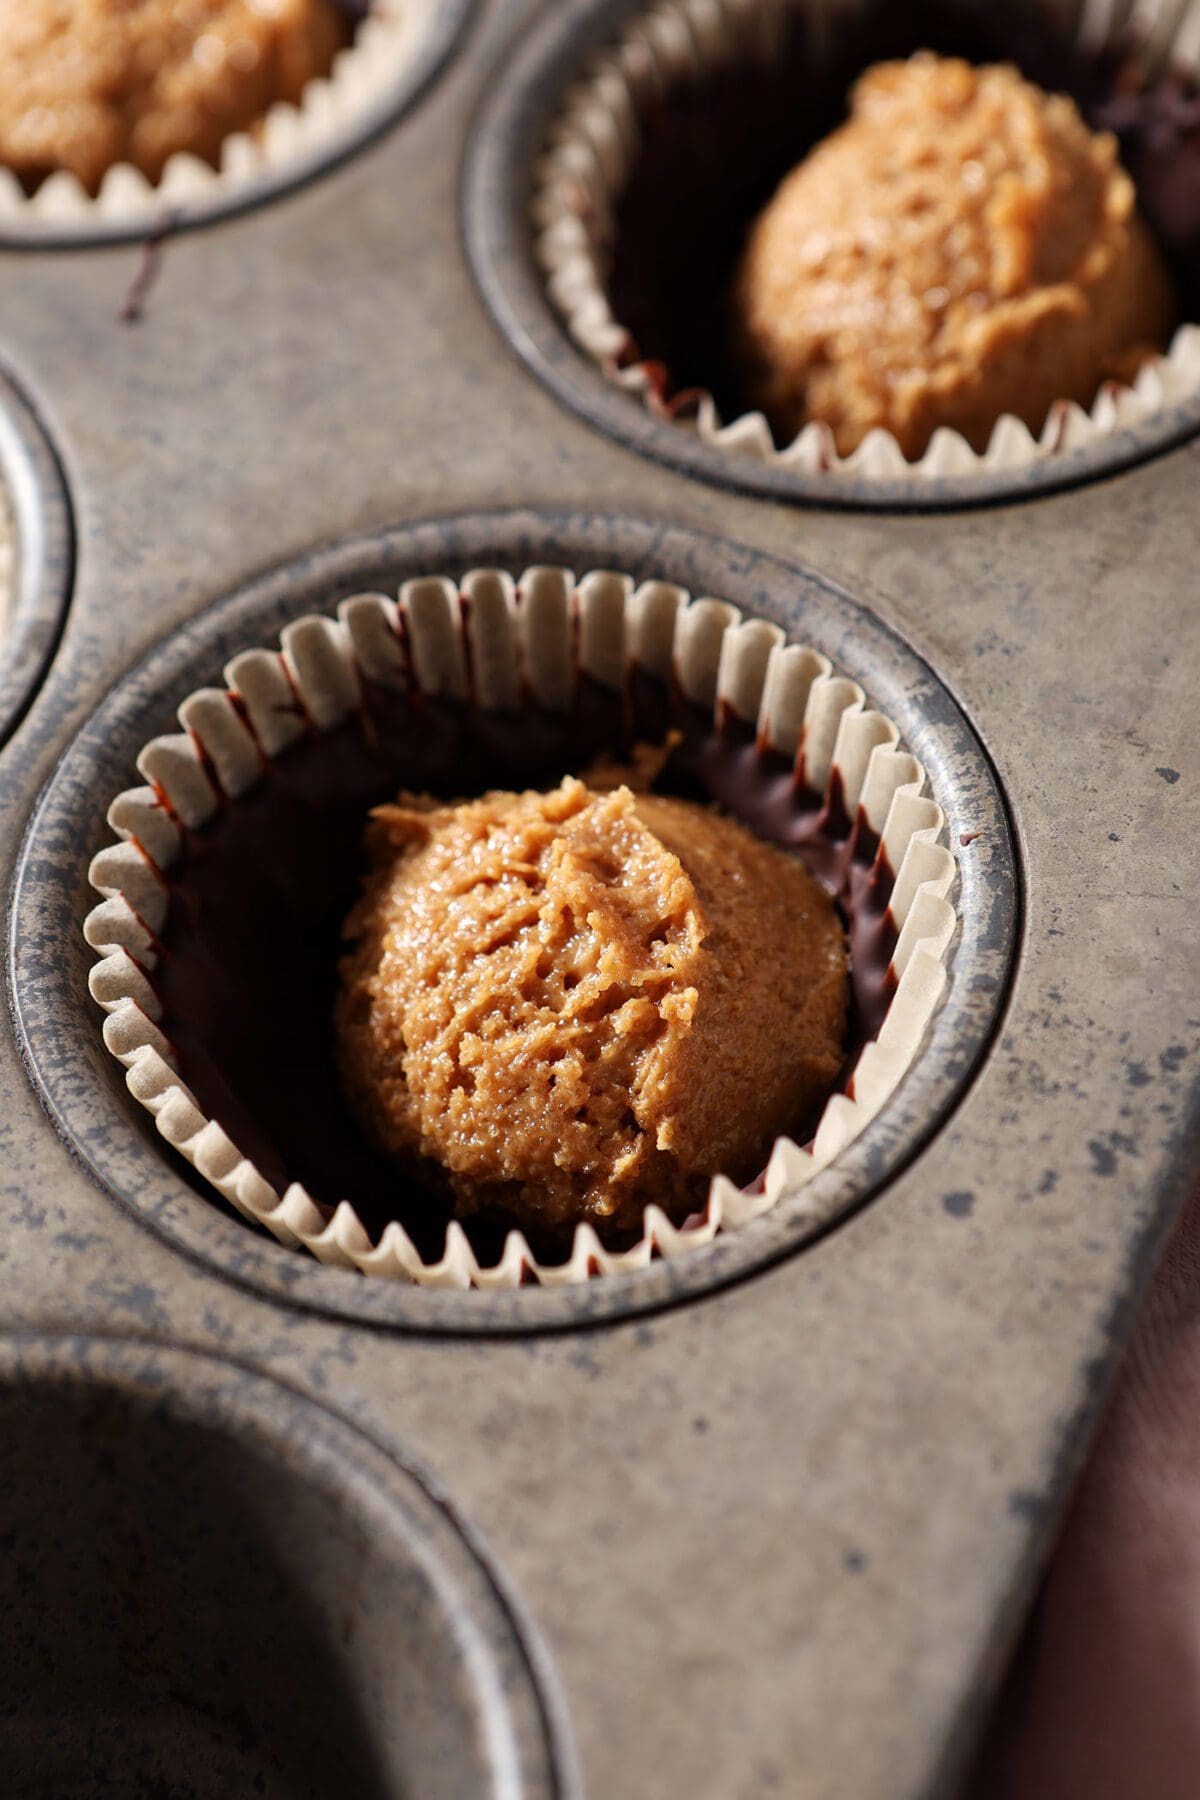
When the chocolate cups are hardened, pull them out of the freezer or fridge. Use a cookie scoop to dollop about two tablespoons of the peanut butter mixture into each one. (You will use closer to a teaspoon in each if you’re doing mini peanut butter cups.)
Spread the peanut butter mixture out evenly with a spatula or spoon, leaving a little room on the sides for the next layer of chocolate to encase the peanut butter inside.
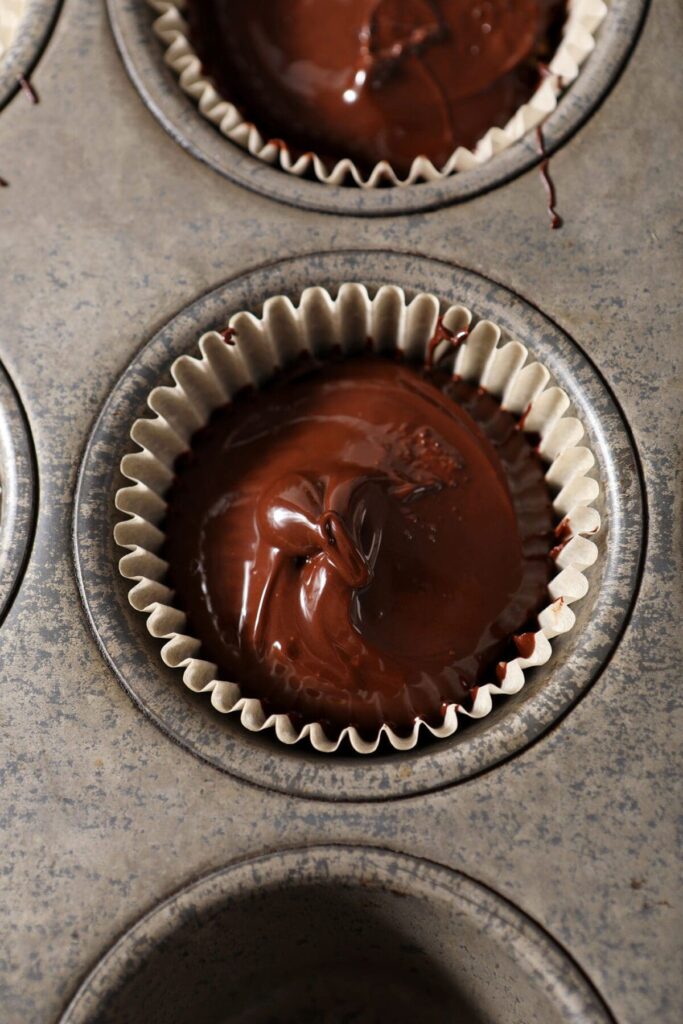
Then top each peanut butter cup with another tablespoon of melted chocolate, until the chocolate completely covers the peanut butter inside. (You may need to melt your chocolate again. Place it back on the double boiler or in 30-second increments at 50% power in the microwave.)
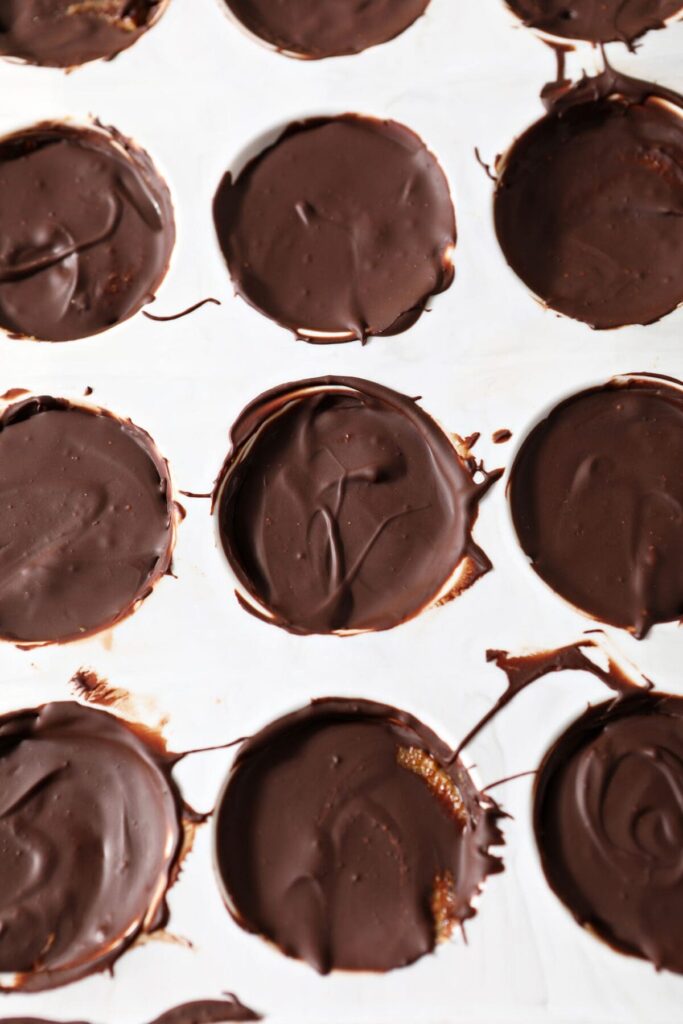
Place the peanut butter cups back in the freezer or fridge for another 15 minutes to set, then they are ready to enjoy!
How to store:
Homemade peanut butter cups melt easily, so they should be stored in the fridge or freezer.
Keep them in a food-safe, airtight container (that’s also freezer-safe if you choose the freezer). I suggest leaving the paper cups on so they don’t melt and stick together.
Occasions for peanut butter cups
This peanut butter cup recipe makes great gifts for peanut butter lovers. While I firmly believe you don’t need a reason to eat a peanut butter cup, here are a few occasions you could make them for:
- Make them in heart-shaped molds and add them to a dessert board to show your love for Valentine’s Day.
- Use egg-shaped molds and then add them to Easter baskets for the ultimate treat.
- Give them to teachers to show your appreciation or bring a batch to a new neighbor.
- Place them in your Christmas cookie boxes as an extra special (but so easy) addition.
You could also make a giant peanut butter cup using a tart pan or large PB cup mold.
Erin’s Easy Entertaining Tips
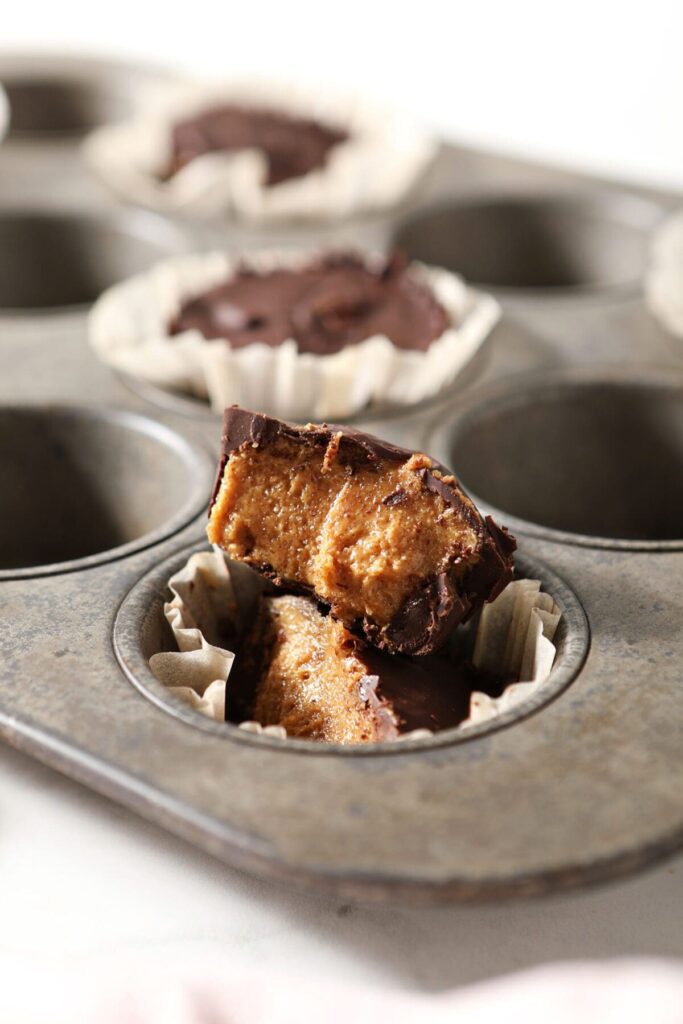
- Place a handful of the cups into cellophane bags or a cookie tin and send them home with friends after a party.
- Keep them in the fridge or freezer and bring them out just before your party begins.
- Don’t serve these at an outdoor event because they melt easily.
Frequently Asked Questions
Peanut butter and chocolate are the perfect combination. The peanut butter inside has been sweetened with extra sugar and flavored with vanilla extract, which also helps to make the peanut butter less creamy.
Chocolate peanut butter cups contain a gooey filling made with peanut butter and vanilla extract.
Yes. Store peanut butter cups in the fridge or freezer because they can melt easily.
Quick tips and tricks to making the best homemade peanut butter cups
- Use the double boiler to melt your chocolate. This is a better way to melt chocolate than in the microwave because it’s less likely to burn.
- Use a cookie scoop to make sure the ingredients are evenly distributed.
- Keep them in the fridge or freezer, and don’t serve them in the heat. They’ll melt!
Uses for peanut butter cups:
If not eating all the peanut butter cups is something you can do (more power to ya!), you can add these cups to so many other recipes.
- Cut them up and sprinkle them over ice cream. Don’t forget the chocolate sauce!
- Add them to treats like peanut butter bars or peanut blossom cookies.
- Use them to decorate a cake like this peanut butter overload cake!
- Serve them on a board for a party, such as this hot chocolate board or even a charcuterie board for a sweet and salty pairing.
- Top some dessert nachos with these PB cups!
More candy dessert recipes:
Dark Chocolate Peanut Butter Cups
Ingredients
Chocolate Shell
- 6 oz. dark chocolate chips 63% cocoa
- 1 ½ tablespoons unsalted butter
Peanut Butter Filling
- ½ cup creamy peanut butter
- ¼ cup light brown sugar packed (60g)
- ½ teaspoon pure vanilla extract
As an Amazon Associate and member of other affiliate programs, I earn from qualifying purchases.
Instructions
- In a double boiler, combine the chocolate and the unsalted butter, heating until the chocolate is melted and smooth. Stir constantly so that the chocolate does not burn. (Alternately, you can melt the chocolate and unsalted butter in a microwave-safe bowl in the microwave at 50% power in 30-second bursts. Keep an eye on it since chocolate burns very easily in the microwave.)
- As the chocolate melts, place parchment paper liners into a regular-sized muffin tin.
- Pour about 1 tablespoon of melted chocolate into the bottom of each liner. Use a spoon or small rubber spatula to spread the chocolate around the base, as well as the sides, of the paper cup. (Note: At this point, you should only have used about half of the chocolate. This will go on the top of your peanut butter cups!)
- Place the muffin tin into the fridge or freezer, and let chill for 30 minutes, or until the chocolate has set.
- While the chocolate sets, whip the peanut butter, brown sugar and vanilla extract together using the hand mixer in a large bowl. Set aside for later.
- Remove the chocolate cups from the refrigerator or freezer.
- Dollop about 1 ½ tablespoons of the peanut butter mixture into the center of each. Spread to even it out with a butter knife or offset spatula to make it an even layer.
- Top each peanut butter cup with another tablespoon of melted chocolate until the chocolate covers the peanut butter completely and has a smooth layer of chocolate on top. If the chocolate has hardened, reheat over the double boiler or in the microwave in 15-second bursts at 50% power, stirring occasionally until melty.
- Let set in the refrigerator or freezer for another 15-30 minutes.
- Remove from the liners and enjoy!
Notes
Nutrition

About the Author:
Erin Parker is a Southern gal living in Texas with her husband and two daughters. She started The Speckled Palate to share what she was cooking as a newlywed… and over the years, it’s evolved to capture her love for hosting. Specifically, the EASIEST, lowest key entertaining because everyone deserves to see their people and connect over good food. Learn more about her…

That looks like a pretty easy recipe! If you don’t like dark chocolate can you just substitute milk chocolate for the dark?
Thanks, KT! And I think you could pretty easily substitute milk chocolate for the dark if you’d rather that. I haven’t tried that, but I’ll be interested to hear what you think if you make them!
OMG these look so good!!
Thanks so much, Kristi! I appreciate it… and they definitely are delicious!
These look awesome! Great idea.
Thanks, Katrina! I appreciate it! They are pretty tasty… and I’ve put the rest of them in the freezer and pop them out for a quick afternoon snack.
And sorry it’s taken me so long to respond – your comment got kicked to my spam filter, for some reason.
Sweet mother of god these look amazing. Reese PB cups are a weakness of mine and i love the idea of being able to make them at home. So creative!
Thanks so much, Jess! These are one of my weaknesses, too, and they taste so DARN good! Another positive? They’re a little larger and richer, so you won’t be compelled to eat half a bag from the store.
Yum! I love peanut butter cups – dark chocolate makes them SO much better!
I love that these are healthier, with only a little sugar. Made a couple of batches and shipped to my college boys! They loved them!
Thanks so much, Kathi! I love that you made some batches of these and shipped them to your kids. It makes me so happy to hear when others are enjoying my recipes. 🙂 And what a fabulous idea to surprise your kids with this in a care package… that’s so thoughtful of you!
These were easy to make and fun to eat! How can you do wrong with peanut butter and chocolate??!?
Love peanut butter cups, but not a fan of milk chocolate. Having both peanut butter and dark chocolate together…pure bliss. And easier to make than you think. Thanks!
These are like reese’s but better! Use good quality chocolate though, it makes a big difference!