
Oven Roasted Okra
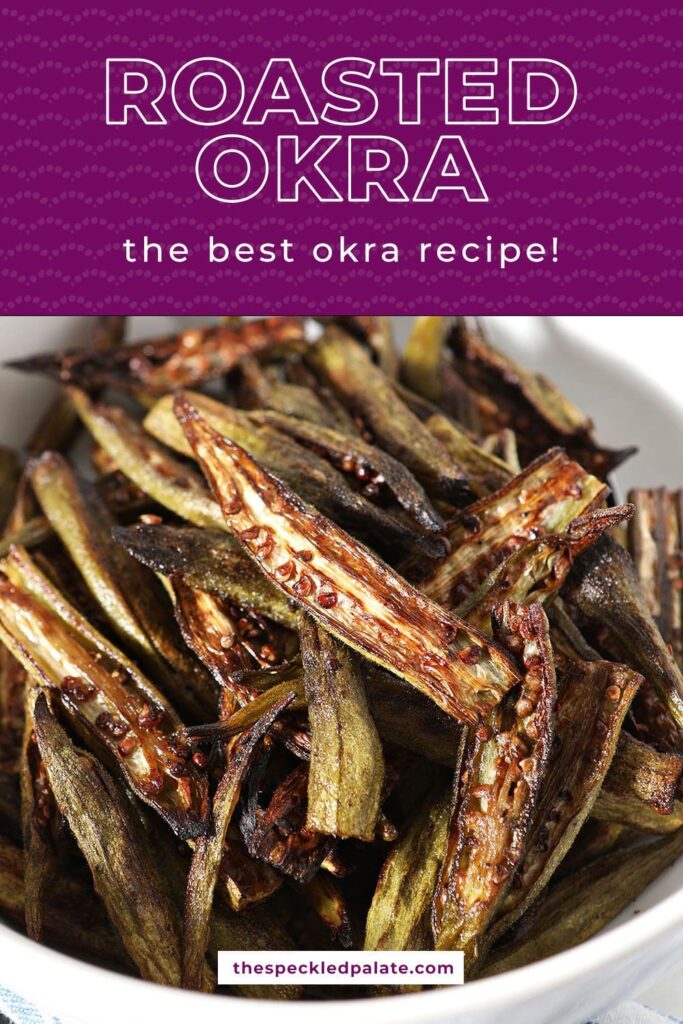

Oven Roasted Okra is an easy, 5-ingredient okra recipe that’s great to enjoy during the summer months. Sometimes referred to as baked okra or okra fries, this dish has beautiful crunch and excellent flavor. It’s ready 45 minutes, too! Makes 4 servings.
Want to save this?
This post contains affiliate links.
Okra is one of those ingredients where there’s not much middle ground — you love it or you hate it. And if you hate it, you like to complain loudly about the slimy texture.
As someone who was raised in the South and spent a lot of time frequenting Mississippi catfish houses, I can say I’m a huge fan of okra, no matter how you serve it.
(Ahem. I did at one point develop Oven Fried Okra to enjoy it at home without needing a fryer.)
And I’m so excited to be sharing this Baked Okra recipe with y’all today!
Why I love this recipe:
If you’re an okra fan, this recipe is for you.
If you’re skeptical about okra, this might be a good recipe to try.
One of the biggest complaints I hear about okra is that it’s slimy. And I get that — the interior can be, and it’s certainly an acquired texture.
But! This recipe takes away the slime and replaces it with wonderful crunch and some umami flavors.
All you need are a handful of ingredients — most of which you probably already have in your pantry — and a little time.
This crispy okra recipe—sometimes called okra fries — is done in about 45 minutes and pairs beautifully with your favorite seasonal offerings.
Other summer recipes and side dishes to try: Charred Corn Salsa | Summer Fruit Salad | Ricotta Crostini with Grilled Peaches | Cucumber and Feta Salad | Strawberry Melon Salad
What you’ll need to make this recipe:
The Speckled Palate participates in affiliate programs. As an Amazon Associate, I earn a commission from qualifying purchases. Please refer to my disclosure page for more information about these affiliate programs.
- Cutting board and sharp knife
- A large mixing bowl
- 1-2 baking sheets
- Tongs
Let’s talk ingredients!
In addition to the tools above, you’re going to need some ingredients to make this recipe, too! Chances are, you might already have some of them in your fridge or pantry. Scroll down to the recipe card for the full measurements and instructions.
This is what you’ll need to get from the grocery store:
- Fresh okra — get your hands on the freshest stuff you can find. This recipe does not work with frozen okra. Large okra can sometimes become woody, so I like to purchase ones that are medium sized and no longer than my ring finger.
- Olive oil — or another neutral oil if you don’t have EVOO. Avocado oil works really well, too. You use just enough to where the okra shouldn’t stick to the pan.
- Soy sauce — or tamari if you want to make gluten free roasted okra. This adds a pop of saltiness and umami.
- Kosher salt and black pepper — we’ll just need a little of each to season the vegetables.
Please note that you can use other herbs and spices, like fresh thyme, oregano, garlic powder, onion powder, paprika or even a sprinkling of cayenne pepper for some kick. Sprinkle these onto the okra before baking. You could also add a squeeze of lemon juice, if desired.
This will give it a different taste than the original, but it will be equally delicious for a side or an okra snack!

How to roast okra
Preheat the oven. The oven needs to be very very hot (specifically, 425°F) to get the right texture. Make sure the rack is in the middle of the oven. Turn it on 20-30 minutes before you plan to roast the okra.
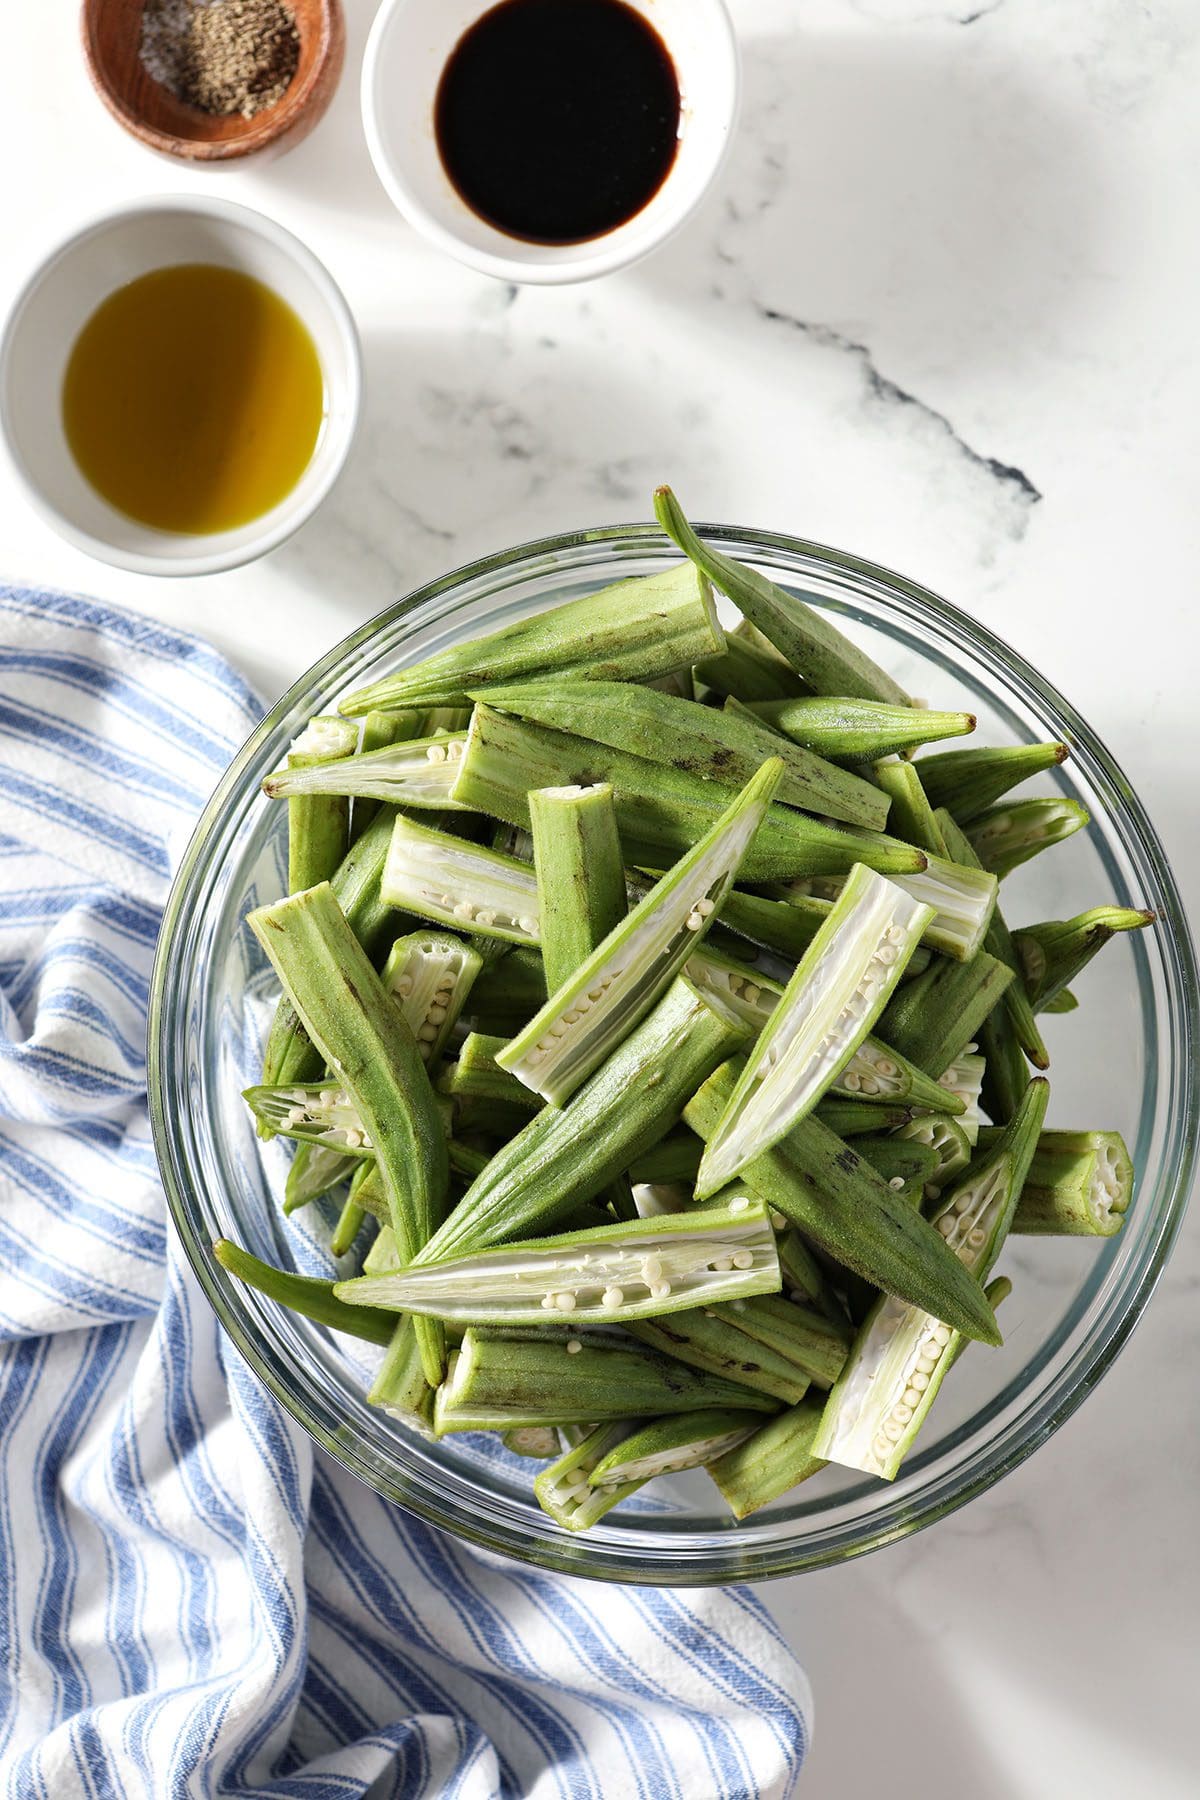
Prepare the okra. Wash and dry the okra pods. Use a sharp knife to slice off the caps/stems. Cut the okra down the middle, length-wise, to reveal the seeds.
Season. Place the split okra in a large bowl. Drizzle in the extra virgin olive oil and the soy sauce. Season with salt and pepper. Toss to coat.
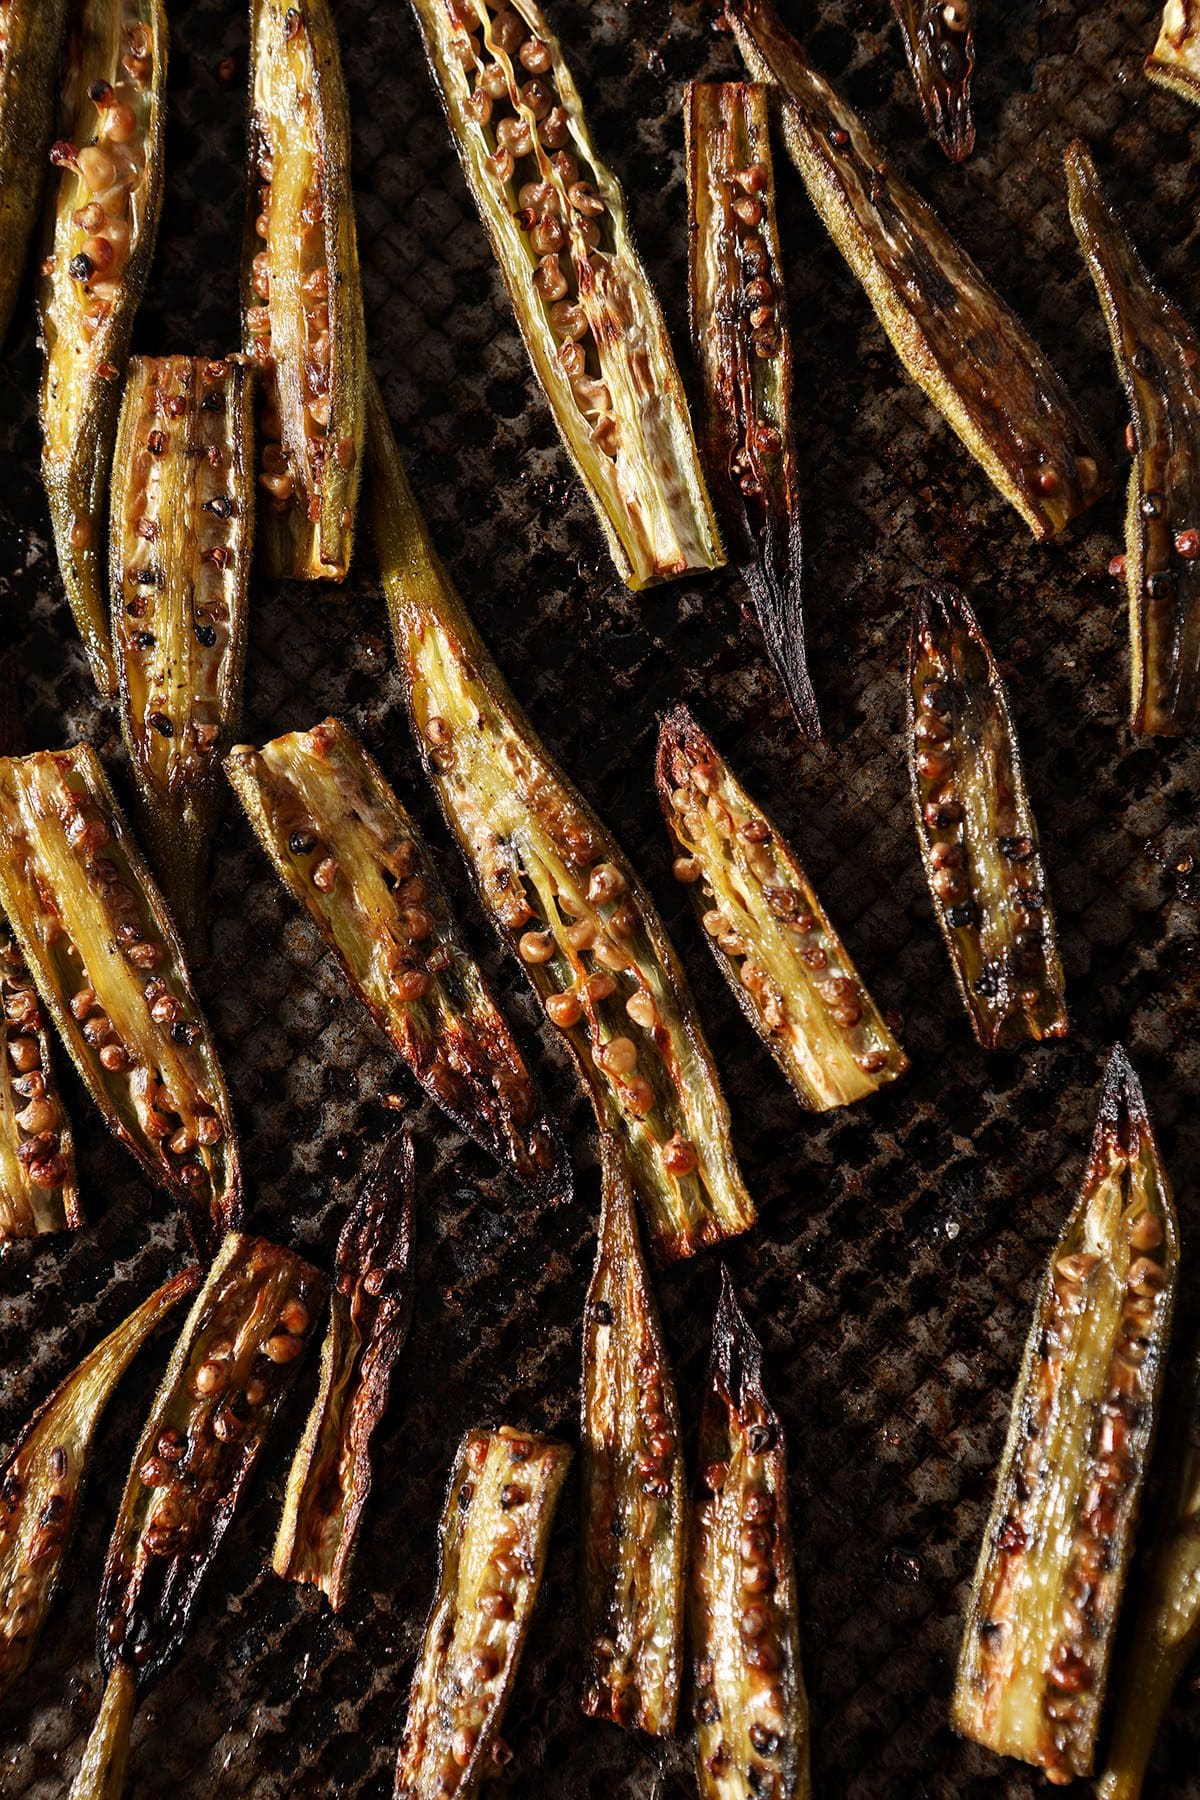
Arrange on a rimmed baking sheet in a single layer. In order for us to get good color on the okra, I like to start with the seed-sides facing the pan and do not like to line the pan with parchment paper.
Yes, I realize this is a hassle to place all the okra facing down, but please trust me when I say this makes a difference in crisping up the okra.
Pro tip!
Do not overcrowd the sheet pan! While the okra can be close together, you want there to be enough space to where they all can touch the surface of the pan. Otherwise, they will not crisp properly.
I divide this recipe between two baking sheets (depending on their size) to ensure that everything cooks as it should.
Bake the okra in the preheated oven for 20 minutes before removing it from the oven.
Flip. Use tongs to flip each piece of okra to where the seed-side is now facing up. (This side should have a lightly brown and tender — if it’s not the right color, you need to pop it back in and roast it for a little longer.)
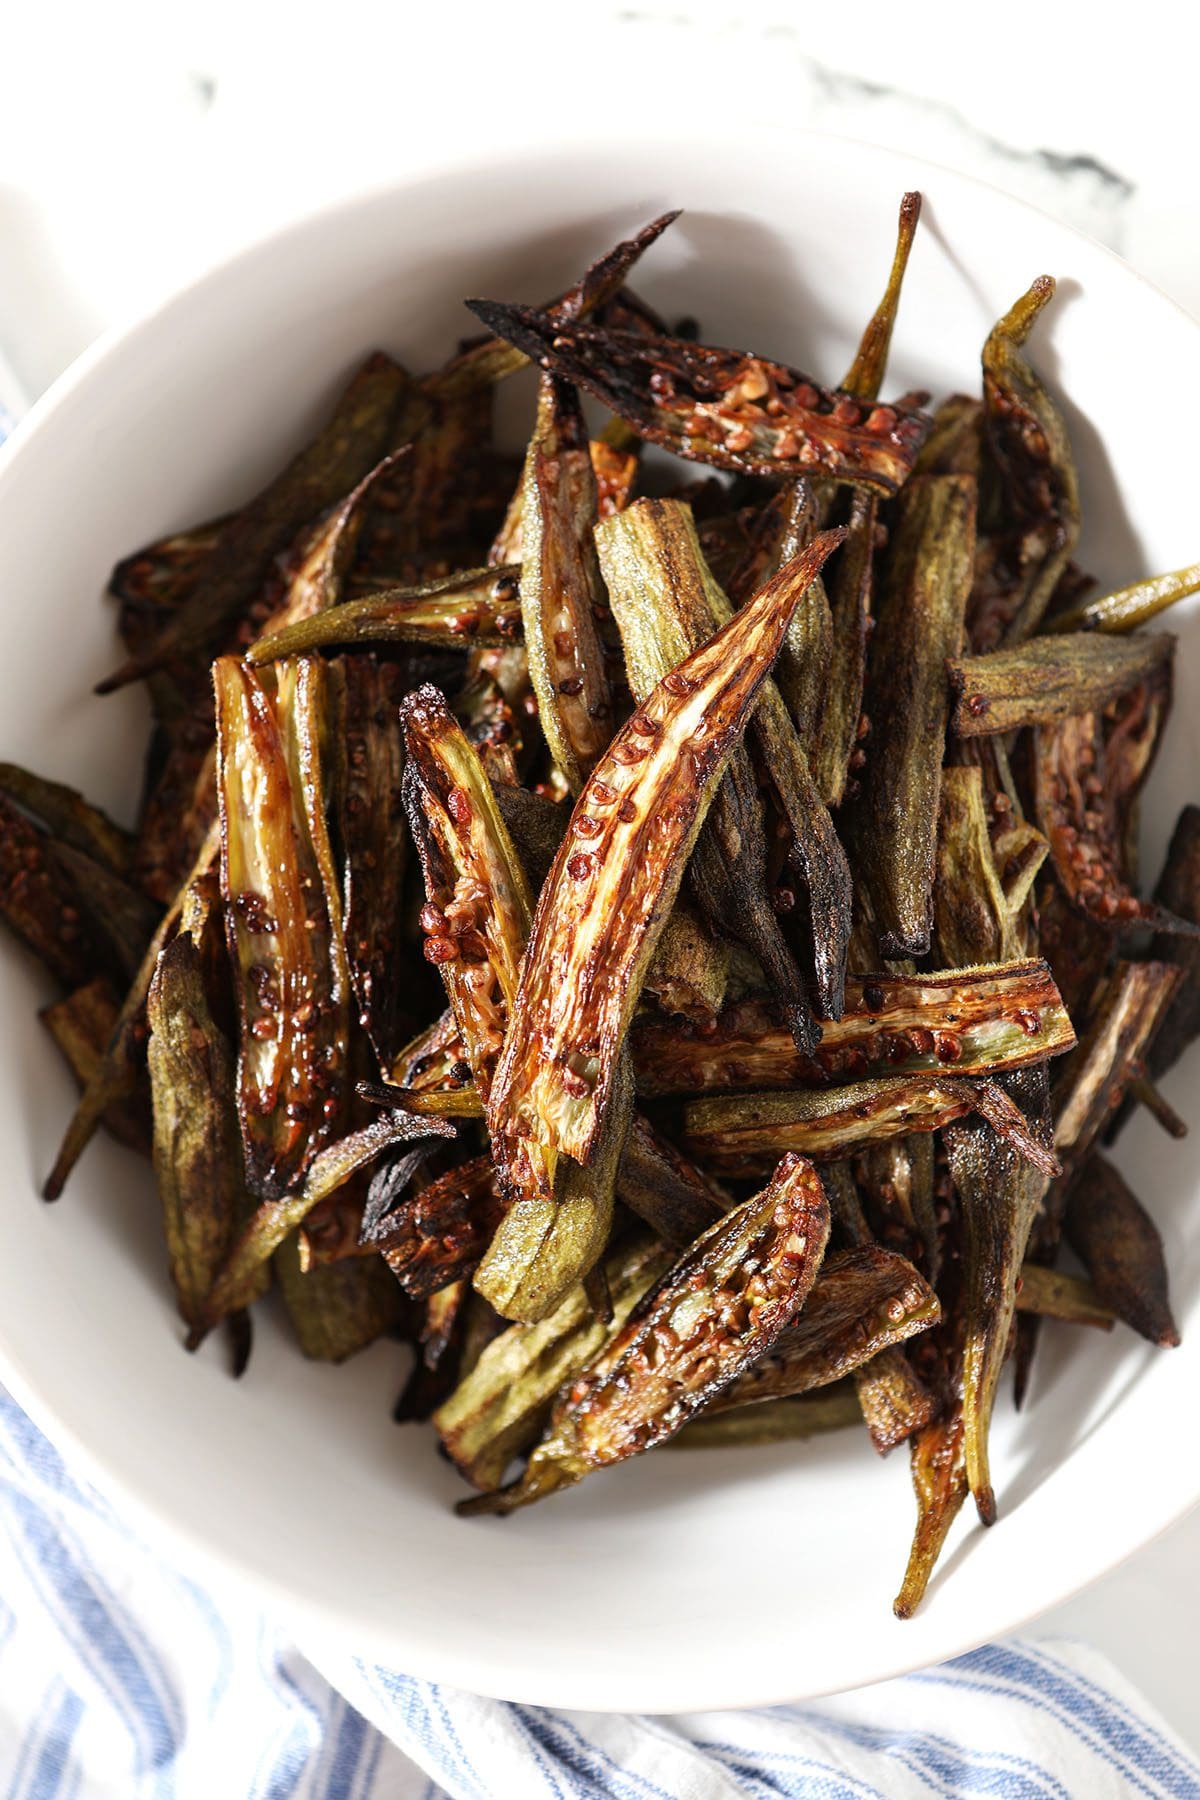
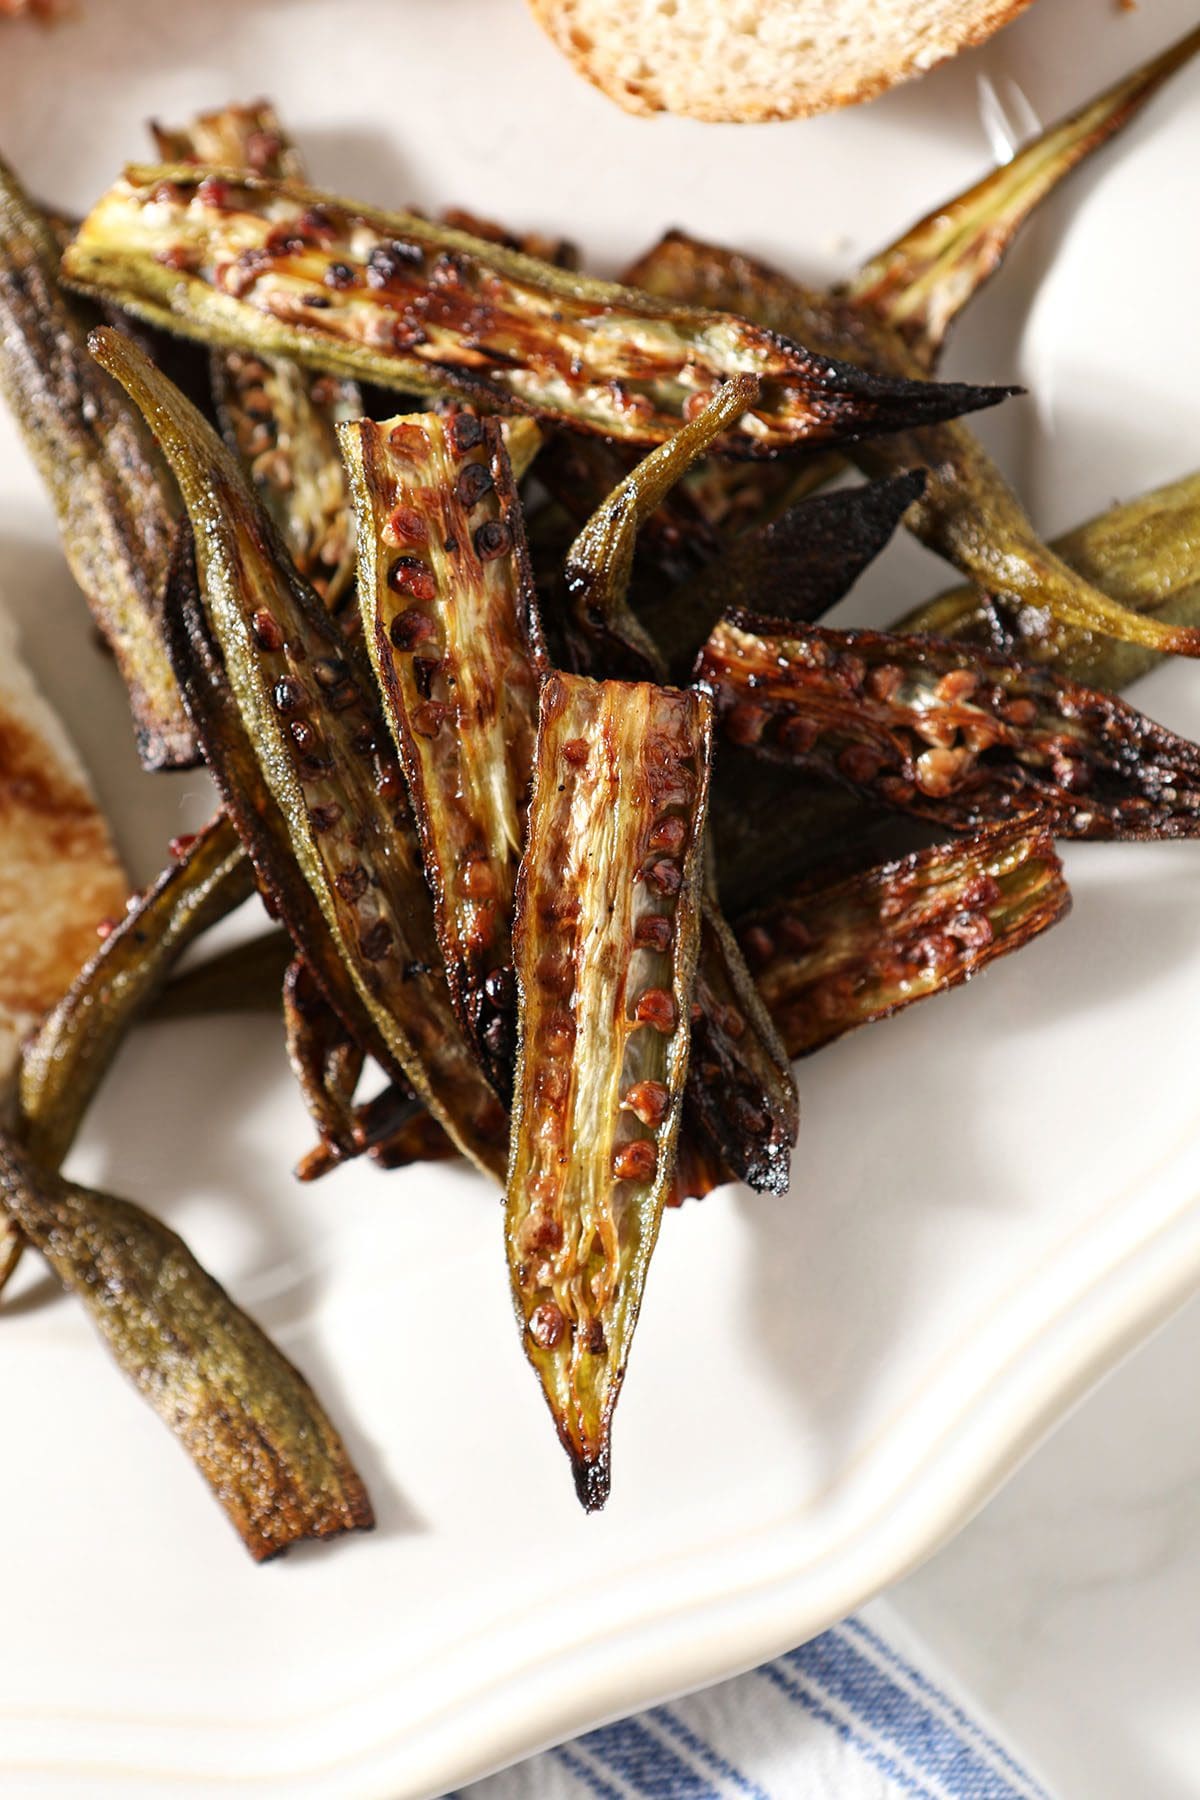
Roast again for 15 minutes, then broil for 3-5 minutes or until the tops of the okra are totally crispy.
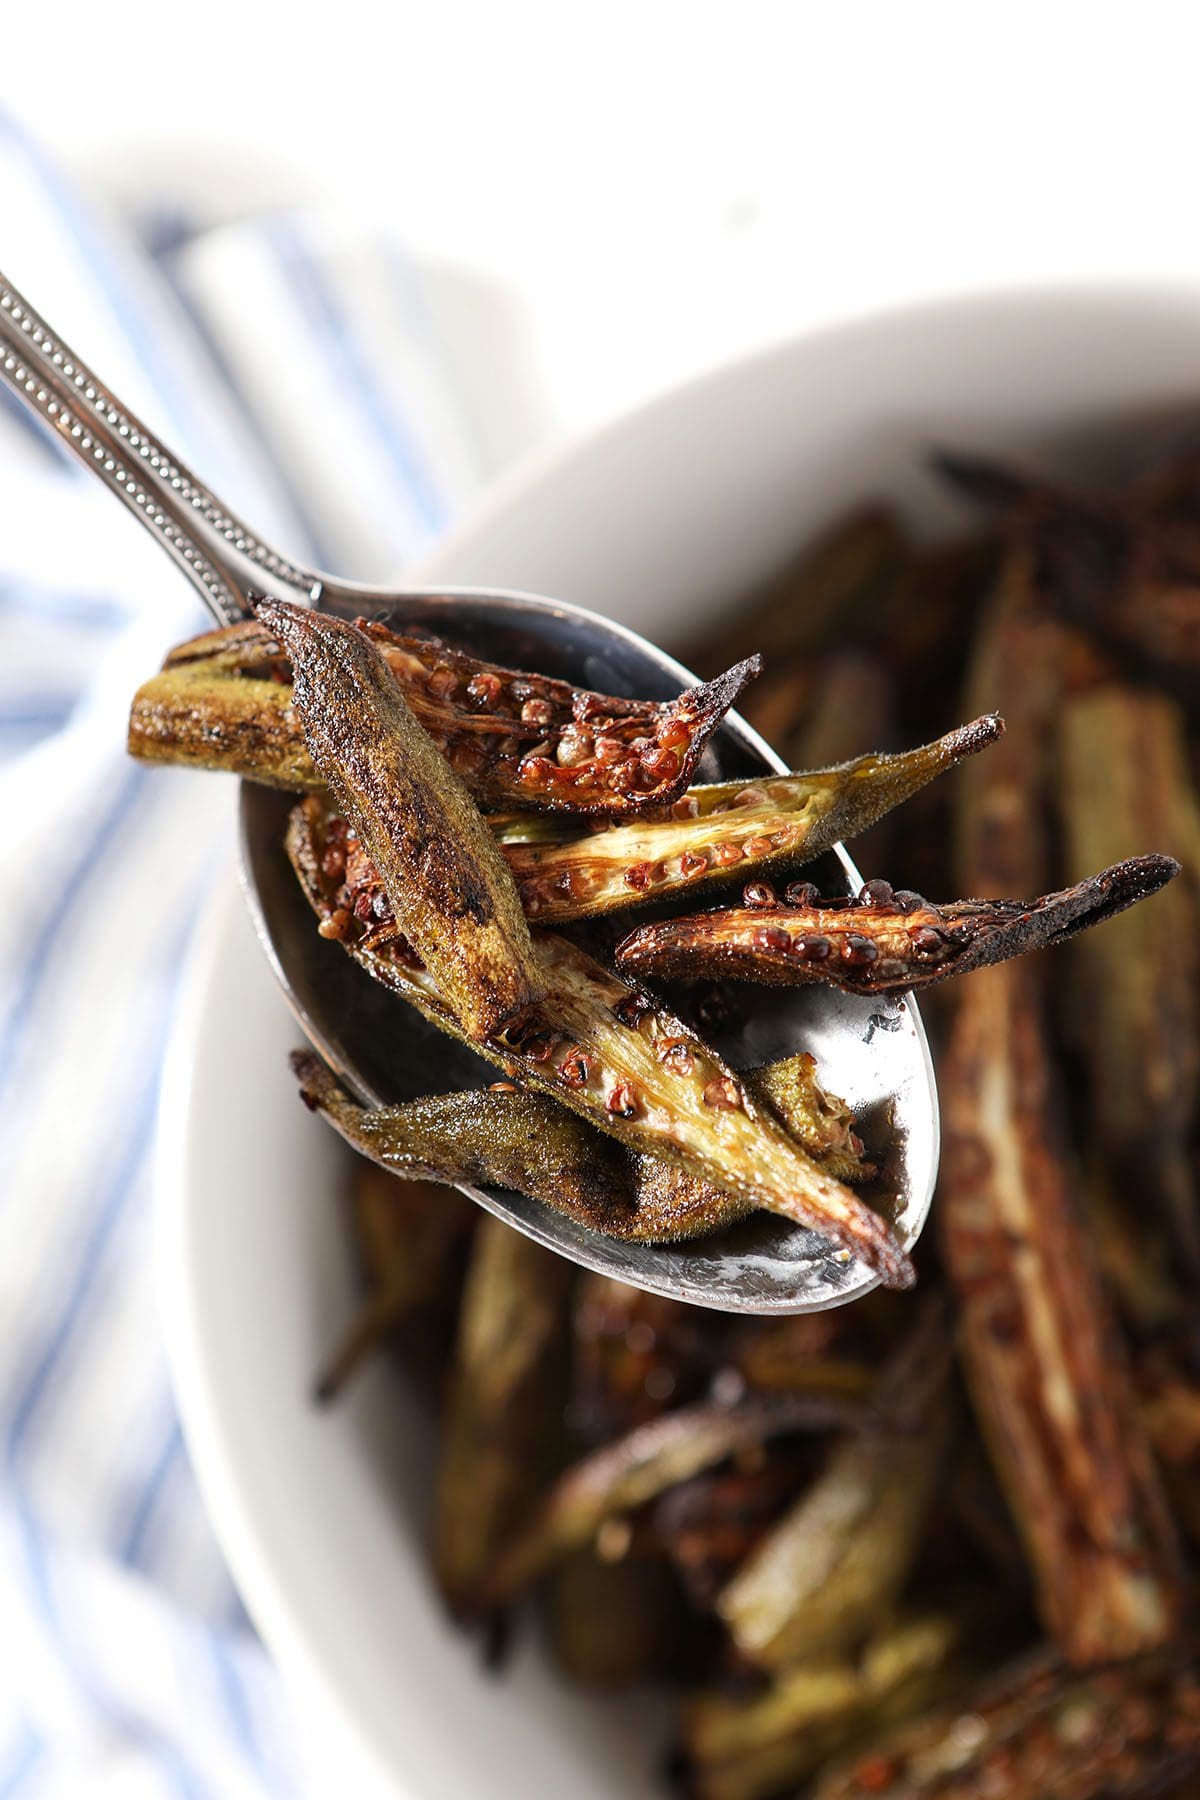
Serve the crispy roasted okra warm as a side dish alongside your favorite dinner, and enjoy!
DID YOU KNOW?
The color of your baking sheet will affect the cooking process. A darker baking sheet will take less time than a silver one. Keep an eye on your okra as it roasts because nobody likes burned okra.
Erin’s Easy Entertaining Tips
I know that turning on the oven in the summertime is sometimes a hassle, but this Oven Roasted Okra is really something special to make and share.
Here’s how you can share it more easily:
- Double the recipe… or make batches! Yes, you will need more sheet pans to make this happen, but these roasted okra fries are GOOD. If you batch cook it, keep the roasted okra warm by wrapping it in foil or pop it in a 200°F oven to keep warm.
- Pair it with other seasonal dishes, like Grilled Skirt Steak, Citrus Marinated Chicken and more.
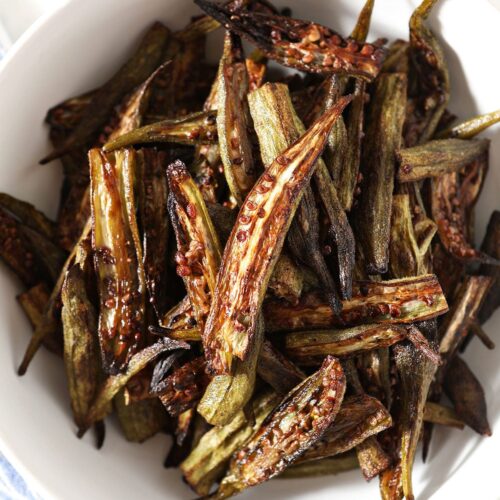
- How to serve: Serve the warm okra in a bowl or platter. Use tongs or a big serving spoon to scoop it.
Frequently Asked Questions
Roasting okra at a high temperature helps remove some of the sliminess that some people dislike about okra.
I don’t know if I would consider baked okra a u0022health foodu0022, but this recipe is significantly more health-conscious than fried okra.
This okra will take anywhere from 35-40 minutes to be fully cooked.
For this okra recipe, we will remove the stem/cap. We will also slice the okra down the middle to reveal the interior.
You cannot easily prepare any part of this recipe early, unless you roast the okra in advance and keep it warm by wrapping it in foil or in your oven after the roasting has occurred.
Quick tips for roasting okra
- Double or triple the recipe for a party! You might need to cook in batches, but you can keep the other okra warm by wrapping it in foil.
- Do not prep it ahead of time. The okra will lose its shape if you wash and cut it earlier than before you plan to use it.
- Don’t overcrowd the baking sheet! Depending on the size of your baking sheet, you might need one or two. I tend to divide this recipe between two sheet pans to ensure my okra crisps up.
- Store in an airtight container. Keep in the fridge for 2-3 days. The okra will not be as crispy when reheated, but it will still have great flavor.
- Ensure your oven is hot enough. The key to removing sliminess from okra is dependent on the oven temperature and the high heat. Also, be sure that you keep an eye on the okra as it roasts because you don’t want it to burn at the end.
More okra recipes to try:
Leave the oven on and make a twist on the classic: Oven Fried Okra. This looks and tastes like the fried rendition without needing you to monitor oil for frying.
Fire up the grill to make this Spicy Grilled Okra.
Looking for more unique okra recipes? Check out this Pickled Okra Relish. (I’d like to serve it on top of everything.) Or make Fried Okra Cakes for another recipe that feels familiar but also unique.
Here’s how you make this one…
Oven Roasted Okra
EQUIPMENT
As an Amazon Associate and member of other affiliate programs, I earn from qualifying purchases.
Ingredients
- 2 lbs. okra
- 3 tablespoons extra virgin olive oil
- 2 tablespoons soy sauce
- ½ teaspoon kosher salt
- ½ teaspoon black pepper
Want to save this?
Instructions
- Preheat the oven to 425°F. If it is not already, place the rack is in the middle of the oven. Turn it on 20-30 minutes before you plan to roast the okra.
- Wash and dry the okra. Use a sharp knife to cut off the stems/caps, then slice them down the middle, length-wise, to reveal the seeds.
- Place the split okra in a bowl. Measure in the extra virgin olive oil and the soy sauce. Season with salt and pepper. Toss to coat. You may do this with tongs or your hands
- Place the okra seed-side facing down on the baking sheet. This helps the okra crisp up.
- Roast for 20 minutes, then remove it from the oven.
- Flip the okra using tongs. The okra should be seed-side facing up. (This side should have a golden brown color—if it does not, you need to pop it back in and roast it for a little longer.)
- Roast for another 15 minutes, then broil for 3-5 minutes or until the tops of the okra are totally crispy. Keep you eyes on the okra, especially while broiling, because you do not want it to burn and every oven is a little different.
- Serve warm with your favorite dinner, and enjoy!
Video
Notes
- Make sure your oven is hot enough. We need the oven to be really hot in order to get the correct texture of this okra. Preheat it well in advance.
- Don’t overcrowd the baking sheet! Depending on the size of your baking sheet, you might need one or two. I tend to divide this recipe between two sheet pans to ensure my okra crisps up.
- Double or triple the recipe for a crowd! You might need to cook it in batches, but you can keep the roasted okra warm by wrapping it in foil.
- Do not prep it ahead of time. The okra will lose its shape if you wash and cut it earlier than before you plan to use it.
- How to store okra fries: Transfer leftovers to an airtight food storage container and keep in the fridge for 2-3 days. The okra will not be as crispy when you reheat it, but it will still have great flavor.
Nutrition

About the Author:
Erin Parker is a Southern gal living in Texas with her husband and two daughters. She started The Speckled Palate to share what she was cooking as a newlywed… and over the years, it’s evolved to capture her love for hosting. Specifically, the EASIEST, lowest key entertaining because everyone deserves to see their people and connect over good food. Learn more about her…

Before leaving a comment or rating, ask yourself: