Chocolate Dipped Pretzels
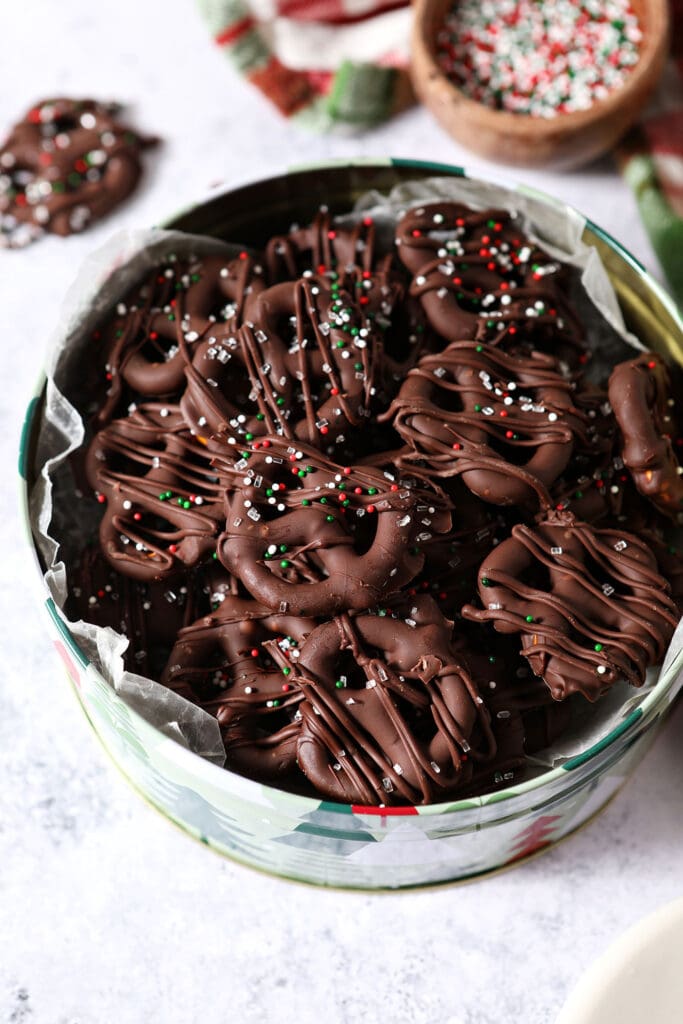
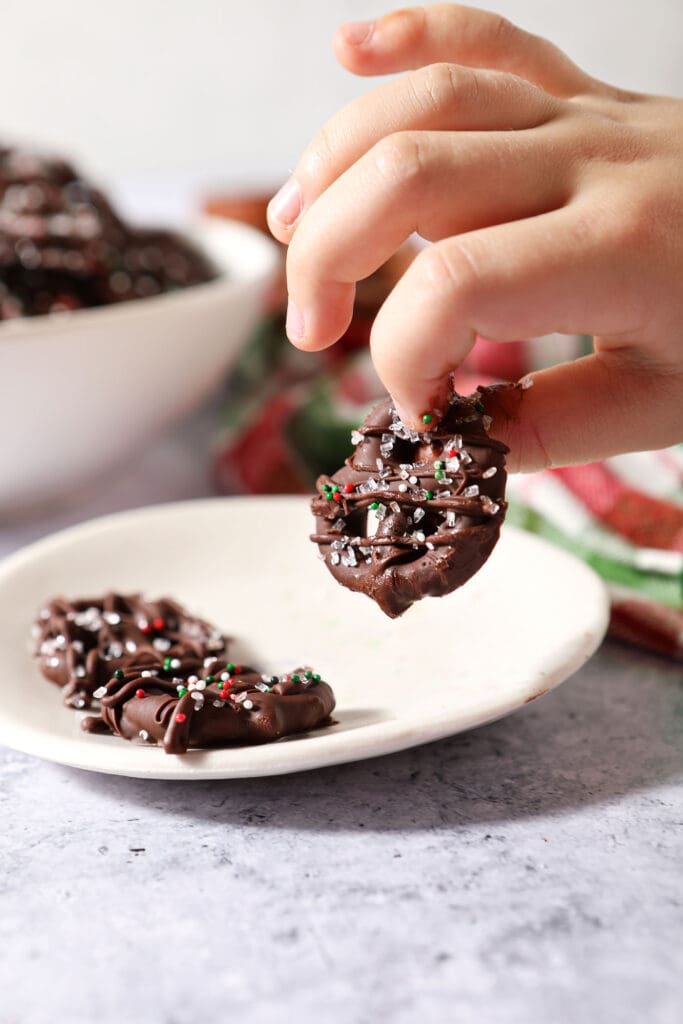
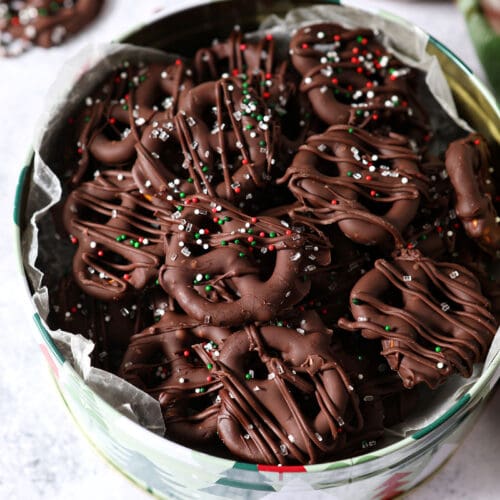
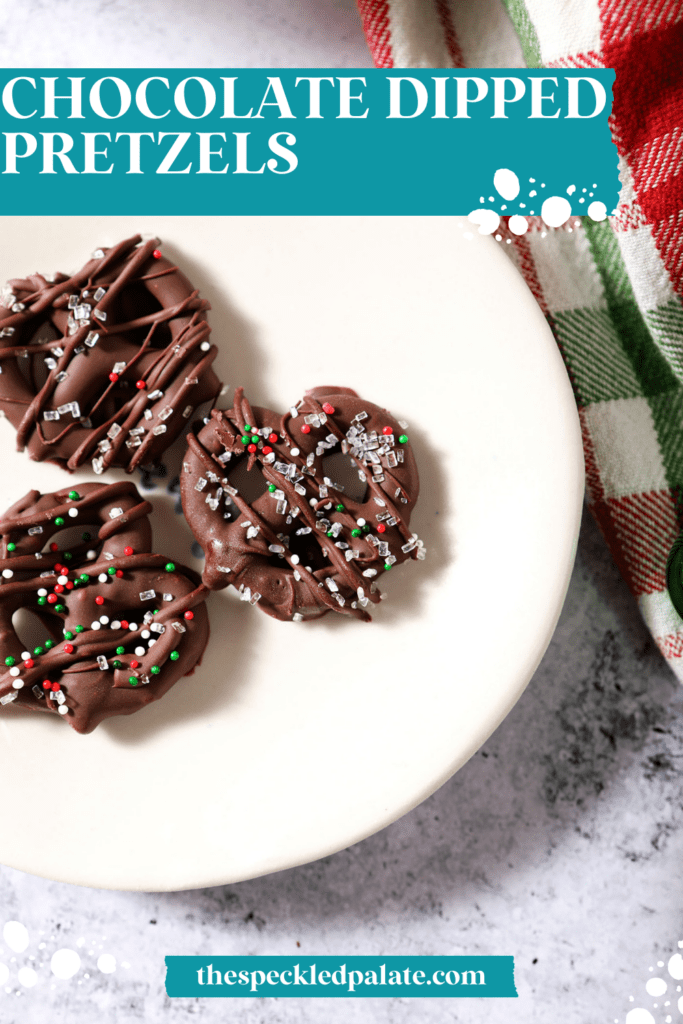
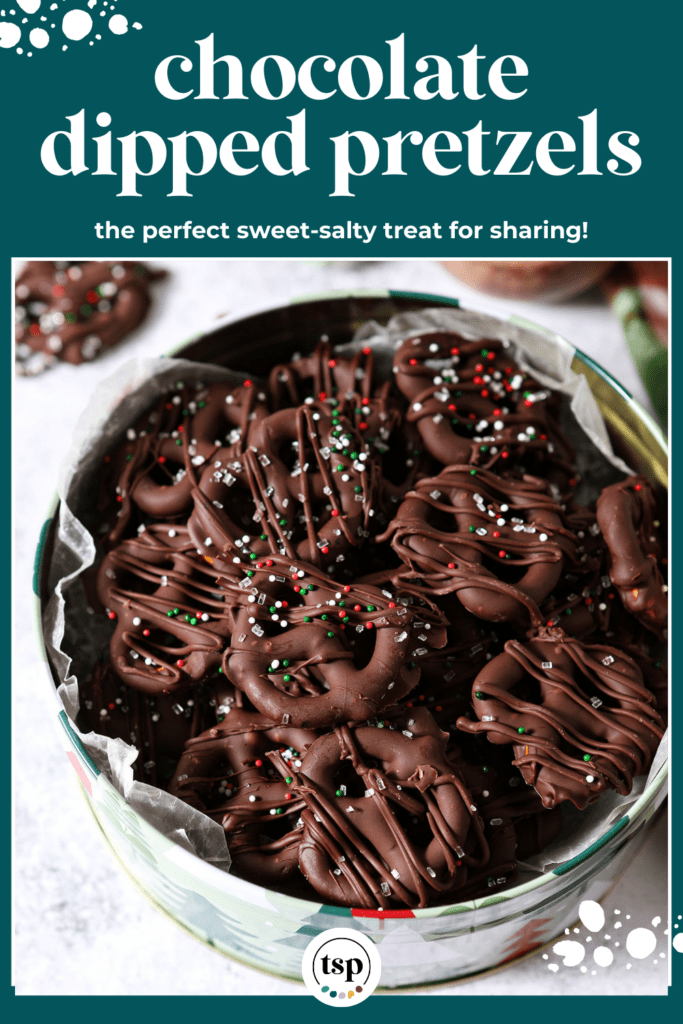
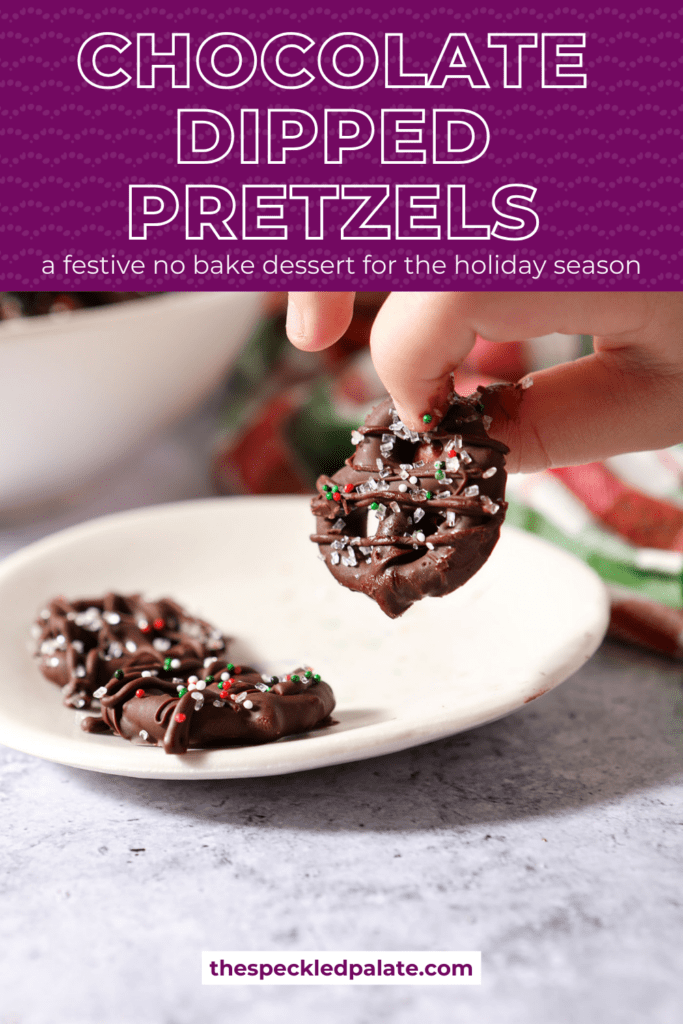
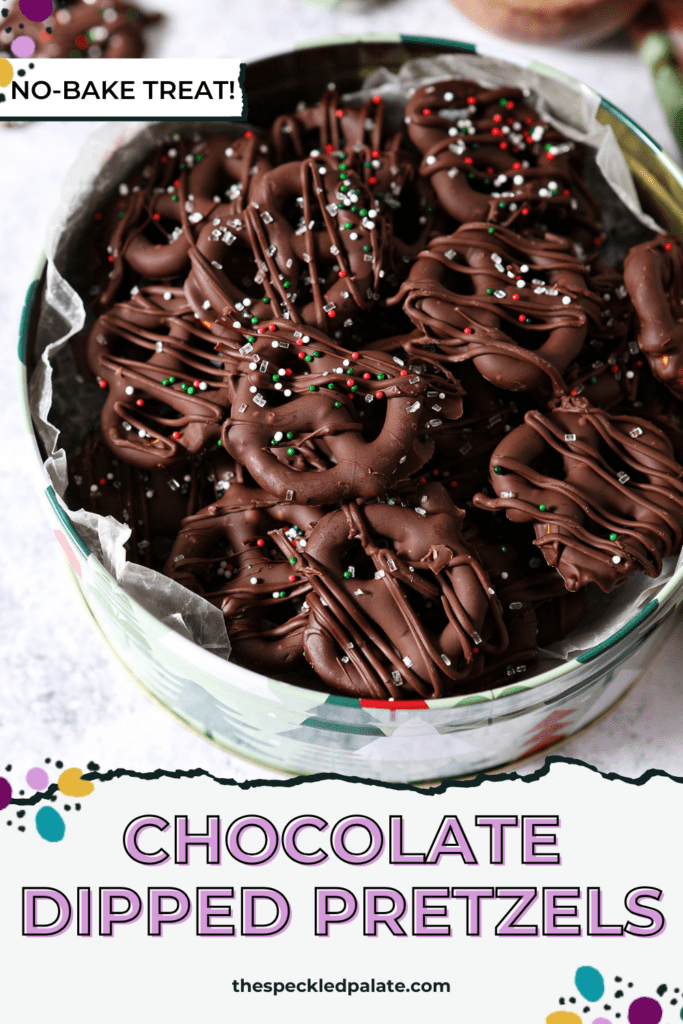
Chocolate Covered Pretzels are the perfect sweet-salty treats for sharing! These chocolate dipped pretzels are decorated for Christmas, but you could dress them up for any occasion. All you need are three ingredients and about 45 minutes to make this festive no bake dessert.
This post contains affiliate links.
Chocolate Dipped Pretzels for Christmas
When I worked a desk job in downtown Nashville, my coworkers and I would visit a little sweet shop for our afternoon break.
My go-to order was chocolate-covered almonds or chocolate covered pretzels.
When I was moving away, the shop’s owners gifted me a t-shirt because I was such a loyal customer of their establishment.
I’ve loved chocolate pretzels for years, but I never considered making them until this year. Now that I know how to do it… watch out world!
Why I love this recipe:
If you’re in the market for an easy treat to make and share the holiday season and beyond, this Chocolate Covered Pretzel recipe is for you.
The combination of a crispy mini pretzel with chocolate and colorful sprinkles is the perfect combination for any occasion. They are one of my favorite EASY holiday treats.
Here are some more things to love about these pretzels:
- You need three ingredients. THREE. And you might have them in your pantry right now.
- These are pretty easy to make with kids, so long as you understand and accept that things might get a little messy. A little melted chocolate never hurt anyone, right?
- You can add your own flair. Decorate with different sprinkles, flaky sea salt or crushed nuts, if desired.
Other easy dessert recipes to make and share this season: Chocolate Dipped Strawberries | Reindeer Chow (White Chocolate Christmas Puppy Chow) | Chocolate Covered Ritz Cracker Cookies | No Bake Avalanche Cookies
Need some sweet inspiration? Head on over to my Dessert Recipe Index for more ideas!

Let’s talk about The Sweetest Season and Cookies for Kids Cancer!
The Sweetest Season is my annual holiday cookie week.
In 2011, I decided to share my favorite Christmas cookies… then invited other bloggers to join me. The celebration grew, we changed the name to make it more inclusive, my friend Susannah stepped up to help and the rest is history.
And now, every year, food bloggers get together to share new holiday cookie recipes.
This year, we’re raising money in support of Cookies for Kids’ Cancer, a recognized 501(c)3 non-profit organization dedicated to funding research for new, innovative and less-toxic treatments for childhood cancer.
Since 2008, Cookies for Kids’ Cancer has granted nearly $18 million to pediatric cancer research in the form of 100+ research grants to leading pediatric cancer centers. More than 35 treatments available to kids battling cancer today were stemmed from these grants.
We’d love for you to help us raise money for this cause! You can donate through our fundraising page.
Currently, Cookies for Kids’ Cancer is in a matching window with their friends at OXO. This means OXO will match every dollar up to $100,000 raised through the end of 2023. So whatever money we raise will automatically double!
What you need to make this recipe:
The Speckled Palate participates in affiliate programs. As an Amazon Associate, I earn a commission from qualifying purchases. Please refer to my disclosure page for more information about these affiliate programs.
- Sheet pan or cookie sheet
- Parchment paper or wax paper
- A microwave-safe bowl or a liquid measuring cup
- Tipless piping bag
Let’s talk ingredients!
In addition to the tools above, you’re going to need some ingredients to make this recipe, too! Chances are, you might already have some of them in your fridge or pantry. Scroll down to the recipe card for the full measurements and instructions.
Here’s what you’ll need:
- Mini pretzel twists — crispy pretzels are the way to go here. Grab a small bag from the store if you’re making a single batch of these.
- Chocolate chips — I used semisweet for this recipe, but please use your favorite chocolate. I like chocolate chips, but you could also chop up chocolate bars.
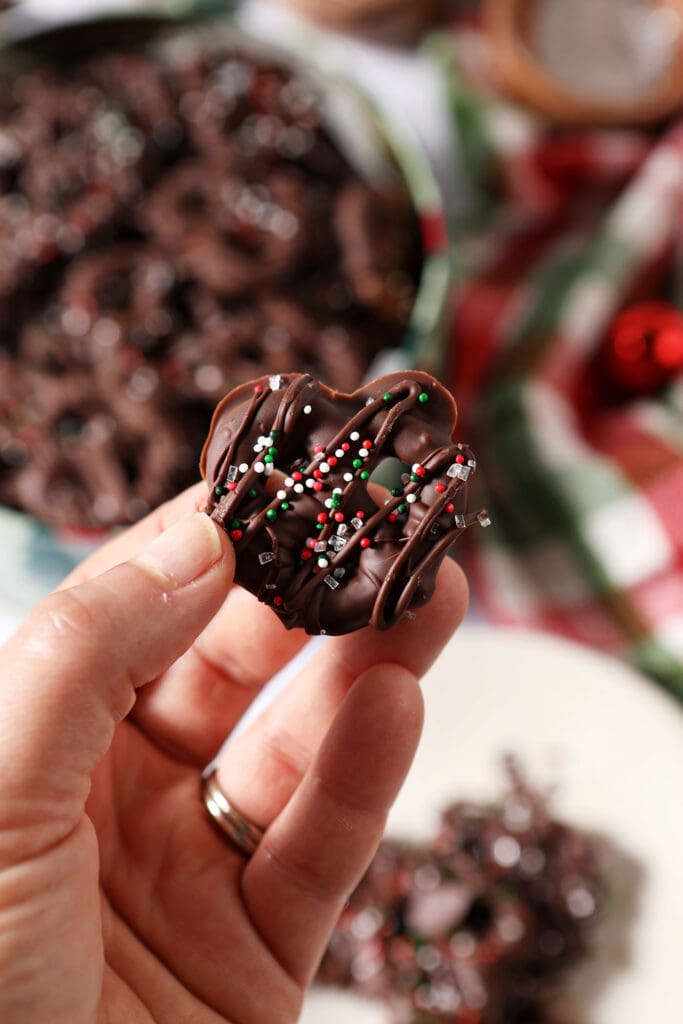
- Christmas sprinkles — we used a combination of nonpareils and sparkling sugar, but you can use any sprinkles. Just make sure they are small enough to stick to the pretzels.
Variations to try:
- Make chocolate pretzel rods or use pretzel crisps for a different shape.
- Try a different chocolate. I used semi-sweet chocolate. This recipe would be wonderful with milk chocolate, bittersweet chocolate or dark chocolate. You could also use chocolate almond bark, dark chocolate melts or even white chocolate melts.
- Add different toppings. While I love the Christmas sprinkles, I know they do not work year-round. Use your favorite sprinkles. You can crush almonds or peanuts to go on top or use flaky sea salt to add some saltiness. Crushed candy canes would be a colorful decoration, too!
- Make them gluten free by using gluten free pretzels and sprinkles.
- Make them dairy free by using dairy free chocolate chips.
How to make Chocolate Covered Pretzels
Line two large sheet pans with parchment paper or waxed paper. Set aside.
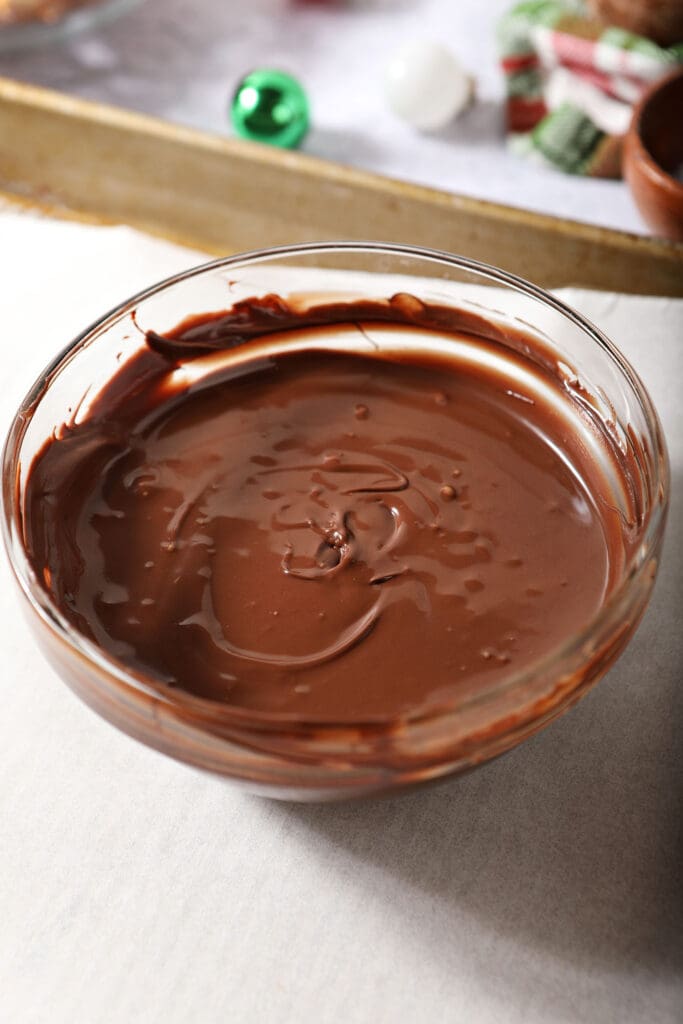
Melt chocolate chips. Do this in the microwave in a heat-safe bowl in 30-second increments until the chocolate is completely melted.
Pro tip!
I heat the chocolate in 30-second intervals until melted. Stir after each round so that the chocolate does not burn. If the chocolate is still a little thick after melted, add a tablespoon of vegetable shortening or oil to thin it out. This will make it easier for dipping.
You can also use the double boiler method to melt the chocolate on the stovetop, if you would prefer.
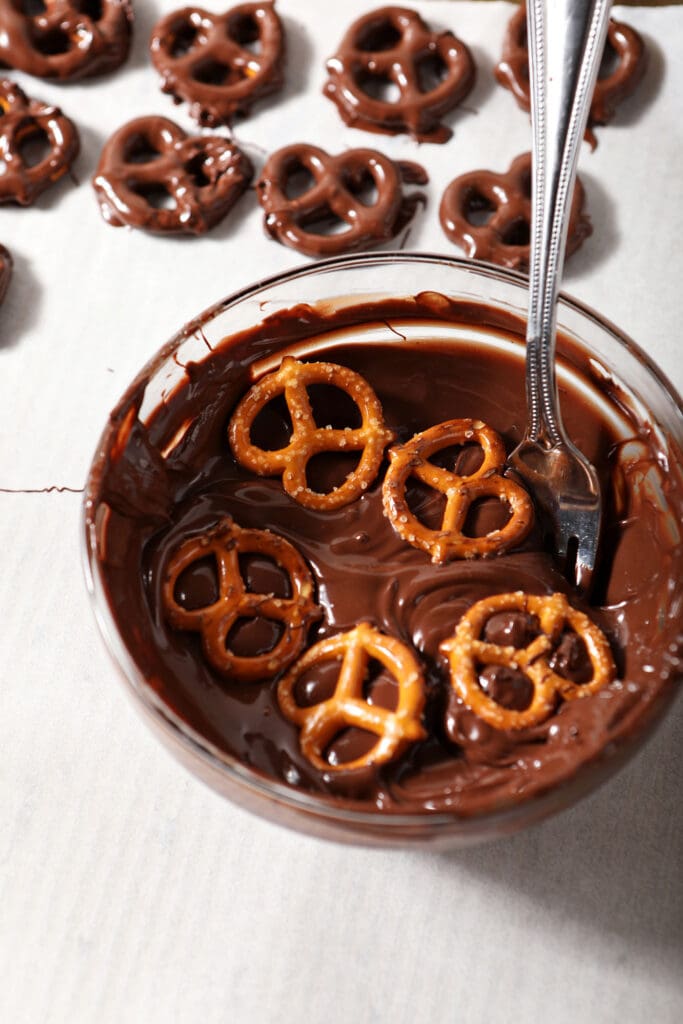
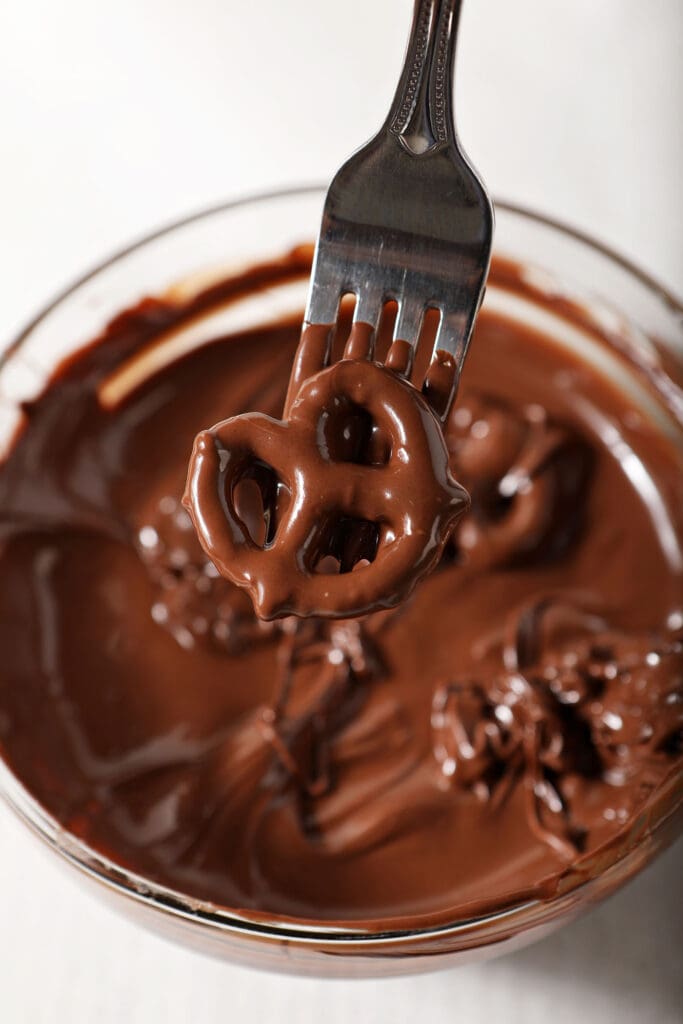
Dip the pretzels into the melted chocolate. Use forks to dunk and flip the pretzels until coated.
Tap the fork on the sides of the bowl to remove excess chocolate. I do this a few times. They’ll set faster if they just have a thin layer of melted chocolate.
Transfer the pretzels to the prepared sheet pan. Let them set for 10 minutes.
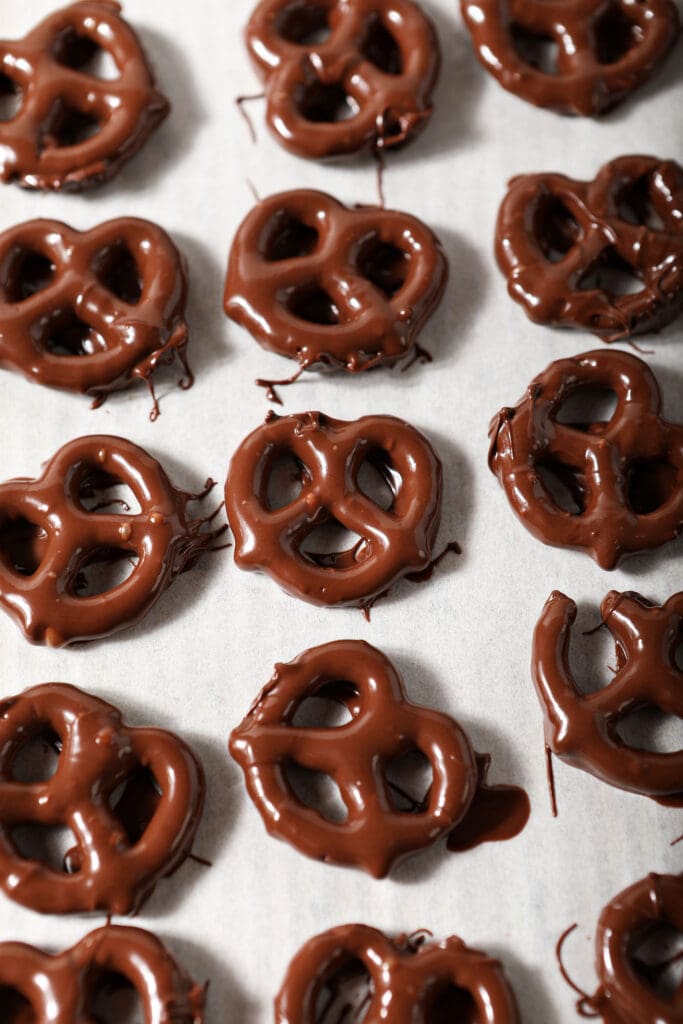
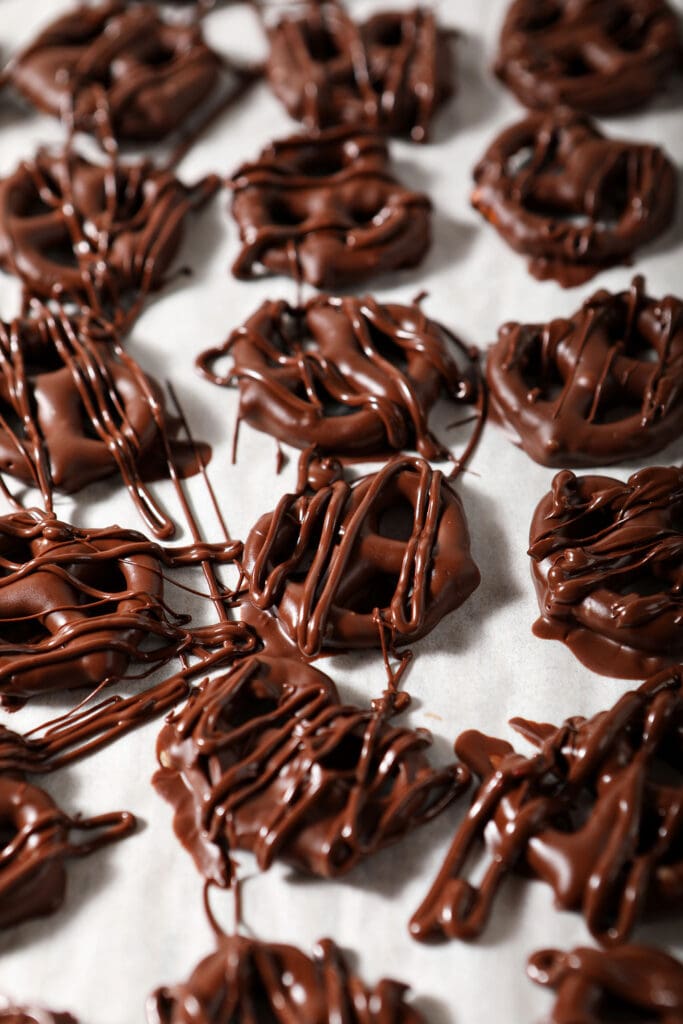
Transfer the leftover chocolate into a piping bag. You can also do this in a plastic bag if you don’t have a piping bag.
Snip the bag’s tip.
Drizzle the remaining chocolate over the pretzels to create a fun pattern on them.
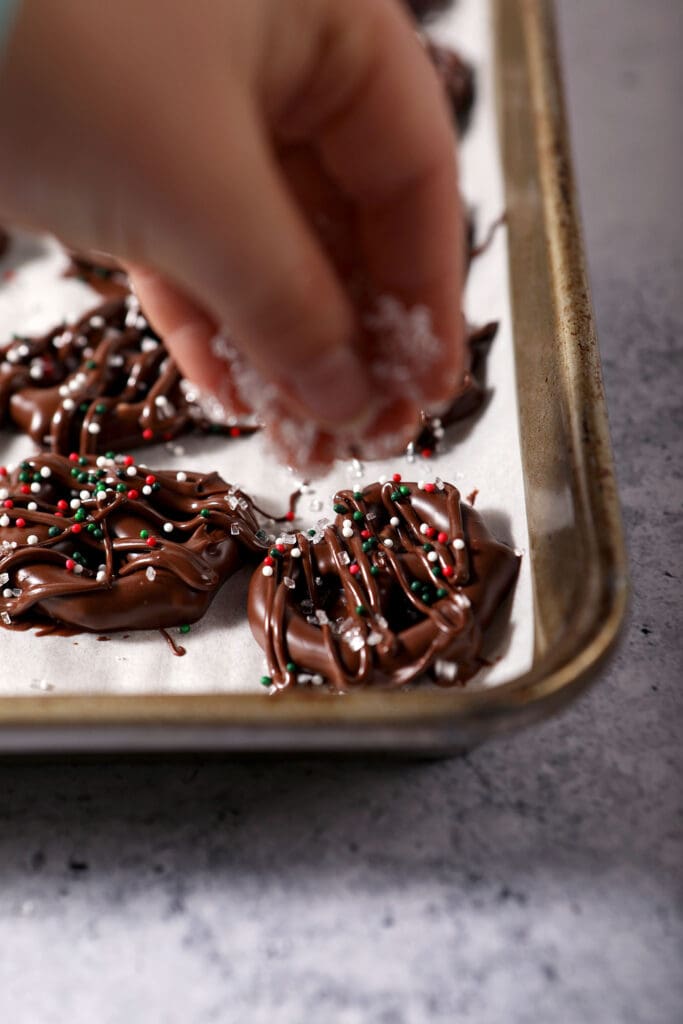
Sprinkle on the sprinkles.
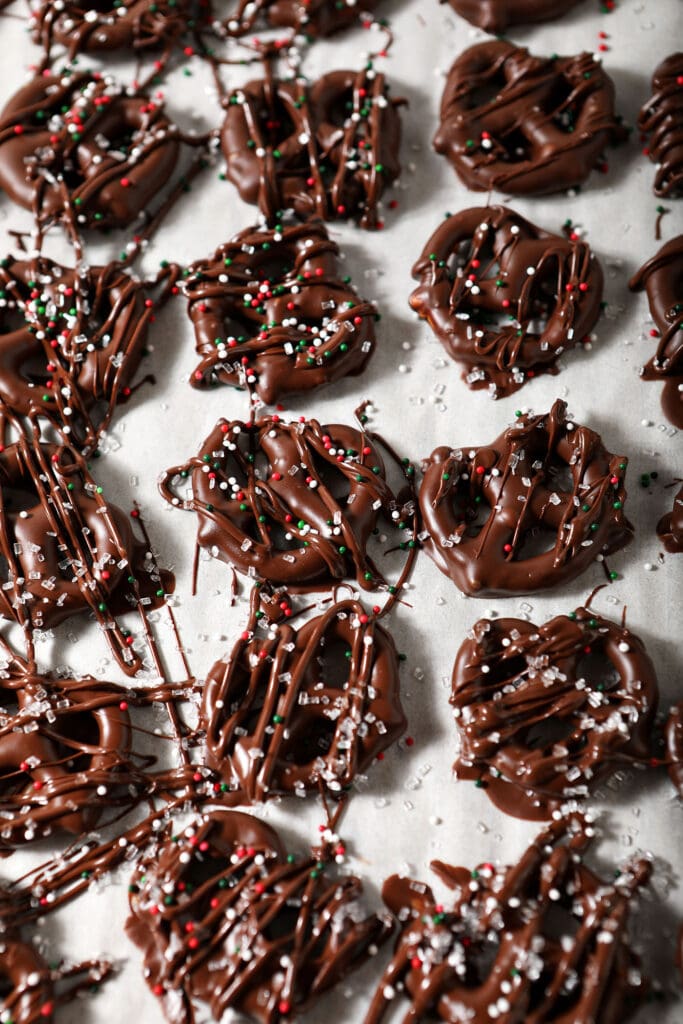
Let the chocolate set for 30-45 minutes before transferring to an airtight container!
How to store
Once the chocolate is set, transfer to an airtight food storage container for up to 3 weeks. Keep in the fridge so that the chocolate does not melt.
Erin’s Easy Entertaining Tips
If you love a good holiday party like I do, these chocolate covered pretzels are a perfect treat to have around!
Here are some things I’d do if I want to host with ‘em:
- Make them early and make two or three batches so you’ve got enough for sharing.
- Keep them cold… then serve when it’s time. These pretzels can get gooey really quickly, so we want the chocolate to stay firm.
- Do a few different styles of decoration if you’ve got the time and willingness. This way, you can have a variety of colorful and tasty treats that everyone can enjoy.
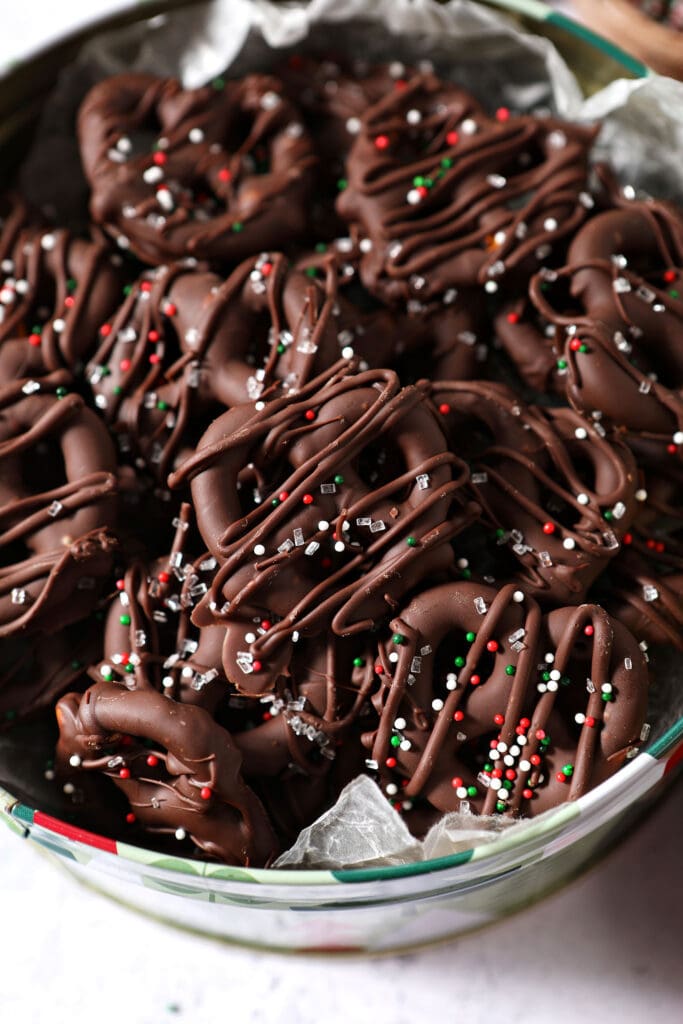
- Share these homemade treats in cookie tins or cellophane bags.
Frequently Asked Questions
These last for up to 3 weeks in the fridge, so you can make them early!
These pretzels will last for up to 3 weeks!
That depends on the chocolate coating you’re using. It took about 30-45 minutes for my pretzels to be totally “dry.”
Keep them in an airtight container in the fridge. You could also keep them in a resealable plastic bag.
Yes! You can make these up to a week in advance.
Since this chocolate is so melty, I prefer to keep them in the refrigerator. So long as they are stored in an airtight container, there should not be condensation. The texture of the pretzels should not be affected.
What should I make these Christmas pretzels for?
These sweet and salty pretzels would make the perfect treats for…
- Holiday parties, whether they’re at your home or at school
- Office holiday festivities
- Christmas food making party with little kids (and big kids, too!) Looking at you, Gingerbread House Decorating Party, Cookie Swap and Cookie Decorating Party.
- Festive movie viewings and nights
- A treat to share with teachers and friends throughout the season
- And more!
Quick tips and tricks to making the best Chocolate-Dipped Pretzels
- Make them ahead of time. These festive pretzels keep for up to two weeks. Make them in advance and double or triple the recipe.
- Get your kids involved. My girls love helping with recipes like these. Yours might, too. Their involvement will depend on their age and ability, so help them with it!
- Add them to a cookie box to share with friends and family. These treats make great gifts!
- Switch them up! Use a different type of chocolate or a different topping to give these some fun flair throughout the year.
- How to store: Once the chocolate is set, transfer to an airtight food storage container for 2-3 weeks. Keep in the fridge so that the chocolate does not melt.
More easy Christmas treats for sharing:
Here’s how you make these pretzels!
Chocolate Dipped Pretzels
Ingredients
- 54 mini pretzels about 2 ¼ cups or 86g / 3 oz.
- 1 ½ cups semisweet chocolate chips 300g
- 2 tablespoons Christmas colored sprinkles
As an Amazon Associate and member of other affiliate programs, I earn from qualifying purchases.
Instructions
- Line a large sheet pan with parchment paper. Set aside.
- Melt the chocolate chips in the microwave in a heat-safe bowl in 30-second increments until the chocolate is completely melted. (I heat mine in 30-second bursts until melted. Stir after each round so that the chocolate does not burn. If the chocolate is still a little thick after it’s mostly melted, add a tablespoon of vegetable oil to thin it out. This will make it easier for dipping.)
- Dip the pretzels into the melted chocolate. Use forks to dunk and flip the pretzels until coated.
- Place the chocolate dipped pretzels to the prepared sheet pan. Let them set for 10 minutes.
- Transfer the rest of the melted chocolate into a piping bag or a plastic baggie.
- Snip the bag’s tip, and drizzle the chocolate over the pretzels to create some texture.
- Sprinkle on the colorful sprinkles.
- Let the chocolate set for 30-45 minutes before transferring to an airtight container and enjoying!
Notes
Nutrition

About the Author:
Erin Parker is a Southern gal living in Texas with her husband and two daughters. She started The Speckled Palate to share what she was cooking as a newlywed… and over the years, it’s evolved to capture her love for hosting. Specifically, the EASIEST, lowest key entertaining because everyone deserves to see their people and connect over good food. Learn more about her…



Before leaving a comment or rating, ask yourself: