Chocolate Dipped Strawberries
The most decadent Chocolate Dipped Strawberries are wonderfully sweet with a perfect crunch! Learn how to make these bite-sized sweet treat for Valentine’s Day, an at-home date night, anniversaries and more. All you need are two ingredients to make this recipe.

This post contains affiliate links.
Chocolate-Dipped Strawberries
When I was a kid, there was a candy shop in my hometown that made the most decadent chocolate-covered strawberry recipe.
It was only available once a year. And it was for Mother’s Day.
Every year, we would purchase my mother a box of these strawberries… and every year, we would split them with her.
As a mom who loves not having to share her presents, I am even more appreciative for my mom… because she let share these coveted strawberries.
In recent years, I’ve learned how to make my own.
While these aren’t the classic Dinstuhl’s chocolate strawberries, they’re damn good. Also, they are perfect to share for any occasion, be it Valentine’s Day, Mother’s Day, a date night at home, an anniversary or just because.
Why I love this recipe:
Chocolate-Dipped Strawberries are the BEST kind of treat because they’re pretty low effort but high deliciousness.
As I’ve made these throughout the years, here are some of things I love about ‘em:
- They’re easier to make than you think and the perfect dessert for any occasion.
- You can swap out the type of chocolate for your tastebuds. You can also add sprinkles, nuts (like chopped walnuts, pecans or pistachios), additional drizzles of chocolate, etc.
- They’re fun to make with kids. (Please note that different kids have different skill levels in the kitchen. This recipe involves a pot of simmering water, so please assist them to ensure no one is injured.)
- They’re naturally gluten free! And they can be made vegan, too. Be sure to purchase vegan chocolate bars.
This easy chocolate covered strawberries recipe is fantastic for sharing for a special occasion, or simply just because.
More chocolate-covered treats for sharing: Chocolate Dipped Pretzels | Chocolate Covered Ritz Cracker Cookies
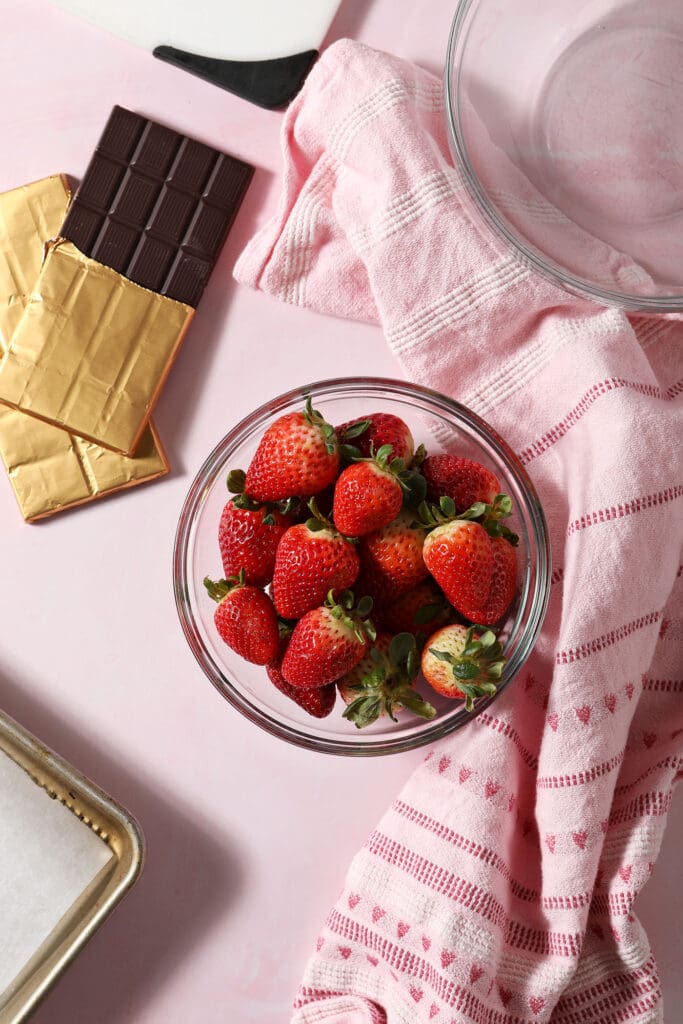
What you need to make this recipe:
The Speckled Palate participates in affiliate programs. As an Amazon Associate, I earn a commission from qualifying purchases. Please refer to my disclosure page for more information about these affiliate programs.
- Sharp knife and cutting board
- Double boiler OR saucepan with a heatproof bowl (I used a heat-safe glass bowl)
- Sheet pan
- Wax paper or parchment paper
- Airtight container for storage
Let’s talk ingredients!
In addition to the tools above, you’re going to need some ingredients to make this recipe, too! Chances are, you might already have some of them in your fridge or pantry. Scroll down to the recipe card for the full measurements and instructions.
Here are the simple ingredients you’ll need to grab at the grocery store:
- Chocolate bars — good quality chocolate bars are key. Splurge and get the best you can afford because the chocolate REALLY shines in this recipe. They are all a little different in size, depending on the brand. You need need about 2 (3 oz.) bars for 1 ½ pounds of fresh strawberries.
- Strawberries — you need fresh strawberries! I try to choose the biggest, juiciest-looking ones at the store.
- Toppings — I used the excess chocolate to drizzle on top of some strawberries. You can sprinkle on sprinkles, chopped nuts, etc.
A note on the type of chocolate to use in this recipe
You may use semi-sweet chocolate or bittersweet chocolate in place of dark chocolate in this recipe is that is what you prefer. It will yield a sweeter result than the dark chocolate, which is rich and slightly bitter.
Milk chocolate is also delicious. However, you will need to heat it less. (The tempering temperature for milk chocolate is 110°F.)
I do not recommend using chocolate chips or white chocolate.
How to make Chocolate Covered Strawberries
Line a rimmed sheet pan with parchment paper or wax paper. Set aside.
Wash the strawberries. It’s important to remove any dirt or grime before we do this. Also, they need to be completely dry, so I like to set mine out to dry on a towel.
You may also wipe the strawberries thoroughly with a damp cloth. Pat them all dry with another kitchen towel or paper towels to ensure there is no moisture on the surface of the strawberries.
Also, room temperature strawberries work better here.
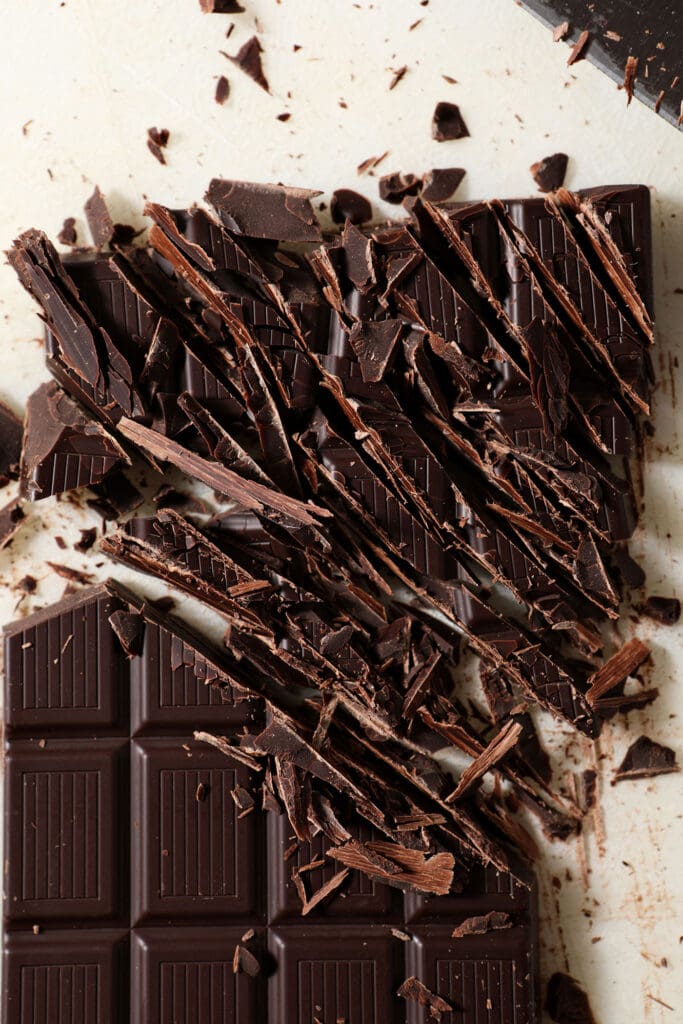
Chop the chocolate. This will help it melt faster and more evenly. Do not use chocolate chips. Transfer to the heat-proof bowl.
How to temper chocolate
I do not own a double boiler, so I use a water bath for this process. For the water bath, you need a small saucepan and a heat-proof bowl that fits tightly onto the rim of the saucepan.
A few things to note before we get started:
- A digital kitchen thermometer is going to make your life so much easier here. You can also use a candy thermometer.
- It is very important that no water splatters into the chocolate as it is melting, or the chocolate will seize.
Fill the saucepan (or double boiler) halfway full with water, and bring it to a gentle simmer over medium-high heat.
Once the water begins simmering, place the heat-proof bowl filled with the chopped chocolate on the rim of the saucepan.
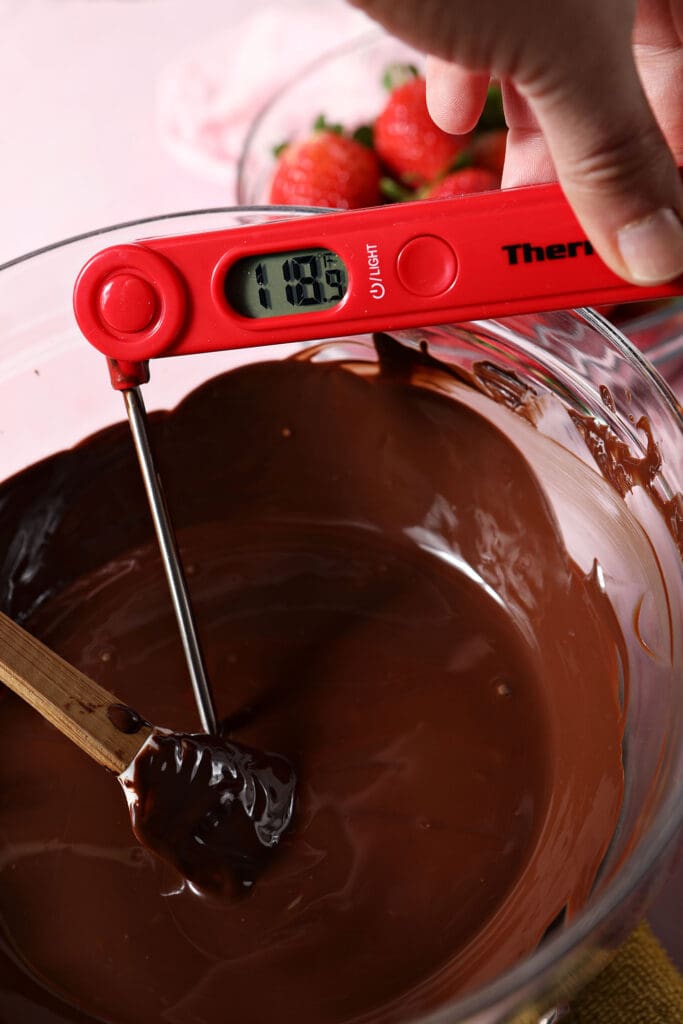
Melt chocolate, stirring frequently with a rubber spatula until it has warmed to 118°F. Use a digital thermometer to confirm.
DID YOU KNOW?
It is important for the chocolate to reach this temperature so that it will have the beautiful shine that tempered chocolate has. It will also prevent it from melting on your fingers when you pick them up.
Please note that while you can heat the chocolate in the microwave in bursts until melted, this will not automatically temper it.
Dip and decorate the strawberries
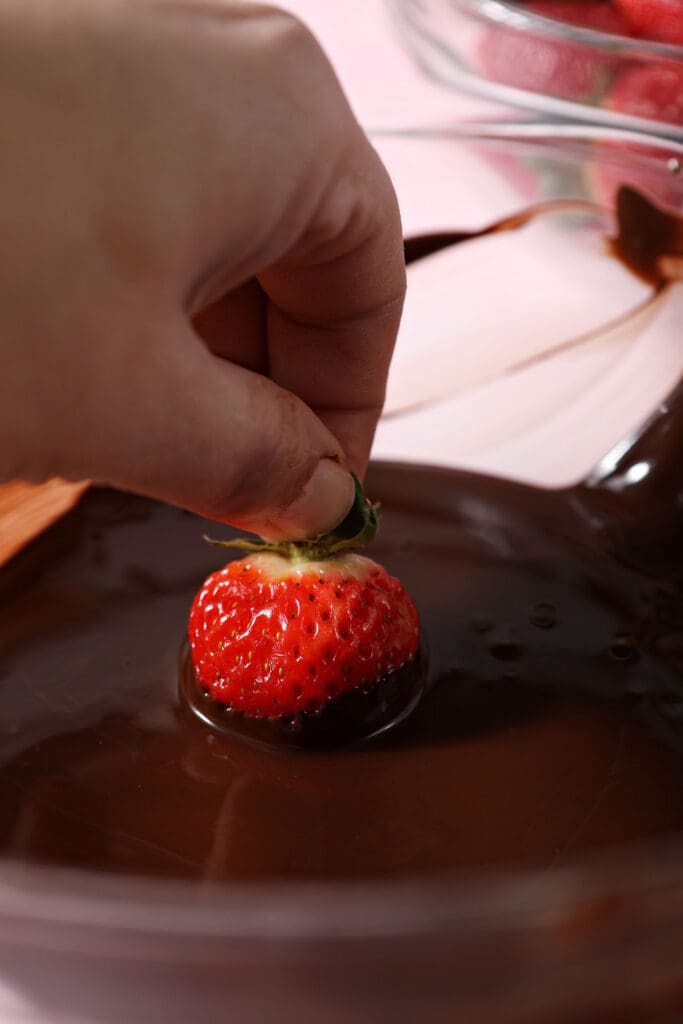
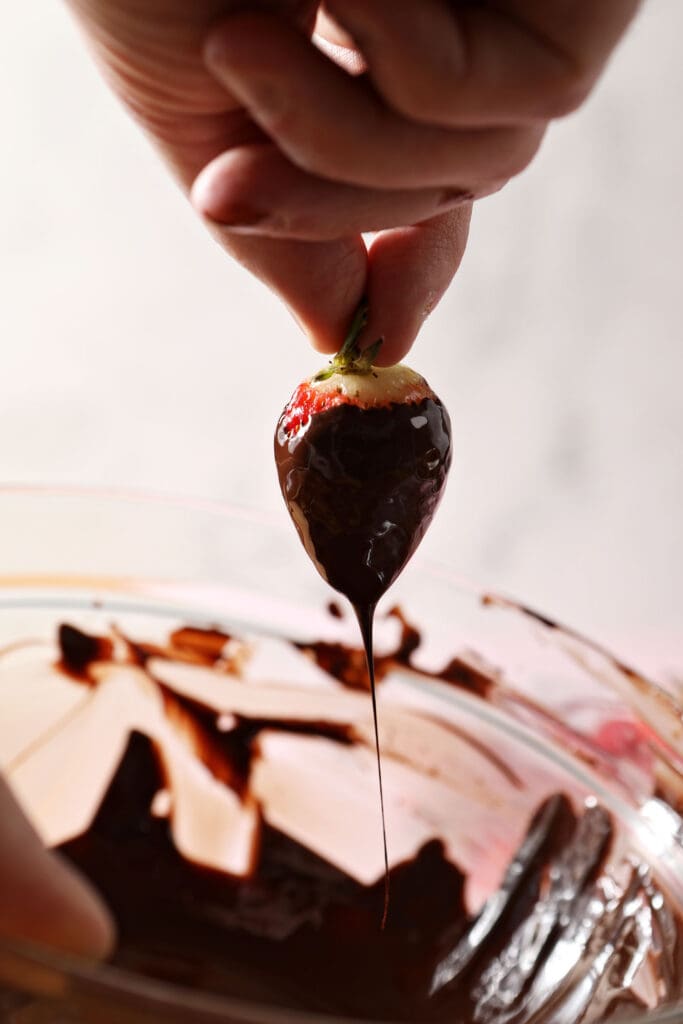
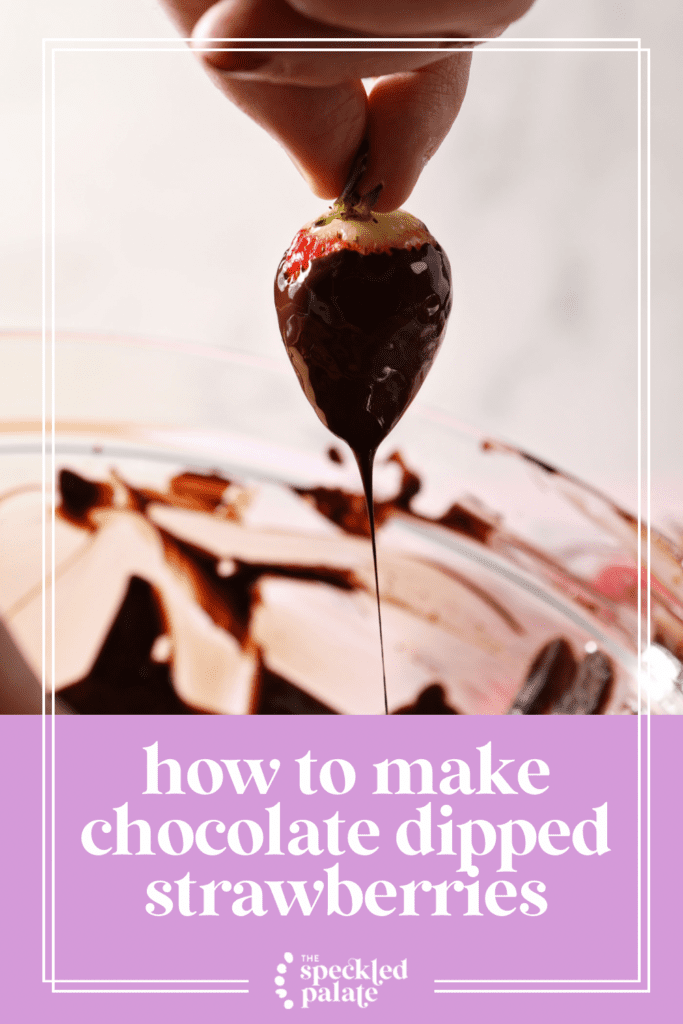
Hold a cleaned, dried strawberry by its cap (the part with the green leaves), and dip into the melted chocolate.
Swirl it around in the chocolate until the strawberry is mostly covered.
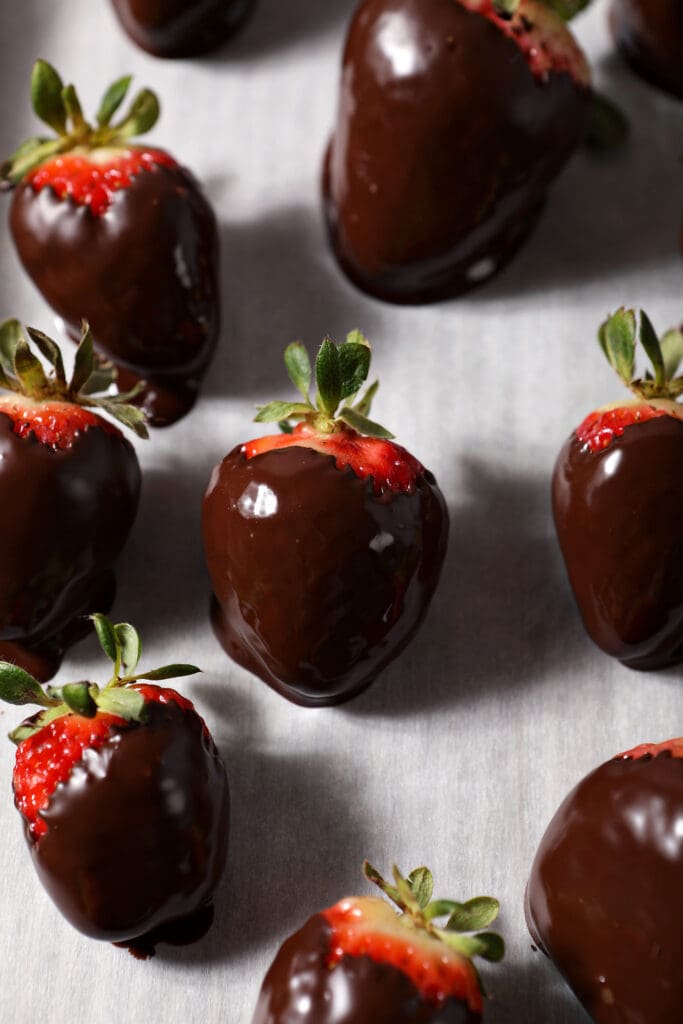
Gently shake off the excess chocolate back into the bowl and place the strawberry on the parchment-lined baking sheet.
Repeat with the remaining strawberries.
Place the sheet pan in the refrigerator for about 5 minutes to set the chocolate.

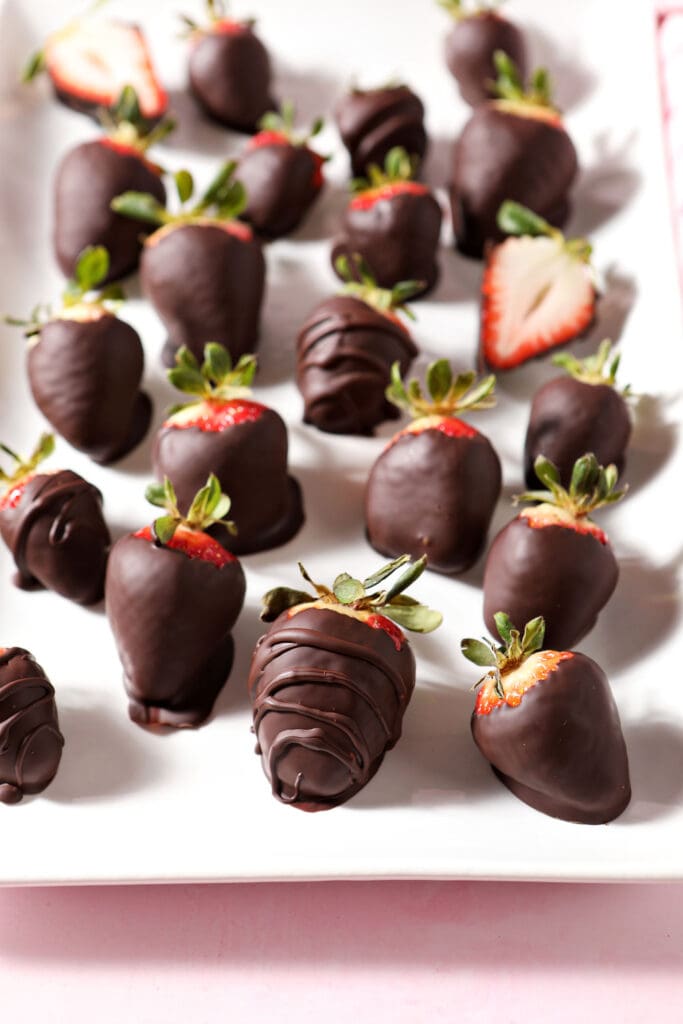
If you have any excess chocolate, transfer it to a piping bag (or a plastic bag), snip the tip and drizzle the strawberries with the extra chocolate.
Let the strawberries stay at room temperature if you’re planning to enjoy these shortly. Place them in the fridge if you’re making them a day before.
Please note that the strawberries will keep for up to 1-2 days in the refrigerator.
How to store
Chocolate-Dipped Strawberries can be made in advance and kept in the refrigerator… but they’re best consumed fresh. If you’re making them for later in the day, you can leave them covered on the countertop. Otherwise, they will need to be refrigerated.
The strawberries need to be stored in an airtight container. Place a paper towel beneath them in the container to absorb moisture because they will sweat. They will last 1-2 days max.
If the chocolate falls off or the strawberries look like they’ve gone bad, they need to be tossed. (If you want to learn more information about how to store chocolate covered strawberries, check out this article from the Food Network.)
Erin’s Easy Entertaining Tips
These chocolate strawberries are the perfect bite-sized dessert and would be fun to serve at a Valentine’s Day gathering for kids or even a Galentine’s Day happy hour with your pals.
There are a few things I would do if making this recipe for an event:
- Clean the strawberries early. Chop the chocolate, too. Plan to make them right before guests arrive… or invite guests to help dip and make them!
- Depending on what the event is… Involve the kids. My girls enjoyed the process of breaking up the chocolate, melting it and dipping the strawberries. Obviously, different kids have different skill levels, so help yours out and only allow them to do tasks that you know they are capable of.
- Package ‘em up to share. Get little bakery boxes and share a few strawberries with people you know and love after making them. It’s a sweet treat!
Frequently Asked Questions
The strawberries need to be clean and completely dry.
You can, but they are better if you enjoy them immediately. If you make them the night before, put them in an airtight container lined with a paper towel to soak up excess moisture.
In my opinion, dark chocolate is fabulous for chocolate covered strawberries. However, semisweet, bittersweet and milk chocolate are all lovely, too.
Yes… probably. These are best served immediately.
Just until the chocolate sets! This will take 10-30 minutes.
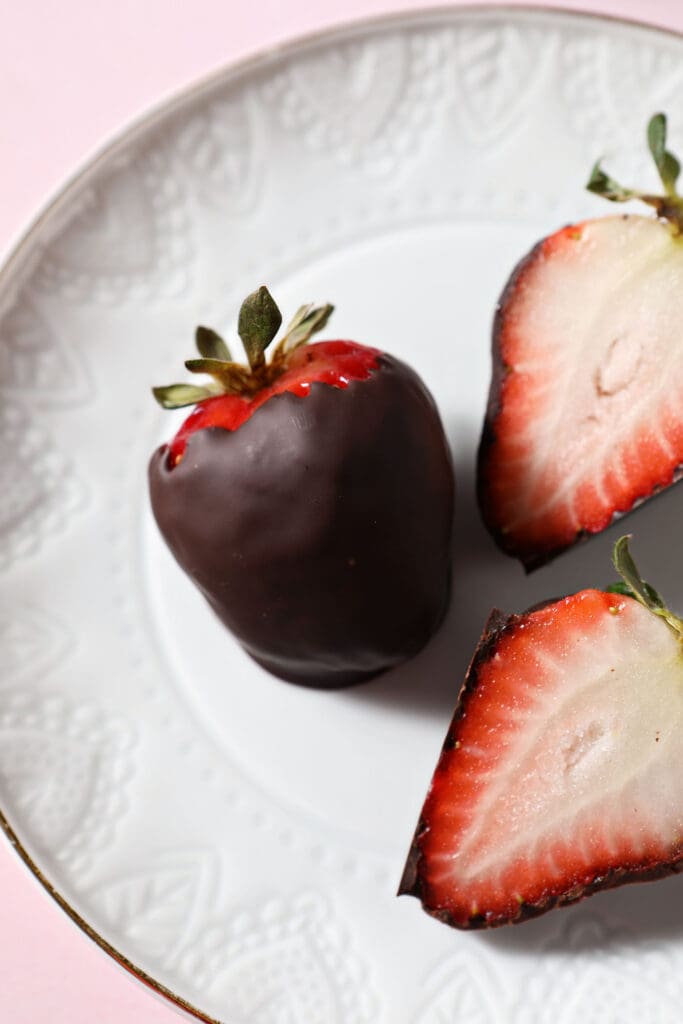
Quick tips and tricks to making the best Chocolate Dipped Strawberries
- Use high quality chocolate for best results.
- Swap out the chocolate with bittersweet, semisweet or milk for a different taste.
- Make them right before you want to consume them. These are best enjoyed immediately so that they don’t get mushy or sweaty in the fridge.
More sweet treats to share with the people you love:
Here’s how you make these strawberries…

Chocolate Dipped Strawberries
Ingredients
- 2 3.1 oz. dark chocolate bars chopped
- 1 ½ lbs. strawberries
As an Amazon Associate and member of other affiliate programs, I earn from qualifying purchases.
Instructions
- Line a rimmed pan with parchment paper or wax paper. Set aside.
- Wash the strawberries, removing any dirt or grime, and set them out to dry on a towel. You may also wipe the strawberries thoroughly with a damp cloth. Pat them all dry individually with another kitchen towel to ensure there is no moisture on the surface of the strawberries.
- Chop the chocolate. This will help it melt faster and more evenly. Do not use chocolate chips. Transfer to the heat-proof bowl.
Temper the Chocolate
- I do not own a double boiler, so I use a water bath. It is very important that no water splatters into the chocolate, or the chocolate will seize. For the water bath, you need a small saucepan and a heat-proof bowl that fits tightly onto the rim of the saucepan.
- Fill the saucepan (or double boiler) halfway full with water, and bring it to a gentle simmer over medium-high heat.
- Once the water begins simmering, place the heat-proof bowl filled with the chopped chocolate on the rim of the saucepan.
- Stir the chocolate frequently until it has completely melted and warm it to 118°F. Use a digital thermometer.
- It is important for the chocolate to reach this temperature so that it will have the beautiful shine that tempered chocolate has. It will also prevent it from melting on your fingers when you pick them up.
Dip and decorate the strawberries
- Hold the strawberry by its cap, and dip into the tempered chocolate.
- Swirl it around in the chocolate until the strawberry is mostly covered.
- Gently shake off the excess chocolate back into the bowl and place the strawberry on the prepared baking sheet.
- Repeat with the remaining strawberries.
- Place the tray in the refrigerator for about 5 minutes to set the chocolate.
- If you have any excess chocolate, transfer it to a piping bag (or a plastic bag), snip the tip and drizzle the strawberries with the extra chocolate.
- Let the strawberries stay in the refrigerator until time to enjoy.
Video
Notes
Nutrition

About the Author:
Erin Parker is a Southern gal living in Texas with her husband and two daughters. She started The Speckled Palate to share what she was cooking as a newlywed… and over the years, it’s evolved to capture her love for hosting. Specifically, the EASIEST, lowest key entertaining because everyone deserves to see their people and connect over good food. Learn more about her…




Before leaving a comment or rating, ask yourself: