
Valentine’s Day Pink Oreos


Easy to make with kids, these Valentine’s Day Oreos in pink, white and red are perfect for sharing. Calling for just 5 ingredients, these dipped Oreo cookies are a fun and delicious undertaking. Makes 20 cookies, but can easily be doubled or tripled.

I’m leaning in on the easy holiday desserts, and these Valentine’s Day Oreos are one of my new favorites because, well, they’re incredibly easy but also really satisfying.
You can also make them with a 3-year-old without worrying that your child is going to be injured by your ingredients.
I will say, it can create a bit of a mess, but it’s a worthwhile one, in my opinion.
Why I love this recipe:
These red, white and pink Oreos are just so festive and fun for Valentine’s Day!
Whether you want to make them with your kids to enjoy at home (or make them for yourself to enjoy) or share them with others, these are hard to beat on the easy dessert scale. 😉
Unlike some no bake Oreo dessert recipes, you don’t have to grind things up in a food processor or combine Oreo crumbs with powdered sugar, melted butter, a cream cheese mixture or whipped cream. No, no. These beauts are way simpler than that!
Also, they’re delicious. I love me a plain Oreo cookie, but there’s something fun about it being coated with candy and decorated for a favorite holiday.
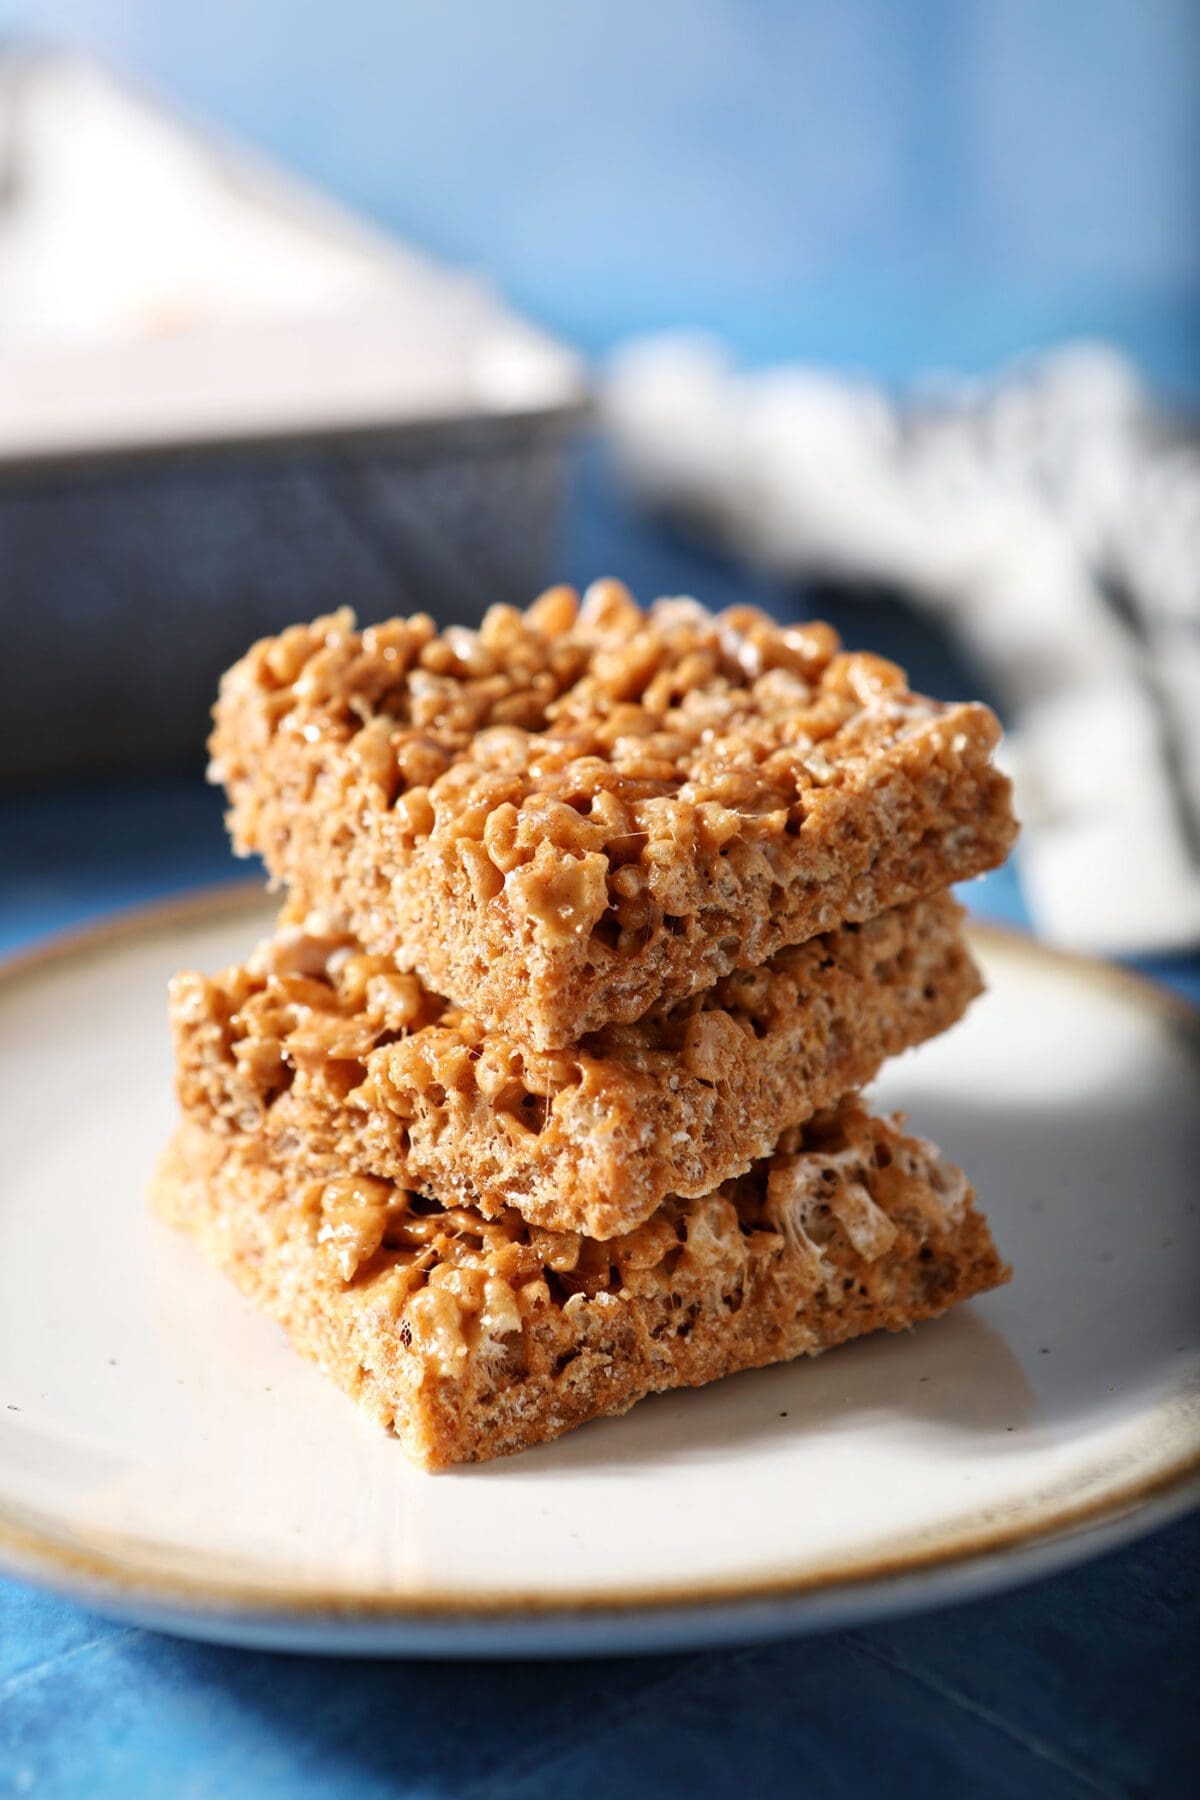
Other easy festive treats to make and share for Valentine’s Day: Valentine’s Day White Chocolate Chex Mix | Valentine’s Day Dessert Board | M&M’s® Red Velvet Brownie Pops | Dessert Nachos (Halloween, Christmas, Easter Candy Leftover idea!) | Homemade Rice Krispie Treats | Chocolate Dipped Strawberries
Need Valentine’s food inspiration? Check out my Valentine’s Day Recipe Index for more ideas.
What you need to make this no bake Oreo dessert recipe:
The Speckled Palate participates in affiliate programs. As an Amazon Associate, I earn a commission from qualifying purchases. Please refer to my disclosure page for more information about these affiliate programs.
- Sheet pan
- Parchment paper
- A few small, microwave-safe bowls (for dipping the Oreos in)
- 3 forks
In addition to those tools, you’re also going to need some ingredients:
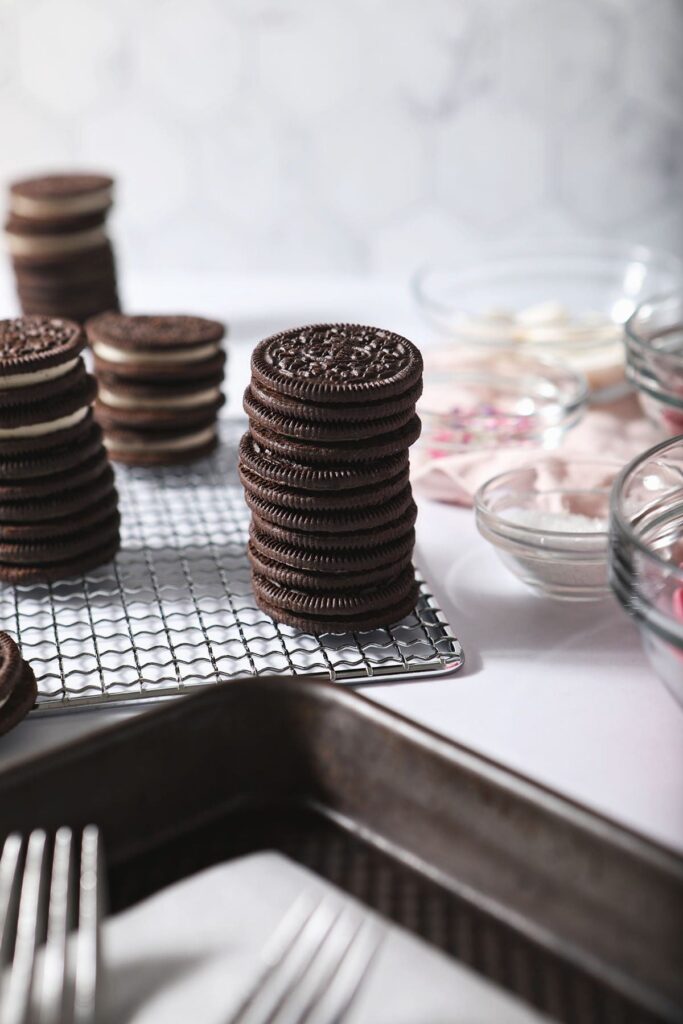
- Oreo cookies—I used a combination of classic and Double Stuf, but you can use whatever you’ve got on hand. I know there used to be Limited Edition Love, Oreos at some retailers, though I have not seen those this year.
- Candy melts—I used a combination of bright pink candy melts, red candy melts and bright white candy melts to make these dipped Oreos, but you can use whichever color you’d prefer!
- Valentine’s Day sprinkles—because they add fun and color! Use whatever sprinkles you’ve got on hand that might work or special order some that make you and yours happy!
- Neutral oil, like vegetable or canola oil—this is optional but can help if your candy melts are a little goopy when you stir them. The oil is able to mix with the candy melts without seizing it and will make for a smoother, shinier finish. Add 1 tablespoon at a time.
Variations for this no bake Oreo dessert:
Honestly, you can customize these to tweak your needs and tastebuds.
- Chocolate: Instead of using candy melts, dip the Oreos in melted chocolate to make Chocolate Covered Oreos. Decorate with your favorite sprinkles.
- White chocolate: If you’re not a classic chocolate fan, use white chocolate instead to make White Chocolate Oreos.
- Swap out the colors of candy melts: This is an easy way to change the holiday and make these beauties year round! Use a different color of candy melts paired with different sprinkles, and you have various festive Oreos for the whole year!
How to make Valentine’s Day Pink Oreos
Gather your products and tools. Set out your baking sheet and line it with parchment. Measure your candy melts into microwave-safe bowls. Get out those Oreos and the sprinkles, too.
Melt the candy melts. Follow the instructions on the back of the packaging, but I’ve had luck with 30-second bursts in the microwave until they are just melted.
Did you know? Candy melts can burn, so keep an eye on them. If any large chunks of them remain after you’ve melted for 60 seconds and stirred thoroughly, melt for another 15-seconds and stir until smooth. (Unfortunately, if they burn, there’s no going back, so you’ll have to get out a new bowl and new candy melts.)
If your candy melts feel goopy, consider adding a tablespoon of a neutral oil and stirring it into the mixture. This should thin it out a little bit and make the dipping process less awkward. I added about 2-3 tablespoons to my pink candy melts before their texture was smooth enough for me to use.
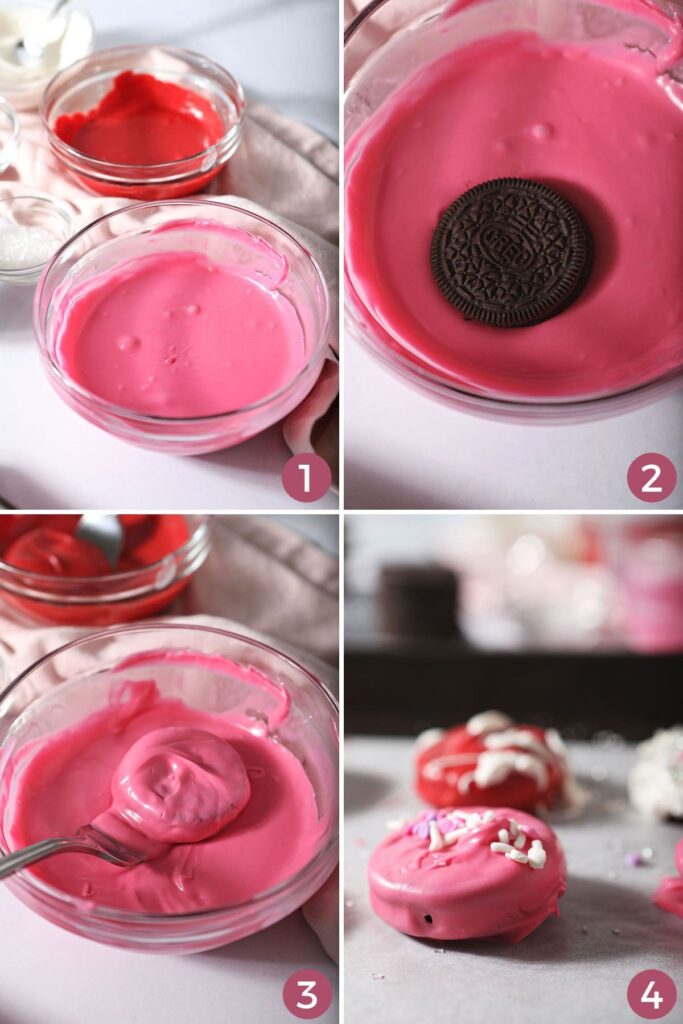
Dip the Oreos. I like to gently place a single oreo in the bowl and toss it around until coated. I’ve found using a fork works really well here.
Place on the prepared baking sheet. Decorate with sprinkles or additional drizzles of candy melt, if desired.
Repeat on all the other Oreos, and set aside to so the candy melts can set. This generally goes pretty quckly, though if your candy coating is decently thick, I’d give them at least an hour.
Once the candy melts are set, you can package up your Oreos or enjoy them immediately!

Erin’s Easy Entertaining Tips
These Valentine’s Oreos would be fun to serve at any Valentine’s Day gathering, whether it was a casual dinner at your house or an afternoon play date after school (complete with cute little snacks that your kids helped make).
They’d also be fun to package up in individual treat bags* (affiliate link) and send with your child to their classroom Valentine’s Day party if outside food is allowed!
You don’t really need an occasion to make these cute Oreo desserts, though.
- Dip and decorate them in advance. The beauty in this dessert is that it is easily stored for up to a few weeks in an airtight container, so you make it a day or two in advance.
- Serve them on a platter… or package them up individually for guests!
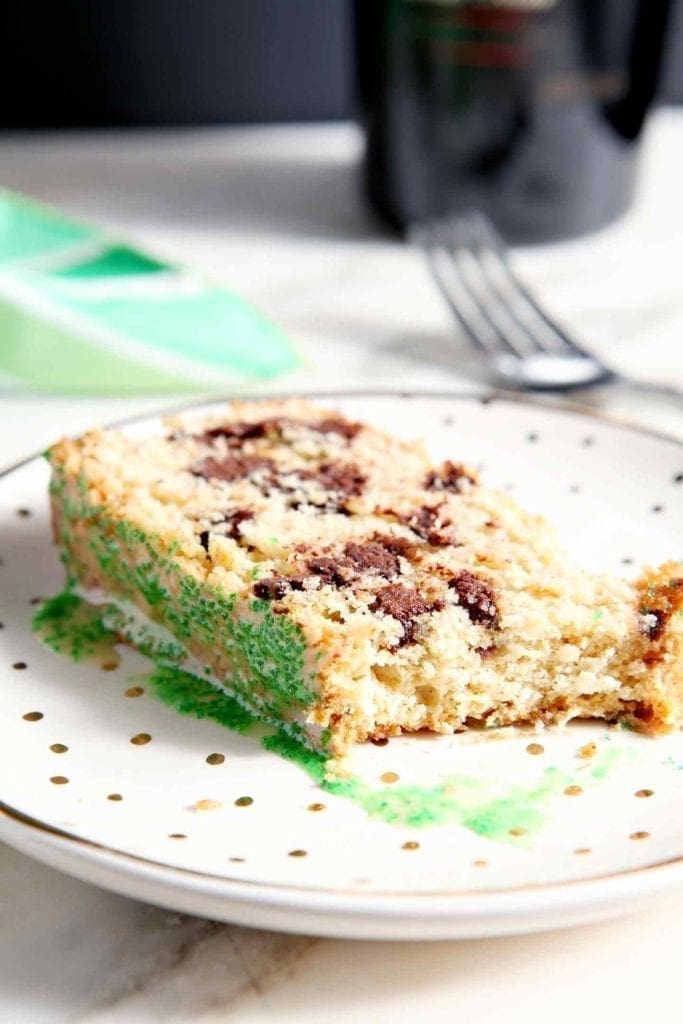
- Swap out colors for different festivities. Wouldn’t these dipped Oreos be fun with rainbow colors to celebrate a birthday?

Frequently Asked Questions
They will last 2-3 weeks.
These candy melts, which are not chocolate, took 30-55 minutes to set. I know some chocolate can take longer than that.
Since these dipped Oreos last for a few weeks at room temperature, you can make them well in advance!
No. These do not need to be stored in the refrigerator.

The best tricks and tips for Pink Oreos
- Make it with kids. This is a super kid-friendly recipe, from the measuring, stirring, melting the candy melts and decorating. Keep an eye on your kid(s) as they do this and give them age-appropriate tasks!
- Swap out the candy melts and decorations to celebration a different holiday!
- How to store: Store in an airtight container on the counter for 2-3 weeks.
Other Oreo recipes to try:
- Halloween Oreo Rice Krispie Treats
- Cookies and Cream Oreo Cupcakes
- Gluten Free Oreo Cheesecake Truffles

Valentine’s Day Pink Oreos
Ingredients
- 20 Oreo cookies
- 1 cup bright pink candy melts
- ½ cup red candy melts
- ¼ cup white candy melts
- 2-3 tablespoons Valentine’s Day sprinkles
Equipment
- Valentines Day Sprinkles
- Bright Pink Candy Melts
- White Candy Melts
As an Amazon Associate and member of other affiliate programs, I earn from qualifying purchases.
Instructions
- Line a baking sheet with parchment paper. Measure candy melts into microwave-safe bowls. Get out those Oreos and the sprinkles, too.
- Melt the candy melts in the microwave. Follow the instructions on the back of the packaging, but I’ve had luck with 30-second bursts in the microwave until they are just melted.
- If necessary, add 1-2 tablespoons of neutral oil to the melted candy melts to thin out the mixture. (I only had to do this for one of my colors, so give them a stir and test the consistency before adding the oil.)
- Dip the Oreos. Gently place a single Oreo in a bowl of candy melts, and toss it around until coated. A fork works really well here.
- Place on the prepared baking sheet. Decorate with sprinkles or additional drizzles of candy melt, if desired.
- Repeat with all the other cookies.
- Let the cookies set for an hour.
- Package them up or enjoy immediately!
Video
Notes
How to share: Place 2-5 dipped Oreos into a cellophane treat bag (or another treat bag) and share! Substitution Notes:
- Chocolate: Instead of using candy melts, dip the Oreos in melted chocolate to make Chocolate Covered Oreos. Decorate with your favorite sprinkles.
- White chocolate: If you’re not a classic chocolate fan, use white chocolate instead to make White Chocolate Oreos.
- Swap out the colors of candy melts: This is an easy way to change the holiday and make these beauties year round! Use a different color of candy melts paired with different sprinkles, and you have various festive Oreos for the whole year!
Nutrition

About the Author:
Erin Parker is a Southern gal living in Texas with her husband and two daughters. She started The Speckled Palate to share what she was cooking as a newlywed… and over the years, it’s evolved to capture her love for hosting. Specifically, the EASIEST, lowest key entertaining because everyone deserves to see their people and connect over good food. Learn more about her…


Before leaving a comment or rating, ask yourself: