
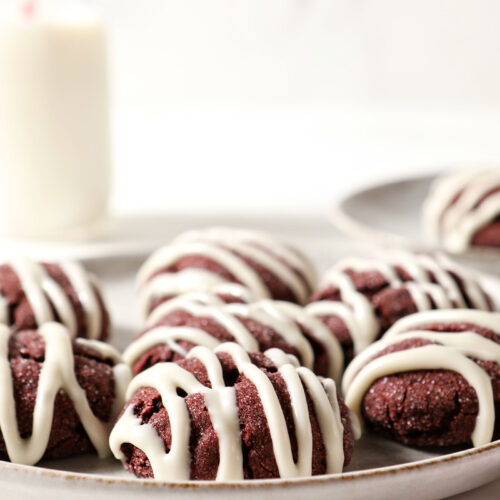
Red Velvet Cookies
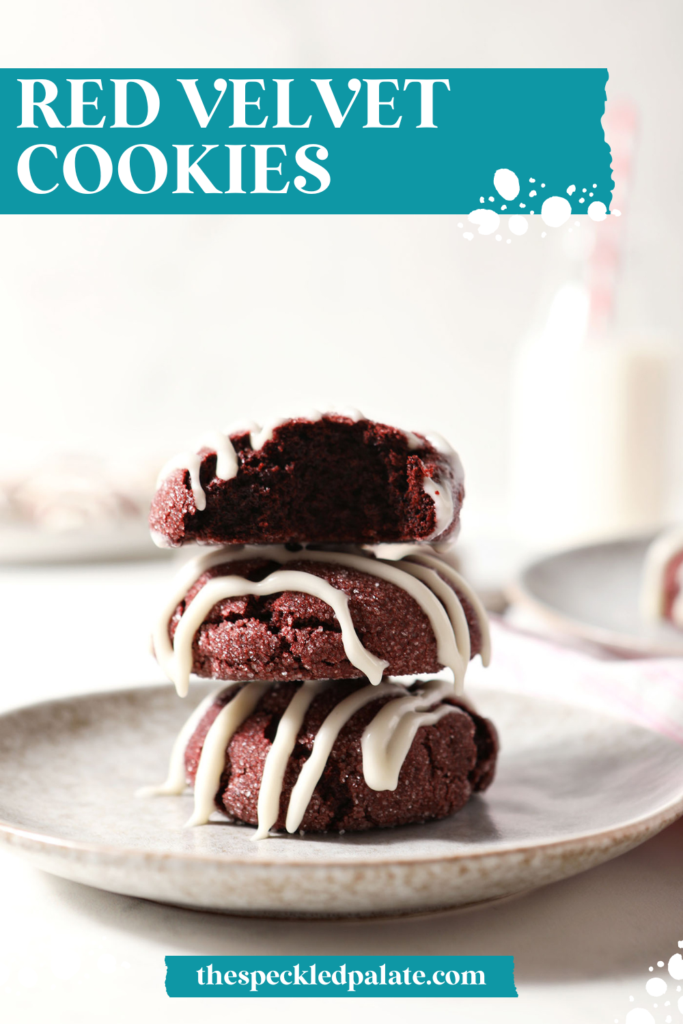

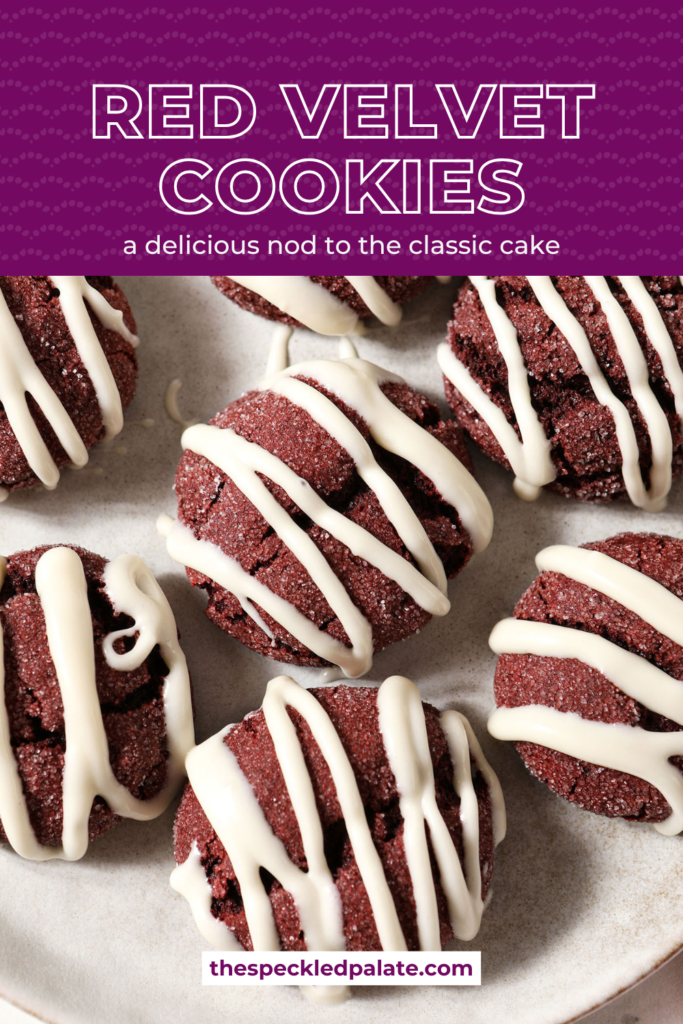
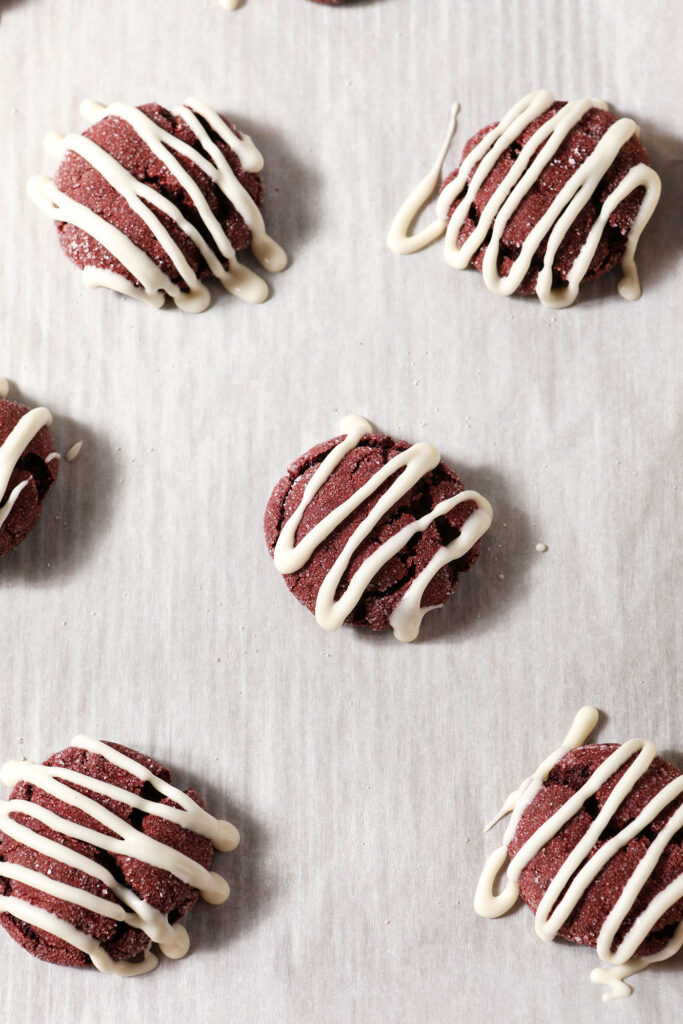
From-scratch Red Velvet Cookies are the perfect treat to bake during the holiday season and beyond. Made with a handful of easy-to-find ingredients, these cookies have a crunchy exterior that pairs beautiful with a soft, cakey interior. Topped with a cream cheese frosting drizzle, this red velvet cookie recipe is reminiscent of the classic cake.

It’s the first day of The Sweetest Season Virtual Cookie Exchange, and I am so excited for this week!
I’m teaming up with several blogger friends to publish new (and updated) recipes all week long, and we are once again raising funds for Cookies 4 Kids’ Cancer. (More on this in a bit.)
I wanted to started us off with a new favorite recipe in my household: RED VELVET COOKIES. They’re like the classic cake, but in cookie form.
And before you ask: no. You won’t need a box of cake mix for them. We’re making ‘em totally from scratch.
What is red velvet?
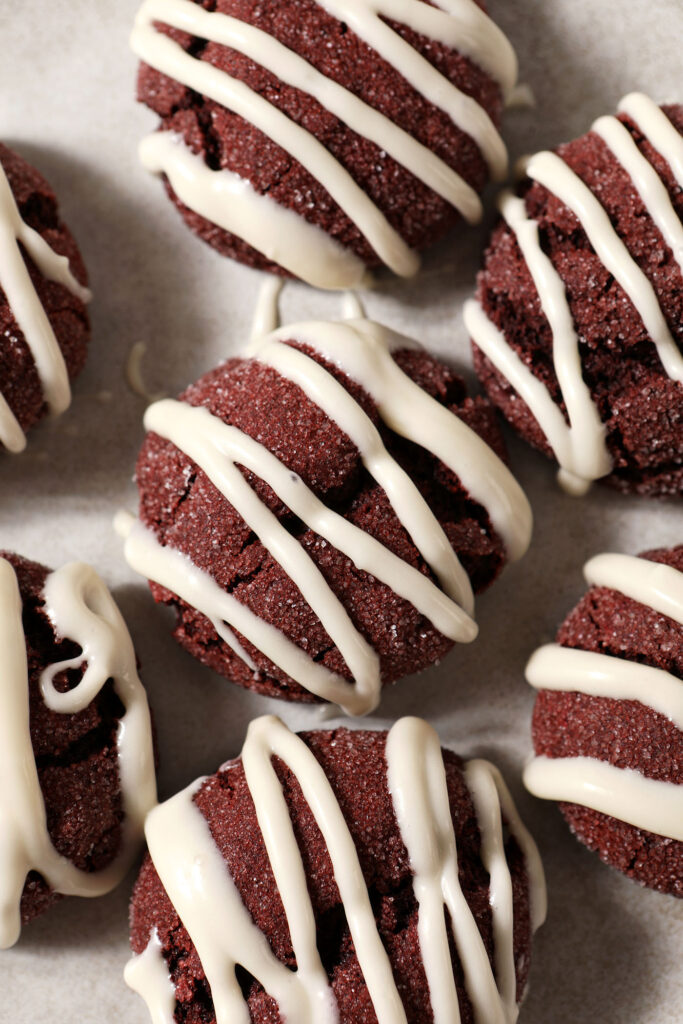
Red velvet is a mild flavored chocolate cake that once turned red due to the ingredients it used. The buttermilk reacts with the cocoa powder, which in turn these cookies (and their cake counterpart) a brick red color. However, we use red food coloring these days to pump up that red color.
Fun fact: Bakers can use boiled beets to add a natural red color to baked goods!
Why we love this recipe:
There’s a lot to love about these Red Velvet Sugar Cookies, and I had so much fun developing it. I used my Drop Sugar Cookie recipe as my starting point, but tinkered pretty hard with it since I needed to add cocoa powder, as well as a little buttermilk.
BECAUSE YES, this recipe has buttermilk in it. It’s an integral part of classic red velvet cake for a reason, my friends, and we’re using it here, too.
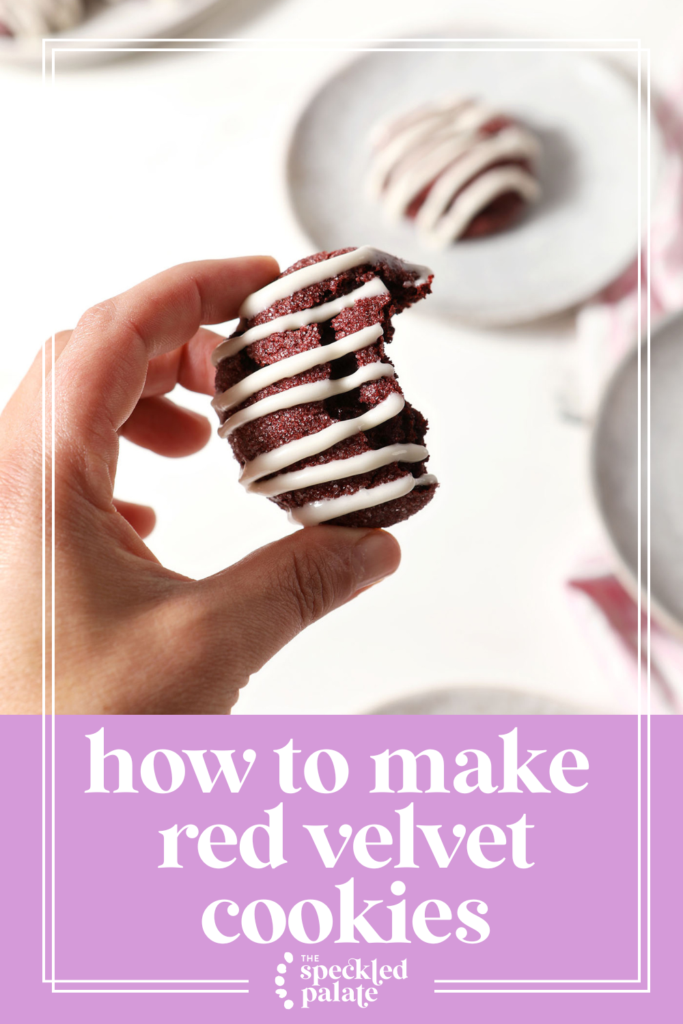
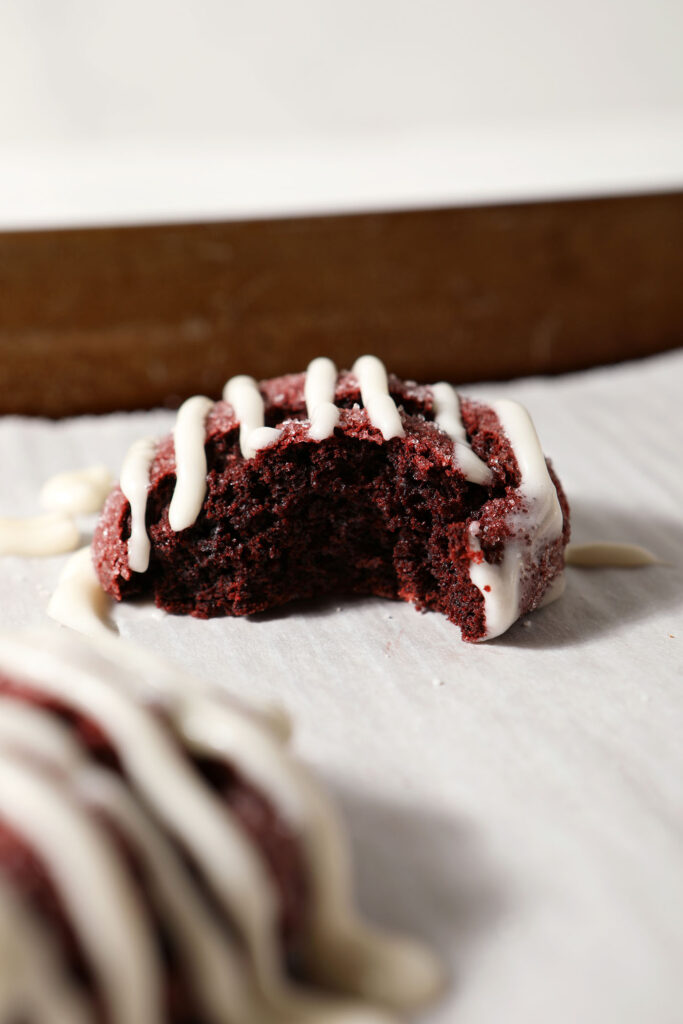
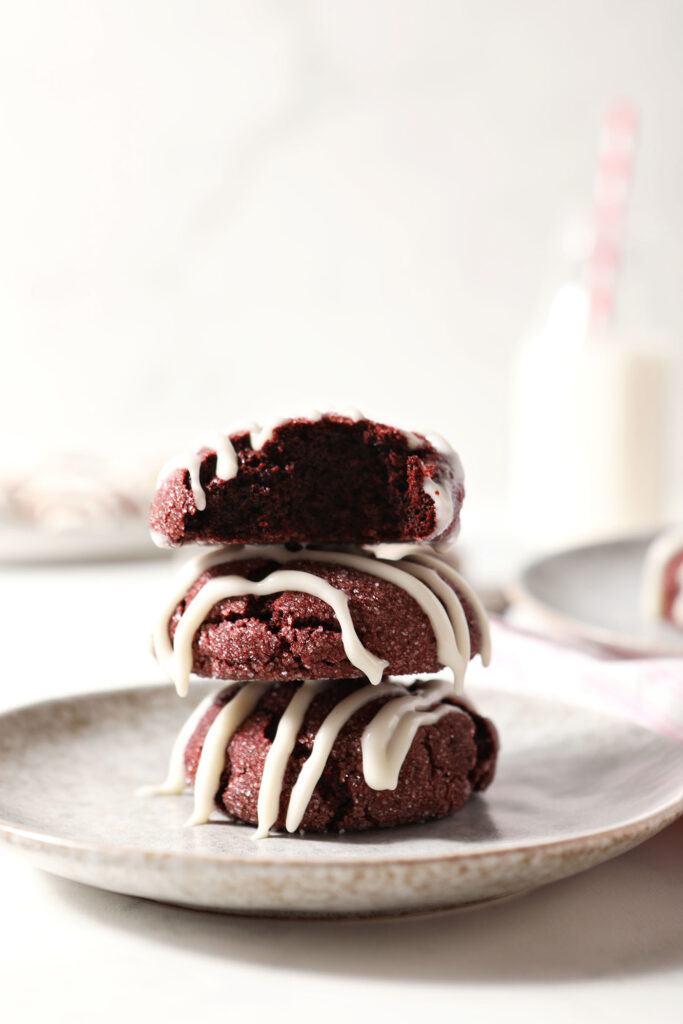
The final cookies have the perfect crunchy exterior with a soft, cakey interior. Not only this, but the cookies themselves are tall and fluffy and crispiness on the initial bite is mostly thanks to the roll they get in additional sugar before baking.
The flavor is lightly chocolatey, and the bitterness of the cocoa powder paired with the sweetness of the cookie dough base plays nicely with the tanginess of the icing.
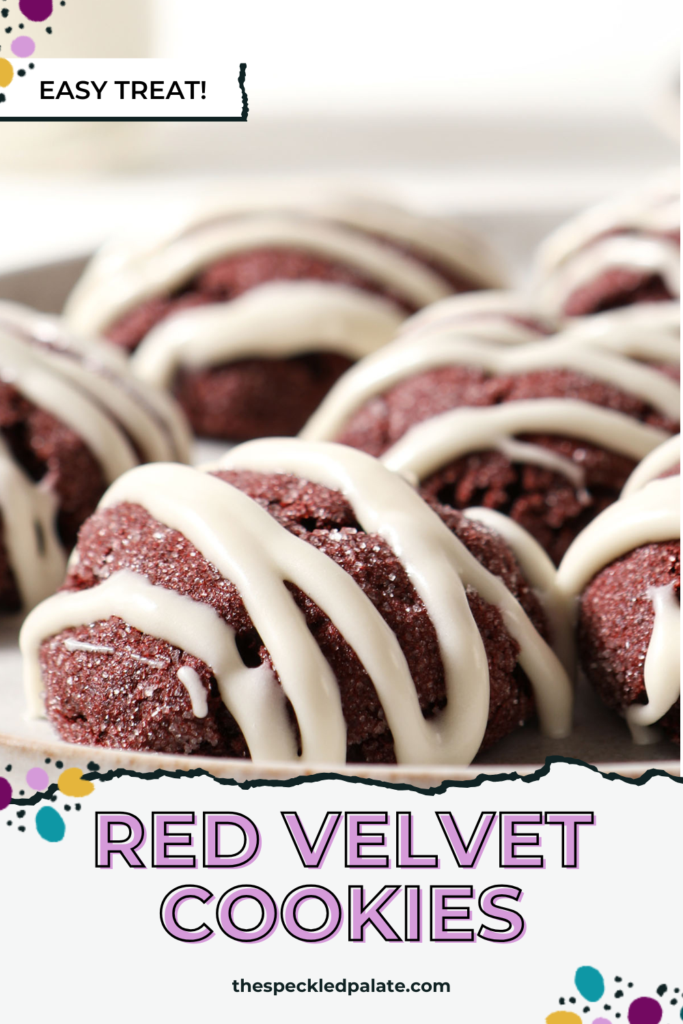
It goes without saying that they are EASY and enjoyable to eat. This is a no chill cookie recipe, which means you can bake them as soon as the batter is made!
Be sure you’ve got enough red food coloring (the regular kind or gel, never the natural kind) before getting started so that the cookies have their trademark brick red color. That was a tricky piece while developing this recipe because I wanted to get the color right without the end result being overwhelmingly red.
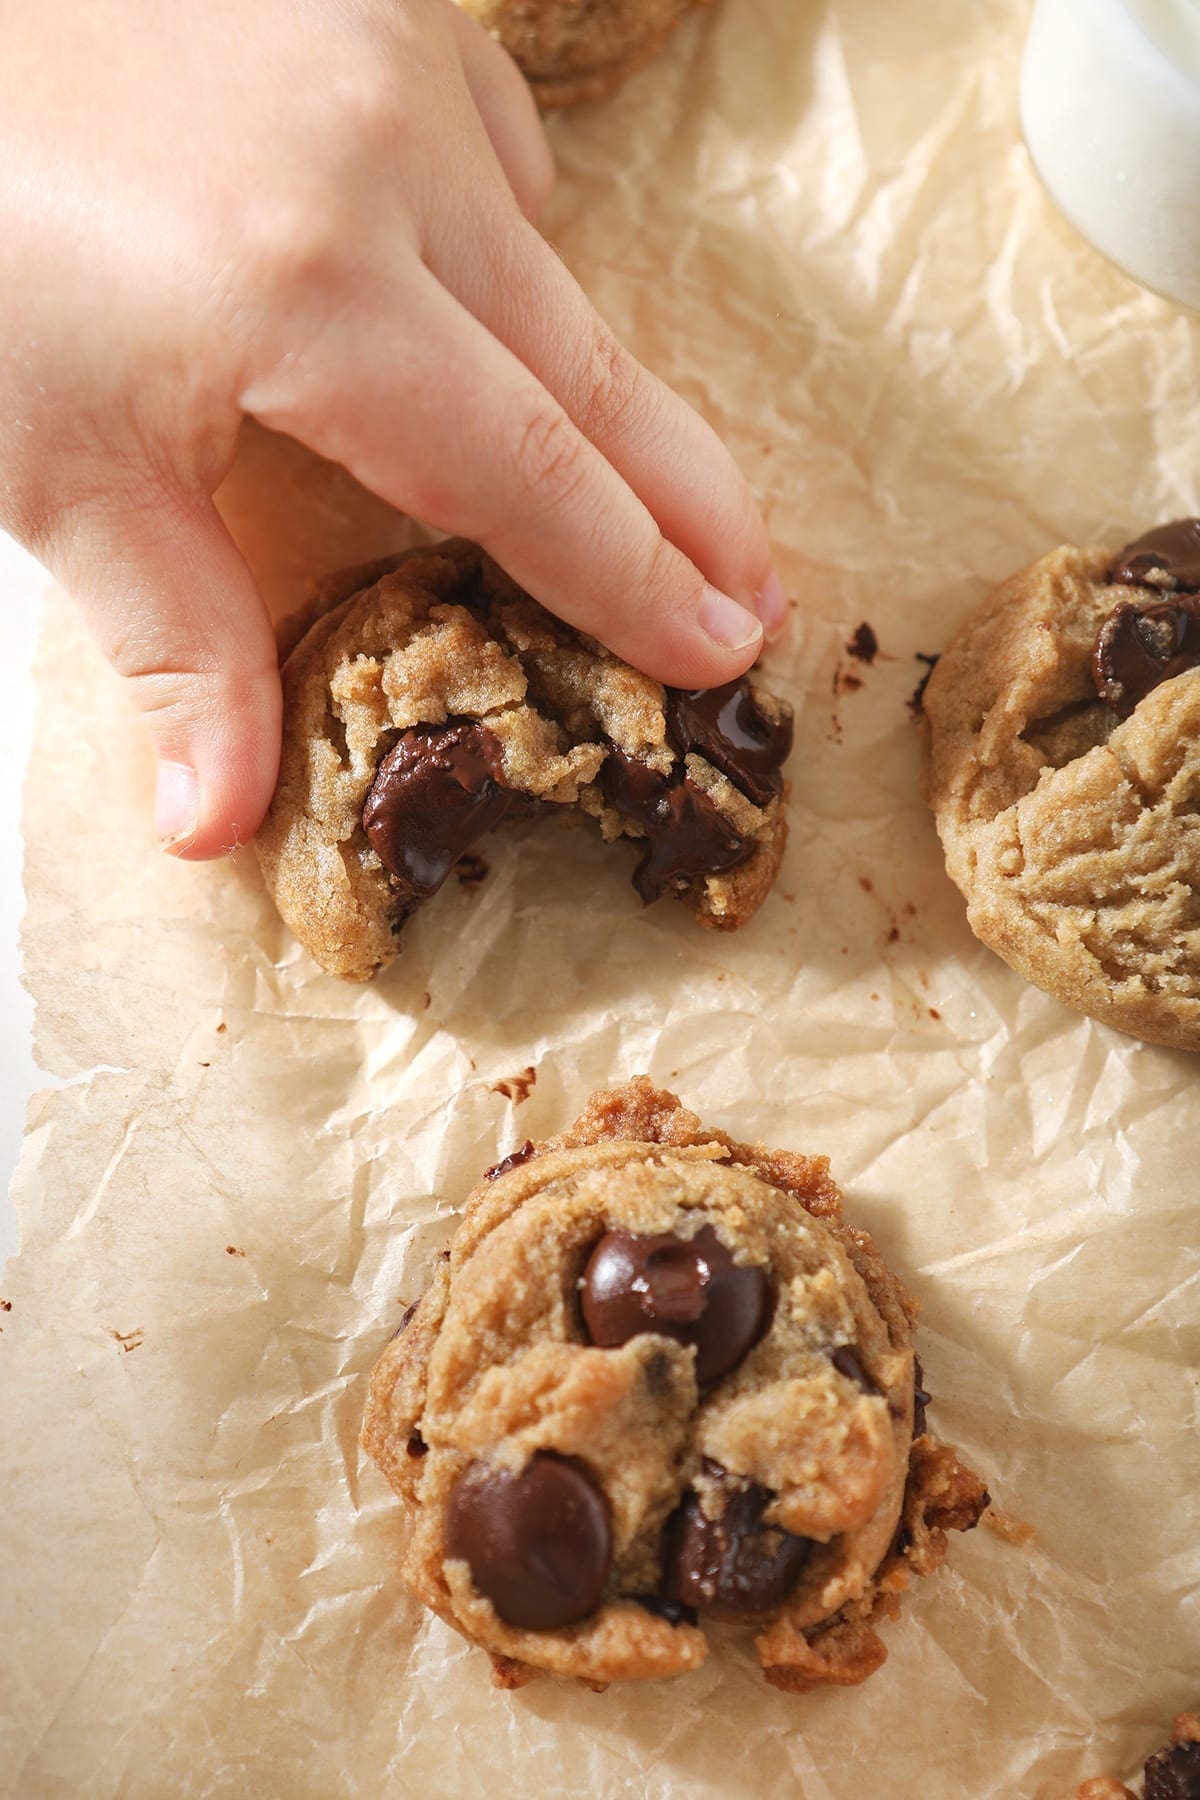
Other cookie recipes you might enjoy: Fig Pinwheel Cookies | Classic Shortbread Cookies | Oatmeal Cinnamon Cookies with Maple Cream Cheese Glaze | Pecan Chocolate Chip Cookies

Let’s talk about The Sweetest Season and Cookies for Kids Cancer!
The Sweetest Season is my annual holiday cookie week.
In 2011, I decided to share my favorite Christmas cookies… then invited other bloggers to join me. The celebration grew, we changed the name to make it more inclusive, my friend Susannah stepped up to help and the rest is history.
And now, every year, food bloggers get together to share new holiday cookie recipes.
This year, we’re raising money in support of Cookies for Kids’ Cancer, a recognized 501(c)3 non-profit organization dedicated to funding research for new, innovative and less-toxic treatments for childhood cancer.
Since 2008, Cookies for Kids’ Cancer has granted nearly $18 million to pediatric cancer research in the form of 100+ research grants to leading pediatric cancer centers. More than 35 treatments available to kids battling cancer today were stemmed from these grants.
We’d love for you to help us raise money for this cause! You can donate through our fundraising page.
Currently, Cookies for Kids’ Cancer is in a matching window with their friends at OXO. This means OXO will match every dollar up to $100,000 raised through the end of 2024. So whatever money we raise will automatically double!
What you need to make this recipe:
The Speckled Palate participates in affiliate programs. As an Amazon Associate, I earn a commission from qualifying purchases. Please refer to my disclosure page for more information about these affiliate programs.
- Rimmed sheet pan, cookie sheet or baking sheet
- Nonstick baking mat, silicone mat or parchment paper
- Kitchen scale
- An electric mixer, so a stand mixer or hand mixer
- Large bowl
- Rubber spatula
- Cookie scoop
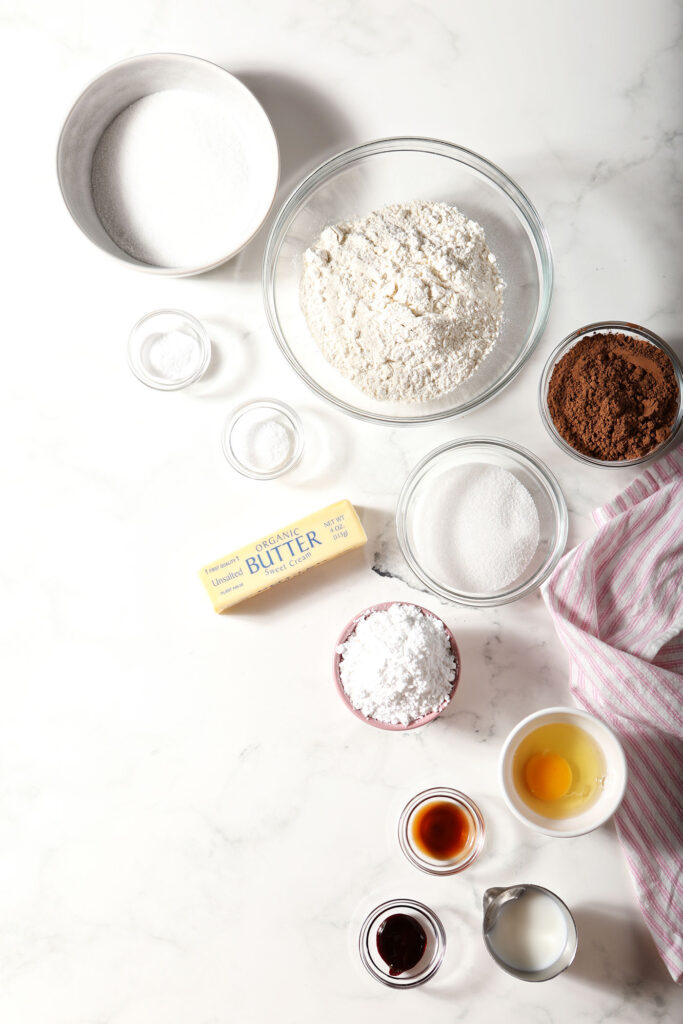
Let’s talk ingredients!
In addition to the tools above, you’re going to need some ingredients to make this recipe, too! Chances are, you might already have some of them in your fridge or pantry. Scroll down to the recipe card for the full measurements and instructions.
In addition to these tools, here is what you will need from the store:
- All-purpose flour — we always have unbleached AP flour at our house, but the regular kind works, too! I have not tried this recipe with a gluten-free flour.
- Cocoa powder — natural unsweetened cocoa powder is what you want. This gives delicate chocolate flavor to the cookies.
- Baking soda — this is our leavener and will help make these cookies extremely fluffy. Make sure yours is fresh!
- Kosher salt — medium grain kosher salt is my go-to. Diamond Crystal is my favorite brand. You may use a similarly sized sea salt. Keep in mind that table salt is saltier than kosher.
- Unsalted butter — this is the base for our cookie recipe. It should be at room temperature and softened so it more easily is combined with the sugars.
- Granulated sugar — also known as white sugar, this adds sweetness to the cookie dough. We also use this to roll the cookie dough in before baking.
- Powdered sugar — also known as confectioners’ sugar, this adds sweetness, too, and a super fluffy texture. There is no replacement.
- Egg — I use large eggs in all my baking recipes.
- Vanilla extract — the real deal pure vanilla extract is where it’s at. This adds amazing flavor.
- Red gel food coloring — this is going to transform our cookies from a muddled red color to a brighter brick red. You can use regular food coloring, but you’ll need about a tablespoon of it to get the same color. Do no use natural food coloring, as it will bake out of the cookies and leave them muddled.
- Buttermilk — this makes an impact on the texture of these cookies. If you don’t have buttermilk at your house, you can make a buttermilk substitute easily!
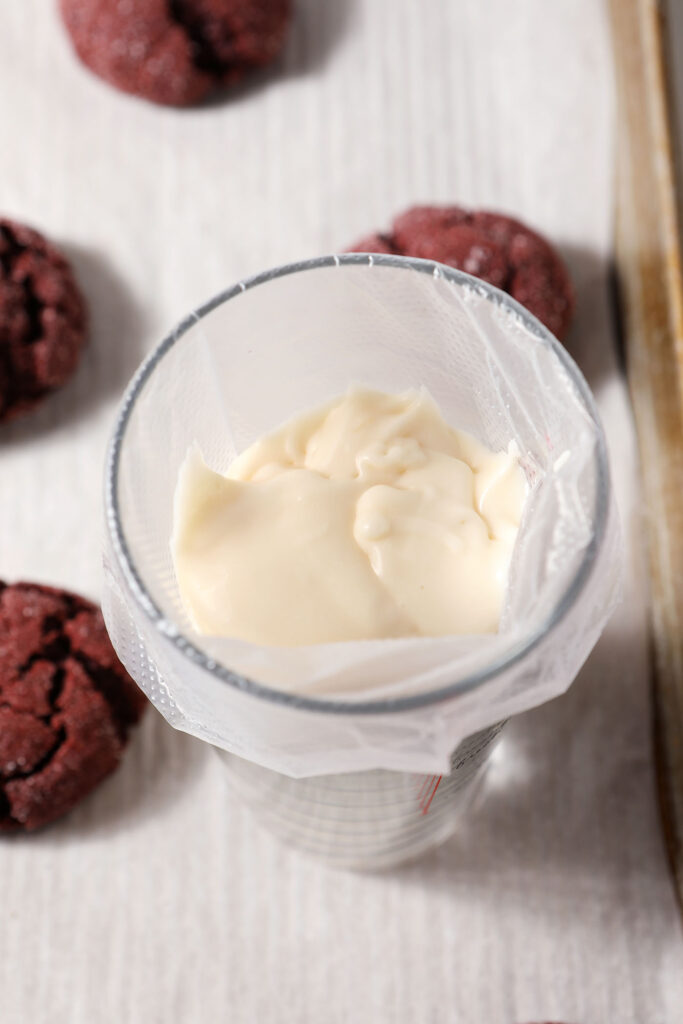
- Cream cheese icing — this frosting needs to be on the runnier side so it can be drizzled on top of the cool cookies. I used my cinnamon roll cream cheese icing recipe because of this instead of a thicker, pipeable cream cheese frosting.
Please note that some red velvet cookie recipes call for white chocolate chips or semisweet chocolate chips to be mixed in. We do not do that in this recipe, and while I have not tried it, I would assume a cup of these chips would be a great addition if you want to try it!
How to make Red Velvet Cookies
First, we’re going to make our cookie dough:
Preheat the oven for 375°F. Line two baking sheets with parchment paper, and set aside.
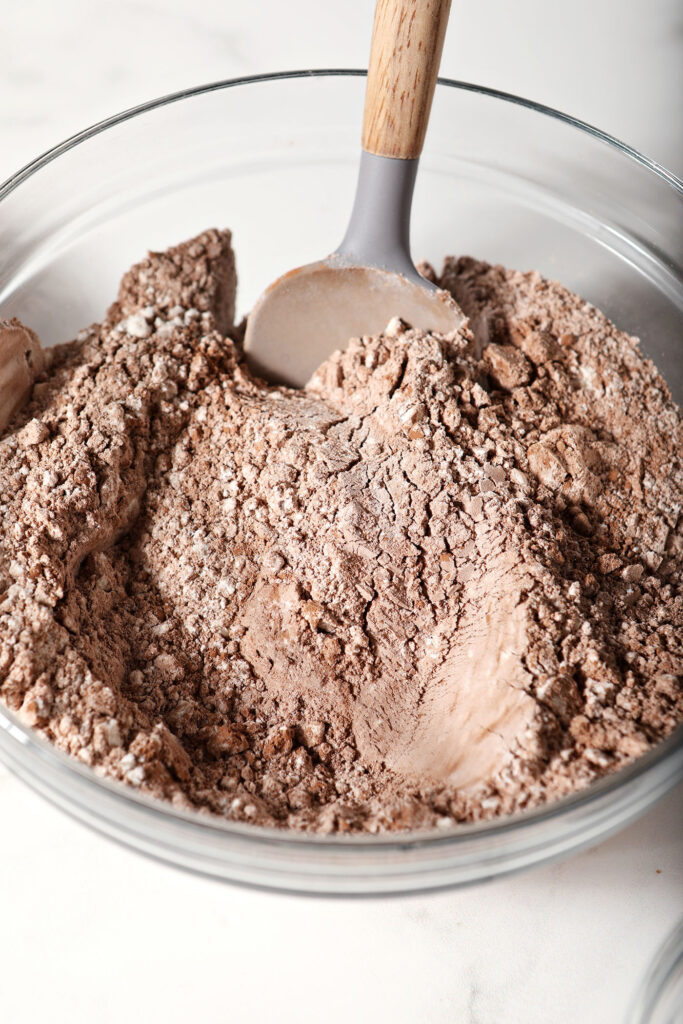
Measure the flour, cocoa powder, salt and baking soda into a medium bowl. Whisk to combine, and set aside.
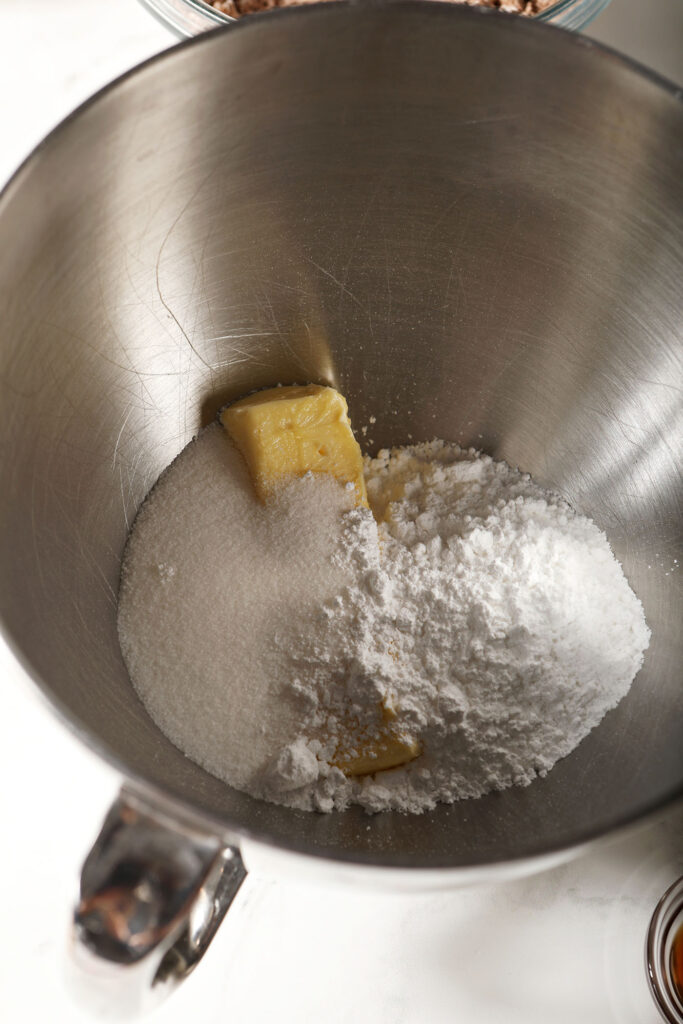
Add the butter to the bowl of a stand mixer fitted with the paddle attachment. You can also do this in a large bowl with a hand mixer.
Measure in ½ cup of granulated sugar and the powdered sugar.
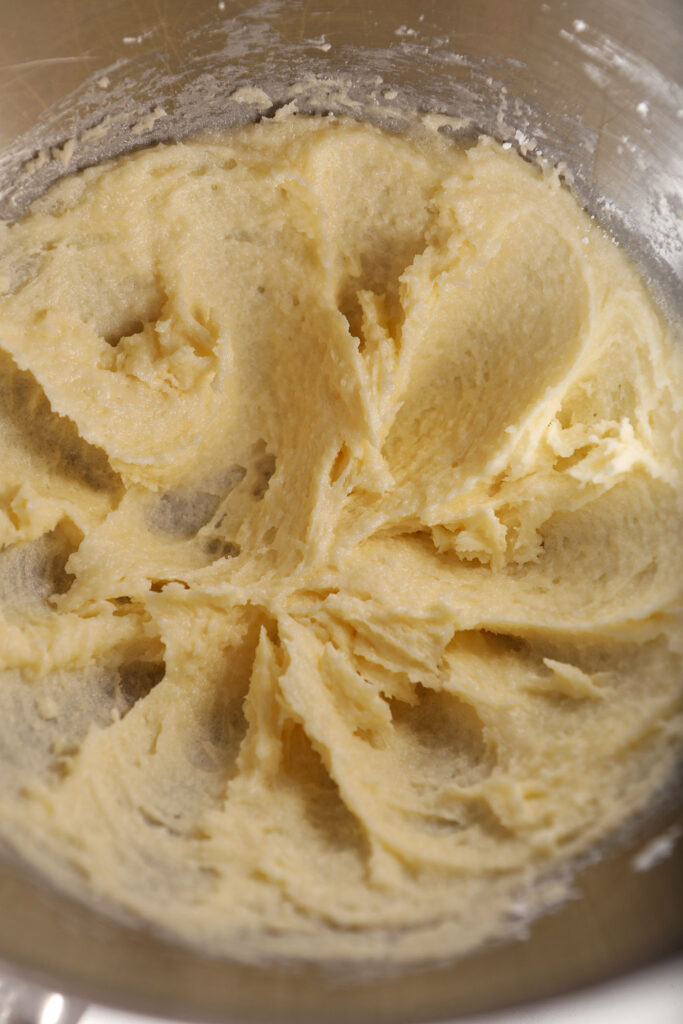
Cream the butter and sugars until light and fluffy.
This should take about 2-3 minutes with a stand mixer.
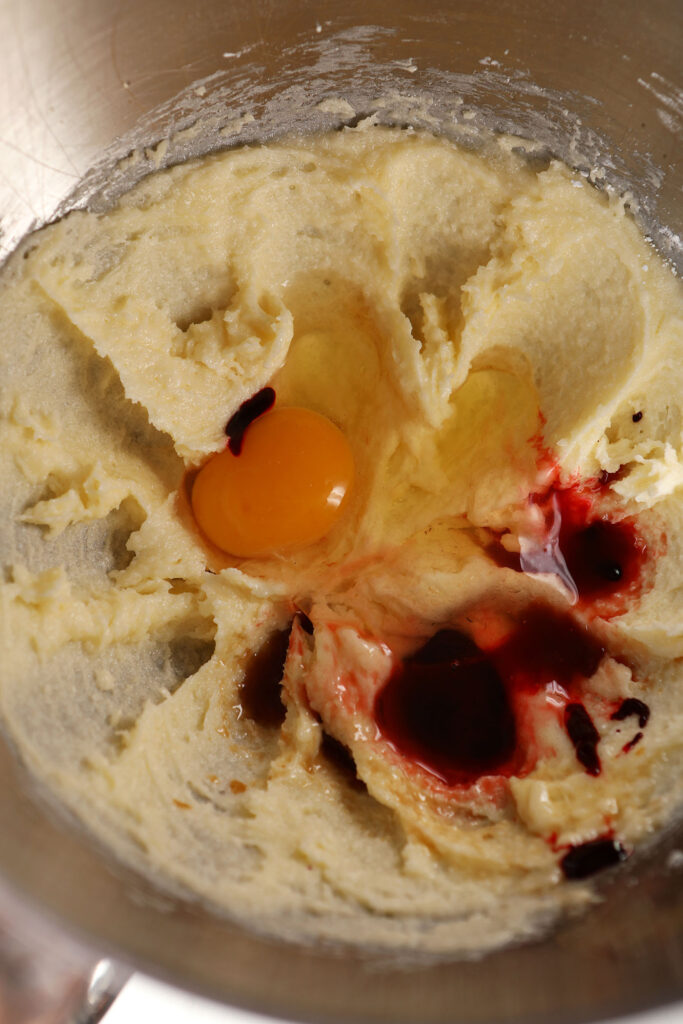
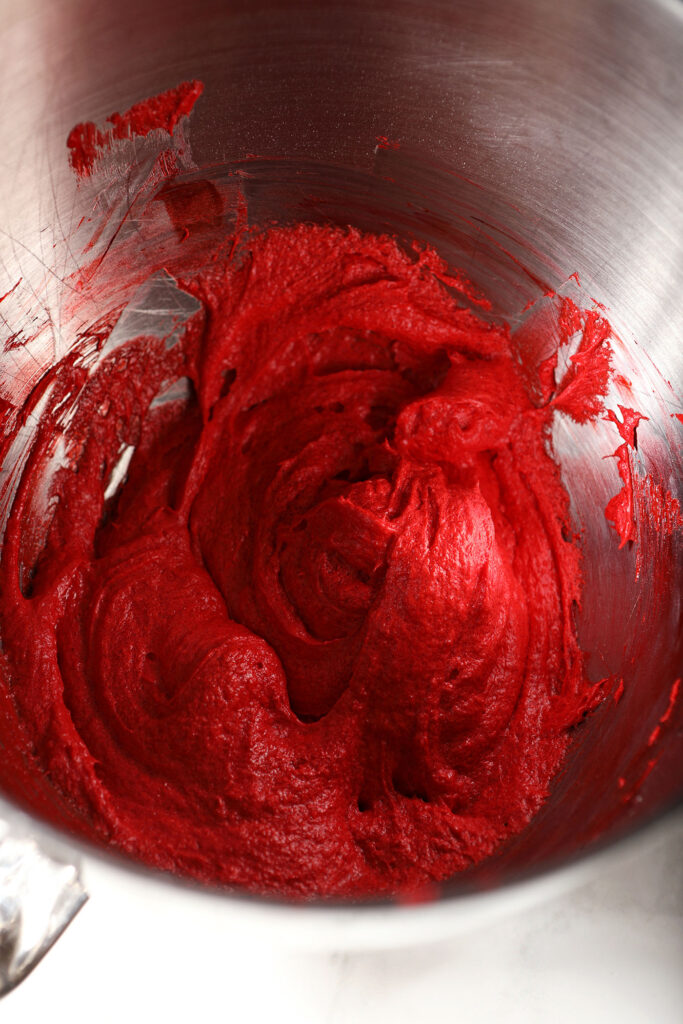
Crack the egg into the butter mixture. Add the vanilla extract and gel food coloring, too.
Mix to combine, about 2 minutes. The resulting batter will be boldly red.
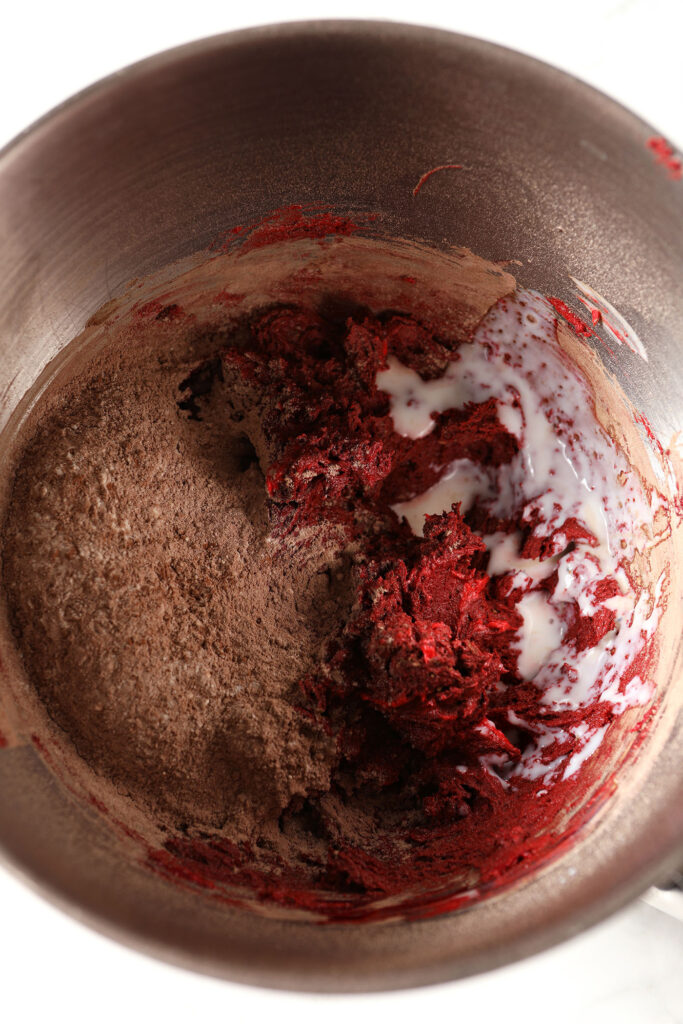
Measure in half of the dry ingredients to the wet ingredients.
Pour in half of the buttermilk, too. Mix until the batter has just barely come together.
Add the other half of the dry ingredients and the rest of the buttermilk. Mix until combined.
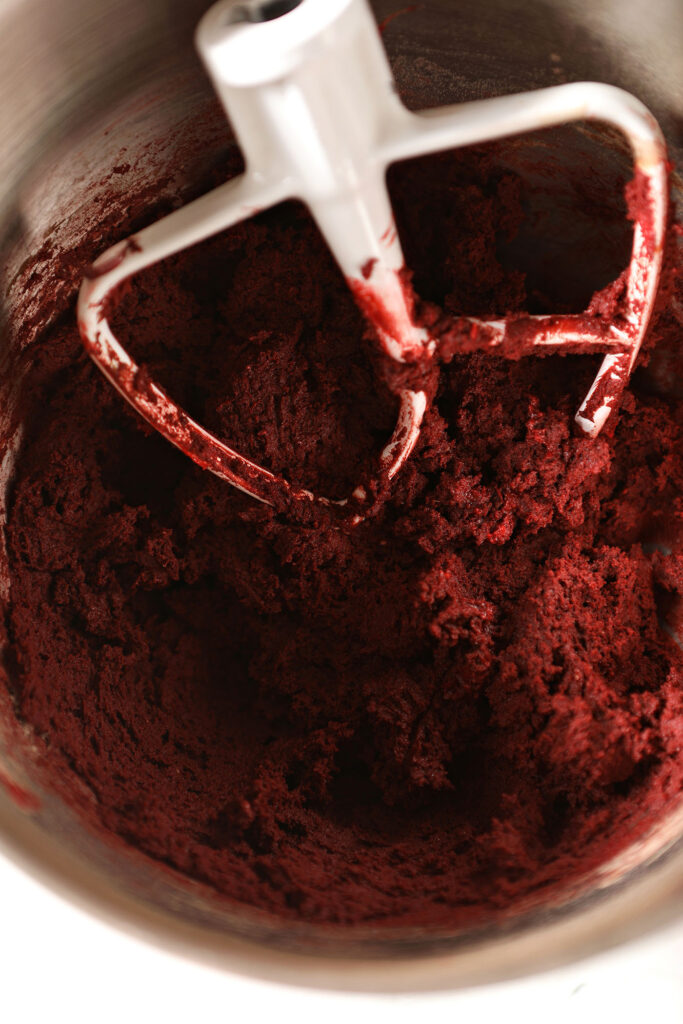
Use a 1.5-tablespoon cookie scoop to scoop the soft cookie dough.
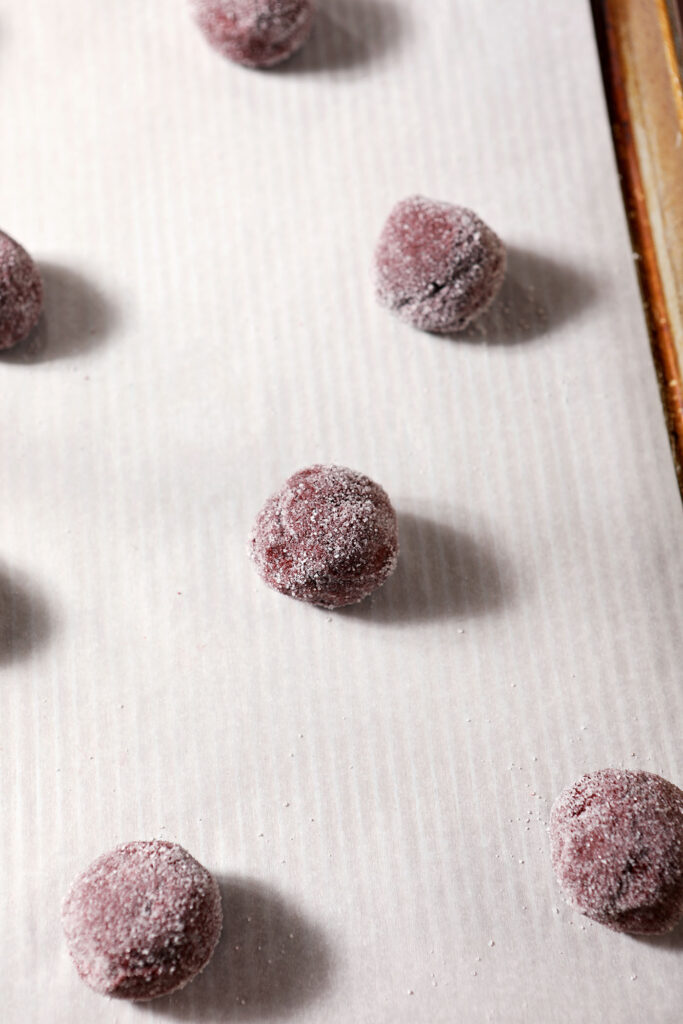
Roll gently between your hands to round out the dough balls, then place in a bowl of the remaining granulated sugar. Roll it around to coat, and transfer to the prepared baking sheet.
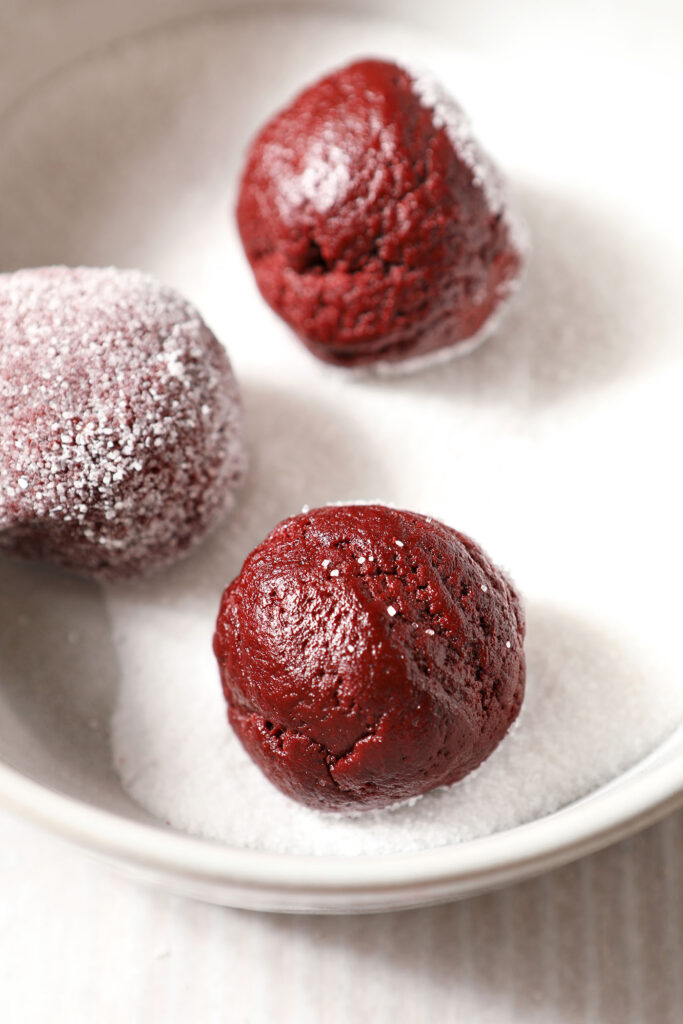
Continue until all the cookie dough balls have been rolled in the sugar and placed on the sheet pans. Give them about 2” space between each cookie so they can spread slightly as they bake.
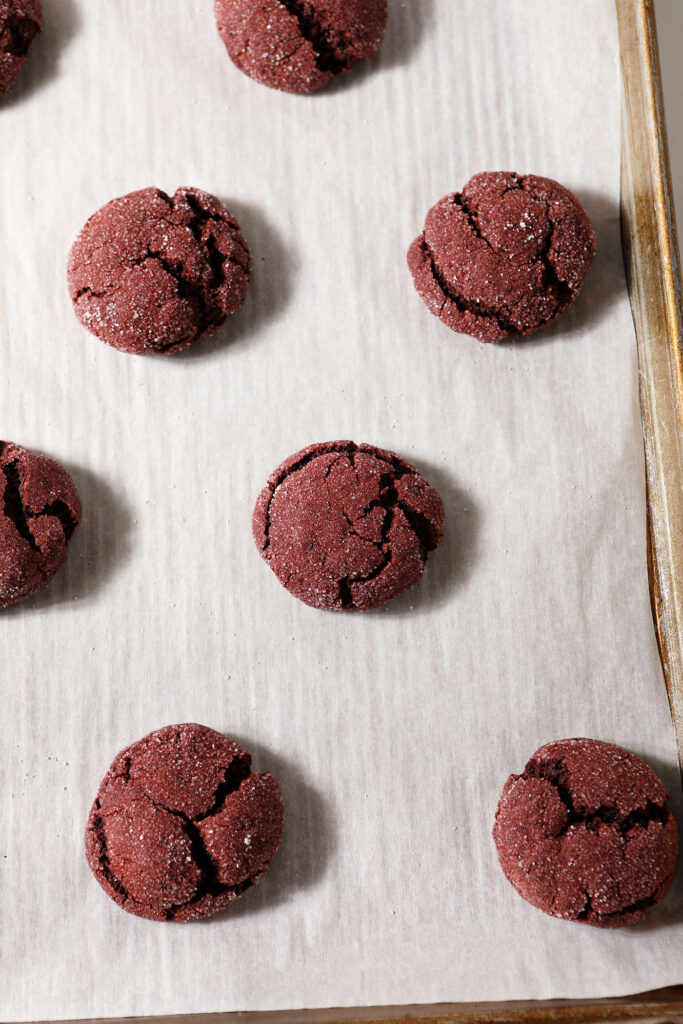
Bake in the preheated oven for 14-15 minutes, or until the exterior is crusty. The timing will be dependent on the size of your cookie scoop, so if yours is smaller, the bake time will be a little less.
Remove from the oven and let cool for 20-30 minutes on a wire rack.
Frost the cookies
If you’d like to decorate your cookies like mine, make the cream cheese icing. Transfer it to a piping bag. (This will help you drizzle it on the cookies in an even fashion.)
When the cookies have completely cooled, snip the bag and drizzle the cookies with cream cheese icing.
Give the icing a few minutes to firm up in the fridge, if desired, or enjoy immediately.
How to store and freeze
Store in the refrigerator in an airtight container after cooling completely for up to a week. The cookies need to be kept in the fridge once frosted.
To freeze the cookies, follow my tutorial of How to Freeze Cookie Dough. You can also freeze the baked cookies, but you need to freeze them without the cream cheese drizzle.
To reheat, defrost in the refrigerator then bake OR bake from frozen in a preheated oven, per the instructions in the recipe card.
Erin’s Easy Entertaining Tips
If your people love red velvet flavors, these Red Velvet Cookies are a sweet treat that are perfect to share, whether you’re baking them for a birthday party, a cookie exchange, a cookie box, Valentine’s Day or something else.
Also, there’s nothing like homemade cookies for the holidays‚ or any kind of gathering, especially ones that involve kids.
Here are some tips and tricks to making this recipe for a group:
- Bake the cookies in advance. They are delicious at room temperature or even cold, so make ’em early and don’t fret!
- Make the icing drizzle in advance, too. It keeps in the fridge for a few weeks, so throw that together whenever you have time.
- Double or triple the recipe for a crowd. You can always send friends home with extra cookies.
- Make them for a cookie exchange. You could also have them on Christmas cookie trays at a cookie decorating party, too.
- Watch out for flavor creep! Since these red velvet cookies have subtle cocoa flavor, they should be stored separately from other cookies. (Truthfully, all cookies should be stored separately and then served together later.)
Frequently Asked Questions
Sure! You could make black velvet, blue velvet or green velvet cookies using a different color of food coloring. Keep in mind that you might need more or less than specified here since different colors take differently to the batter.
Quick tips and tricks to the best red velvet sugar cookies:
- Make sure your butter and egg are room temperature before mixing the cookie dough. Everything will come together more easily if they’re at temp.
- Gel food coloring is more potent than liquid food coloring. You will need significantly less gel color to get the same brick red than you will need the liquid. Absolutely under no circumstances should you use natural food coloring.
- Have fun with the icing. If you don’t want to drizzle it on, use an offset spatula to smear it on the tops… or make them into sandwich cookies with thicker cream cheese frosting.
Here’s how you can make these cookies at your home this season… or any season…
Red Velvet Sugar Cookies
Ingredients
- 2 cups all-purpose flour 240g
- ½ cup unsweetened cocoa powder NOT Dutch processed (60g)
- 1 teaspoon baking soda 8g
- ½ teaspoon kosher salt 3g
- ½ cup unsalted butter at room temperature (113g)
- ½ cup granulated sugar 100g
- ½ cup powdered sugar 80g
- 1 large egg at room temperature
- 1 ½ teaspoons vanilla extract 6g
- 1 teaspoon red gel food coloring 6g
- 3 tablespoons buttermilk 48g
- ½ cup granulated sugar to roll the cookie dough in
- Cream cheese icing to drizzle on the final cookies
Equipment
As an Amazon Associate and member of other affiliate programs, I earn from qualifying purchases.
Instructions
- Preheat the oven to 375℉. Line two sheet pans with parchment paper, and set aside.
- Measure the flour, cocoa powder, salt and baking soda into a medium bowl. Whisk to combine, and set aside.
- Add the butter to the bowl of a stand mixer fitted with the paddle attachment. (You can also do this in a large bowl with a hand mixer.)
- Measure in ½ cup of granulated sugar and the powdered sugar.
- Cream the butter and sugars until light and fluffy, 2-3 minutes.
- Crack the egg into the butter/sugar mixture. Add the vanilla extract and gel food coloring.
- Mix to combine, about 2 minutes.
- Measure in half of the dry ingredients, and pour in half of the buttermilk. Mix until the batter has come together just barely, then add the other half of the dry ingredients and the rest of the buttermilk. Mix until combined.
- Use a 1.5-tablespoon cookie scoop to scoop out the soft cookie dough. Roll gently between your hands to round out the dough balls, then place in a bowl of the remaining granulated sugar. Roll it around to coat, and transfer to the prepared baking sheet.
- Continue until all the cookie dough balls have been rolled in the sugar and placed on the sheet pans. Give them about 2” space between each cookie so they can spread slightly as they bake.
- Bake in the preheated oven for 14-15 minutes, or until the exterior is crispy.
- Remove from the oven and let cool for 20-30 minutes on a wire rack.
- Make the cream cheese icing, if you have not already, and transfer to a piping bag.
- Snip the tip of the bag at an angle, and drizzle the cooled cookies with the icing in whatever pattern is pleasing to you. You could also smear this frosting on with an offset spatula, if desired.
- Let the icing firm up in the fridge OR enjoy immediately..
Video
Notes
Nutrition

About the Author:
Erin Parker is a Southern gal living in Texas with her husband and two daughters. She started The Speckled Palate to share what she was cooking as a newlywed… and over the years, it’s evolved to capture her love for hosting. Specifically, the EASIEST, lowest key entertaining because everyone deserves to see their people and connect over good food. Learn more about her…
I like that they’re made from scratch! And absolutely love the crispy exterior and soft, cake-like exterior. Perfect cookies .
Thank you so much, Nicoletta! Honestly, the texture and flavor combo here is on point. I’m so glad you think so, too. 🙂
Oh I LOVE all-things-red-velvet! Can’t wait to try these beautiful cookies!
You and me both, Megan! I hope you love them like I do because holy cow, these cookies are a delight!
Anything red velvet has my vote! They are so pretty and would be the perfect addition to any holiday tray.
Honestly, it’s hard to say no to red velvet, right? Thank you so much — you’re right about these being a fun addition to a holiday tray for sharing!
What a fun combination, thank you for sharing this recipe! I once made a red velvet cake with beets, if you can believe it. I so love cream cheese frosting, too.
By the way, I love your box before the comments section – what a great reminder for readers!
Thank you so much, Tessa! And I absolutely LOVE that you’ve made a red velvet cake with beets before! I’ve never tried it myself… how did it turn out? Honestly, the combination of red velvet and the cream cheese frosting is just so satisfying.
And thank you! Sometimes, we all need a little reminder that many of the sites that we cook from are run by human beings who are doing their best. 😀
These are so vibrant and festive! I just know these Red Velvet Cookies will make any cookie box extra special. Thank you so much for hosting The Sweetest Season with me this year — it’s always SO much fun!
Thank you, Susannah! They are truly delicious and wonderfully vibrant for this time of year. 🙂
You are so welcome for hosting. This is just the best collaboration, and I am so thankful for you for joining me in it every year!
These look so soft and tender! I love that your recipe includes buttermilk; I definitely will have to try them.
Thank you! They really are wonderfully soft on the inside. And the addition of buttermilk was a fun one to figure out, so I’m glad you love that. I hope you enjoy these cookies when you make them.
These red velvet cookies look delicious and decadent. They’d be perfect to share at any holiday celebration!
Thank you, Renae! They are both delicious and decadent for sure. I highly support sharing them this time of year!