
Eggnog Muffins
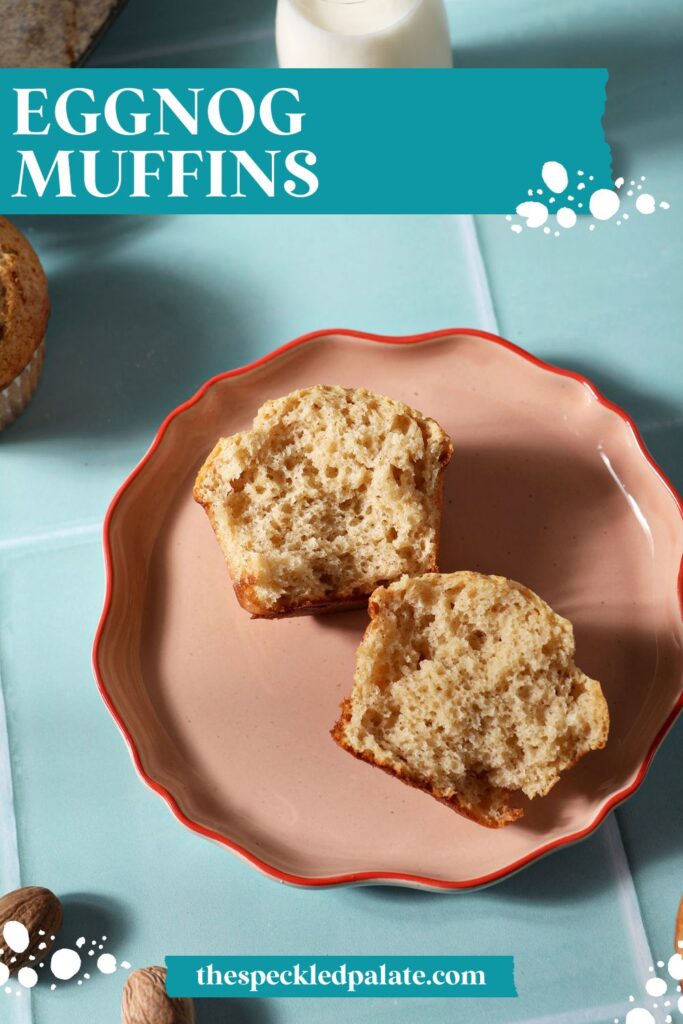

Seasonal Eggnog Muffins celebrate the beloved seasonal beverage… in breakfast form! This holiday recipe comes together quickly and easily and bakes up into the most beautiful bakery-style muffins. Learn how to make these beauties for a holiday brunch this season!
This post contains affiliate links.
The best Eggnog Muffins recipe:
I’ve had this recipe (or one like it) on my running list of recipes to try since I developed my Eggnog Pancakes recipe years ago.
And I decided in September that it was time to test it… only to quickly realize that eggnog is not a beverage that is available year-round. (Fun fact: it hits the shelves in early November where I live. Ask me how I know.)
Which meant I had to figure out how to make homemade eggnog… which is actually easier than you think it might be.
After making this homemade eggnog recipe, I had so much available that I tested out Eggnog Cookies and Eggnog Bread, too.
And these delightful muffins.
Why I love this recipe:
Real talk: Eggnog and I have not always been friends, and I’m not super into drinking it by itself.
However, add it to a baked good and I’m happy as a clam.
Also, my kids were OBSESSED with these, which we knocked out of the park on the first go ‘round.
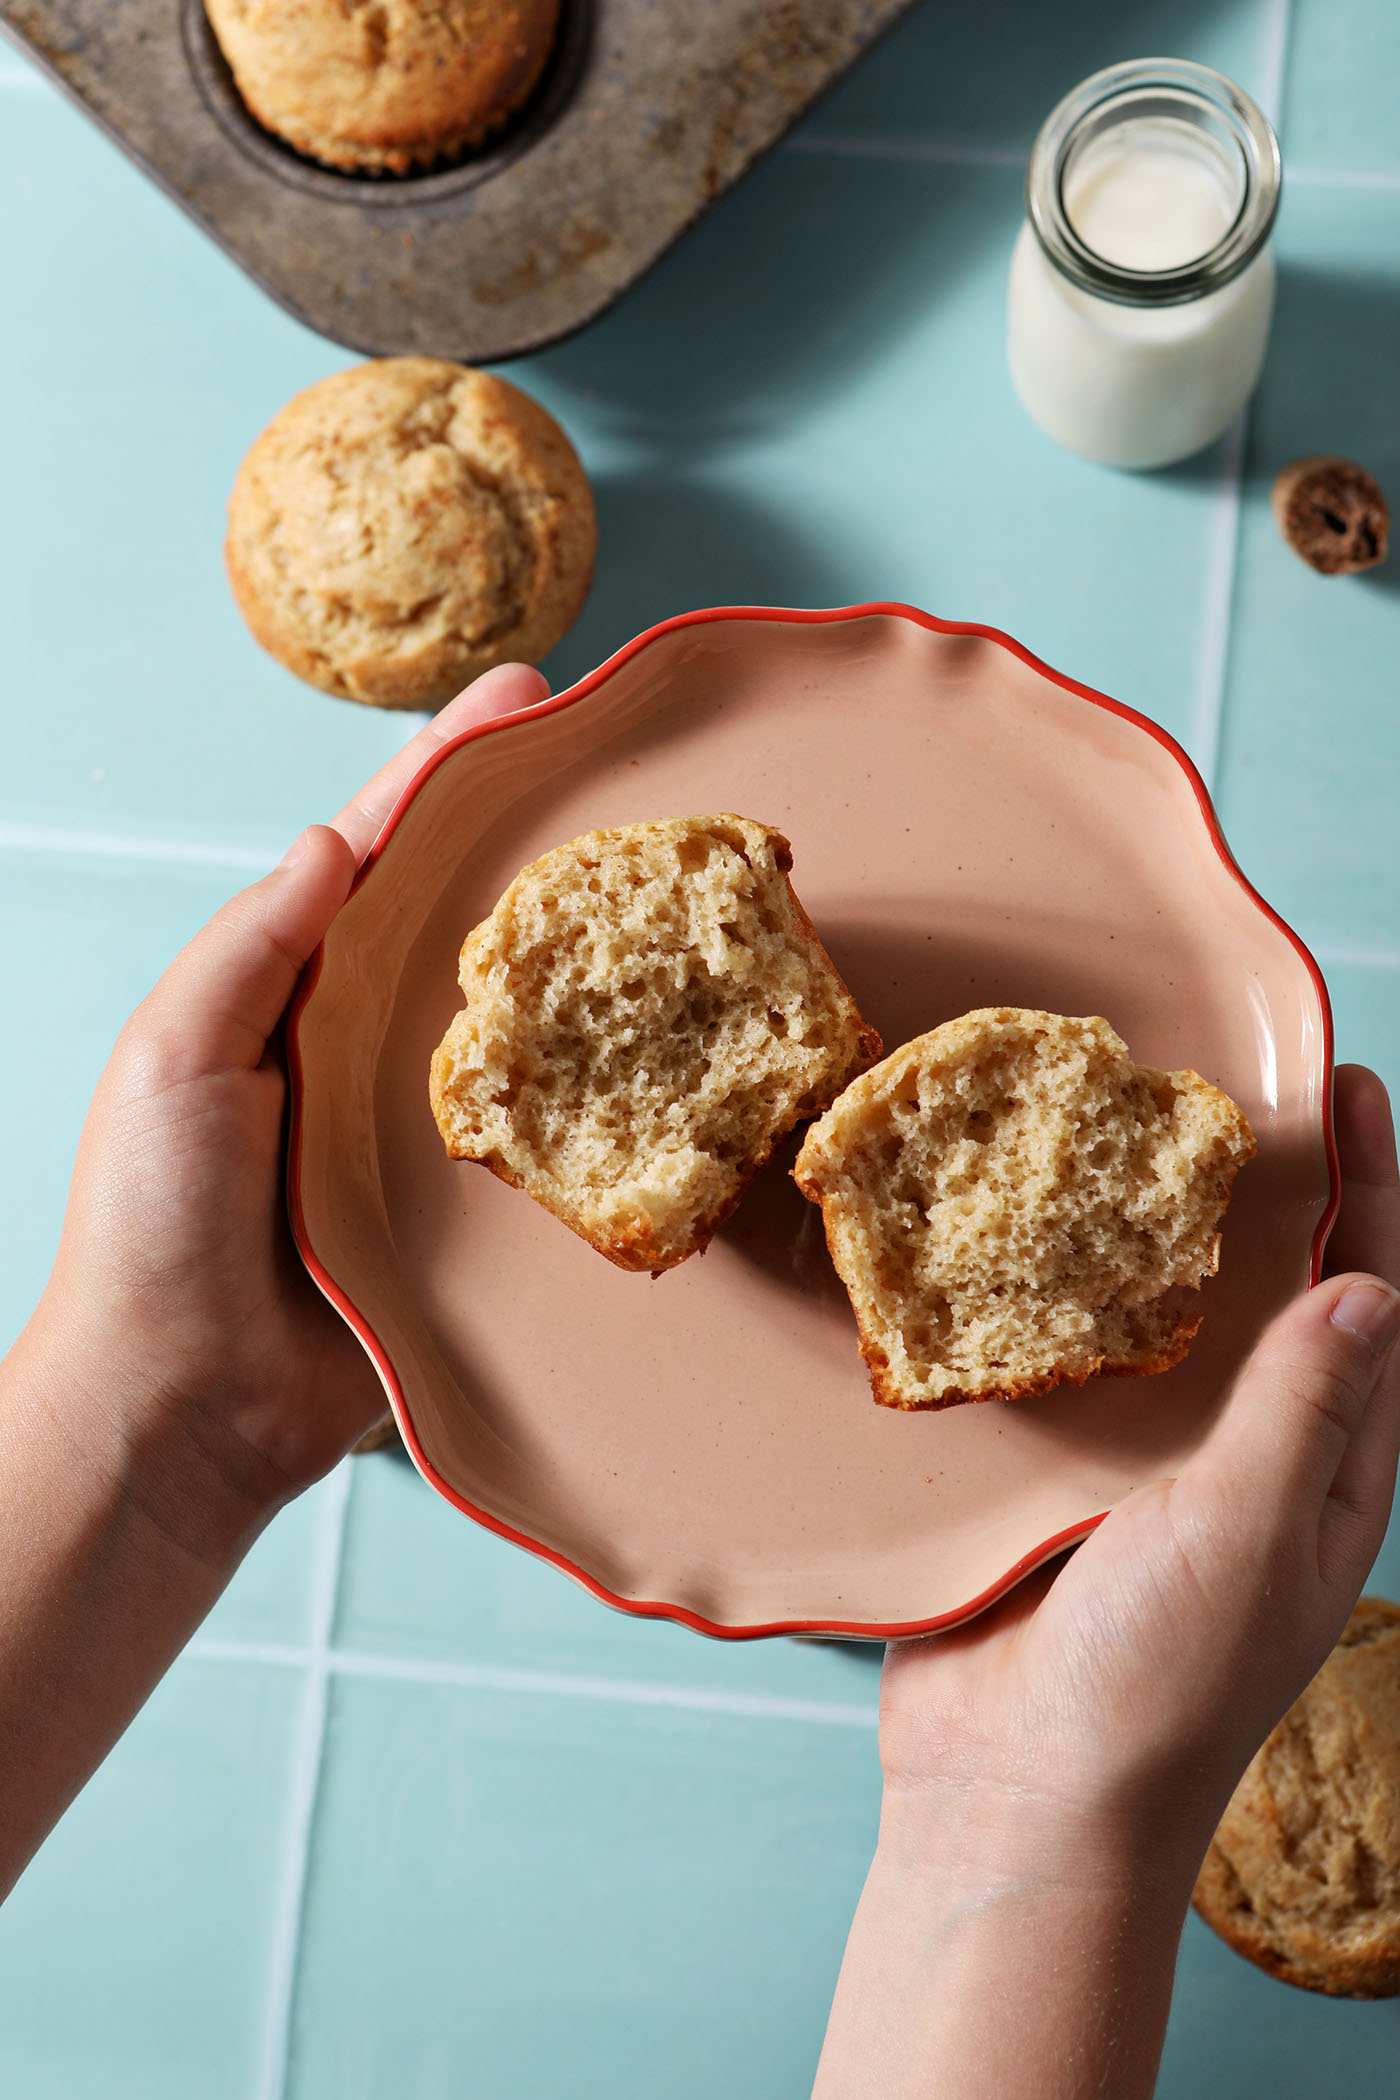
They have that perfect eggnog flavor and texture. They’re sweet, but not too sweet. (Which, in all of our opinions, is very important.) And they taste like the holiday season should.
Here are some more things we are all digging about ‘em:
- They taste like the classic beverage. Not only do we use eggnog in the muffin batter, but we also add some bonus spices to help everything sing.
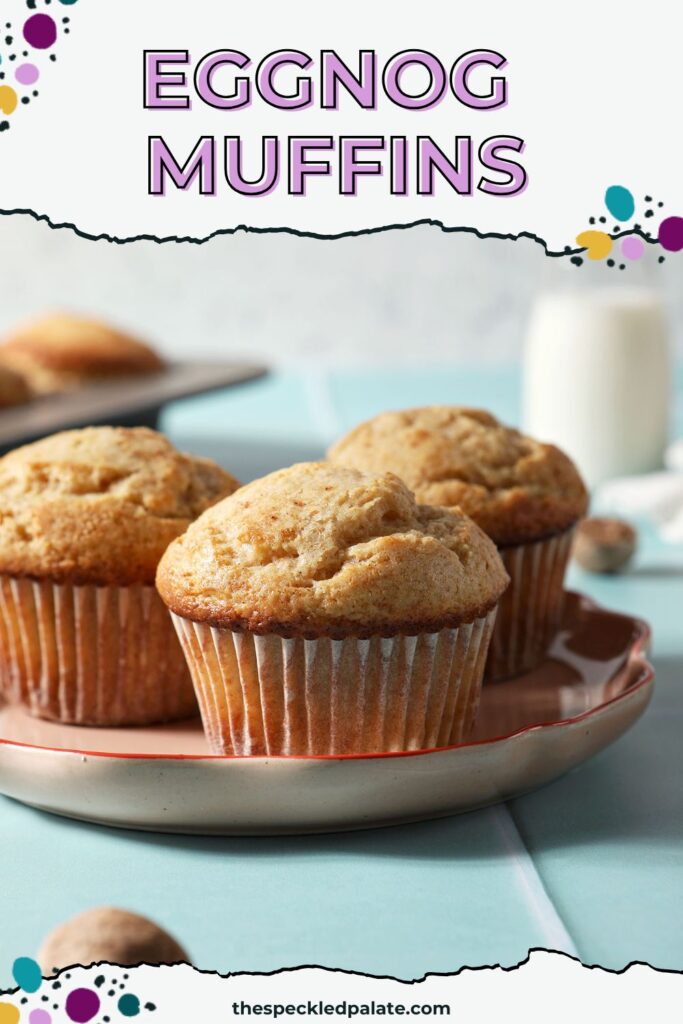
- They are TALL. This is in part due to the leavener, as well as the two eggs added to the batter… and the eggnog, which also has eggs and help provide a little lift to the batter.
- They are great to bake for a lazy weekend or “meal prep” for early morning breakfasts. They also double as an afternoon snack or a playdate nibble because kids (mostly, usually) love muffins like these.
More muffin recipes to try: Chocolate Chip Muffins | Apple Cinnamon Muffins | Coffee Cake Muffins
What you need to make this recipe:
The Speckled Palate participates in affiliate programs. As an Amazon Associate, I earn a commission from qualifying purchases. Please refer to my disclosure page for more information about these affiliate programs.
- Muffin tin or muffin pan
- Baking cups, paper or silicone
- Nonstick baking spray
- Kitchen scale
- Mixing bowls
- Measuring cups and spoons
- Whisk
- Rubber spatula
- 3-tablespoon scoop
- Zester
- Toothpick or cake tester
- Wire cooling rack
- Muffin and cupcake storage container
Let’s talk ingredients!
In addition to the tools above, you’re going to need some ingredients to make this recipe, too! Chances are, you might already have some of them in your fridge or pantry. Scroll down to the recipe card for the full measurements and instructions.
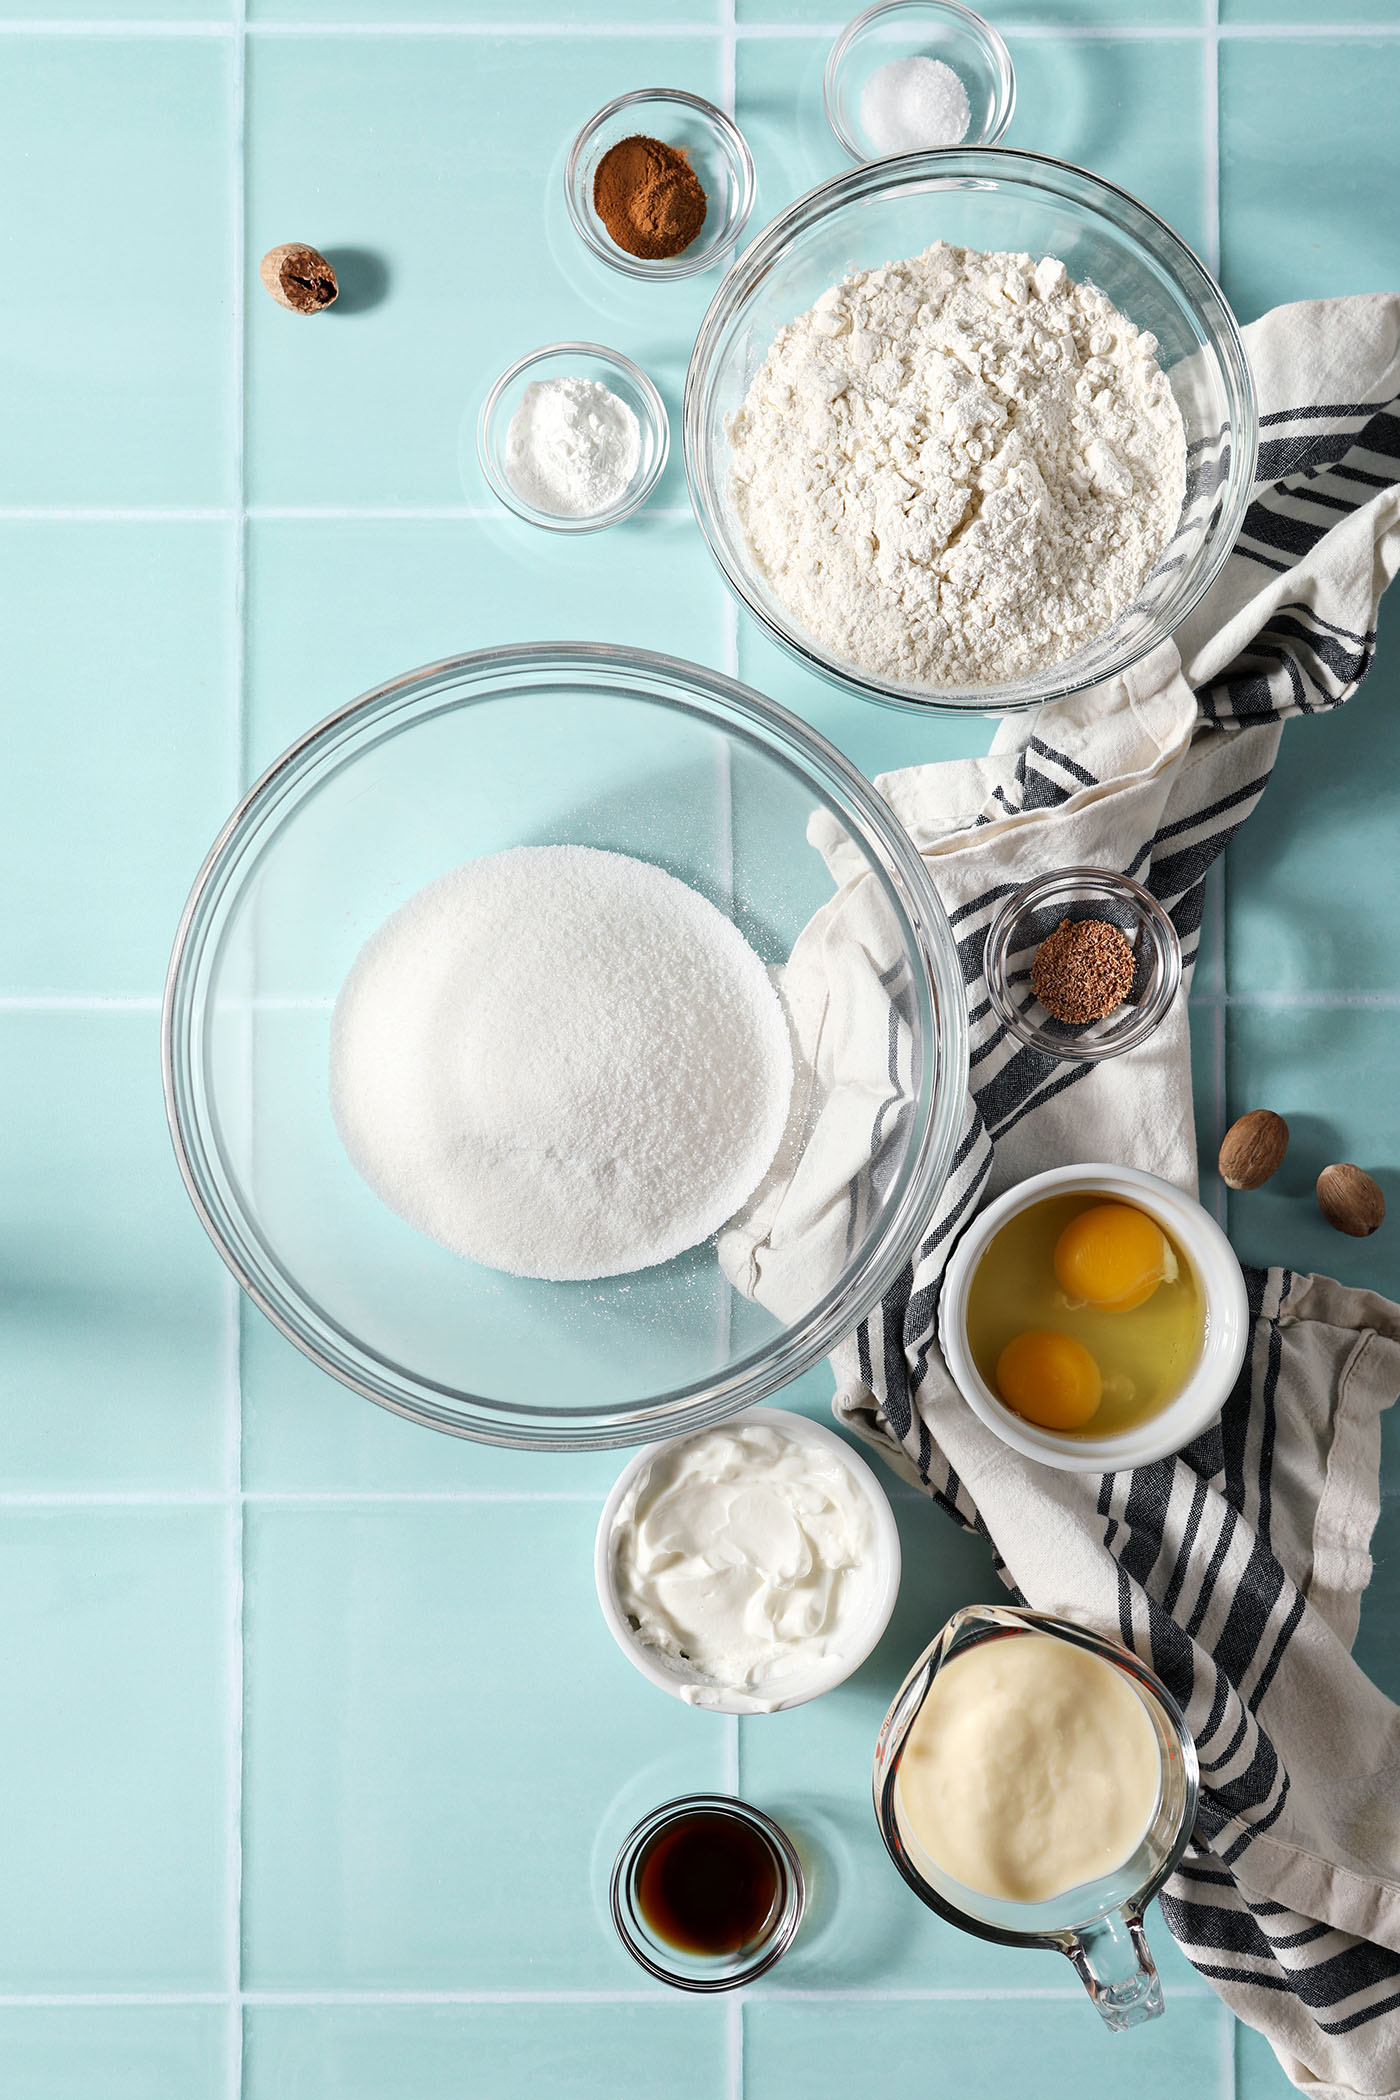
Here’s what you need to get from the grocery store:
- All-purpose flour — we like to use unbleached AP flour in our household, but the regular kind works, too. I have not tried this with a gluten free flour blend, however.
- Baking powder — this is our leavener. Always make sure your baking powder is fresh. It is not the same thing as baking soda.
- Ground cinnamon — this adds a pop of spice to the dry ingredient mixture and elevates these muffins.
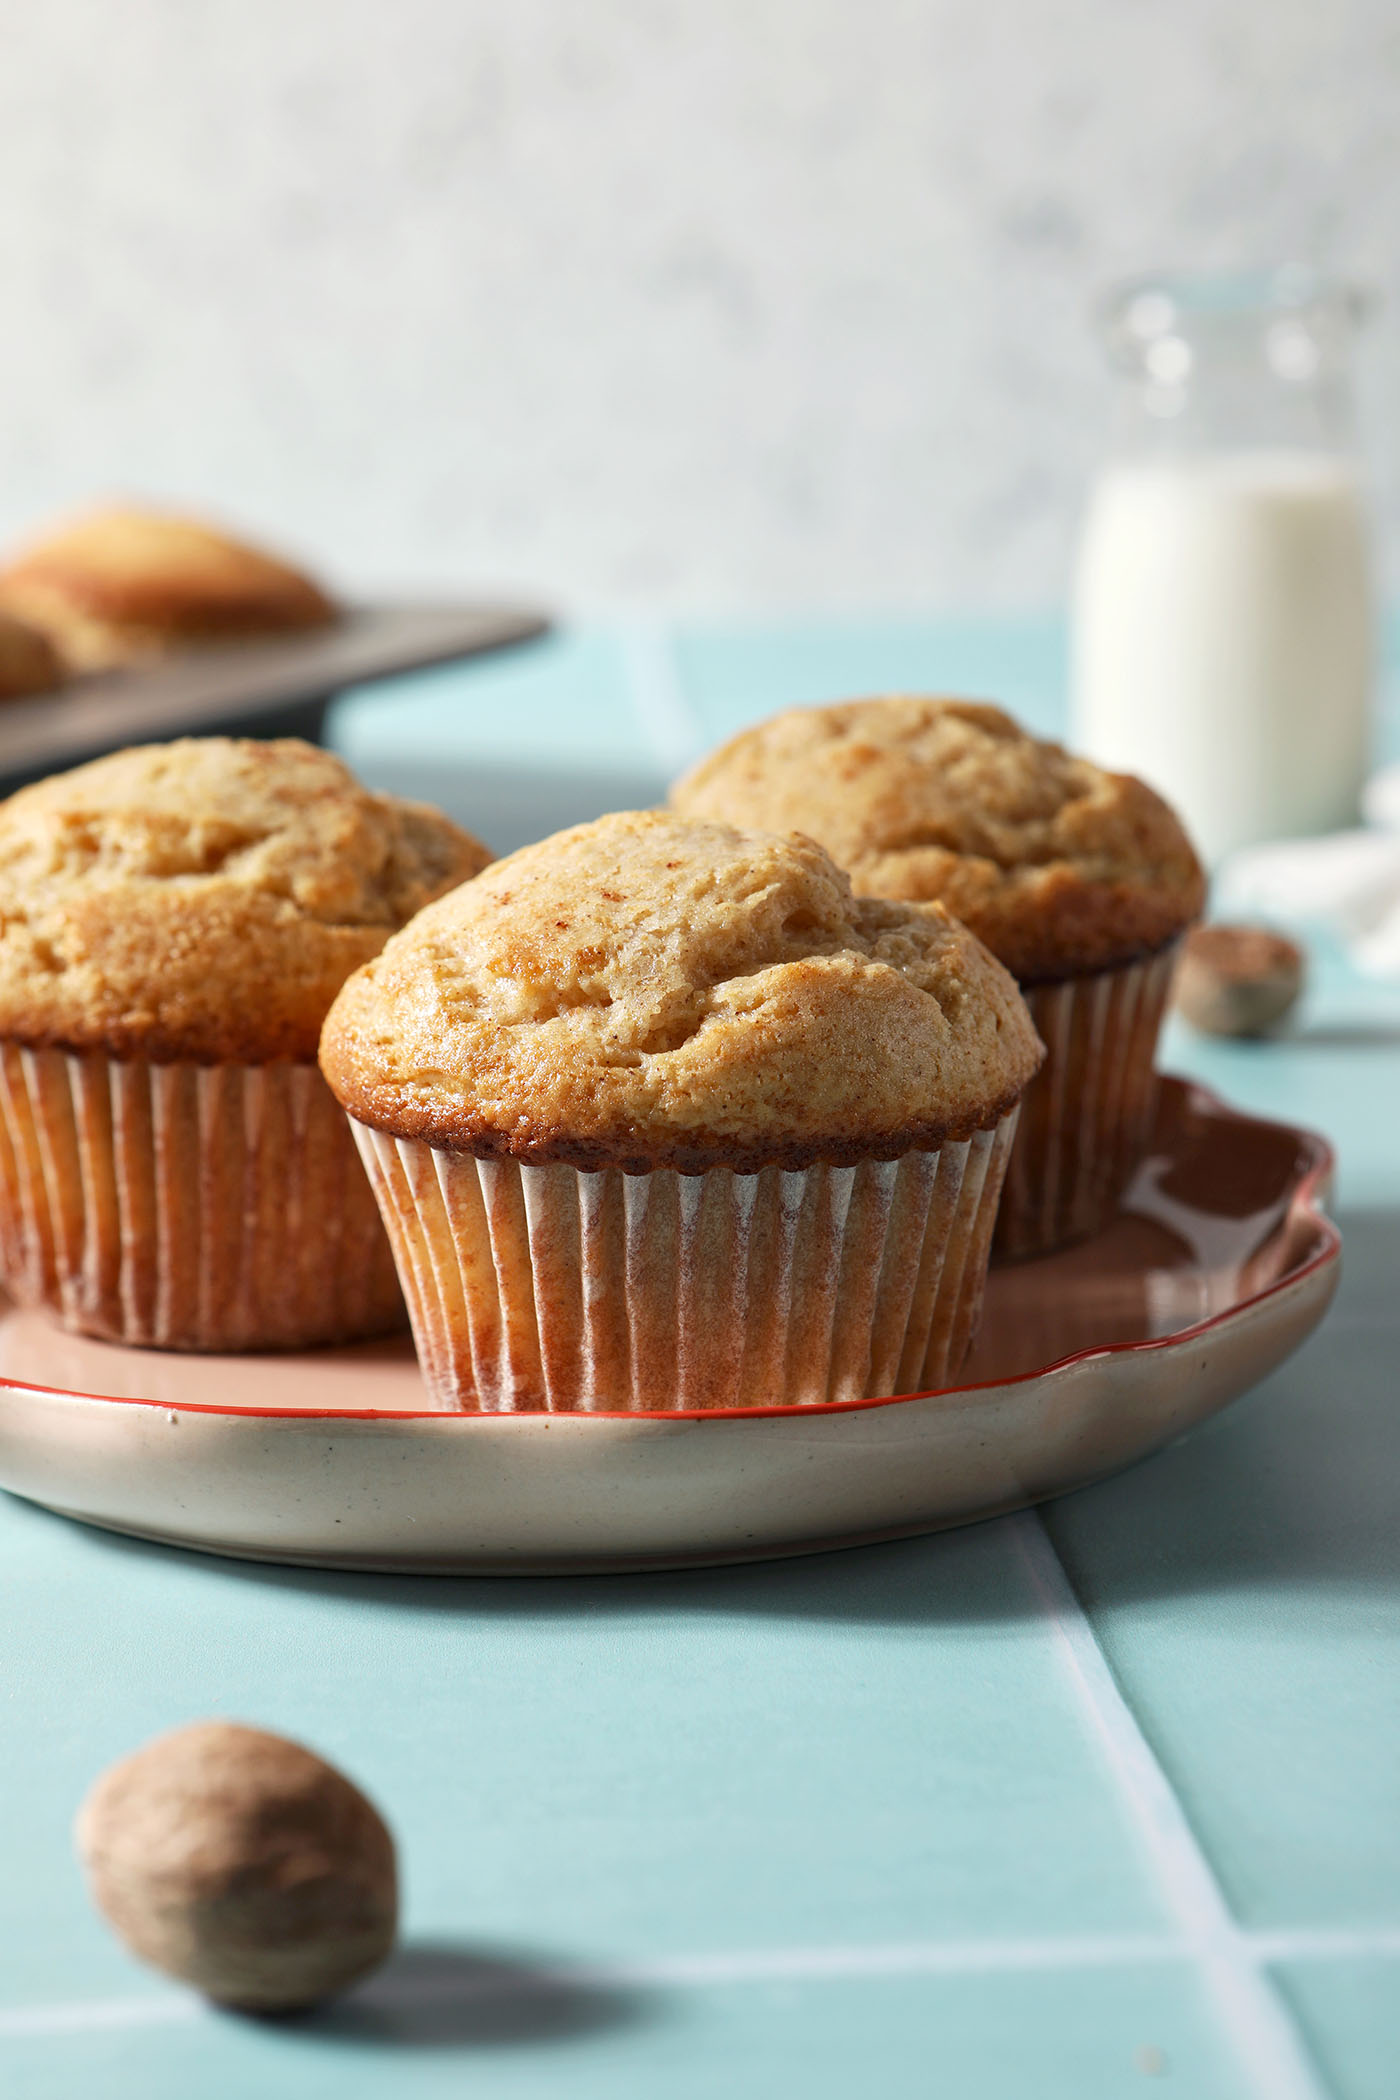
- Grated nutmeg — this is for the muffins, as well as the topping. I like to grate mine freshly because the flavor is fresher.
- Kosher salt — kosher salt is the best salt for baking. I like to use a medium-grain kosher salt, like Diamond Crystal.
- Sour cream — while this is considered a “wet” ingredient, it is also an important source of fat in the muffins. Please do not replace it with lower-fat or nonfat sour cream or yogurt because you will not get the same result as seen in these photos.
- Granulated sugar — this is also known as white sugar. Don’t swap it for brown sugar or a sugar substitute. It provides the perfect sweetness to our muffins.
- Eggnog — homemade or store-bought works just fine! This is super important and there is no substitute if you truly want your muffins to be eggnog. Like with the sour cream, please use full-fat eggnong and not a non-fat variety so that you get the full amount of fat necessary for the muffin batter.
- Large eggs — use the best eggs you can afford. I grab a carton at the grocery, but you can use eggs from the farmer’s market or your own backyard if you have chickens. These should be at room temperature.
- Pure vanilla extract — high-quality vanilla extract makes a big difference in your baking recipes. Another secret ingredient so to speak!
Customizations and substitutions
Gluten-free muffins: I haven’t tried this recipe with a gluten-free flour blend, but a 1:1 mix should work fine. Let me know if you try it!
Mini muffins: Use a mini muffin tin to make tinier muffins. These are great for a party with more guests. You’ll need to adjust the baking time, as they won’t need to bake as long as regular muffins.
How to make Eggnog Muffins
Before you get started on mixing the muffin batter, preheat the oven to 400°F. Line a muffin tin with paper baking cups. (I love these parchment paper ones because they are truly nonstick.) Set the tray aside.
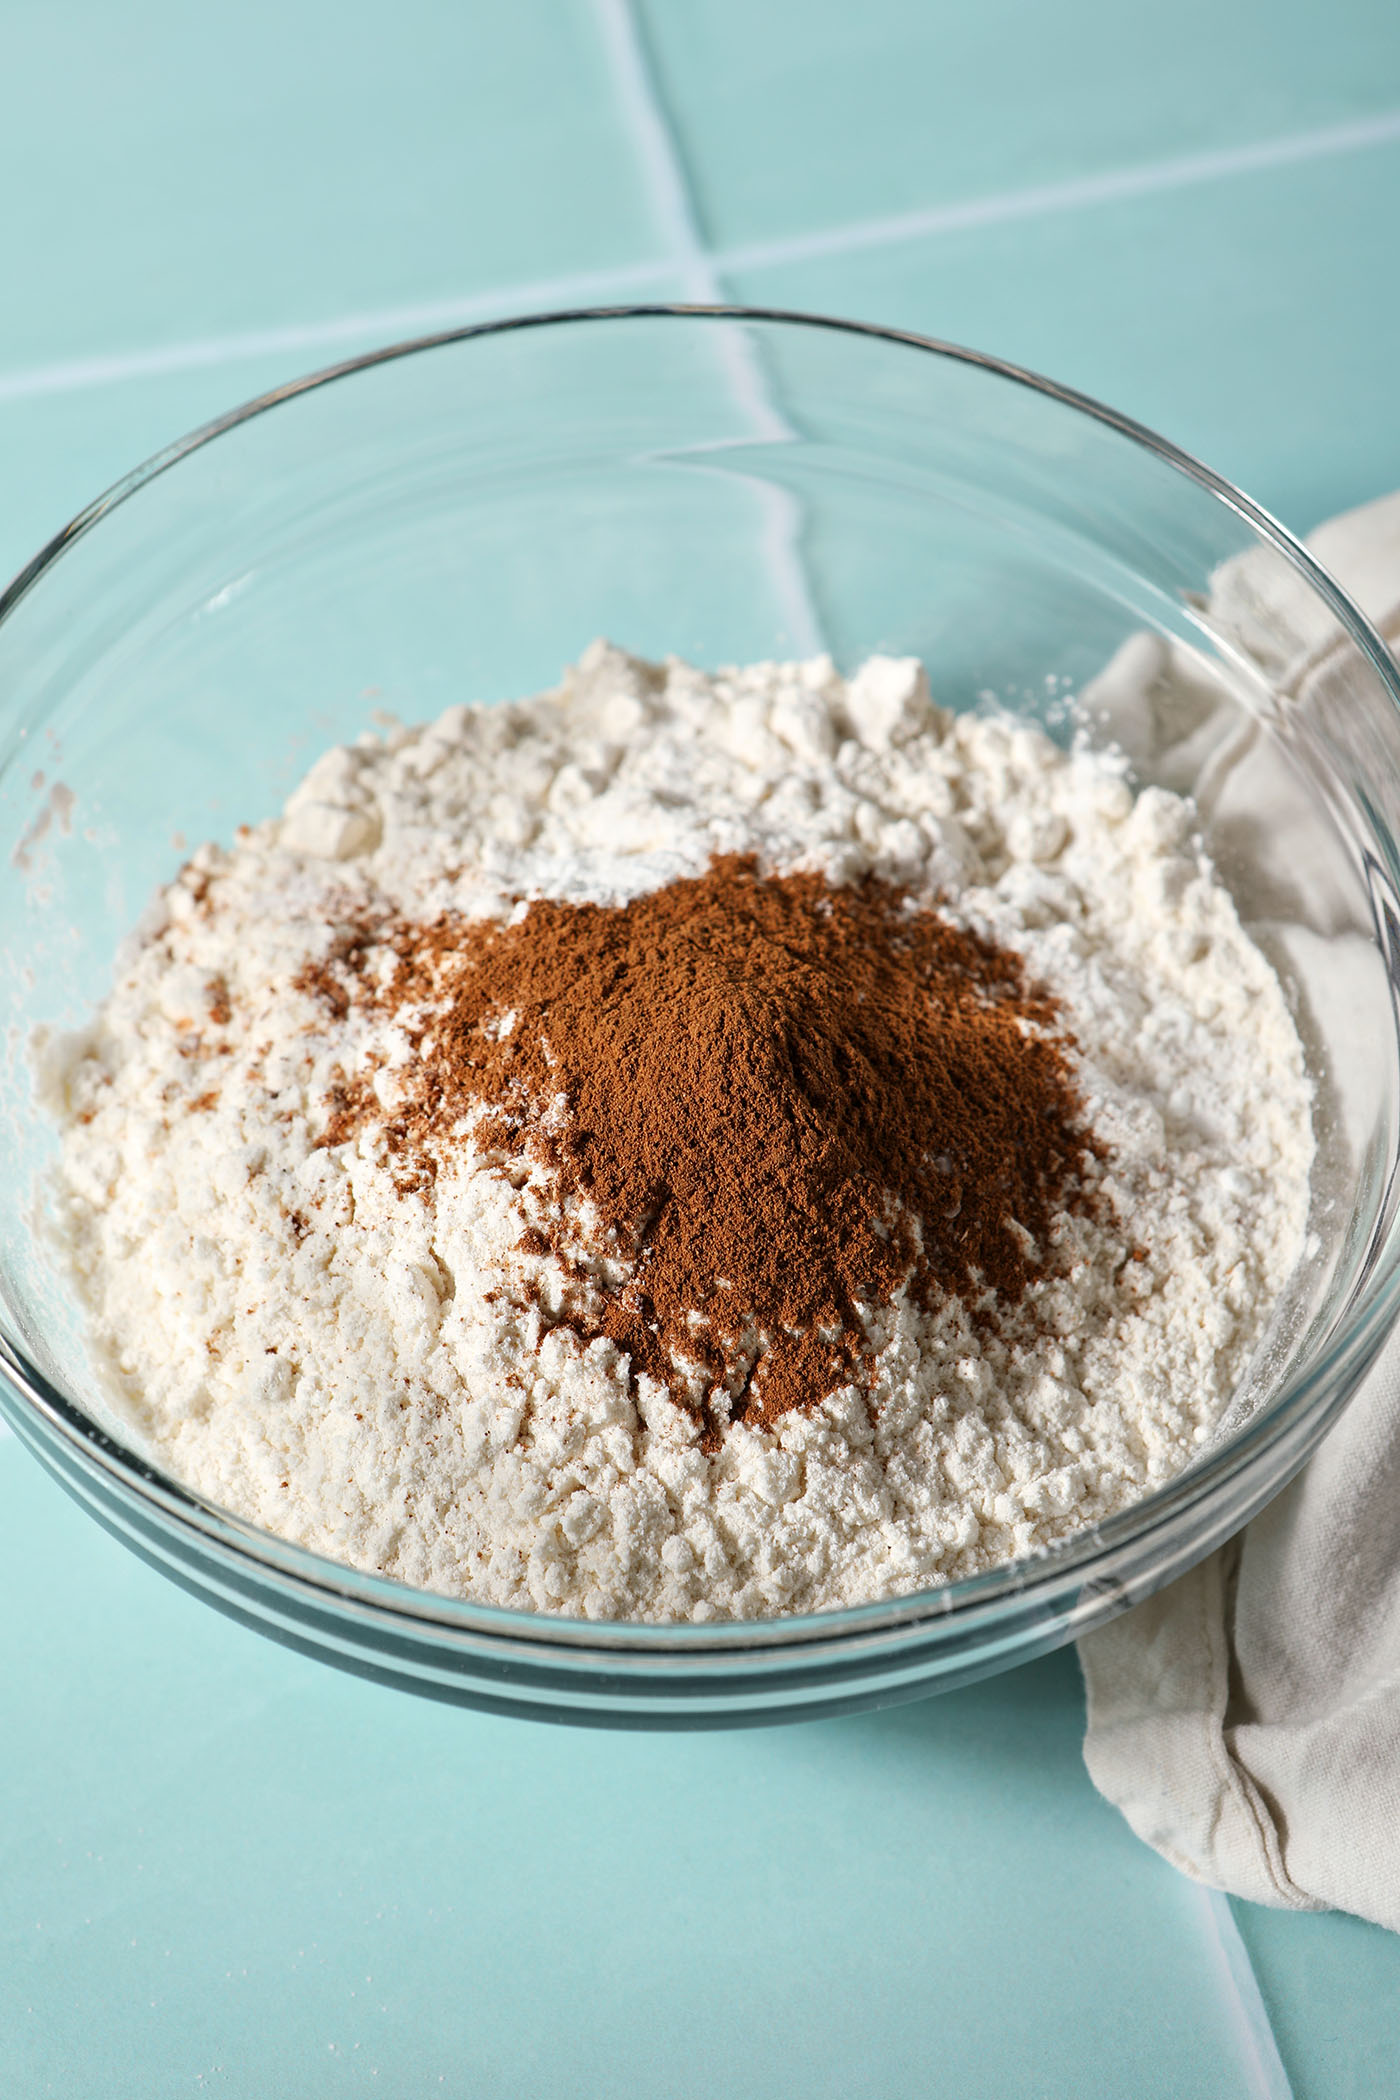
Combine the dry ingrdients. Measure the rest of the flour, baking powder, ground cinnamon, grated nutmeg and kosher salt in a medium bowl.
Whisk to combine. Set aside.
Pro tip!
Use a kitchen scale to weigh your ingredients for best results
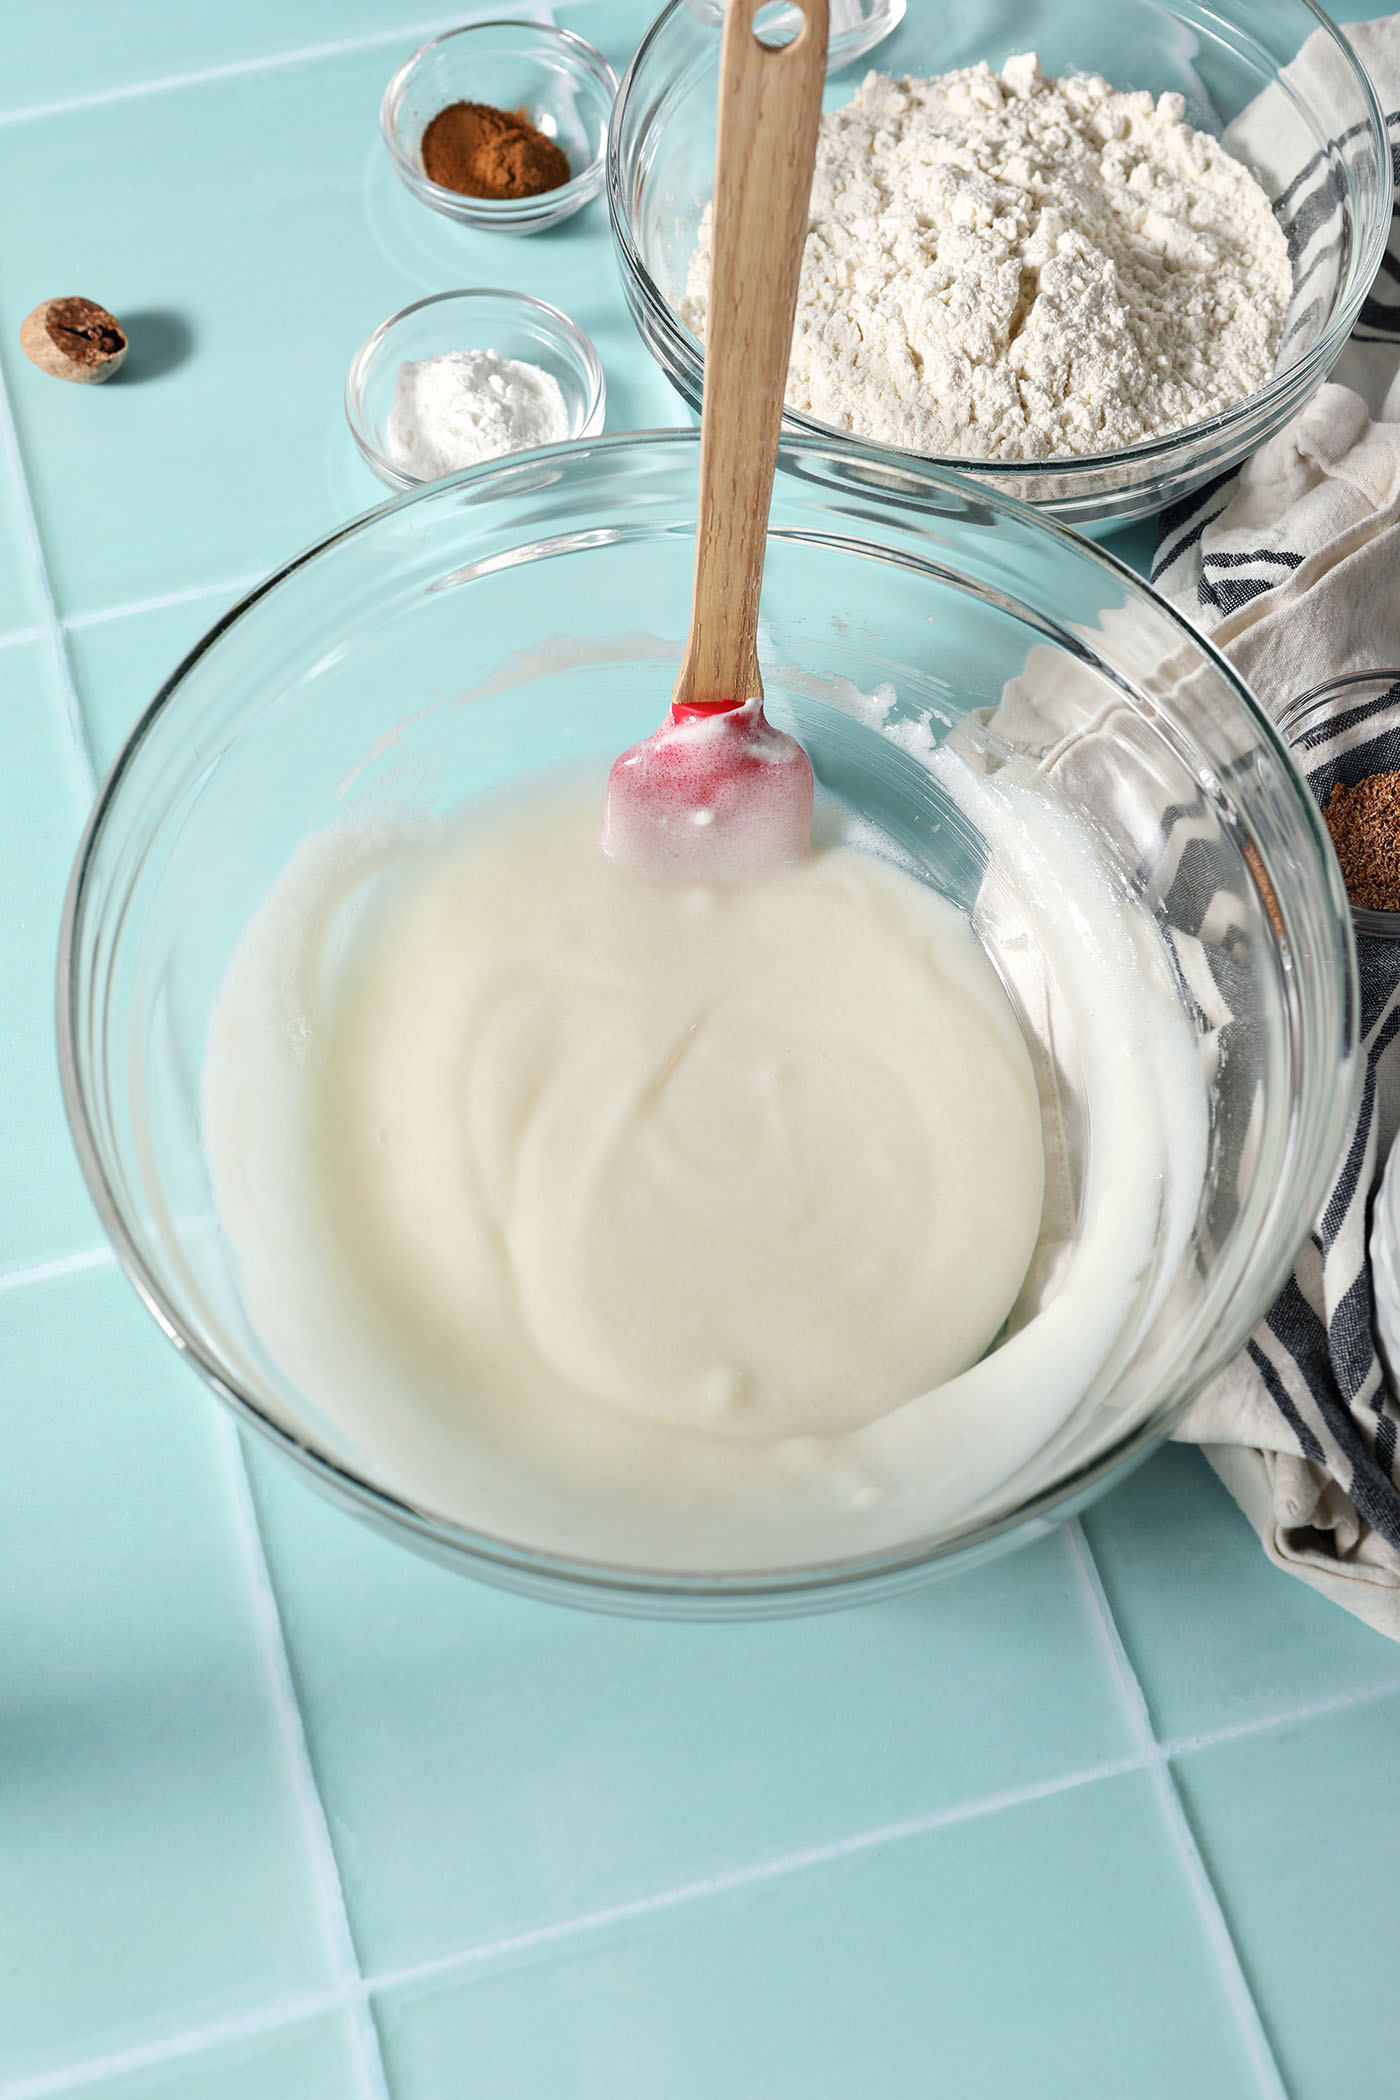
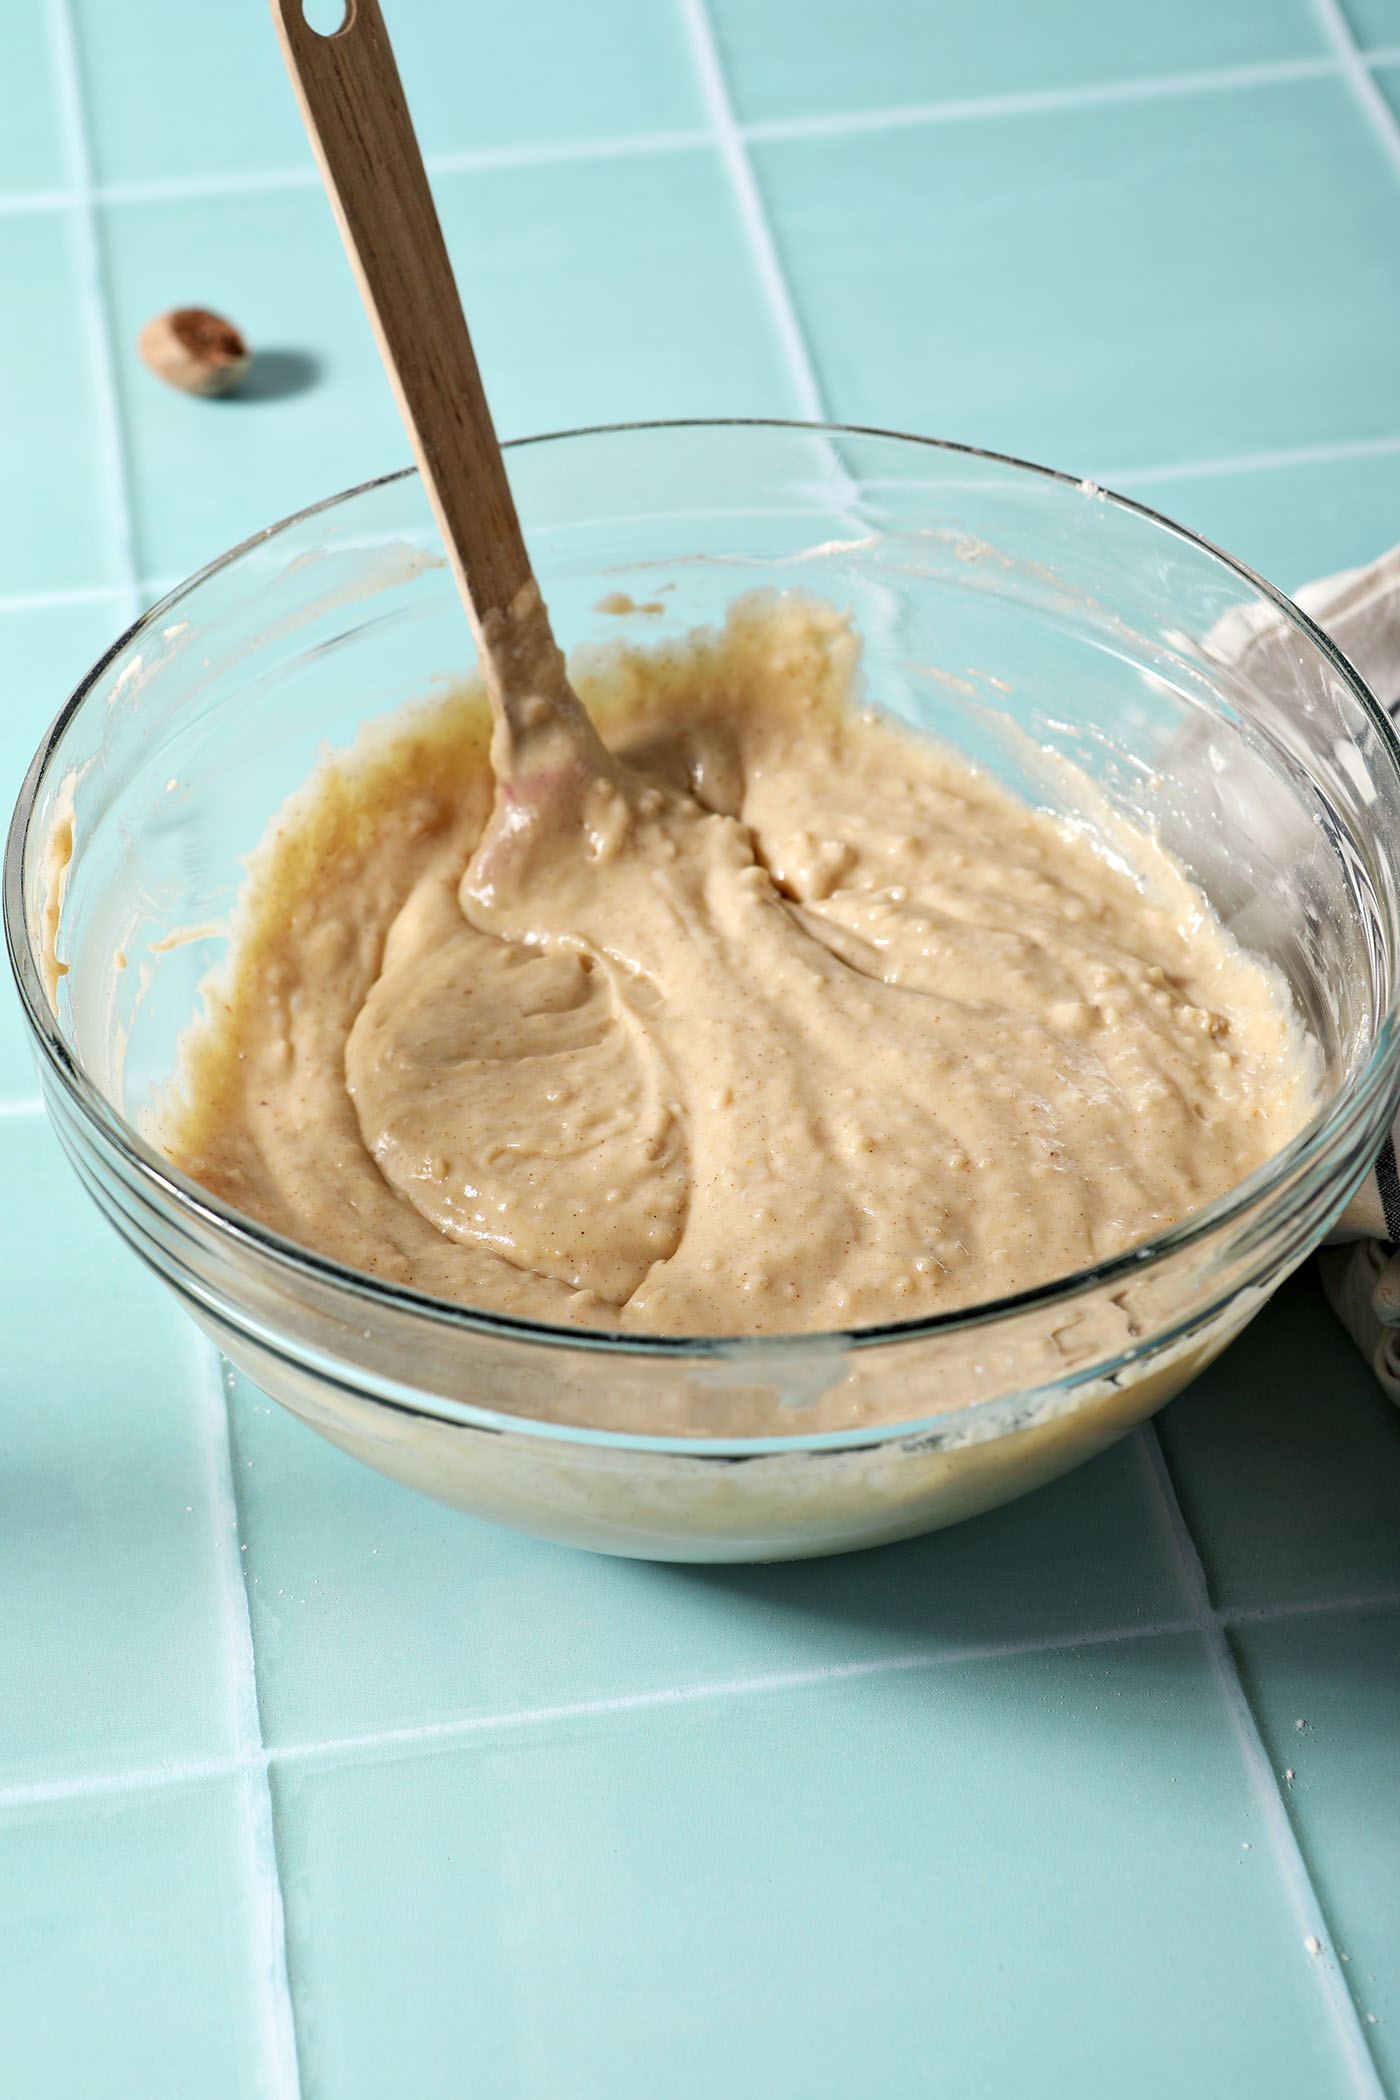
Mix the wet ingredients together. Combine the sour cream and sugar in a large bowl.
Use a whisk or a rubber to whip the two of them together until well-combined.
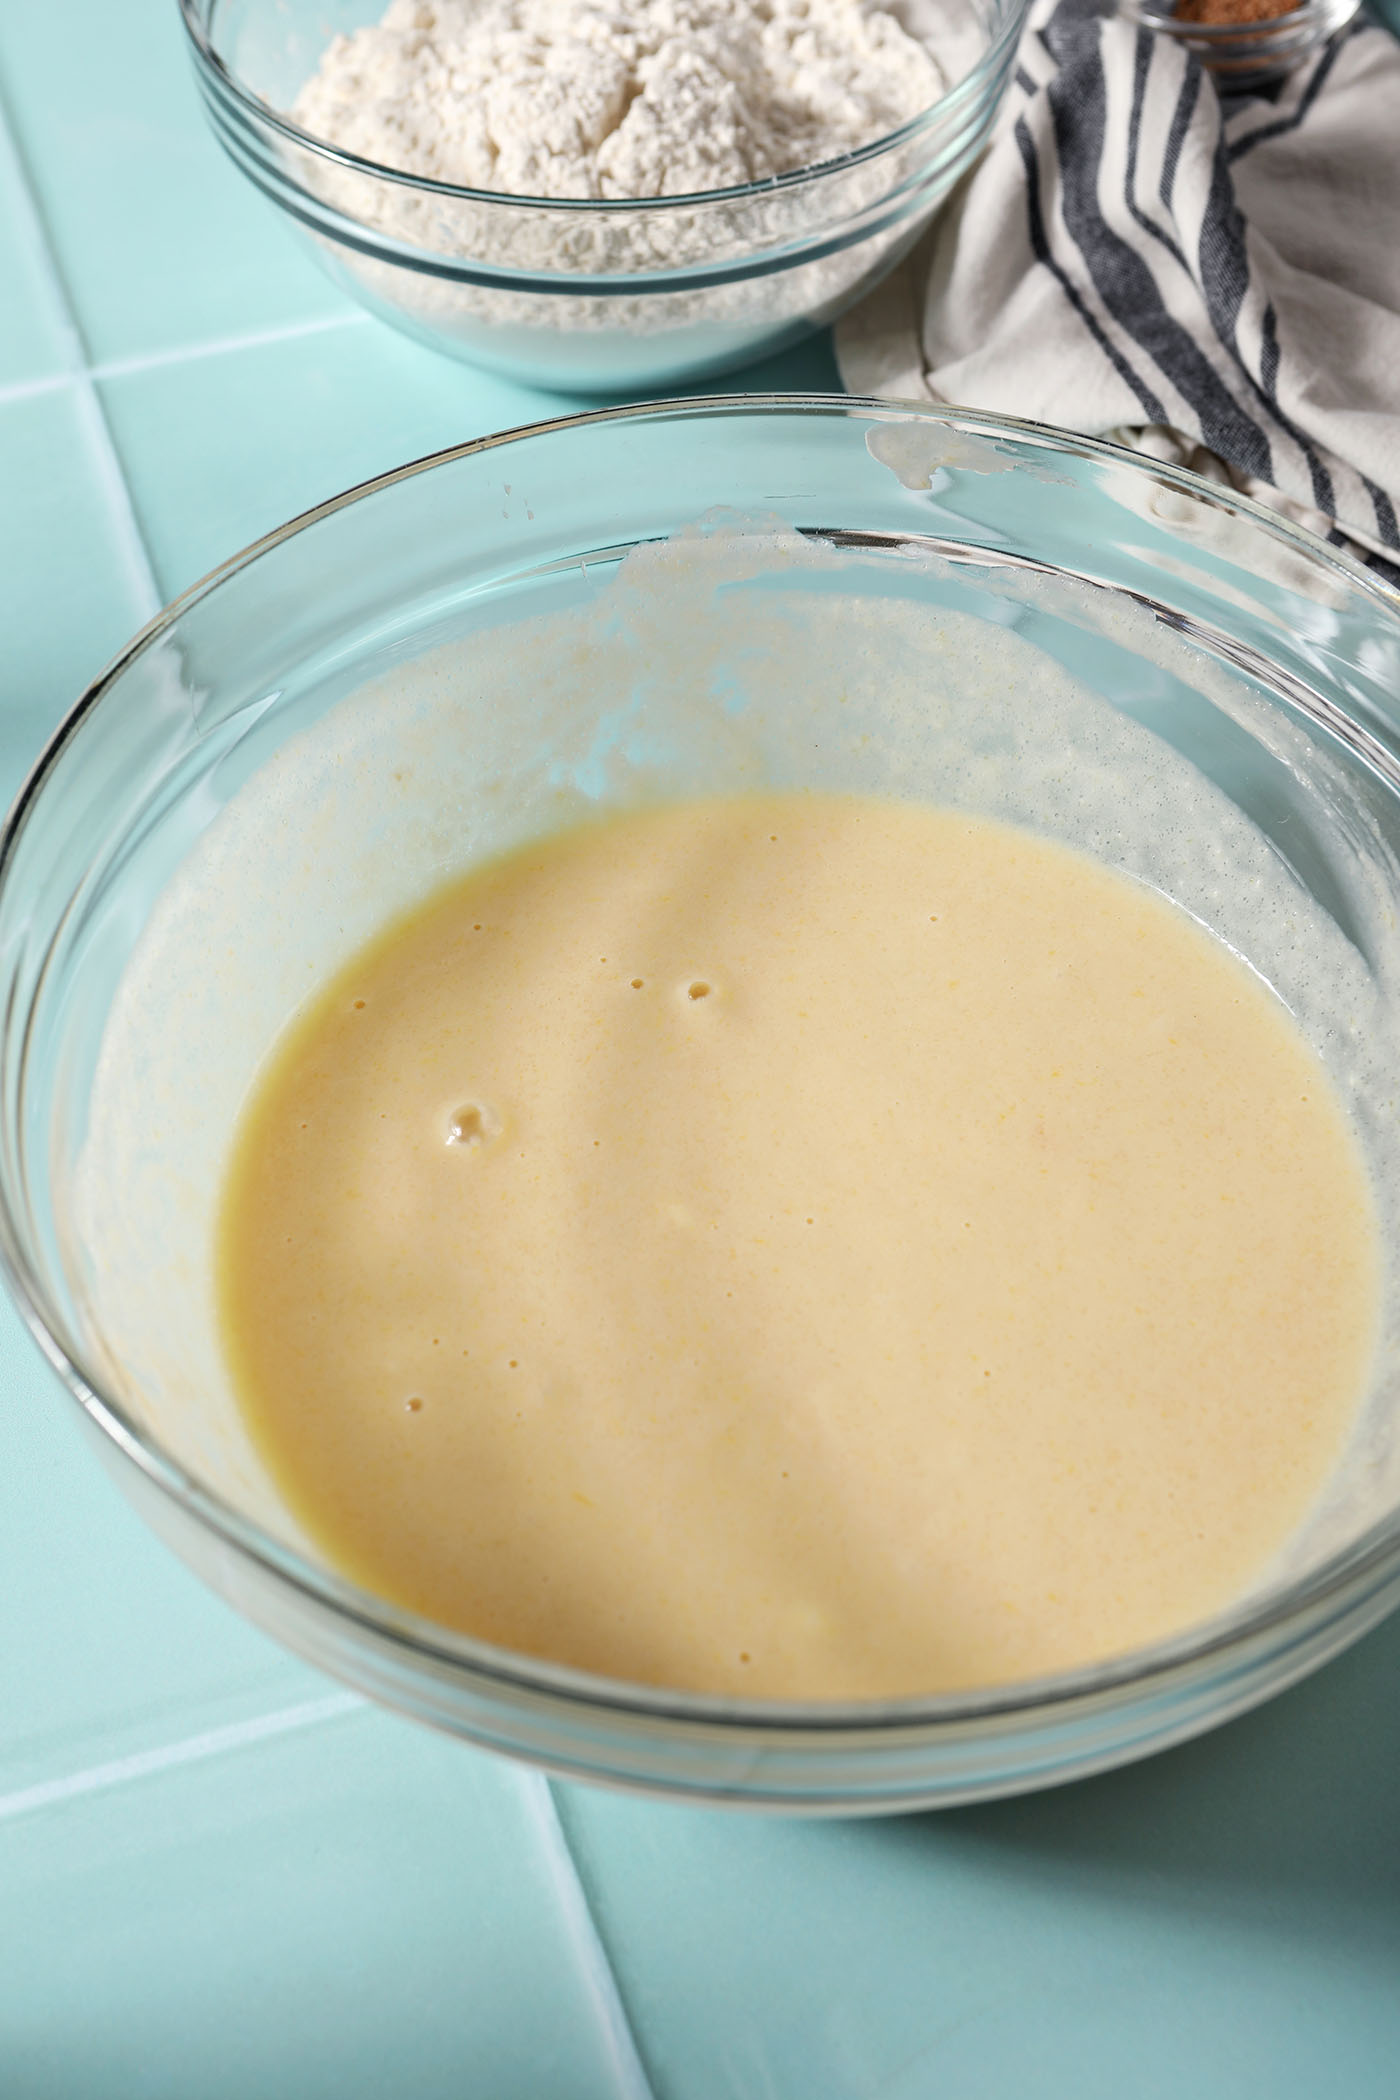
Pour in the eggnog to the sugar/sour cream mixture.
Stir to combine.
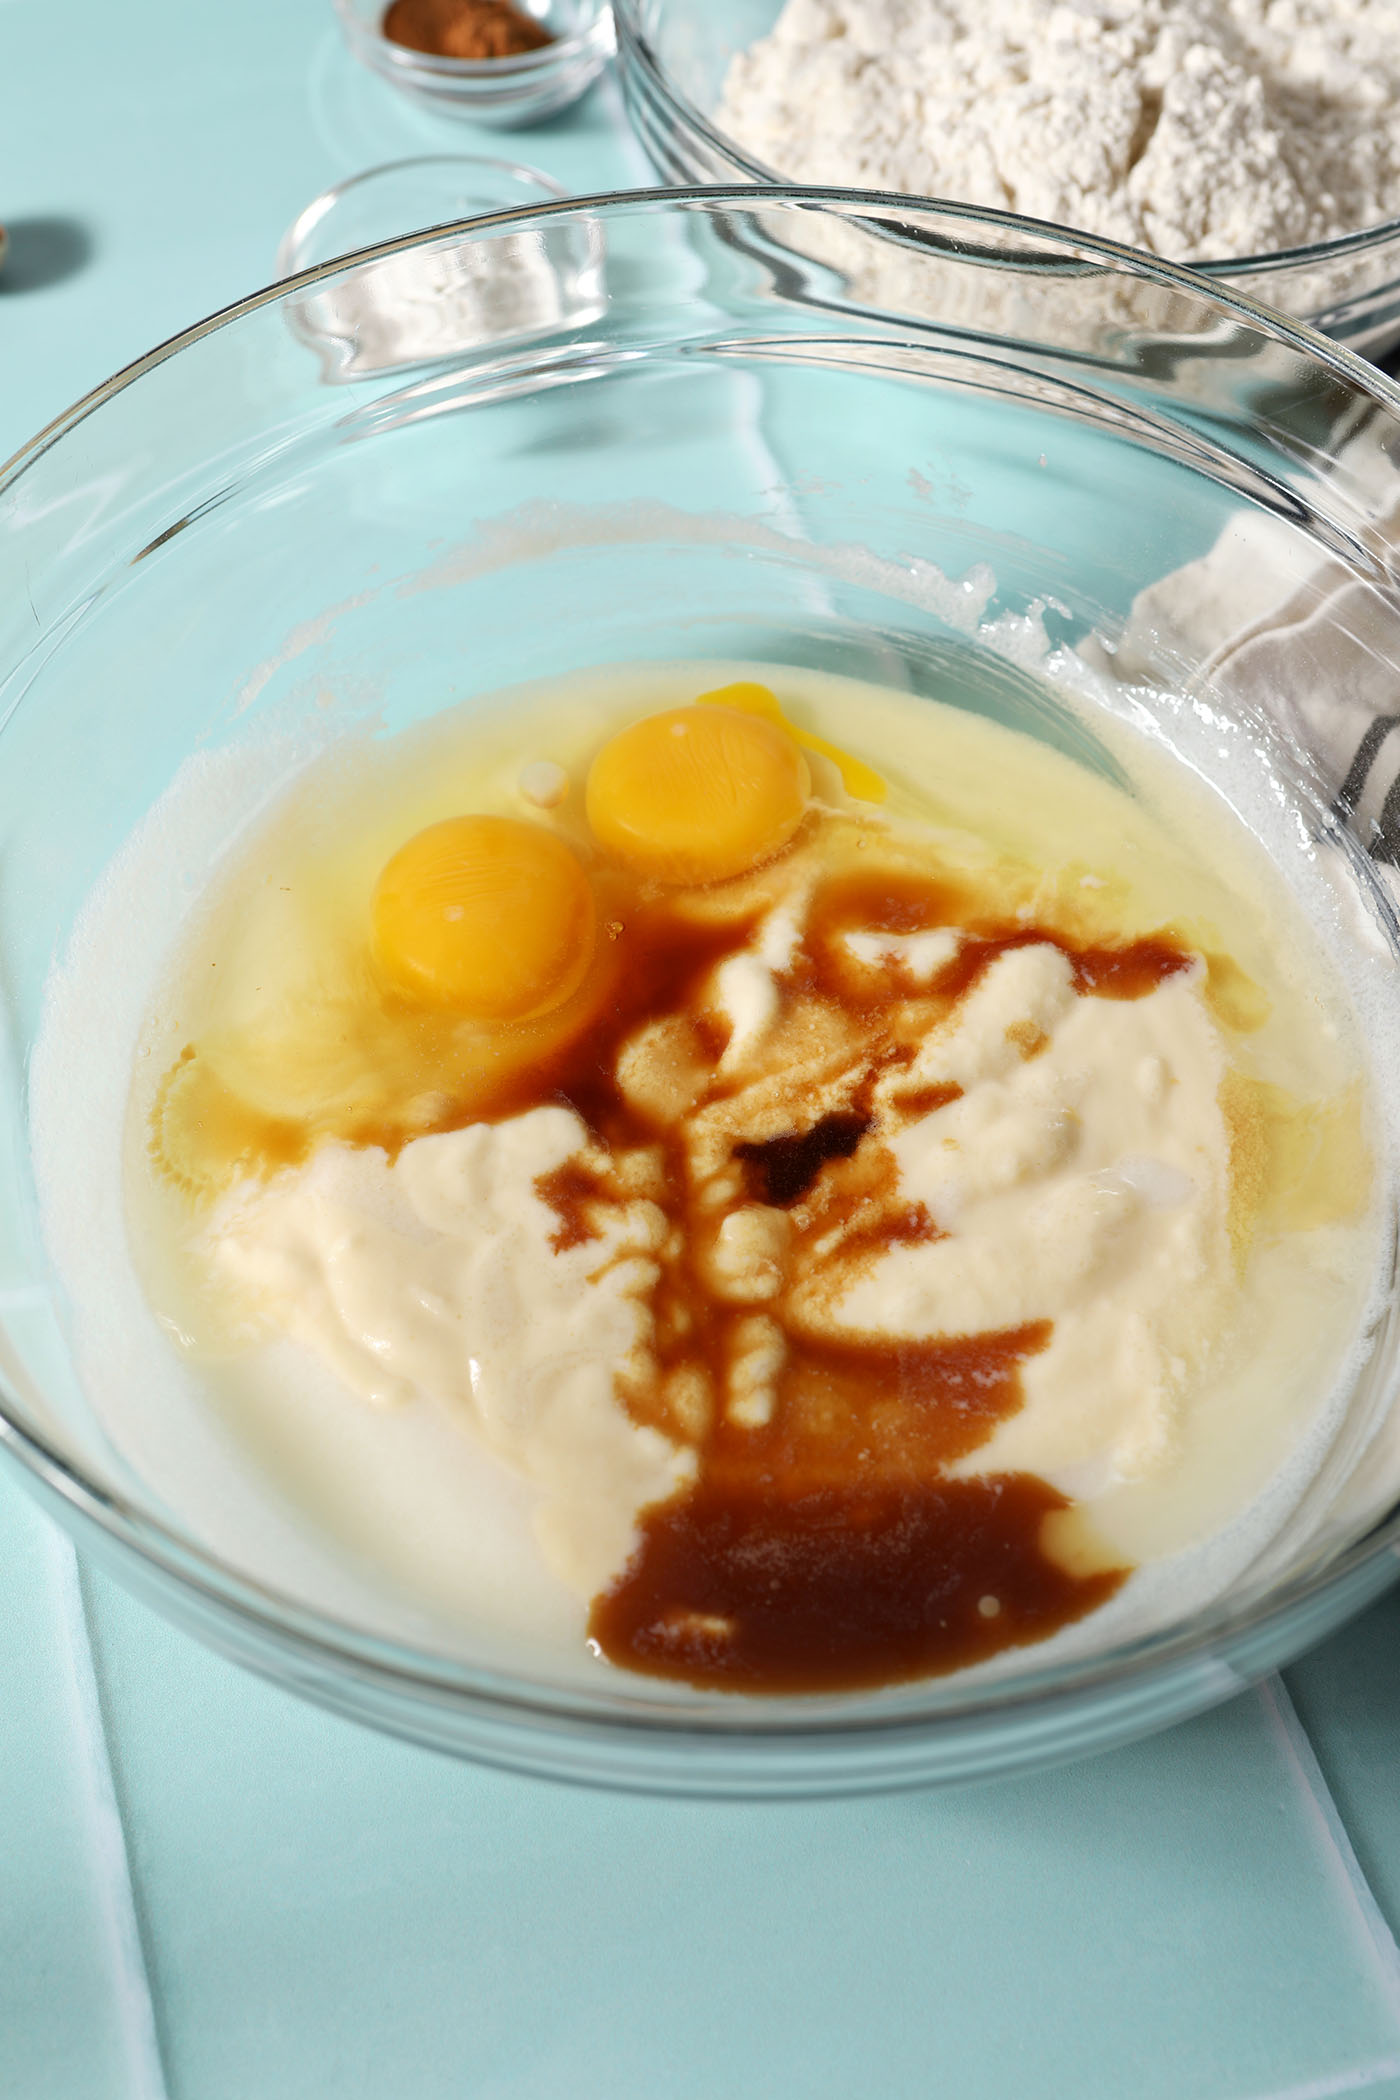
Finish adding the rest of the wet ingredients. Break the eggs, and pour in the vanilla extract.
Stir together until completely incorporated.
This might take a little time, as you want the eggs to be completely mixed in.

Slowly sprinkle the dry ingredients into the wet ingredients.
Mix with a rubber spatula until just combined.
Scoop the batter into the prepared baking cups using a 3-tablespoon cookie scoop.
Grate some additional nutmeg on top of each muffin.

Bake the muffins for 17-18 minutes, or until the tops have browned slightly and an inserted toothpick comes out clean.

Let the muffins cool for 15-20 minutes on a wire rack, then enjoy with a favorite breakfast beverage!
How to store and freeze:
Store these muffins in a food-safe, airtight container in the refrigerator for up to 4 days.
You can also freeze fully baked and cooled muffins. Place them on a baking sheet and flash freeze for one hour — this prevents them from sticking. Then put them in a zipper-locking bag. To reheat, heat in the microwave for about 45 seconds to 1 minute.

Erin’s Easy Entertaining Tips
Psst. If you’re hosting a holiday brunch at home this year, these Eggnog Muffins might be the recipe you’re looking for.
They are stunning to look at, but more importantly, they also taste stunning and feature a favorite seasonal beverage that most people know and love.
If I were hosting and serving these muffins, here are some things I would consider:
- Bake a double batch for a big group. Or make them into mini muffins so that you can have more.
- Serve them warm in a basket or bowl lined with a kitchen towel. This helps to preserve some heat so they can be that perfect temperature.
- Bring them along to a party or gathering in a muffin storage container. They’ll be an instant hit!
Frequently Asked Questions
The combination of sour cream and eggnog are the ingredients in these muffins that make them super soft, fluffy and moist.

Quick tips and tricks to making the best Eggnog Muffins
- Don’t skip the bonus spices. They really help the spices in the eggnog shine!
- Use full-fat sour cream and eggnog. These are not low-fat muffins, and that’s OK. Enjoy the indulgence for best results.
- Different eggnogs have different thicknesses and that could impact the final texture of your muffins. I made these with a super-thick, custardy homemade eggnog and then tried them again with a thinner store-bought eggnog. Both worked.
- Don’t forget to use muffin liners. These prevent sticking and are SO IMPORTANT. You can also follow these tips for greasing a muffin tin if you’re in a pinch and don’t have muffin cup liners.
More holiday brunch recipes:
If you’re on the hunt for the best holiday brunch dishes, I have some ideas for you.
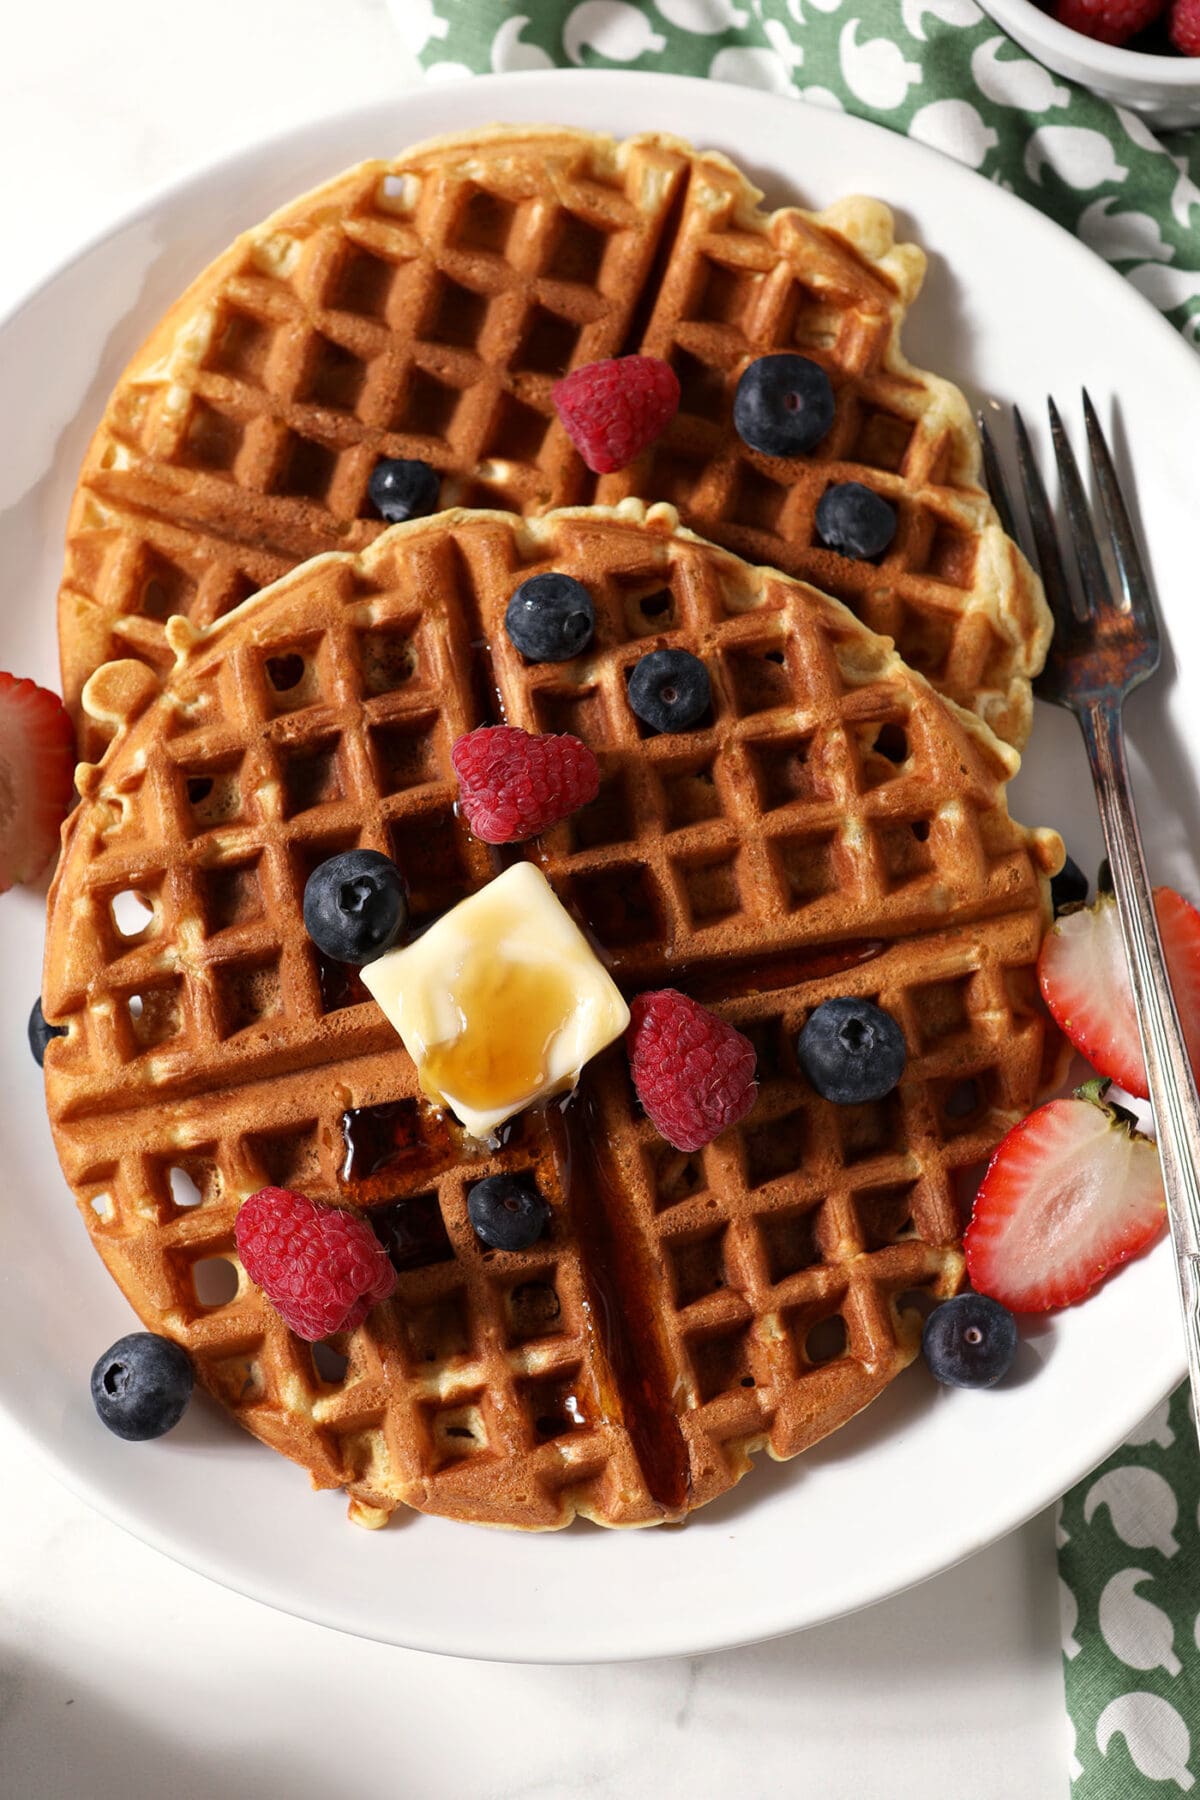
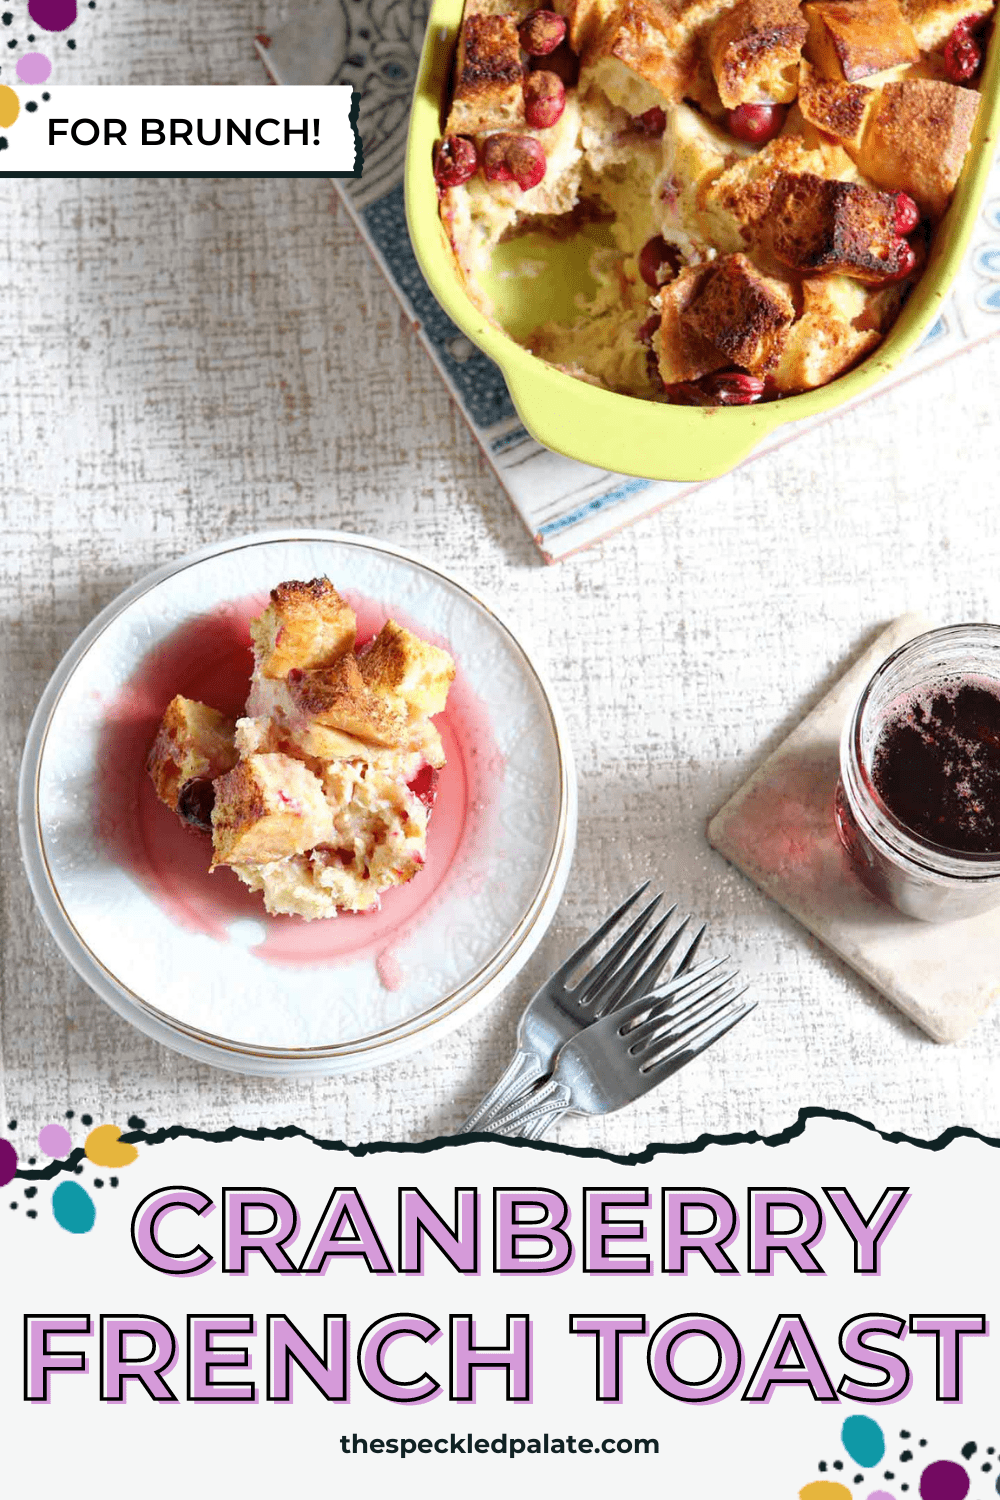
If you love a sweet brunch item, try out Sweet Crepes or Cranberry French Toast.
Want to serve something savory? This Christmas Breakfast Casserole is always a hit, and so is this Sausage Quiche with Sweet Potatoes and Collard Greens.
Don’t forget the sippers! You can’t go wrong with a Cranberry Mocktail (for the non-drinkers) or a Cranberry Bellini.
Here’s how you can make these muffins at home…

Eggnog Muffins
Ingredients
- 2 cups all-purpose flour
- 2 teaspoons baking powder
- ¾ teaspoon ground cinnamon
- ¼ teaspoon freshly grated nutmeg plus more for garnishing the muffins
- ½ teaspoon kosher salt
- ½ cup sour cream
- 1 cup granulated sugar
- ¾ cup eggnog
- 2 large eggs
- 1 ½ teaspoons vanilla extract
Equipment
As an Amazon Associate and member of other affiliate programs, I earn from qualifying purchases.
Instructions
- Preheat the oven to 400°F. Line a muffin tin with baking cups, then set aside.
- Measure the flour, baking powder, ground cinnamon, freshly grated nutmeg and kosher salt in a medium bowl. Whisk to combine, then set aside.
- Combine the sour cream and sugar in a bowl. Use a whisk or a rubber to whip the two of them together until well-combined.
- Pour in the eggnog. Stir to combine.
- Measure in the eggs and vanilla extract. Stir together until completely incorporated. This might take a little time, as you want the eggs to be completely mixed in.
- Slowly sprinkle the dry ingredients into the wet ingredients, and mix with a rubber spatula until just combined.
- Scoop the batter into the prepared baking cups. (I added 3 tablespoons of batter to each.)
- Grate some additional nutmeg on top of each muffin.
- Bake the muffins for 17-18 minutes, or until the tops have browned slightly and an inserted toothpick comes out clean.
- Let the muffins cool for 15-20 minutes, then enjoy with a favorite breakfast beverage!
Nutrition

About the Author:
Erin Parker is a Southern gal living in Texas with her husband and two daughters. She started The Speckled Palate to share what she was cooking as a newlywed… and over the years, it’s evolved to capture her love for hosting. Specifically, the EASIEST, lowest key entertaining because everyone deserves to see their people and connect over good food. Learn more about her…

Before leaving a comment or rating, ask yourself: