Cheesy Grits
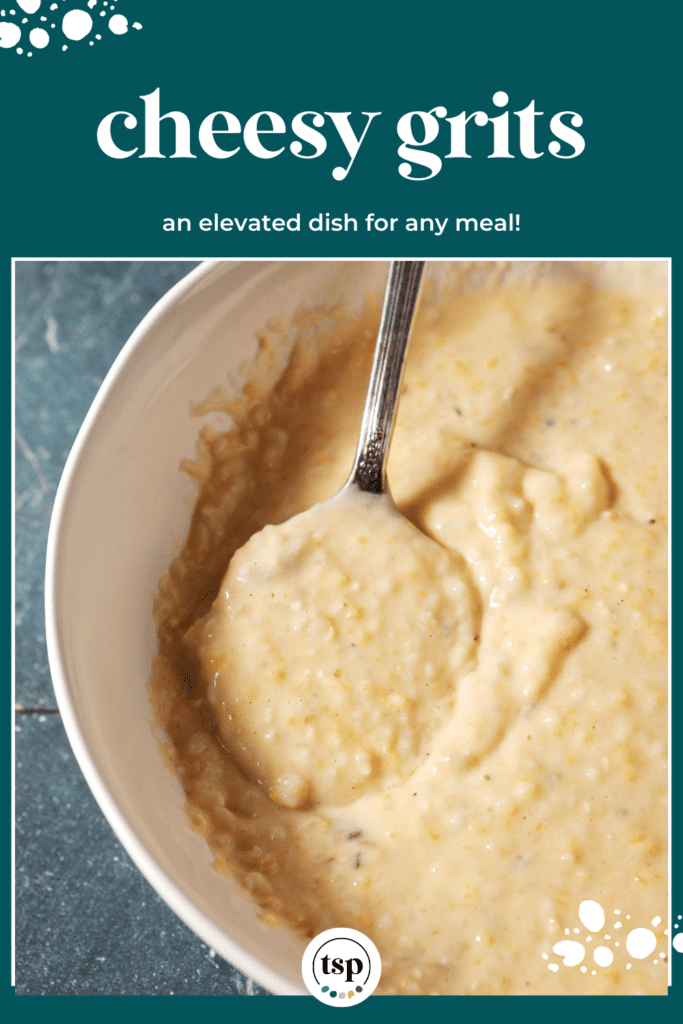
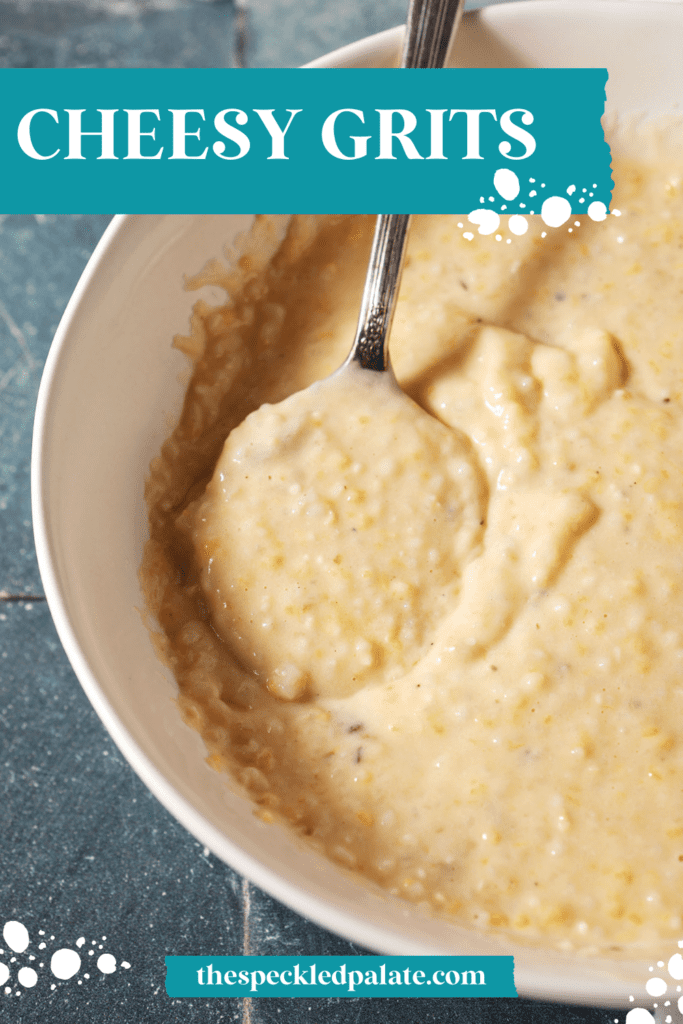
Start the day with a hearty bowl of spicy, cheesy grits for breakfast or pair them with spiced shrimp for a Cajun classic. You’ll love the way the flavor of grits shines through the delicious flavor of pure cheesiness and a hint of peppery spice from a secret ingredient.

This post contains affiliate links.
Cheesy Grits recipe
Weekends are for brunch. And while I’m usually all about the pancakes and waffles, sometimes I just really want something savory at the brunch table.
Shrimp and grits is a staple in Cajun cuisine, and often that’s what the weekend calls for when I get that craving.
That being said, this cheese grits recipe is a versatile dish because cheesy grits pair nicely with so many dishes, but they also stand alone as a side dish for brunch or dinner.
Also, grits are one of those Southern staple dishes that everyone knows… and hopefully loves.
If you ask me, cheese grits are even better than regular grits. I love to add a secret ingredient to give these grits a light kick to them, and I’m OBSESSED. (However, you can adjust the heat and the cheesiness to your liking!)
Why I love this recipe:
We love these cheesy grits because…
- You can make them ahead of time and thin them out with a little extra milk on the stovetop.
- They’re hearty enough to be a main course, but grits pair nicely with so many dishes (we see you, shrimp & grits!), too.
- The spice and the cheese aren’t overwhelming, so you actually taste the grits! But you can adjust the cheesiness and spiciness to your taste buds.
More savory breakfast recipes to try: Boudin Biscuit Breakfast Sandwich | Egg Casserole with Green Chiles | Tater Tot Breakfast Casserole | Cream Biscuits and White Sausage Gravy
What are grits?
Grits are a type of porridge made from ground corn. It’s enjoyed in Southern cuisine, usually as a side or a breakfast dish.
Grits are usually ground from less sweet and more starchy varieties called dent corn. They can be made from yellow corn or white corn, and are usually labeled as such.
Some recipes are baked while others are made on the stovetop. This is a stovetop recipe, so you won’t need to preheat your oven or need an oven-safe dish for baking.

What you need to make this recipe:
The Speckled Palate participates in affiliate programs. As an Amazon Associate, I earn a commission from qualifying purchases. Please refer to my disclosure page for more information about these affiliate programs.
- Large saucepan
- Whisk
- Wooden spoon or spatula for stirring
- Serving bowls or plates
- Serving spoon or ladle
Let’s talk ingredients!
In addition to the tools above, you’re going to need some ingredients to make this recipe, too! Chances are, you might already have some of them in your fridge or pantry. Scroll down to the recipe card for the full measurements and instructions.
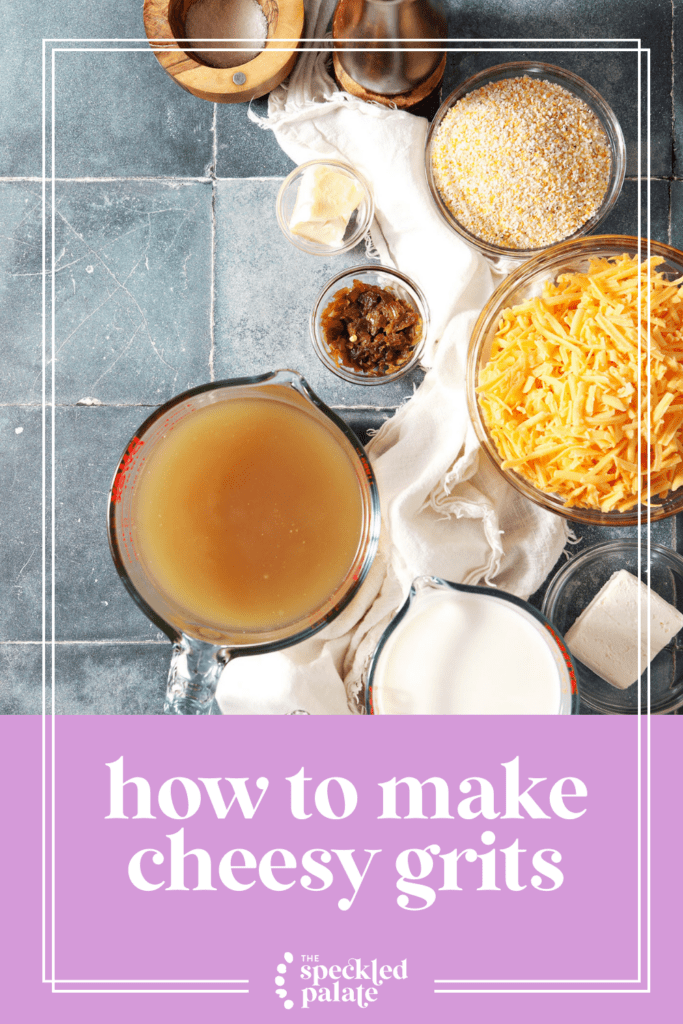
Here’s what you’ll need:
- Unsalted butter — you can use salted butter but be prepared to reduce the salt to taste later.
- Roasted peppers — the secret ingredient of these grits is roasted hatch chile peppers (or any roasted peppers) to add some depth of flavor to the grits. They’re not SPICY, but it provides a dimension of flavor that isn’t there otherwise.
- Milk — whole milk or 2% milk is best for the creamiest grits, but you can use what you have. Unsweetened oat milk or almond milk make a good dairy-free swap.
- Chicken broth or stock — use vegetable stock if you need a vegan or vegetarian swap.
- Stone ground grits — emphasis on the stone ground. There are a lot of different types of grits. Don’t use instant grits or quick grits because they simply will not be the same.
- Salt — sea salt or kosher salt is best for cooking.
- Black pepper — freshly cracked pepper is ideal. It has so much more flavor!
- Cream cheese — full fat cream cheese makes the creamiest, cheesiest grits, but you can also use Neufchâtel cheese or low-fat. Room temperature cream cheese will meld into the grits the fastest.
- Shredded sharp cheddar cheese — feel free to play around with other types of cheeses. Pepper jack cheese adds a punch of extra peppery flavor.
Customizations and substitutions
You can customize these in a variety of ways.
Dairy-free grits: substitute a plant-based butter like Earth Balance and use unsweetened oat milk or almond milk. You can stir in dairy-free cream cheese and cheese crumbles or skip it to enjoy plain or just spicy grits.
Vegan grits: use all of the above hacks, but be sure to use vegetable stock as well.


How to make Cheesy Grits
If you’ve never tried making grits from scratch, you won’t believe how easy it is. Here are the simple steps to take to make ’em:
Melt the butter in a large saucepan over medium heat.
Add the roasted chile peppers, and saute in the butter for a few minutes, until fragrant.


Pour the chicken stock and milk into the saucepan and warm over medium-high heat. Bring the mixture to a simmer, but NOT a boil because it will scald your milk.
Whisk in the uncooked grits, then season generously with salt and pepper to taste.
Reduce the heat to low, then cover and cook, stirring often to reduce clumping, until the liquid is absorbed. This will take around 20-30 minutes, though the cooking time will depend on the grits you’re using.
Be sure to stir grits often, scraping the bottom of the pan to ensure the grits aren’t sticking!


Once the liquid has been completely absorbed, add the cream cheese, and stir until that has melted.
Season with additional salt and pepper, if needed.


Add the shredded cheddar, and stir to combine.
Once the cheeses are totally melted, give it a taste and add additional salt and pepper, if necessary. You might need to add a little liquid, too, if the grits tighten up too much.

How to store leftover grits
If you wind up with leftover grits (I bet you won’t!), you can keep them in the fridge in a food-safe, airtight container for up to a week. You can also place them in a bowl and cover them in plastic wrap, if you don’t have any leftover containers.
How to reheat grits
To reheat, warm the cold grits on the stove in a saucepan over low heat. Add a little water, milk or broth to make them bounce back to their fluffy, creamy texture. This stovetop method, to me, is the best method.
That being said, you can reheat them in a microwave-safe dish. This is an easy way to reheat them. Add an ice cube or two to them and stir that in as it melts. Add another cube or two to get them to the desired texture.
Reheated grits should bounce back, especially when you add a tablespoon of liquid or ice cubes to perk them up.

What to serve with cheesy grits
For breakfast, you can enjoy cheese grits on their own with a pats of butter on top.
You can also make breakfast bowls with crumbled breakfast sausage or bacon on top. Or serve up a veggie hash situation with some breakfast potatoes and more roasted peppers.
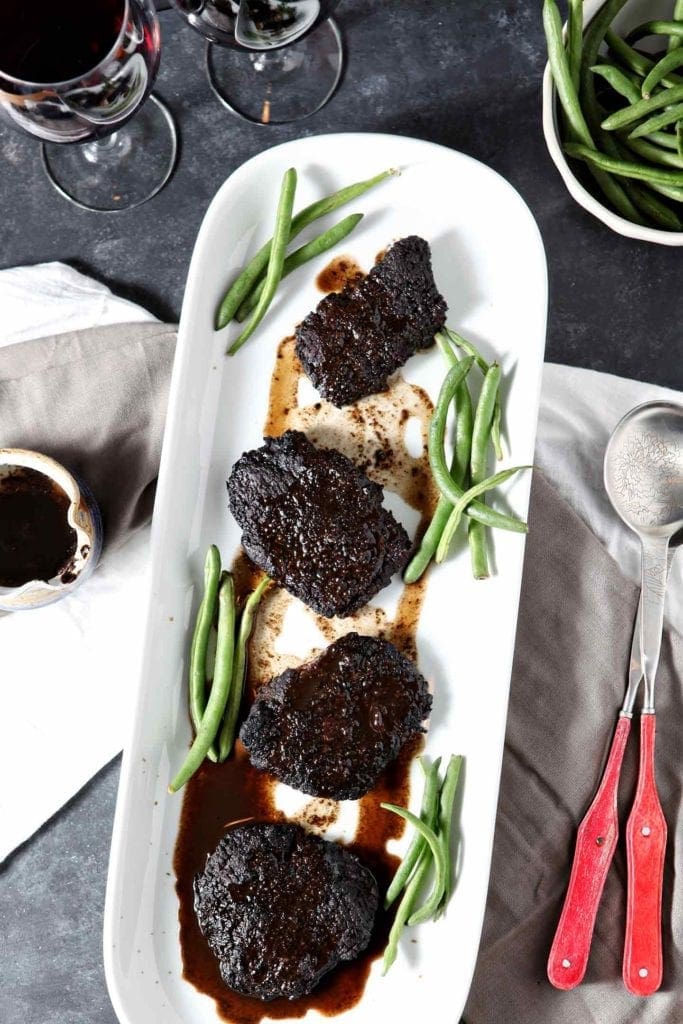
For dinner, you can serve these cheesy grits with a batch of tender short ribs or a hearty pot roast. They pair beautifully with most any type of meaty protein.

Erin’s Easy Entertaining Tips
- You can make these cheesy grits ahead of time and thin them out with a little extra milk on the stovetop or in a microwave-safe bowl.
- Set up a breakfast bowl bar for guests to build their own grits bowl. Add sausage, bacon, shrimp, scrambled eggs, more shredded cheese, chives and roasted veggies.
- To keep grits warm until serving, reduce the heat to the lowest setting on your stove. Cover the pan with a lid to retain the heat, stirring occasionally to prevent the grits from sticking. This method can keep the grits warm for a short period, but they may gradually thicken. If so, you can stir in a splash of milk or broth.

Frequently Asked Questions
You can use water to cook grits, yes, and they will turn out great. However, using milk or stock adds richness and depth of flavor to the dish. You can adjust the ratio of liquid to suit your preferences.
To prevent your grits from getting lumpy, whisk continuously as you add them to the liquid. Stirring frequently during cooking also helps to ensure a smooth texture.

Quick tips and tricks to making the best Cheesy Grits
- Double the recipe for a big batch. If you need a large amount of grits (to serve at, say, an at-home brunch), this is an excellent recipe because it scales easily.
- Prep your ingredients beforehand. Roast and chop the peppers and measure out all ingredients before starting. This makes the cooking process smoother and ensures you’re not scrambling to find ingredients midway through.
- When cooking the grits, stir A LOT and OFTEN to prevent clumping and ensure even cooking. This helps in achieving a smooth and creamy texture.
- Adjust the seasoning gradually, tasting the dish at different stages. Add more salt and pepper and cheese as you like. This allows you to customize the flavor to your liking and ensures the final result is perfectly seasoned.
More savory breakfast recipes
Here’s how you make these excellent creamy grits!

The BEST Cheese Grits
Ingredients
- 2 tablespoons unsalted butter
- 2 tablespoons roasted peppers we used hatch, but you can use whatever you have on hand
- 2 ½ cups milk whole, 2% and nonfat work
- 3 cups chicken stock
- 1 cup stone ground grits 100g
- Kosher salt and black pepper to taste
- 3 oz. cream cheese
- 2 ½ cups shredded cheddar cheese 275g
As an Amazon Associate and member of other affiliate programs, I earn from qualifying purchases.
Instructions
- Melt the butter in a large saucepan.
- Add the roasted chile peppers, and saute in the butter for a few minutes, until fragrant.
- Pour the chicken stock and milk into the saucepan and warm over medium-high heat. Bring the mixture to a simmer, but NOT a boil because it will scald your milk.
- Whisk in the grits, then season generously with salt and pepper to taste.
- Reduce the heat to low, then cover and cook, stirring often to reduce clumping, until the liquid is absorbed. This will take around 20-30 minutes.
- Once the liquid has been completely absorbed, add the cream cheese, and stir until that has melted. Add extra salt and pepper, if necessary.
- Add the shredded cheddar, and stir to combine.
- Once the cheeses are totally melted, give them a taste and season more, if necessary.
- Serve warm!
Notes
Nutrition

About the Author:
Erin Parker is a Southern gal living in Texas with her husband and two daughters. She started The Speckled Palate to share what she was cooking as a newlywed… and over the years, it’s evolved to capture her love for hosting. Specifically, the EASIEST, lowest key entertaining because everyone deserves to see their people and connect over good food. Learn more about her…








Before leaving a comment or rating, ask yourself: