
How to Roast Peppers
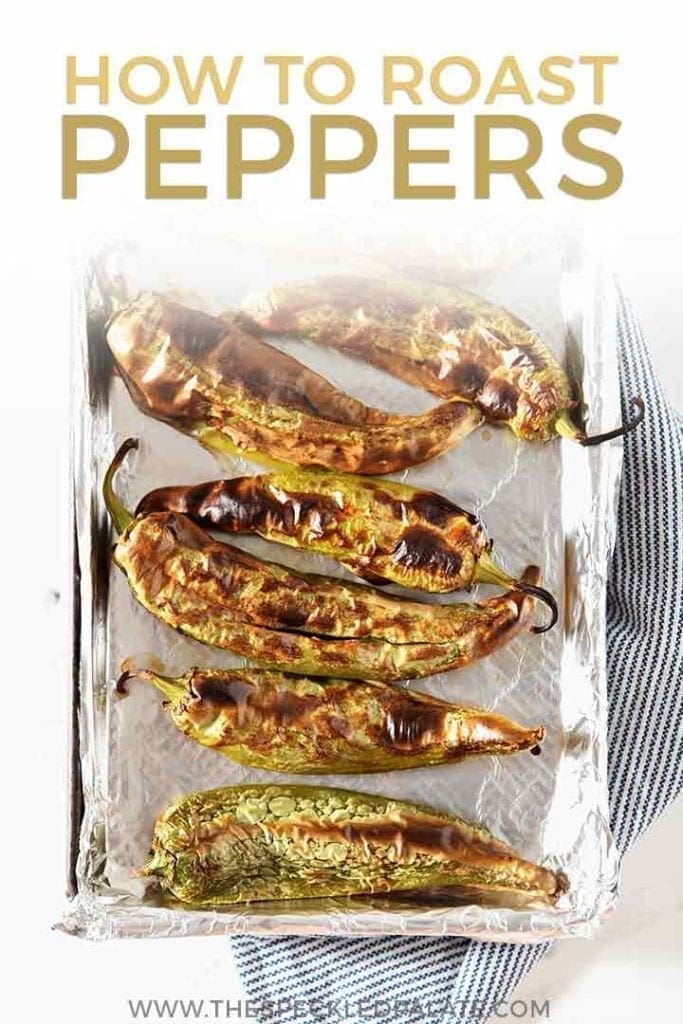
It’s Hatch chile season, so let’s learn how to roast peppers! Prep, roast, chop and store roasted chile peppers to enjoy the flavors throughout the season and beyond. We’ve got all the tips and tricks for the best roasted hatch chiles (and every other type of chiles, too!)
Want to save this?
This post contains affiliate links.
I’d never heard of a Hatch chile, let alone tried one, until we moved to Dallas in 2012.
Back then, I marveled at the fact that groceries threw celebrations especially for peppers.
Now, I get it.
But if you’re new to Hatch peppers, I know how you feel. And I’m writing this post to encourage you to purchase some and give ‘em a try because they’re absolutely delightful!
The tutorial in this post can also assist you in roasting any other variety of pepper, too! So feel free to use this same method with anaheim peppers, jalapenos and more.
Recipes that call for roasted peppers: Hatch Chile Breakfast Flatbread | Hatch Chile Mini Cornbread Muffins | Spicy Fettuccine Alfredo with Hatch Green Chile Peppers | Hatch Green Chile Macaroni and Cheese
What you’ll need for this recipe:
The Speckled Palate participates in affiliate programs. As an Amazon Associate, I earn a commission from qualifying purchases. Please refer to my disclosure page for more information about these affiliate programs.
- Sheet pan or a sheet tray
- Aluminum foil or parchment paper
- Large Bowl
- Plastic wrap
- Tongs
- Vacuum sealing system to store and freeze the peppers for later use. You could also use a freezer storage baggie for these if you don’t have a vacuum sealer.
Let’s talk ingredients!
In addition to the tools above, you’re going to need some ingredients to make this recipe, too! Chances are, you might already have some of them in your fridge or pantry. Scroll down to the recipe card for the full measurements and instructions.
In addition to these tools, you’re going to need a singular ingredient:
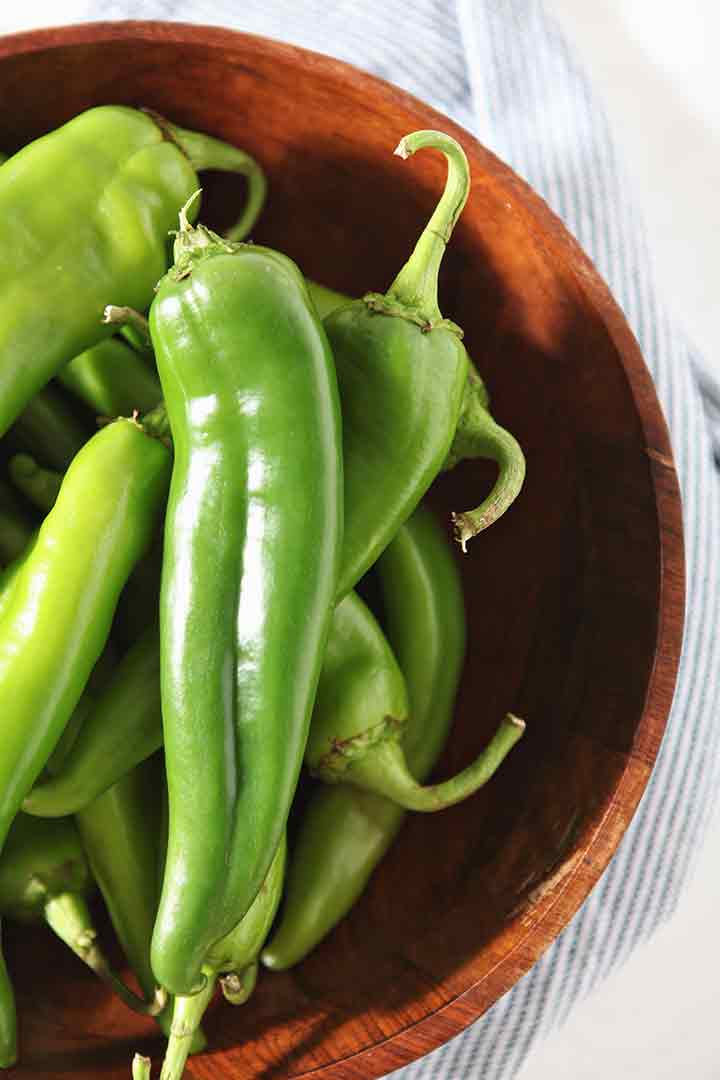
- Peppers — in this guide, I’m showing how to make roasted hatch chiles, but you can use this to roast any type of pepper around. Whether you want to make roasted bell peppers, roasted red peppers, roasted anaheims, roasted poblano peppers, etc., this method works for all of them.
How to roast peppers in the oven
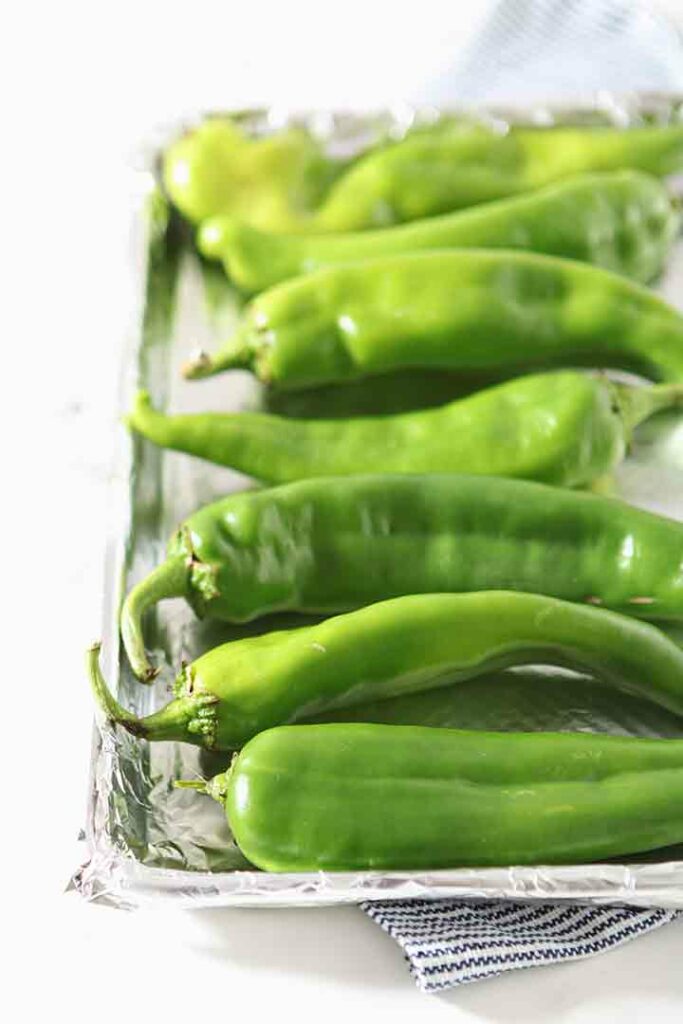
First and foremost, wash and dry all of your peppers.
DID YOU KNOW?
We want our produce to be clean and free of any dust or anything else from transport. Also, they are going beneath the broiler for the charring, and will pop and sizzle and not blister up as nicely if they’re wet.
Move your oven rack to the MIDDLE of the oven, which can be electric or a gas oven.
Preheat the broiler, and line a baking sheet with heavy duty aluminum foil. (Don’t skip this, please. I do not recommend using parchment or a silpat liner for this.)
Place the chiles on the foil-lined baking sheet in a single layer. Be sure to space them so they’re not touching.
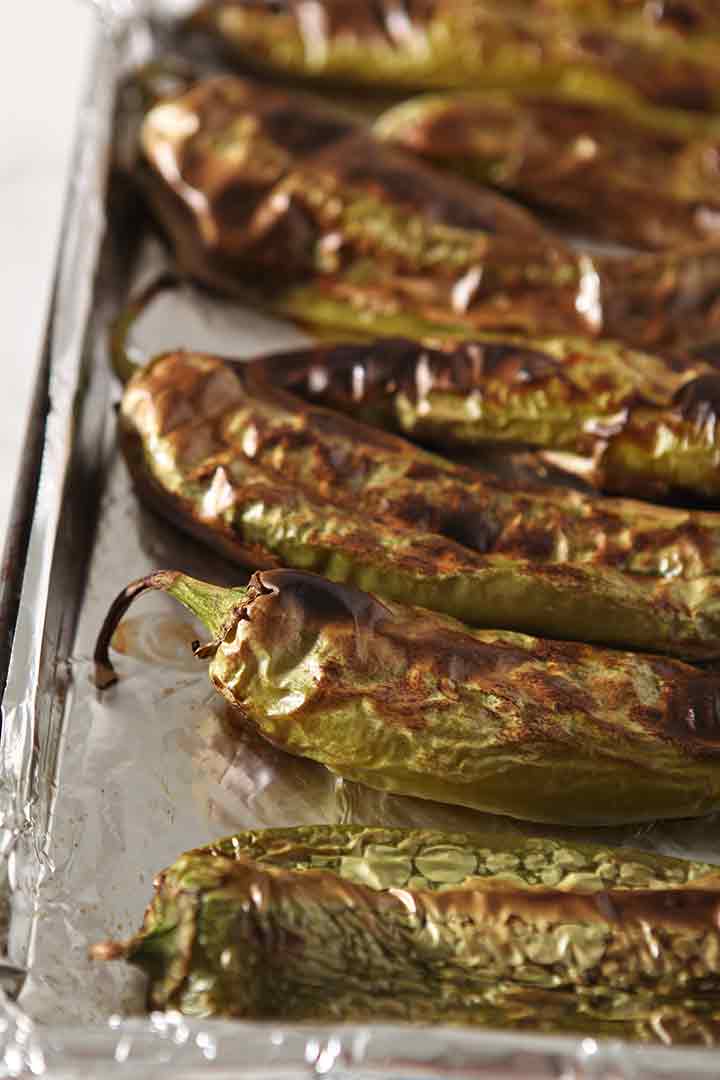
You want ample surface area for all of the peppers to get that blistery, beautiful charred skin in the oven.
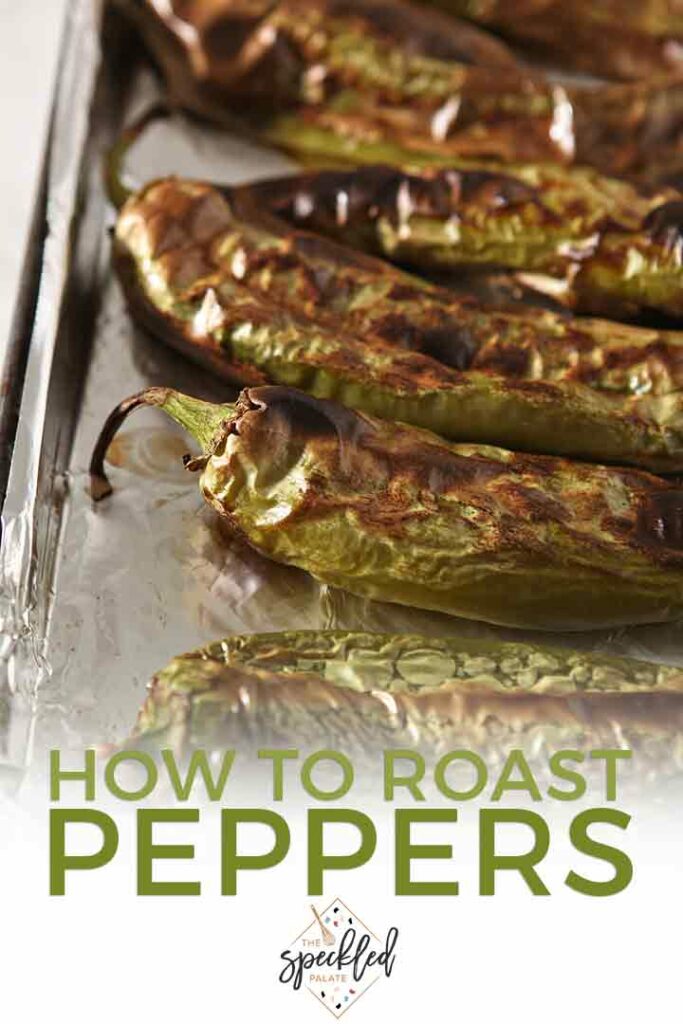
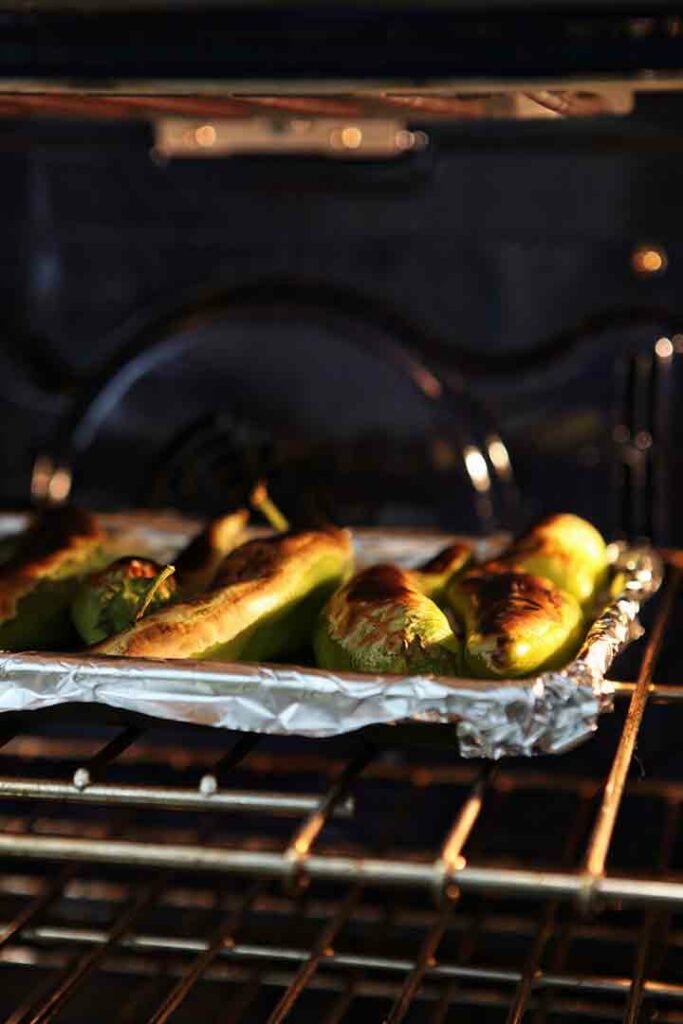
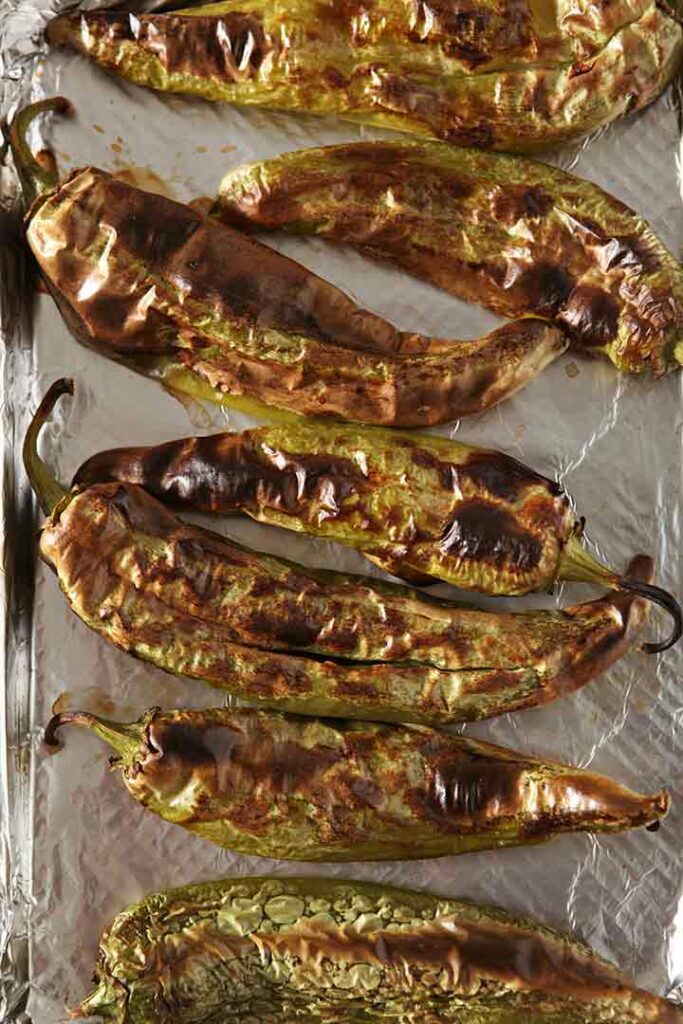
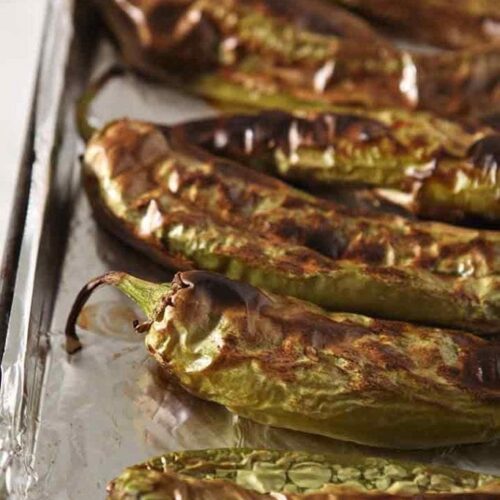
Roast for 8-12 minutes, or until the peppers have blistered. You don’t want them to be burnt or completely blackened, so keep an eye on them.
I’ve included photos of what they should look like in this post, too, in case you need a visual reference.
Pull the baking sheet out of the oven, and flip the peppers using kitchen tongs. They’re going to be REALLY hot, so watch your hands.
Once you’ve flipped the peppers, transfer the baking sheet back to the oven and broil for 8-10 additional minutes, or until this side of the peppers is also blistered.
Remove the baking sheet from the broiler.
DID YOU KNOW?
While this guide discusses how to roast peppers in the oven, you can actually roast them on the grill or on a gas stove burner over an open flame. I do not recommend doing these on a griddle or in a pan because you will not get the same effect.
The most important part is getting the skin of the peppers nice and blistered all over before proceeding to the next step.
How to peel roasted peppers
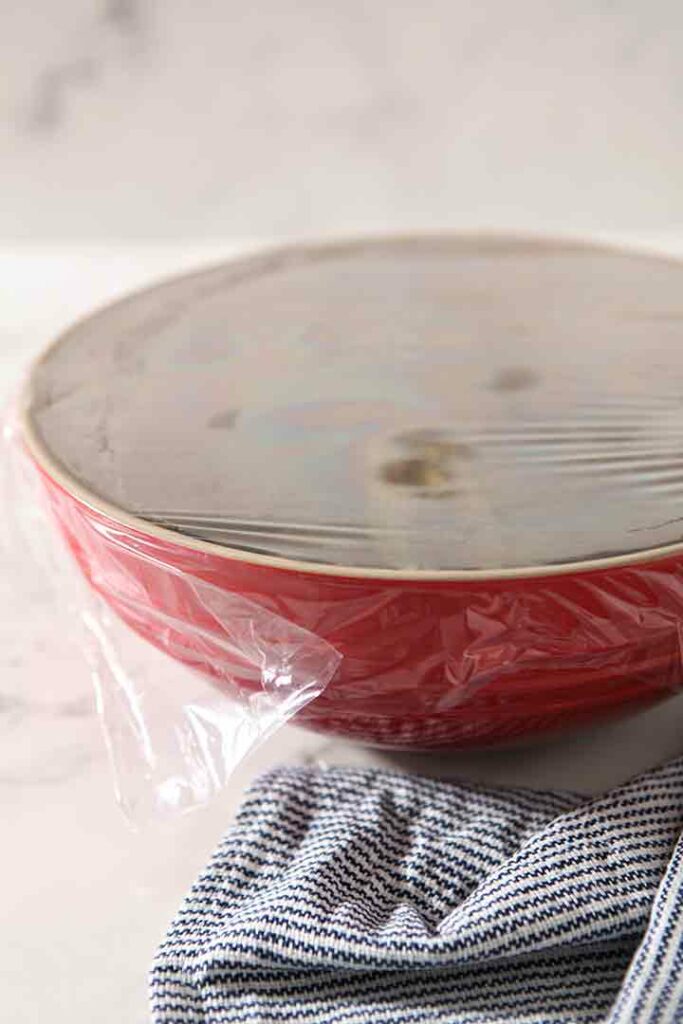
Once the peppers come out of the oven, transfer them into a heat-safe bowl. Alternately, you could use a zip-top plastic bag for this step, too.
Cover the bowl with plastic wrap, and let them sit for 20 minutes.
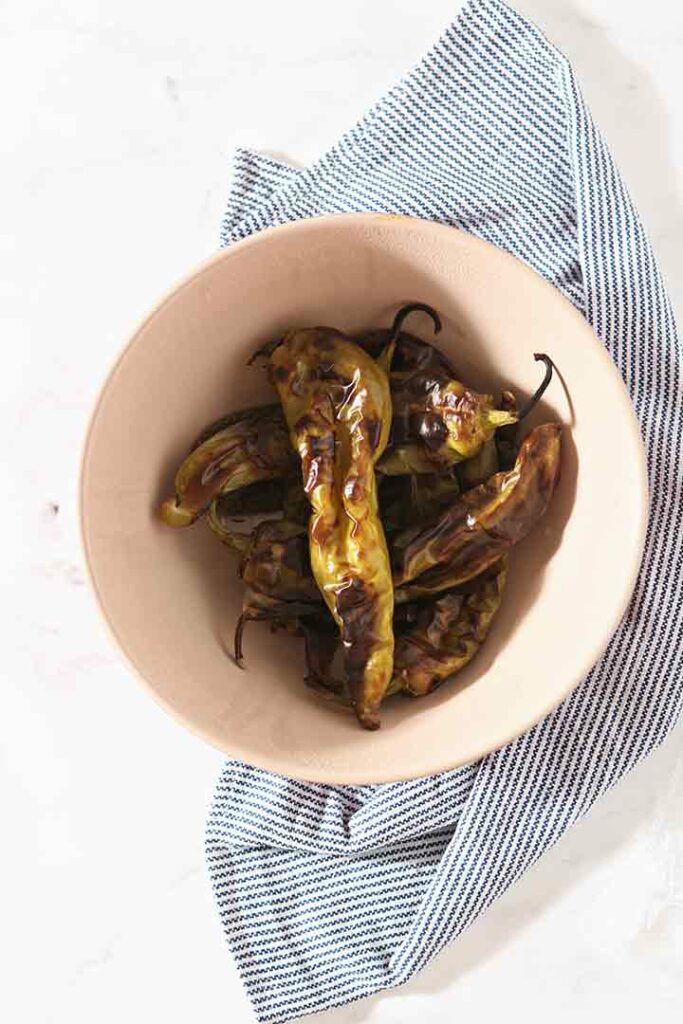
Once they’ve sat for 20 minutes, remove the stem and gently peel the skins from the peppers.
I like to start at the top of the pepper, near the stem, and peel back the blistered skin.
Sometimes, it’ll pull right off, and other times, you have to wiggle it a little bit. Don’t get flustered — once they’ve roasted and steamed, they will come off.
Once you remove and discard the skin, cut the peppers down the middle with a knife and remove the seeds.
Remove the seeds with the back of a butter knife, gently scraping away from the stem to pull as many seeds away as you possibly can.
You can also leave in the seeds if you like the heat, though I do not like the texture they add.
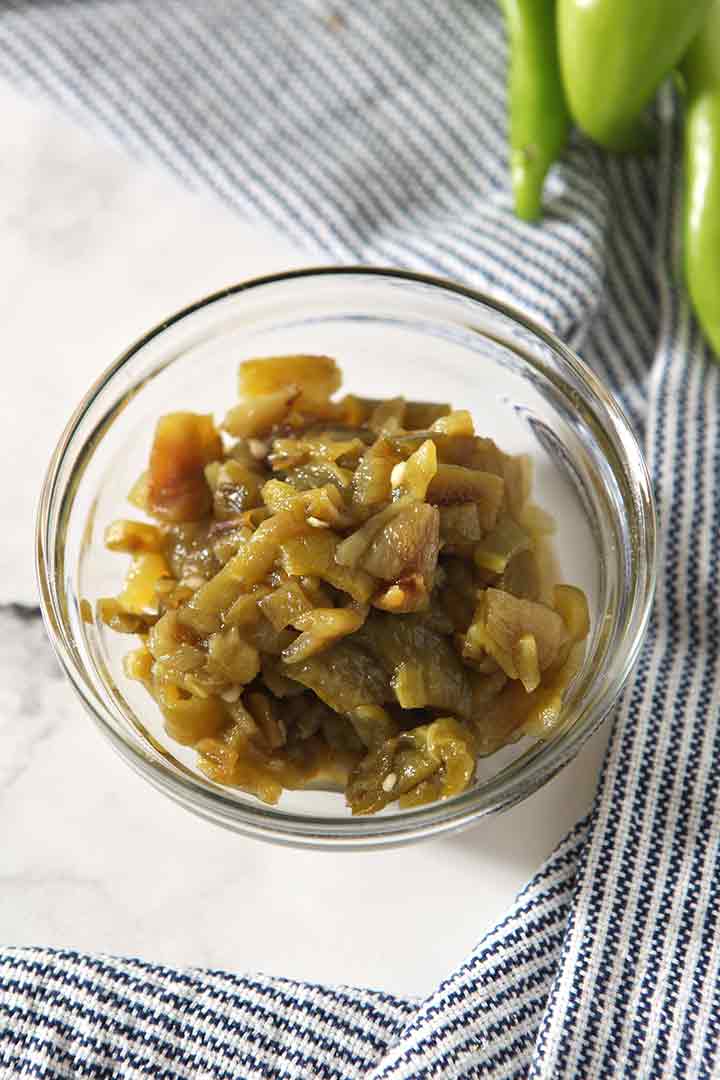
Chop ‘em (or leave them whole) to enjoy in a variety of recipes.
how to store:
If you’re going to use them within 3-5 days, transfer the chopped peppers to an airtight container, and keep them in the fridge.
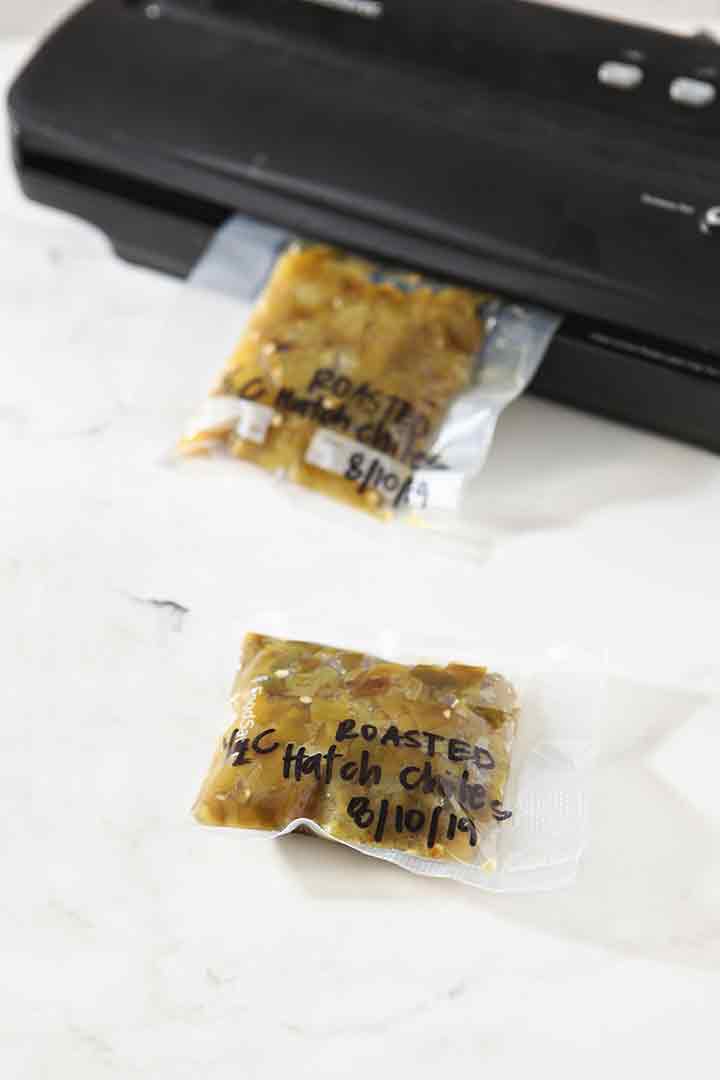
I like to use a vacuum sealer and freeze the chopped roasted chiles, too. You can use a small freezer bag to freeze them if you don’t have a vacuum sealer.
You can also measure out the chopped roasted peppers into an ice cube tray to have equally sized portions. Freeze until frozen, then transfer to a freezer bag.
What to Put Roasted Hatch Chiles In…
Y’all, the possibilities are endless with Hatch chiles and what you can serve ‘em in, and they add excellent flavor to everything.
These would make a tasty side dish unto themselves with a little drizzle of oil and a sprinkle of fancy salt.
I have a friend who loves to put them in a creamy pasta, like Spicy Fettuccine Alfredo with Hatch Green Chile Peppers. (I think they’d be a fabulous seasonal twist on my Instant Pot Mac ‘n Cheese. They would be scrumptious in this Chicken Spaghetti Casserole or Three Cheese Grilled Cheese Sandwiches, too!)
I’ve put them on flatbread before, and they’d be great on a bruschetta, too. Replace the pepper jam in my Pepper Jelly Cream Cheese Bruschetta recipe to capitalize on the flavor paired with a creamy cheese! Add some pizzazz to Loaded Queso or Easy Cheese Dip by adding a smoky roasted pepper element.
Add them to homemade pizza, homemade salsa or anything that needs a little kick.
You could even add them to a creamy sausage gravy and serve it over biscuits for extra spice and flavor.
Frequently Asked Questions
Hatch chiles are New Mexico green chile peppers. They are grown and harvested in the Hatch Valley of southern New Mexico.
Hatch chiles come in both green and red varieties. They’re the same pepper, though, so what you need to know is that green chiles are harvested earlier while the red ones are harvested later. The harvest time makes a difference in their flavor.
The green Hatch chiles have a smokier flavor when roasted, while the red ones sweeten up.
In a typical growing year, the peppers are available from mid-July through the end of September.
In Dallas, August seems to be the time that everyone is selling and celebrating, but you can purchase the chiles online from a few New Mexico companies if your local markets don’t carry them.
It depends on the variety you purchase. They are sold in mild and spicy varieties, and they can fall between 350 and 30,000 on the Scoville scale.
If you’re unsure which type you’re purchasing, ask someone in the produce section of your grocery (or talk to the seller at the farmer’s market) so you’re not surprised by the heat or the lack of it.
Store in the refrigerator for up to a week to add to various recipes. (Think of how delicious they would be added to scrambled eggs!)
You can also use a vacuum sealer to seal either whole roasted peppers or chopped roasted peppers in a vacuum sealed bag to freeze. This is what we did! They’ll keep for up to six months in the freezer, and you can defrost them and throw them into a variety of dishes at your leisure.
Quick tips for roasting chiles
- Roast the peppers within 1-2 days of bringing them home from the store. The taste is even more excellent when you cook them when they’re as fresh as possible.
- If you’re sensitive to heat, use mild peppers and wear disposable kitchen gloves when you peel and chop the peppers.
- Use Ahaheim or another green chile pepper that has mild heat in place of Hatch chile peppers if you can’t find them.
- Store the roasted, peeled peppers in the fridge for up to a week. Throw ‘em in a freezer-safe bag (or vacuum seal them, like I did) to store them in the freezer for up to six months.
- Portion out the peppers before freezing. This way, you’ll know how large the portion is when you defrost it for whatever recipe you want to use it in.
Now who’s interested in learning how to roast some chile peppers?
Here’s how I do it:
How to Roast Peppers
EQUIPMENT
As an Amazon Associate and member of other affiliate programs, I earn from qualifying purchases.
Ingredients
- 12 Hatch chile peppers or any other pepper variety you’d like to roast!
Want to save this?
Instructions
- Wash and dry all 12 Hatch chile peppers. We want the peppers to be clean and free of any dust or debris, and we want them to blister up nicely, so they’ve gotta be dry, too.
- Move the oven rack to the MIDDLE of the oven, and preheat the broiler.
- Line a baking sheet with aluminum foil. (Please don’t skip this step, as your chiles could potentially stick to the baking sheet if you don’t.)
Arrange the Hatch chiles on the baking sheet. Space them out so they’re not touching, as this will help them blister evenly. - Roast for 8-12 minutes, or until the peppers have blistered. You don’t want them to be burnt or completely blackened, so keep an eye on them.
- When the peppers are blistered, remove the baking sheet from the oven, and flip the peppers with kitchen tongs.
- Place the peppers back in the oven for another 8-10 minutes, or until the peppers are blistered.
- Remove the baking sheet from the oven, and immediately transfer the peppers to a heat-safe bowl. Cover with plastic wrap. (This will create steam, and the steam is going to loosen the exteriors of the peppers so we can remove them more easily.)
- Once the 20 minutes have passed, gently peel the skins off the peppers using your fingers. I like to start at the top of the pepper, near the stem, and peel back the blistered skin. Sometimes, it’ll pull right off, and other times, you have to wiggle it a little bit. Don’t get flustered—once they’ve roasted and steamed, they will come off.
- Once the skins are removed from the roasted peppers, slice them open with a knife and remove the seeds. I remove the seeds with the back of my knife, gently scraping away from the stem to pull as many seeds away as I possibly can.
- From here, you can leave the peppers whole or chop them up to add to a variety of different recipes.
Video
Notes
Nutrition

About the Author:
Erin Parker is a Southern gal living in Texas with her husband and two daughters. She started The Speckled Palate to share what she was cooking as a newlywed… and over the years, it’s evolved to capture her love for hosting. Specifically, the EASIEST, lowest key entertaining because everyone deserves to see their people and connect over good food. Learn more about her…
Before leaving a comment or rating, ask yourself: