
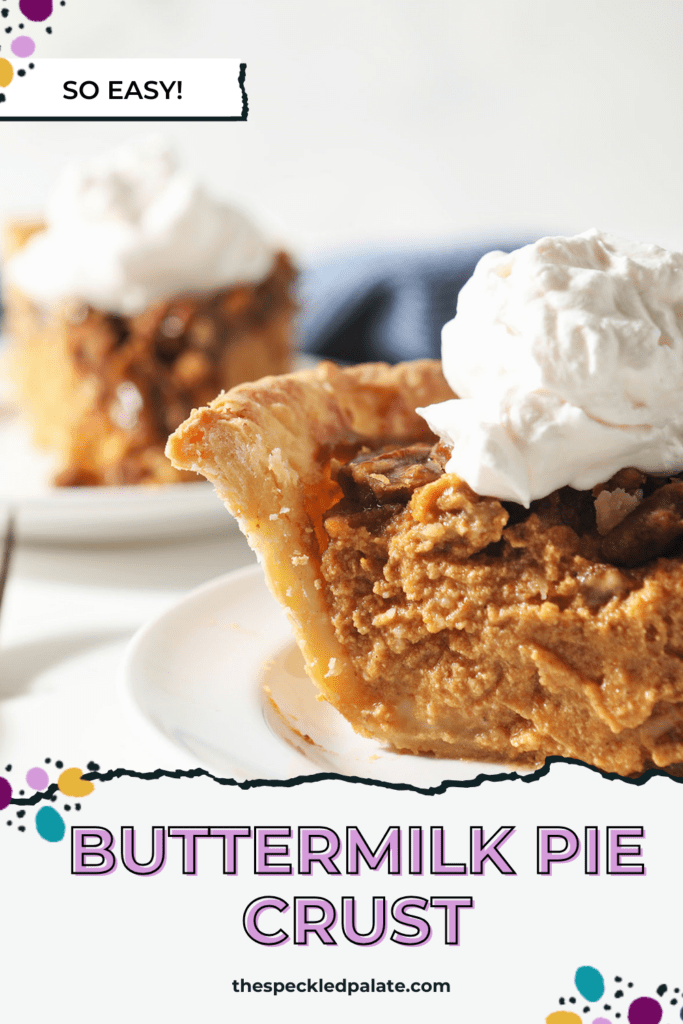
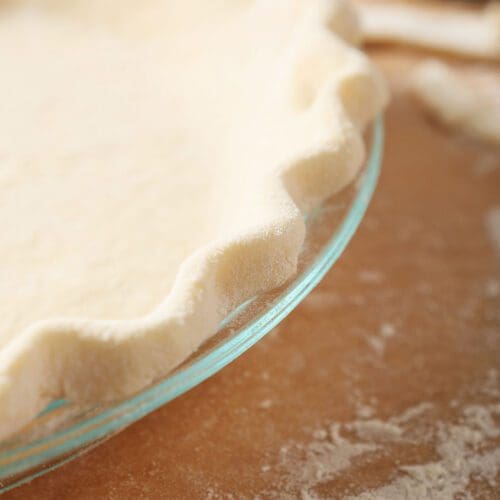
Buttermilk Pie Crust
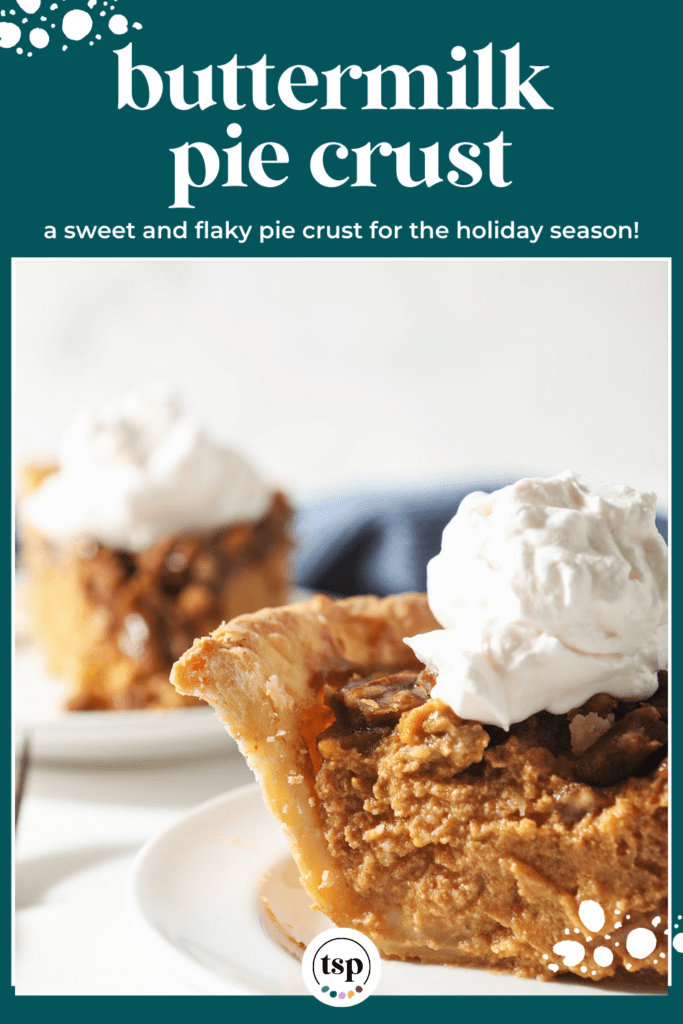
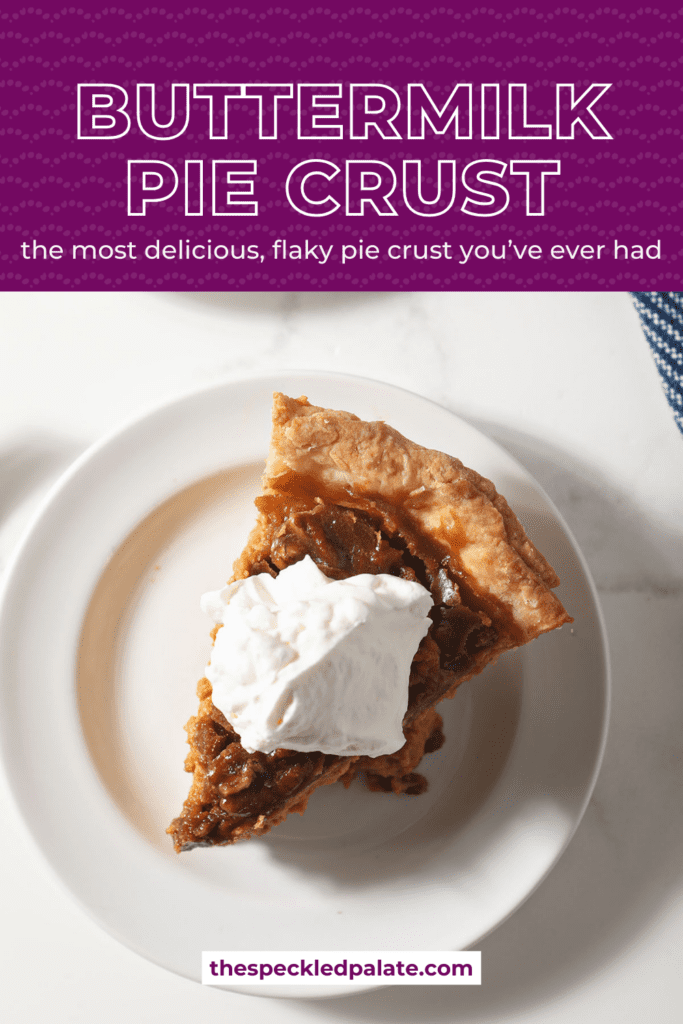
Don’t be intimidated by homemade pie crust! Use this simple recipe and method to make the most delicious, flaky pie crust you’ve ever had. Calling for just 7 ingredients, Buttermilk Pie Crust is a tender, slightly sweet crust that pairs beautifully with any dessert pie. Makes 2 pie crusts.
Want to save this?
This post contains affiliate links.
A few years back, some pie-loving friends got together to create an annual Friend Pie Day in November… and it’s something we’ve stuck to ever since.
“But what is Pie Day, Erin?” you might be asking. (Because it’s not the one that people tend to talk about in March.)
Pie Day is a day that we gather to bake 3-4 new pies and then consume them all to see which we like best.
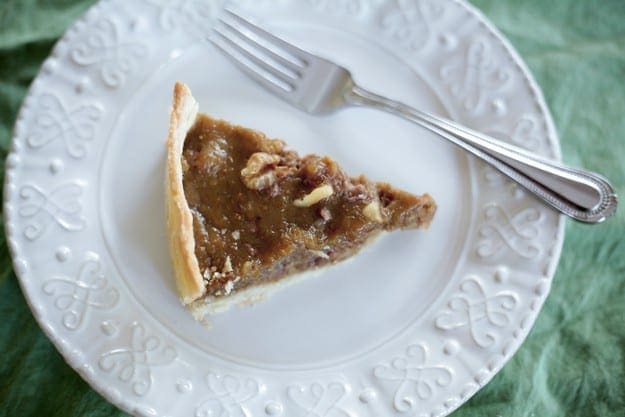
We’ve made savory pies (like Crawfish Pie), as well as sweet pies (like Bourbon Pecan Pie.)
Every gathering offers a different pie or two for the young and semi-old, and it is utterly delightful.
In fact, we like to have a bi-annual pie day, even though we all live in different cities now.
Why I love this recipe:
This Buttermilk Pie Crust is a total gem and a more unique pie crust recipe that I wanted to share with y’all here. It’s my personal go-to pie crust recipe.
Adapted from my Strawberry Blueberry Hand Pies recipe, this recipe is easier than you might expect… especially if you’re hesitant to make a pie because of the crust.
In fact, for years, I said I was not a pie person because I didn’t want to fuss with the crust. Turns out… I am totally a pie person. (“Surprise,” said no one ever.)
Our friend, Jeremy, introduced me to a revolutionary piece of technology for making pie crusts… and it’s a food processor.
Using a food processor to make pie crust ensures that you don’t overwork it, which was a problem I struggled with in my early pie crust days.
It also involves vodka, which helps cut down on the gluten development and yields a more tender, flaky crust.
All you do is throw the dry ingredients into the processor, blitz them, then pour them into a bowl, mix in the liquid until just combined and voila! You’re done.
Homemade pie dough could not be easier, and honestly, this one tastes amazing, too. It’s nice and butter with just a bit of sweetness that pairs well with so many different flavors.
Pleas note that this is not a Buttermilk Pie recipe, so if you’re looking for that, you will need to head elsewhere.
Other pie recipes to make ASAP: Bourbon Pecan Pie | Bugga’s Apple Pie | Pear Pie | Chocolate Bourbon Pecan Hand Pies | Coconut Cream Pie |
Got sweet teeth? Check out my Dessert Recipe Index for inspiration.
What you need to make this recipe
The Speckled Palate participates in affiliate programs. As an Amazon Associate, I earn a commission from qualifying purchases. Please refer to my disclosure page for more information about these affiliate programs.
- A large food processor (or a pastry blender, if you want to do this manually)
- Liquid measuring cup
- Mixing bowl
- Plastic wrap (or beeswax wrap to wrap the crust in)
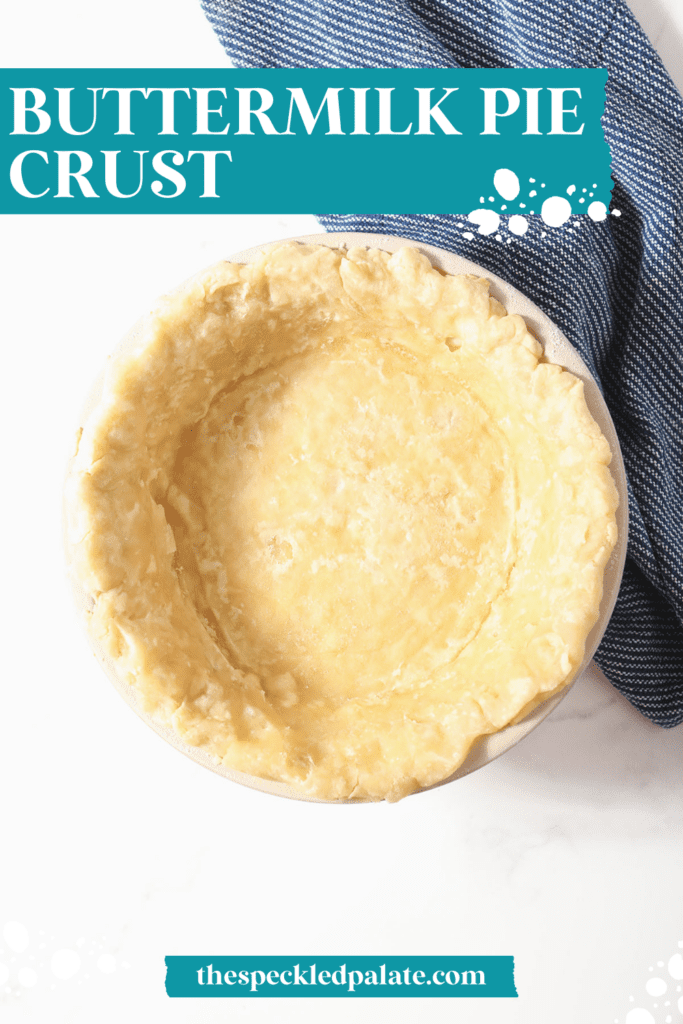
- Pie pan (I prefer a ceramic one over a metal or glass one)
- Rolling pin
- Pie rolling mat (to help with sizes, if this is helpful for you)
- Parchment paper
- Kitchen shears
- Fluted pastry cutter
- Pie weights (or dried beans)
Let’s talk ingredients!
In addition to the tools above, you’re going to need some ingredients to make this recipe, too! Chances are, you might already have some of them in your fridge or pantry. Scroll down to the recipe card for the full measurements and instructions.
Here’s what you will need to grab from your local grocery store:
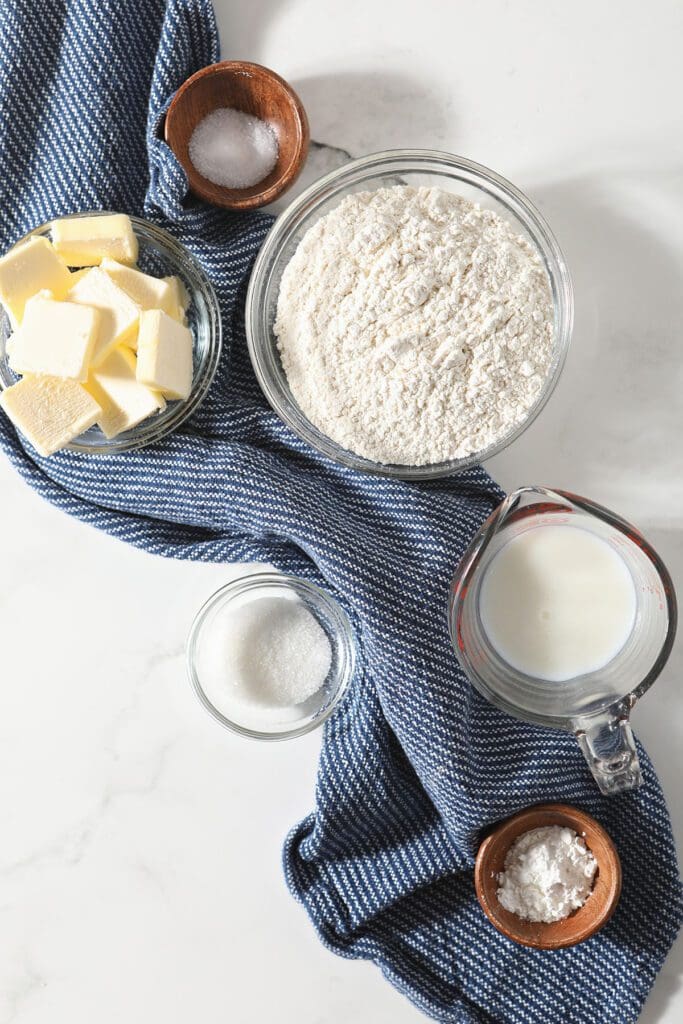
- All-purpose flour — this is my go-to flour. We keep unbleached in our house, but regular AP also works. I have not tried this recipe with gluten free flours, so please do not substitute.
- Granulated sugar — honestly, we don’t need much to add just a little sweetness to our crust. Also known as white sugar, this is my sweetener of choice.
- Cornstarch — we just need a little bit of this, and it’s going to help prevent gluten development as we mix up the pie dough, which will yield a more tender, flaky crust.
- Kosher salt — I use a medium grain kosher salt in this recipe. You could also use a similarly sea salt here in place of the kosher salt. I do not recommend using table salt, as it is saltier than kosher salt.
- Unsalted butter — we want the butter to be very cold and cut into 1” pats. I like to slice the butter, place it in a bowl and pop that into the freezer well in advance so the butter can hold its shape when added to the pie crust.
- Cold buttermilk — that’s the secret to this buttery pie crust recipe! If you can find it, use whole buttermilk and not the non-fat version for optimal flavor.
- Vodka — use whatever you’ve got on hand. Any vodka works, though please don’t use fancy sipping vodka, mmkay? Using a splash of vodka adds liquid to the pie dough while also limiting gluten development, which will help keep the dough tender. (Want to learn more about this? Check out this article from Serious Eats.)
If you read through this list, you’ll notice that there is a common theme: many of these ingredients help prevent gluten development.
Don’t have your own buttermilk? You can make your own buttermilk substitute by adding a tablespoon of white vinegar or lemon juice to a cup of whole milk. (You can use a lower fat milk, but I recommend using whole milk for a more luscious end result.)
Why do we care about gluten development in pie crust?
The more we work dough, the tougher it gets… because gluten begins forming and develops. Gluten development is amazing in most baked goods, like homemade breads.
HOWEVER, we do not want gluten to form nearly as much in a pie crust because we want the crust to be both flaky and tender.
When we add ingredients, such as cornstarch, buttermilk and vodka, we get a beautiful combination that allows us the ability to mix everything together without overworking it or making the resulting crust too tough.
How to make Homemade Pie Crust
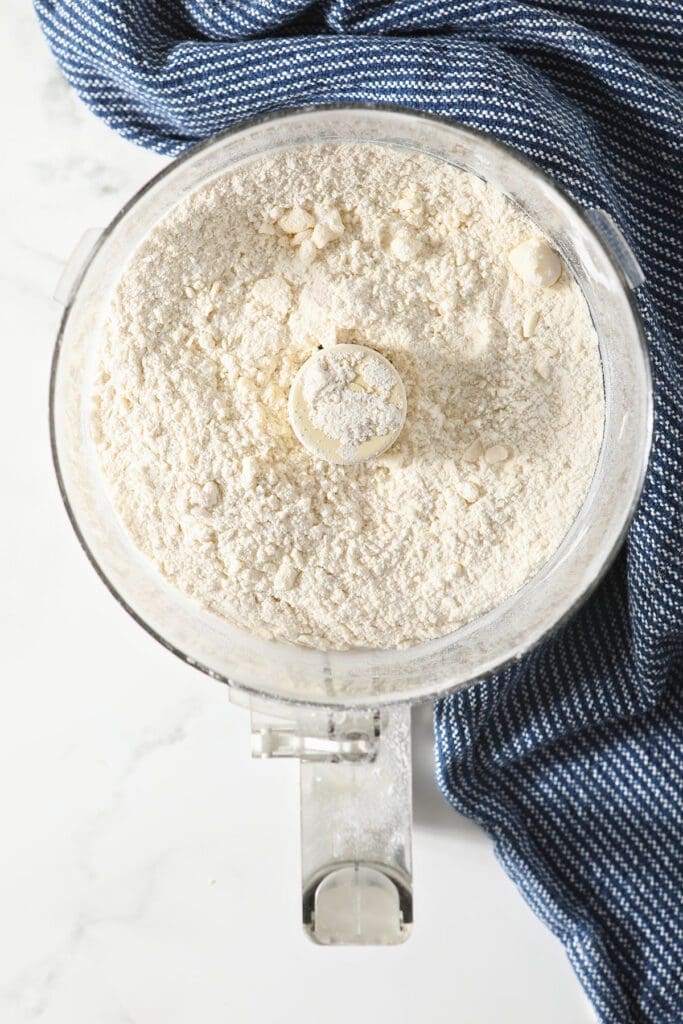
Combine a cup of the flour with the sugar, cornstarch and salt in a large food processor. Pulse a few times to combine.
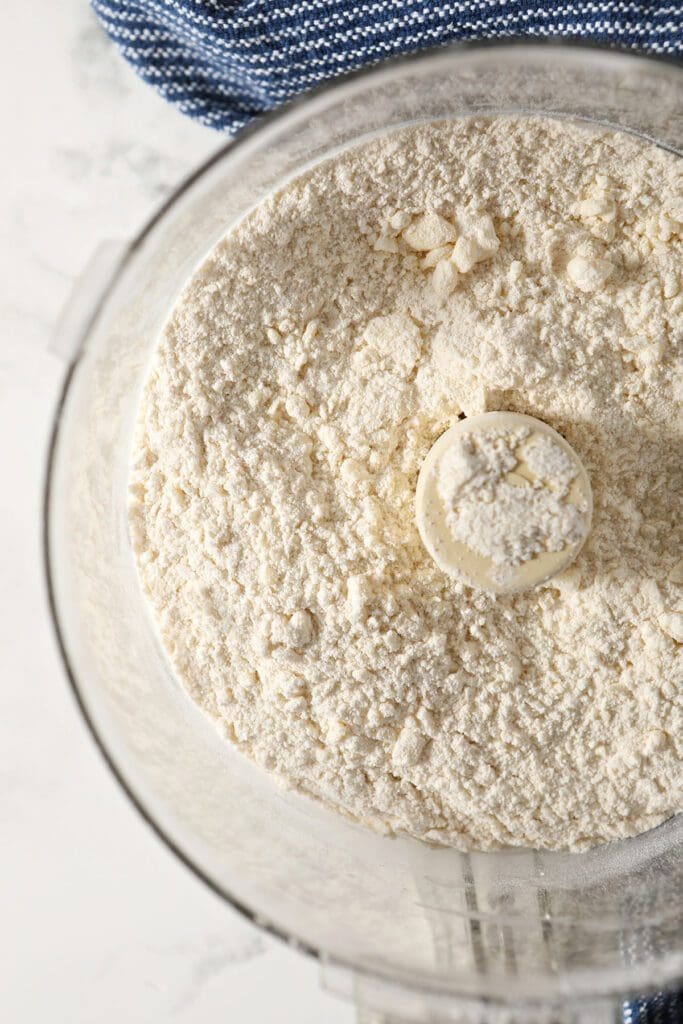
Add the butter to the mixture, pulsing the food processor until the butter is broken down into smaller pieces. It will be slightly chunky, but start to have a sand-like texture.
Add the rest of the flour, and process for just 10 seconds.
Pour the flour mixture into a large bowl, and drizzle in the buttermilk and vodka slowly, turning the bowl clockwise to work the ingredients into the crust using a rubber spatula.
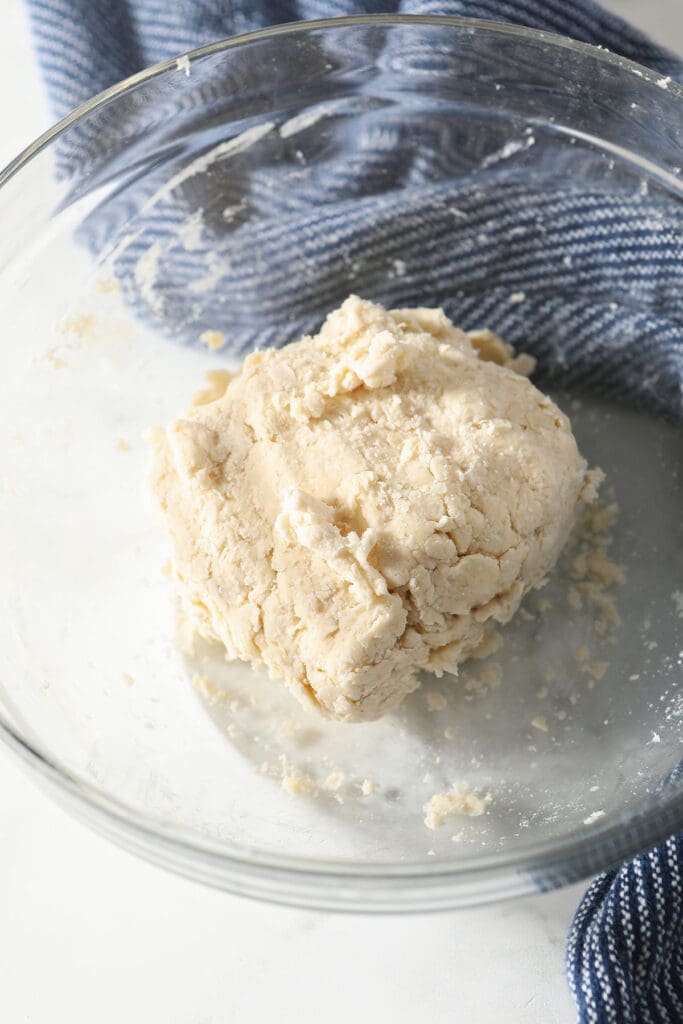
The crust should just hold together when it’s done. All you need to do is squeeze it with your hand to confirm.
Press into two loose rounds, and transfer to two sheets of plastic wrap. (This recipe makes enough for a bottom crust and a top crust.)
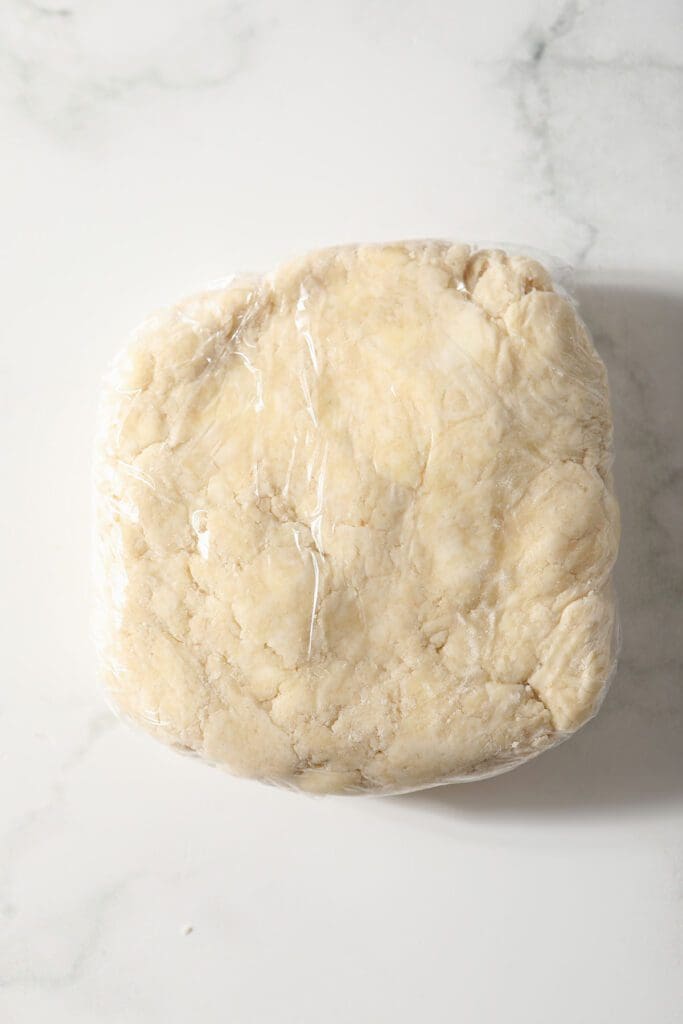
Wrap tightly, then refrigerate for 2-3 hours or overnight. (This can also be done where you freeze the dough if you want to make it well in advance.)
Please note that you can make this by hand if you do not have a food processor. Simply use a pastry cutter or blender to cut the butter into the flour mixture before combining the rest of the ingredients and gently form the crust.
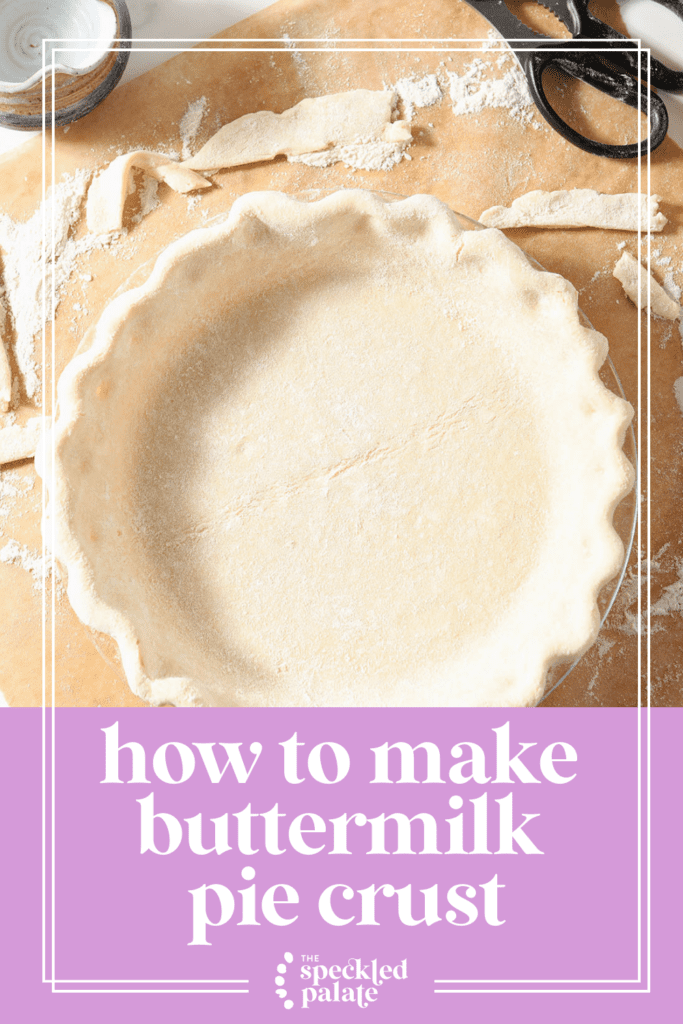
How to roll out pie crust
I highly recommend blind baking your pie crust, unless the pie filling recipe you’re using suggests that you should not do this.
Preheat the oven. I like to blind bake my pie crust at a higher temperature, so I set the temperature to 400°F.
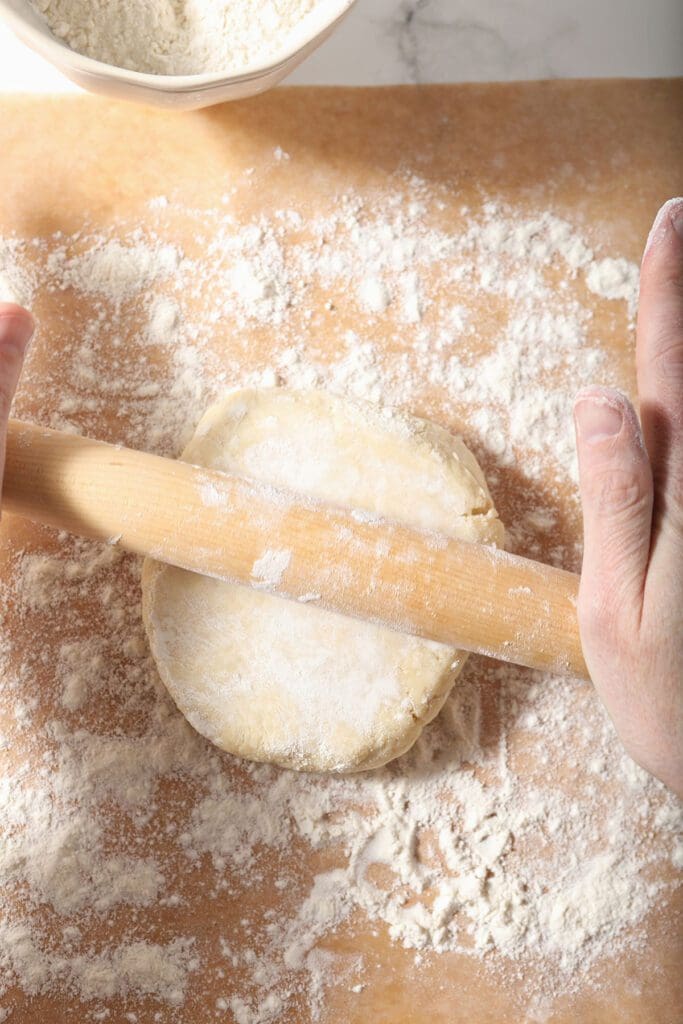
Prep the surface. Sprinkle a flat, clean surface with a layer of flour. I like to put a few spoonfuls of flour into a small bowl next to my workspace in case I need it. (I got this trick, thanks to a friend.)
You may sprinkle the flour onto a sheet of parchment or a pie rolling mat if you want a guide.
Roll out the bottom crust on the lightly floured surface. Since the dough ball will be in a round, simply flatten it with a rolling pin. Roll outwards, turning the crust occasionally to help it keep a round shape.
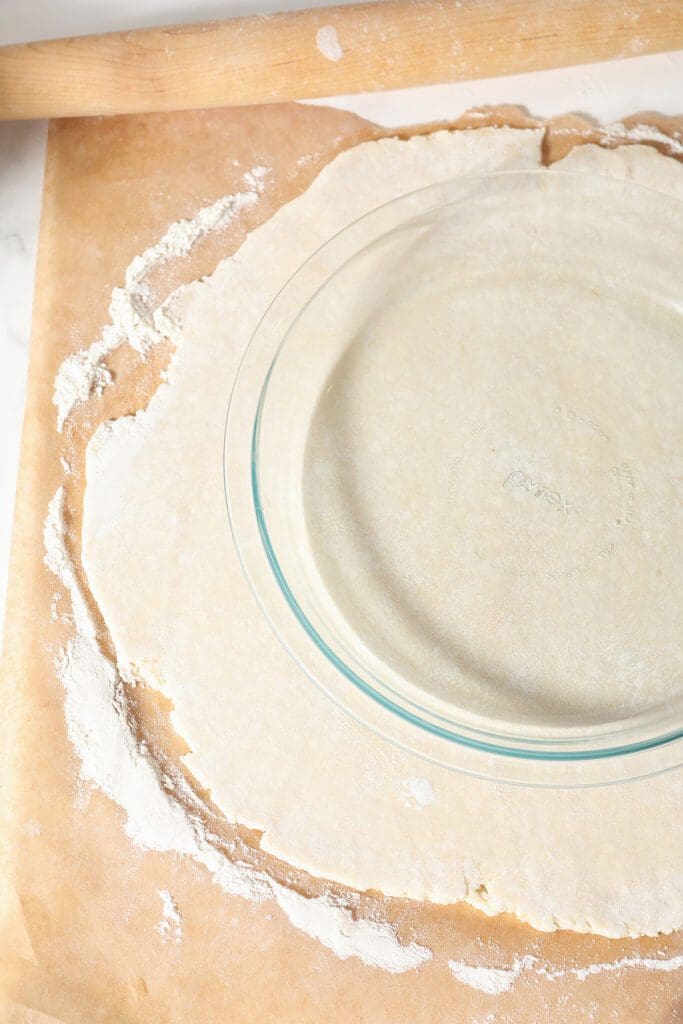
You’ll want the pie crust to be about 11-12″ round for a 9″ pie plate. (It’ll be about ¼” to ½” thick.)
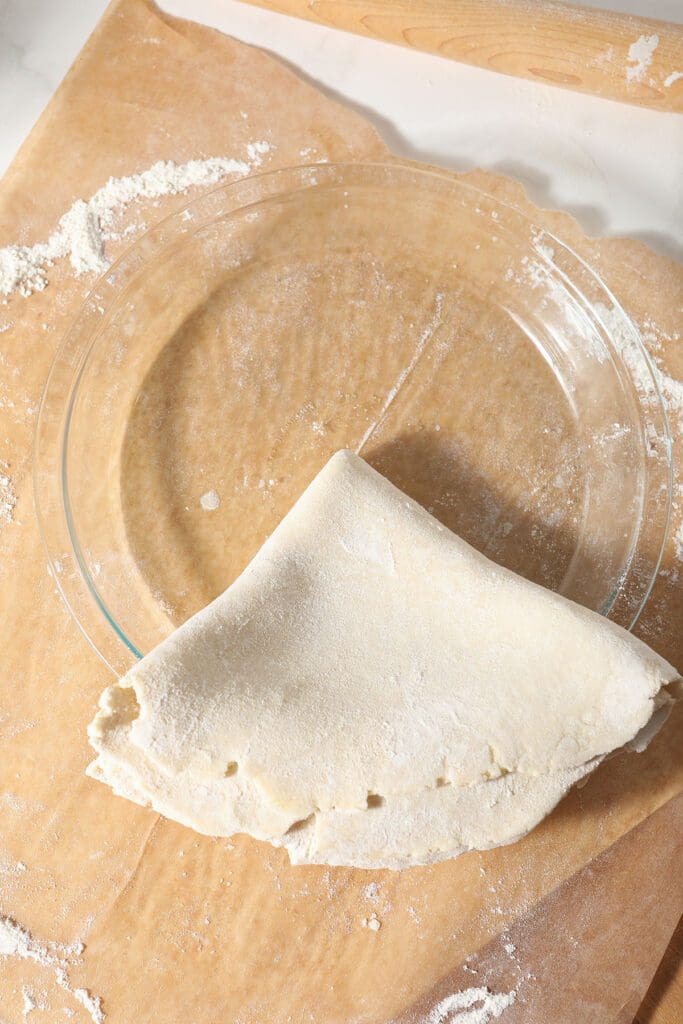
Fold the crust in half, then on top of itself to where it looks like a triangle and place the end of the point in the middle of a pie plate.
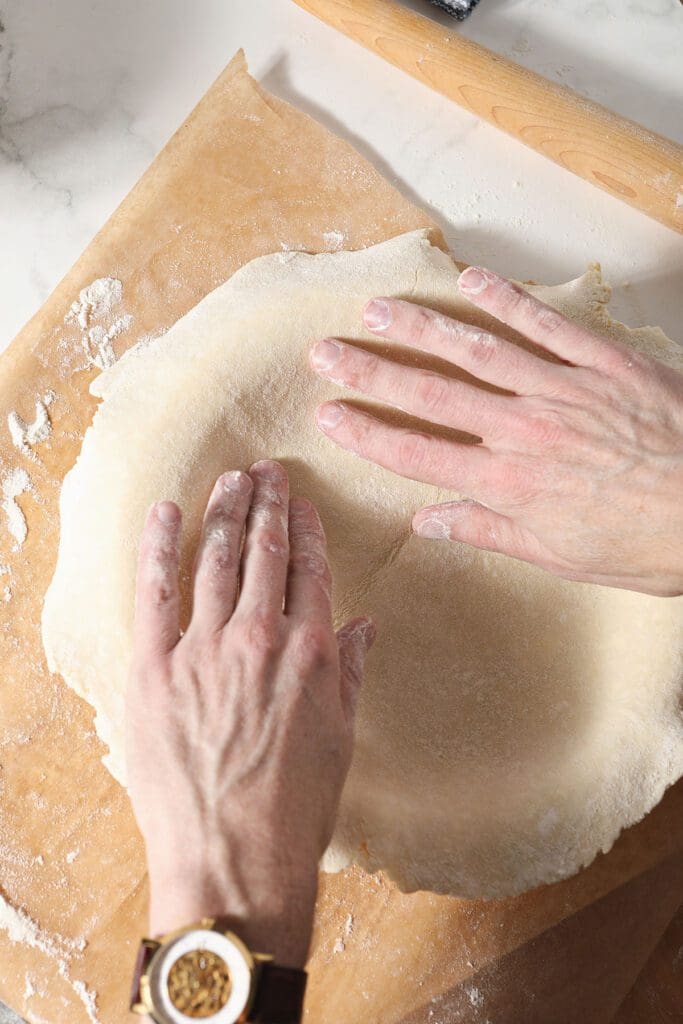
Unfold the pie crust, and spread it out evenly on a 9-inch pie plate.
Trim the edges to where there is about 1” of crust hanging off the pie dish.
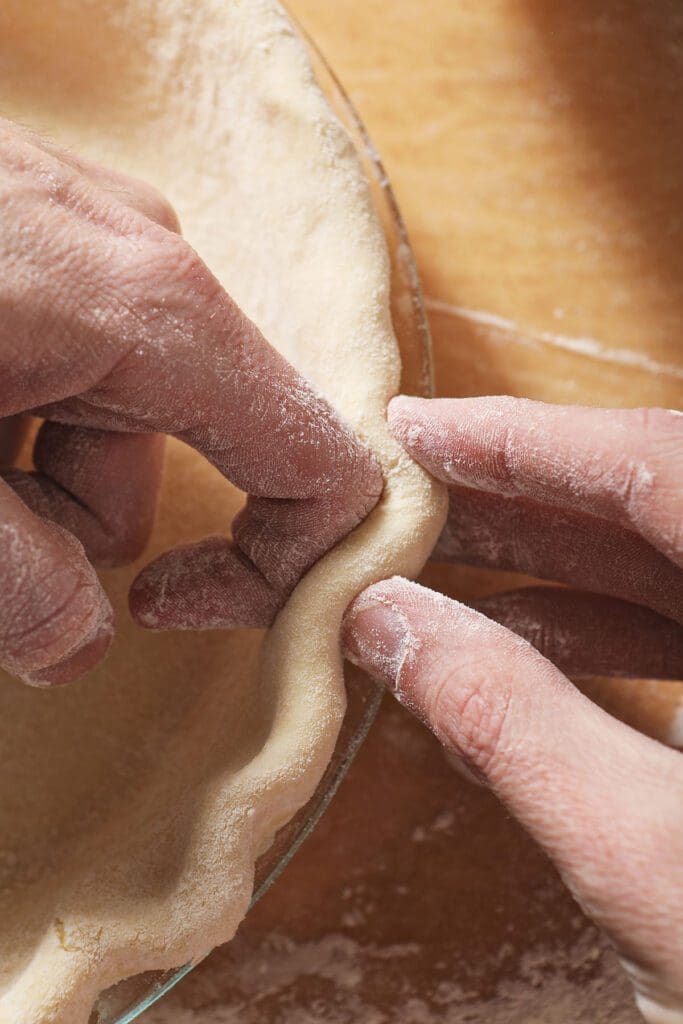
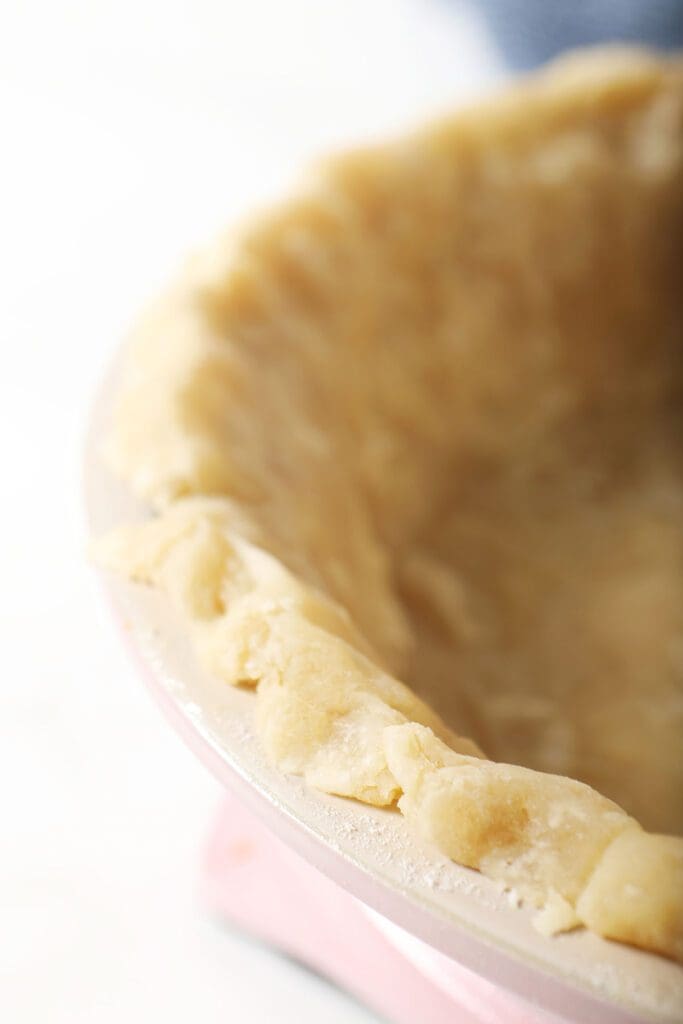
Use your hands to gently crimp the crust with this excess dough hanging off the plate. You may also fold the crust in on itself, tucking the bottom of it beneath the top, and press the sides down with a fork if you don’t want to crimp the crust.
Pro tip!
I use the pointer finger and thumb of my left hand to form a V shape on the inside of the crust and use my right thumb to press the dough on the outside of the crust into my left hand to create the crimps.
How to blind bake pie crust
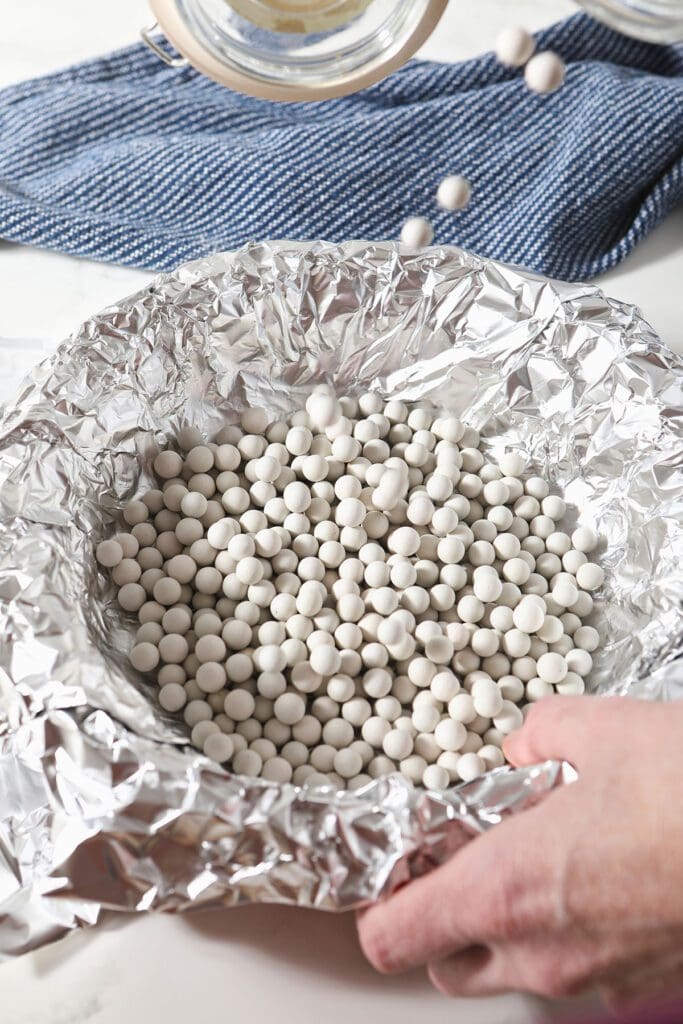
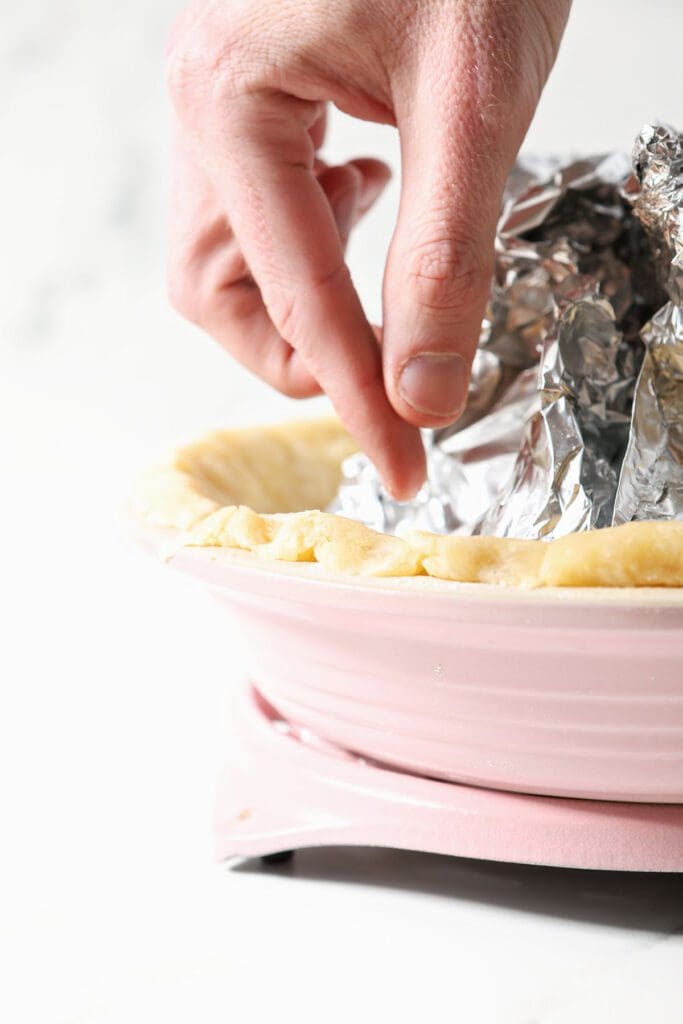
Once the crust has been crimped, poke the bottom of the crust a few times with a fork, place a sheet of foil or parchment down on top of it and cover the pie crust with pie weights… or dried beans.
DID YOU KNOW?
You can reuse the beans time and again, but you will not be able to eat them. I keep mine in a jar in my pantry and have them labeled so no one is confused.
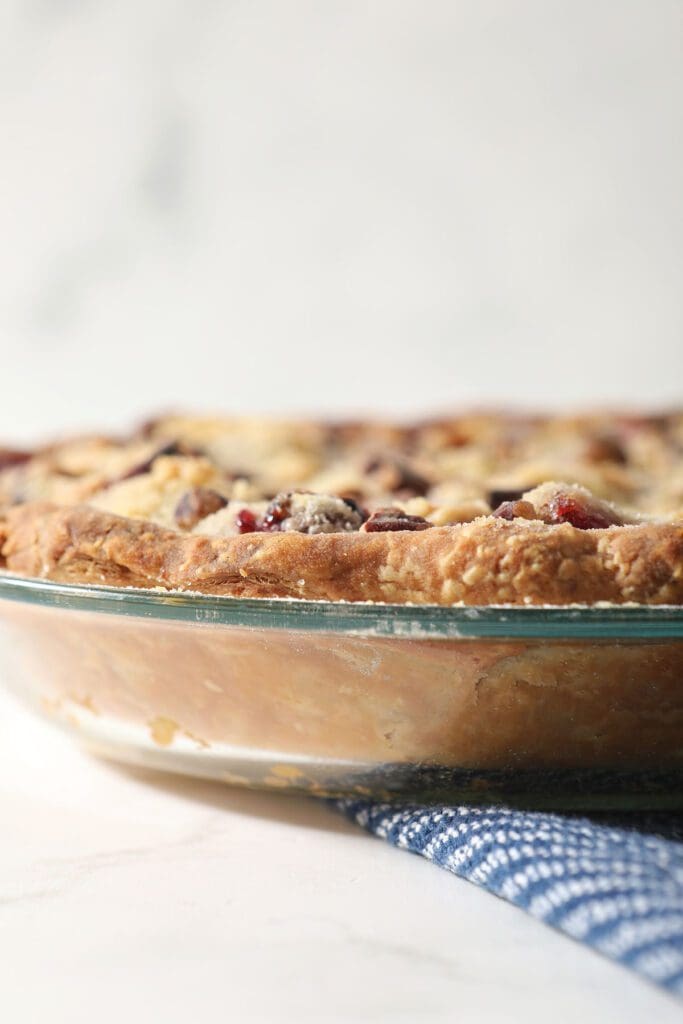
Bake in the preheated oven for 12-15 minutes or until the edges of the pie crust are golden brown.
Remove the pie crust from the oven and gently lift the pie weights out of the crust using the parchment.
Set the pie crust aside to cool slightly before adding your filling and baking again.
Erin’s Easy Entertaining Tips
Homemade pies are one of the best things about the holiday season, and an awesome pie crust just takes any homemade pie to the next level.
If you want to entertain this season and share pie, here are some tips:
- Make a few batches of this food processor pie crust so that you’re stocked for the season.
- Keep discs frozen in your freezer. This way, when you want to make a pie, all you’ll need to do is defrost and bake.
- Or purchase aluminum pie tins and form the pie crusts in those, and freeze them whole to where they are ready to bake.

Frequently Asked Questions
We like butter in this house, but a shortening pie crust is also delicious. Vegetable shortening pie crusts (without added buttermilk) are excellent to serve to people who cannot tolerate dairy.
Buttermilk adds a little acidity, which can help prevent the crust from getting too tough. It should also help the crust turn a beautiful color.
When I initially made this recipe, I was using milk and vinegar to create a homemade “buttermilk.” For this recipe, we’re using real buttermilk. It adds acidity, which I have read helps cut down on gluten development in a pie crust, which can lead to a tougher crust.
Much like vinegar, vodka prevents gluten development in pie crust. Which means a more tender, flaky crust.
Quick Tips and Tricks for this homemade pie crust recipe:
- High quality ingredients yield the best results. That means springing for the more expensive butter (European butter has a higher fat percentage, which makes it that much more decadent in a crust like this), as well as using whole buttermilk (as opposed to low fat).
- Give yourself time. Rushing while making a pie crust never serves anyone well.
- How to store: You can store a pie crust in the fridge for 1-2 weeks in a round, wrapped tightly in plastic wrap. You can also freeze the rounds for up to 3 months OR roll the pie crust out and place it in a pie tin and freeze it whole.
More pie recipes to try:
- Blackberry Peach Hand Pies
- Chocolate Bourbon Pecan Hand Pies
- Pumpkin pie without Evaporated Milk
- Chocolate Pudding Pie with Graham Cracker Crust
Here’s how you make this pie crust…
Buttermilk Pie Crust
EQUIPMENT
As an Amazon Associate and member of other affiliate programs, I earn from qualifying purchases.
Ingredients
- 1 ½ cups all-purpose flour 195g
- 1 tablespoon granulated sugar 16g
- 1 ½ teaspoons cornstarch 6g
- ¾ teaspoon kosher salt 5g
- ½ cup unsalted butter very cold, cut into 1” pats
- 1/3 cup buttermilk 80 ml (whole fat buttermilk is recommended)
- 1-2 tablespoons vodka
Want to save this?
Instructions
Make the Pie Crust
- Combine 1 cup of the flour with the sugar, cornstarch and salt in a large food processor. Pulse a few times to combine.
- Add the cut butter to the mixture, pulsing the food processor until the butter is broken down into smaller pieces.
- Add the rest of the flour, and process for 10 seconds.
- Pour the mixture into a bowl, and pour in the buttermilk and vodka slowly, working clockwise to work the ingredients into the crust. The crust should just hold together when it’s ready. All you need to do is squeeze it with your hand to confirm.
- Press into two loose rounds. Transfer each to a separate piece of plastic wrap. (This way, you have a separate bottom crust, as well as a top crust. And if your pie doesn’t have a top crust, you can freeze the second round for later.)
- Wrap tightly, then refrigerate for 2-3 hours or overnight. This can also be done where you freeze the dough if you want to make it well in advance.
Shape the Pie Crust
- Preheat the oven to 400°F. Choose a 9″ pie plate and set aside.
- Sprinkle a clean, flat surface with a layer of flour. (Place a few spoonfuls of flour into a small bowl next to your workspace in case you need more.)
- Roll out the crust. Flatten the dough ball with your rolling pin, then roll outwards, turning the crust occasionally to keep a round(ish) shape.
- When the crust is ¼” to ½” thick, fold in half, then on top of itself to where it looks like a triangle and place the end of the point in the middle of a pie plate.
- Unfold the pie crust, and spread it out evenly on the pie plate.
- Trim the edges to where there is about 1” of crust hanging off the pie plate.
- Lightly flour your fingers, and use your hands to gently crimp the crust. (I use the pointer finger and thumb of my left hand to form a V shape on the inside of the crust and use my right thumb to press the dough on the outside of the crust into my left hand to create the crimps.) You may also fold the crust in on itself, and press the sides down with a fork if you don’t want to crimp the crust.
- Blind Bake the Pie Crust
- Once the crust has been crimped, poke the bottom of the crust a few times with a fork, place a sheet of foil or parchment down on top of it and cover with pie weights or dried beans.
- Bake in the preheated oven for 12-15 minutes or until the edges of the pie crust are golden brown.
- Remove the pie crust from the oven and gently lift the pie weights out of the crust using the parchment.
- Set the pie crust aside to cool slightly before adding your filling and baking again, according to the pie recipe instructions.
Notes
Nutrition

About the Author:
Erin Parker is a Southern gal living in Texas with her husband and two daughters. She started The Speckled Palate to share what she was cooking as a newlywed… and over the years, it’s evolved to capture her love for hosting. Specifically, the EASIEST, lowest key entertaining because everyone deserves to see their people and connect over good food. Learn more about her…

Before leaving a comment or rating, ask yourself: