
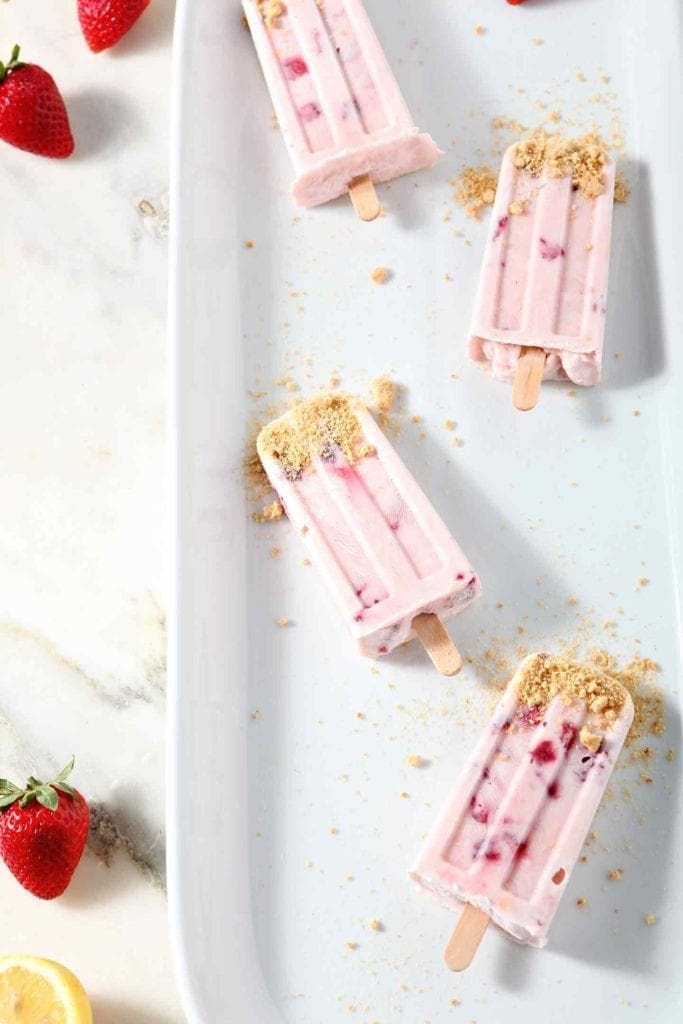
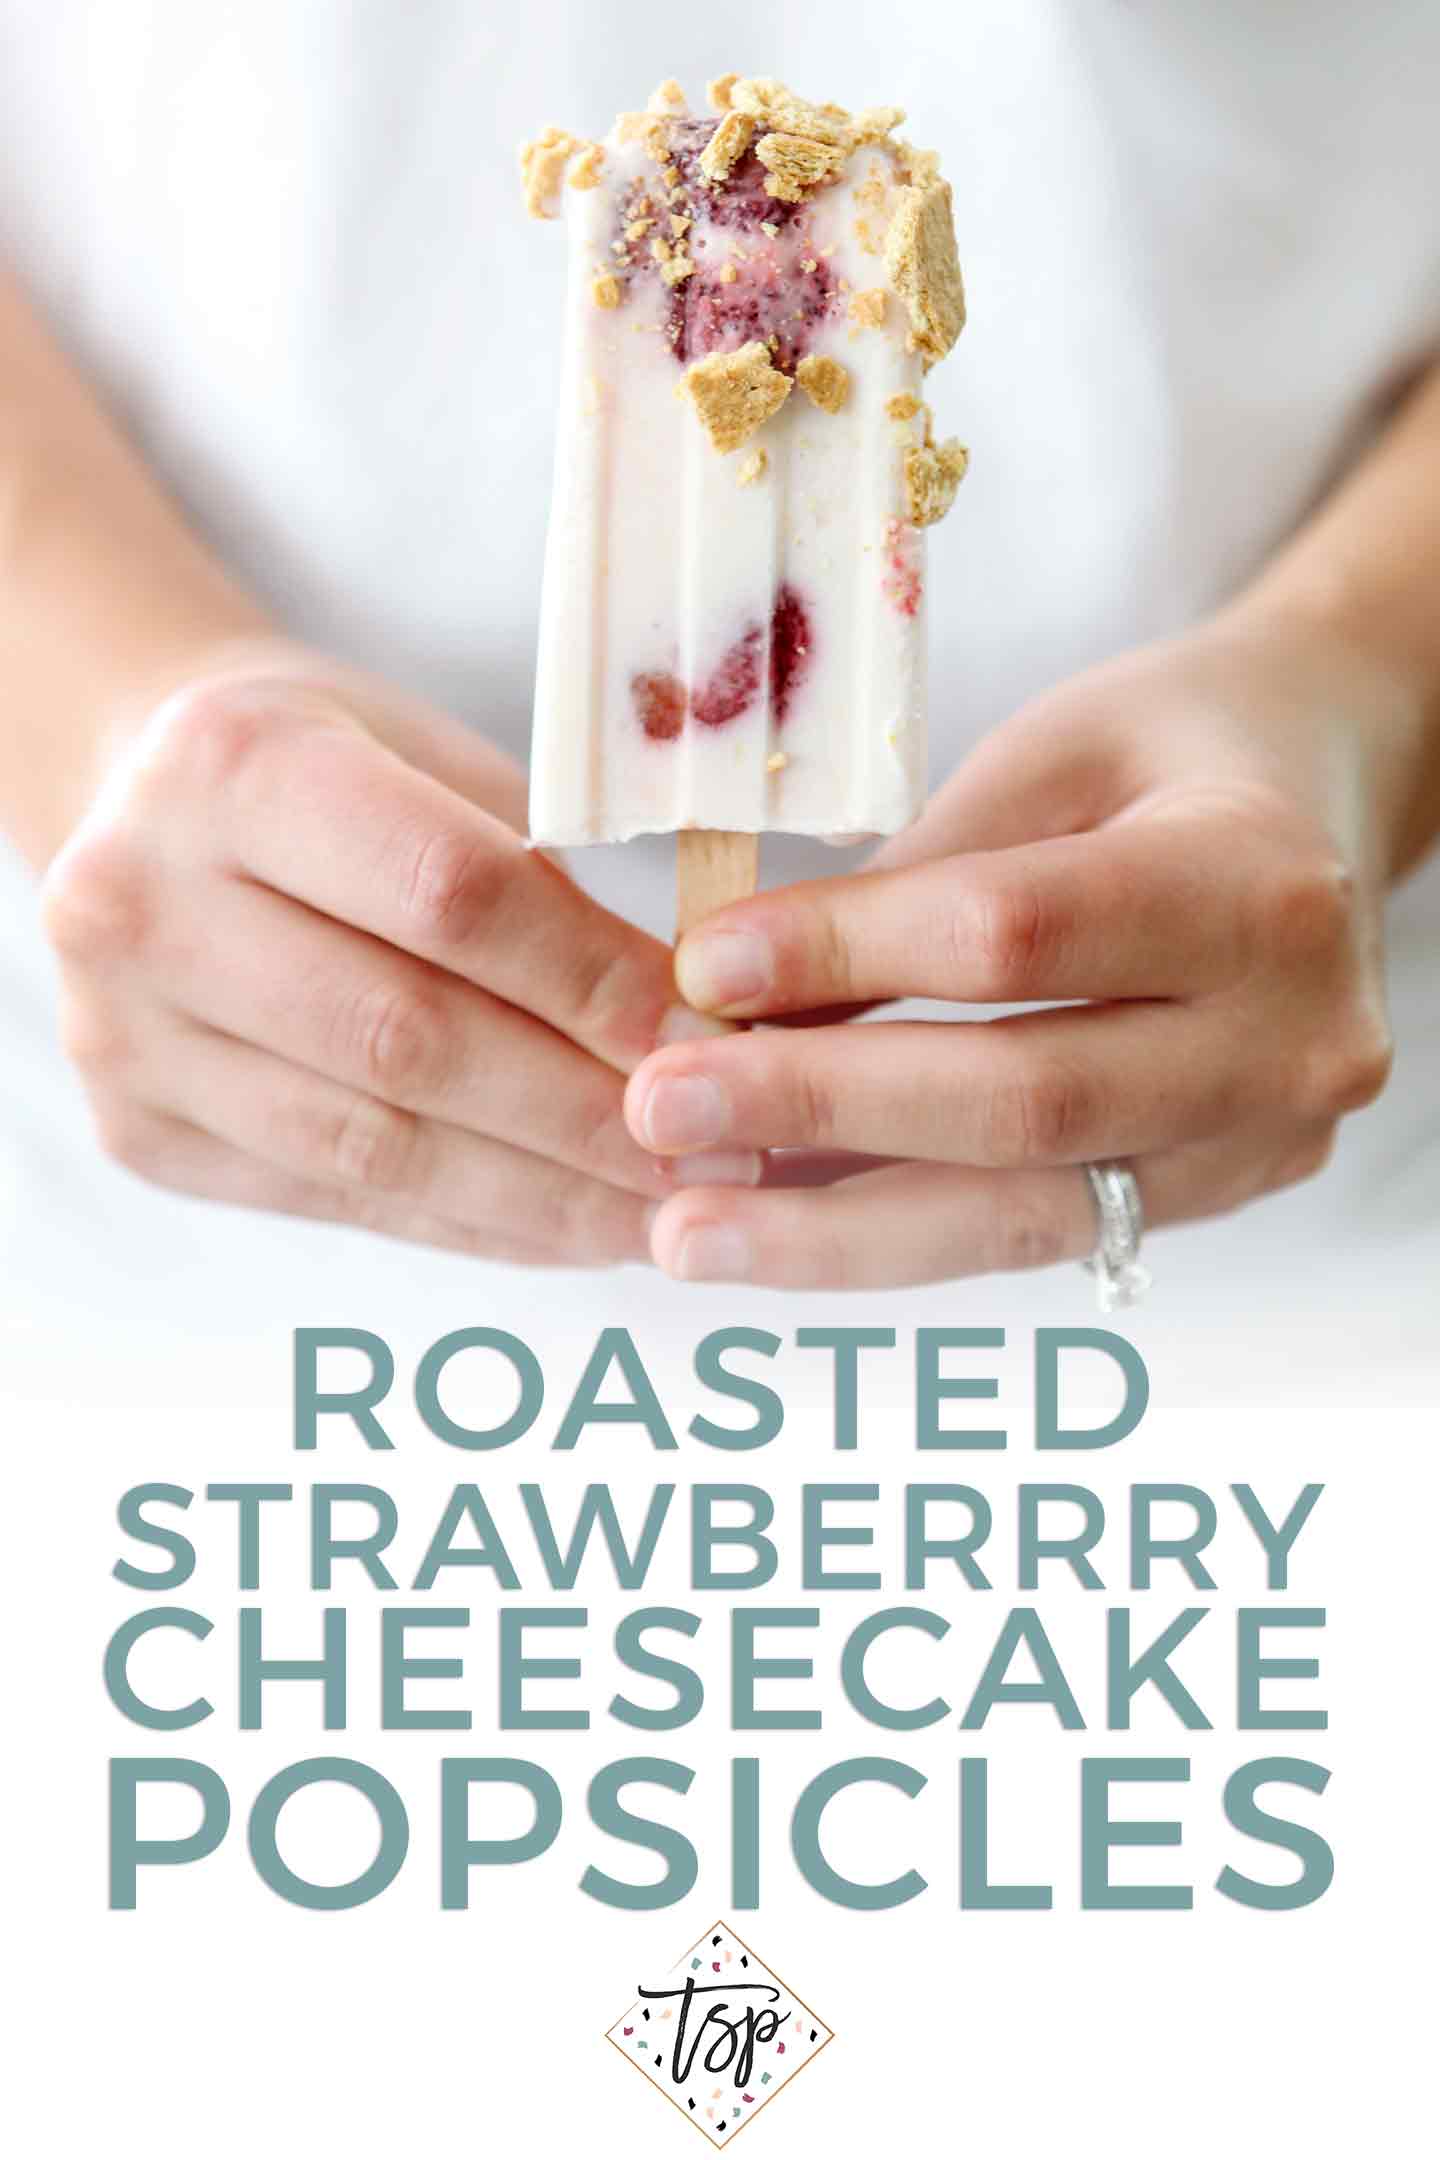
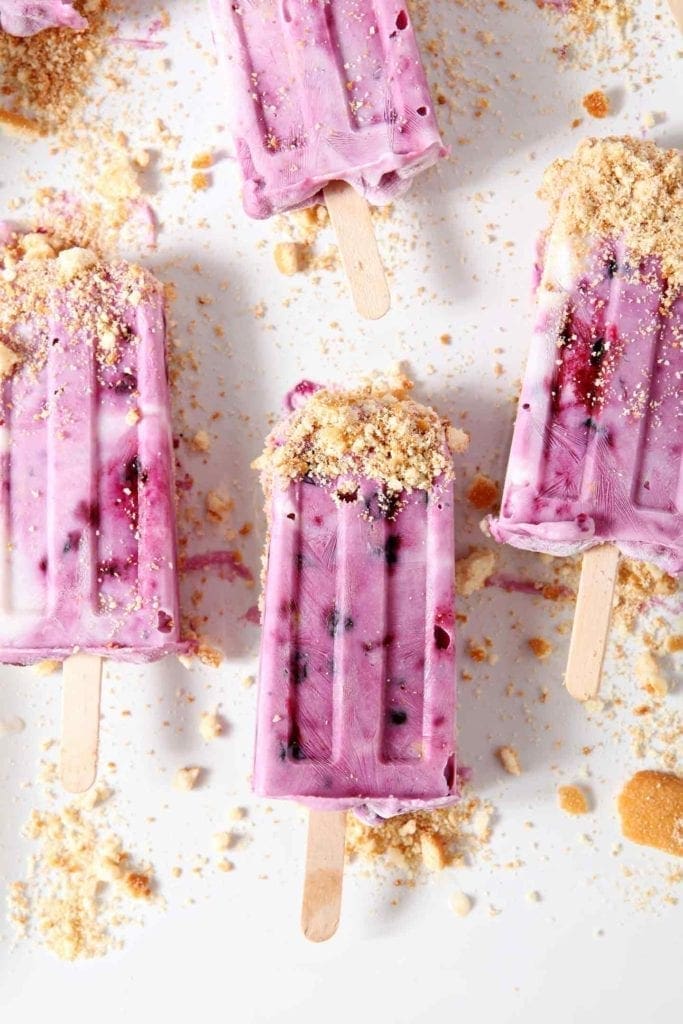
Roasted Strawberry Cheesecake Popsicles

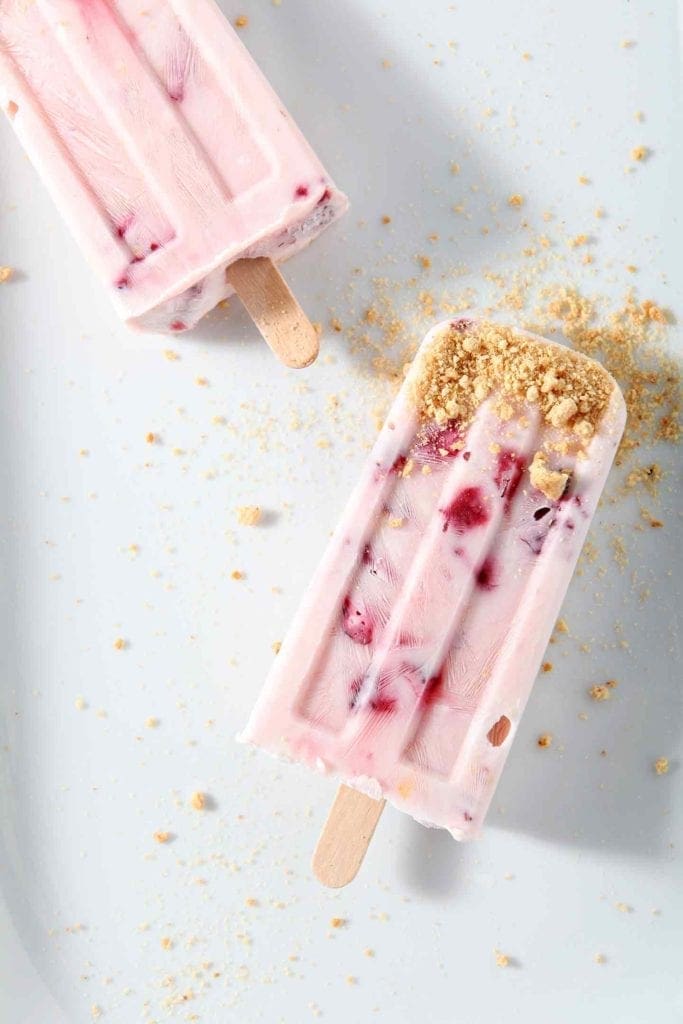
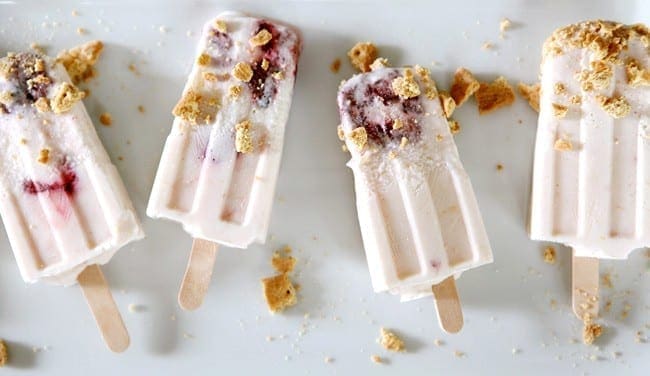
These tangy, naturally sweet Roasted Strawberry Cheesecake Popsicles make a refreshing sweet treat for a hot summer day. Roast strawberries in the oven with maple syrup, then toss with lemon zest, cream cheese, yogurt and maple syrup. When combined, pour into popsicle molds and freeze overnight. Once frozen, sprinkle with Graham cracker crumbs, and enjoy! These naturally sweetened Roasted Strawberry Cheesecake Pops are the perfect summer dessert!
Want to save this?
The photos and recipe for these Roasted Strawberry Cheesecake Pops were originally published on July 23, 2012. The photographs, along with the text of this blog post, were updated on June 20, 2018.
This post contains affiliate links. If you were to make a purchase through one, I would receive a small commission. For more information about the affiliate programs The Speckled Palate participates in, please refer to my disclosure page.
You know the days where you wake up with a craving and can’t get it out of your head (or tastebuds) until you have some?
I crawled out of bed on Saturday needing cheesecake.
So, like a normal person, I made something to satisfy my sweet tooth… and it all started with roasted strawberries, yogurt and cream cheese. Because, clearly, going out to purchase a cheesecake was asking waaaaay too much and would take waaaaay too much time. (Ha.)
It’s Popsicle Week, and I’m thrilled to be bringing y’all yet another delectable frozen treat.
We’re actually revamping an old recipe because…
- They’re really tasty.
- They needed new photos.
- We’re all about strawberries in our house these days.
- The original recipe needed a little something more, and we finally figured out what that was!
So if you’re into sweet, roasted strawberries and creamy cheesecake flavors, these popsicles are for you!
Why do you call these Cheesecake Popsicles?
Because they’re popsicles that resemble a cheesecake.
My favorite kind of cheesecake is a plain rendition, topped with macerated strawberries. These popsicles have the tart creaminess of the cheesecake paired with the sweetness of the strawberries.
Can I make these popsicles lower fat?
YES!
I’ve used lower fat cream cheese and Greek yogurt in the past for this recipe, and they work out just fine. You’ll have a slightly icier pop than you would if you were using a higher fat yogurt or cream cheese, but it still works and tastes good.
Can I make these Roasted Strawberry Cheesecake Popsicles dairy free?
I’m sure you could, and I’m sure it would be fine… but I haven’t done experimenting with this and cannot confirm if there is a substitution that would be perfect for this recipe.

What do I need to make Roasted Strawberry Cheesecake Popsicles?
- Sheet pan.
- Zester.
- Blender.
- Liquid measuring cup.
- Measuring spoons.
- Glass bowls.
- Popsicle molds.
- Wooden popsicle sticks.
I’m not sure I would like these Roasted Strawberry Cheesecake Popsicles. Do you have any other popsicle recommendations?
I sure do!
- Blueberry Cheesecake Popsicles
- Patriotic Paleo Popsicles
- Peaches and Cream Popsicles
- Blackberry and Strawberry Yogurt Popsicles
Think you’d be interested in some BOOZY popsicles? Got you covered there, too…
Interested in making these beauties…
Check out how you can do it below!
Roasted Strawberry Cheesecake Pops
EQUIPMENT
As an Amazon Associate and member of other affiliate programs, I earn from qualifying purchases.
Ingredients
- 2 cups strawberries frozen OK
- 4 tablespoons pure maple syrup divided
- 3 oz. cream cheese
- 2 cups low fat Greek yogurt
- 1 ¼ teaspoons lemon zest about the amount of zest from a small lemon
- 1 sheet Graham Crackers crushed
Want to save this?
Instructions
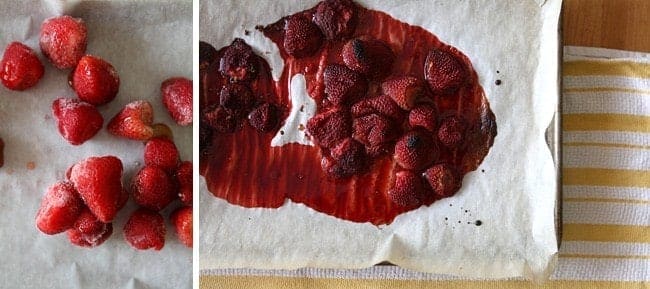
Roast the Strawberries
- Preheat the oven to 350°F. Prepare a baking sheet by lining it with parchment paper or a nonstick baking mat. Set aside.
- In a bowl, combine strawberries with 2 tablespoons of maple syrup.
- Pour the strawberry and maple mixture onto the prepared baking sheet.
- Transfer to the preheated oven oven and bake for 30-45 minutes, or until strawberries have broken down, released their juices and browned slightly. (Check on the strawberries at the 20 minute marker and see how they're doing.)
- When the strawberries have finished baking, remove from the oven. Let cool for 15 minutes.
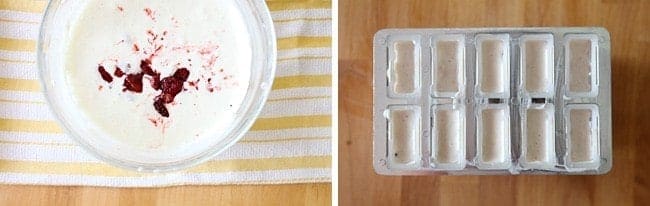
Make the Popsicles
- While the strawberries cool, measure out the rest of the maple syrup, cream cheese, yogurt and lemon zest in a blender. Blend until combined.
- Pour the popsicle base mixture into a large bowl.
- Carefully transfer the strawberries and their juices to the large bowl with the popsicle base. Stir carefully until combined.
- Pour the mixture into popsicle molds and freeze overnight.
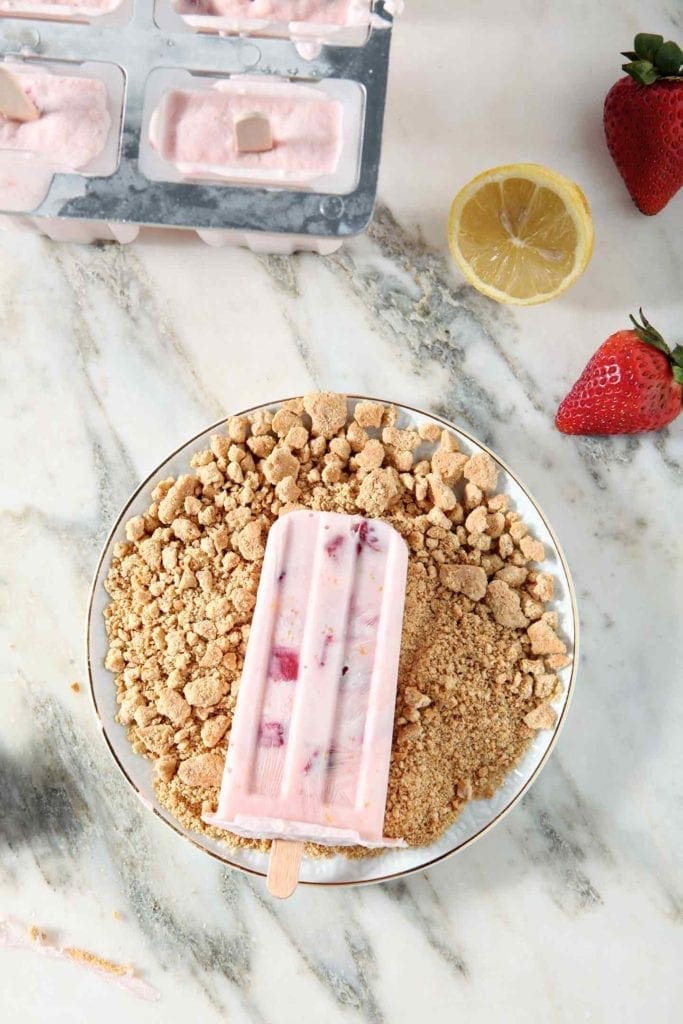
- The next day, pull the pops out of their molds, sprinkle with crushed Graham Crackers and enjoy!
Notes
Nutrition
Do you sometimes crave a certain dessert?
If so, what is it? And is it something easy to find?
…
The photos and recipe for these Roasted Strawberry Cheesecake Popicles were originally published on July 23, 2012. The photographs, along with the text of this blog post, were updated on June 20, 2018.

About the Author:
Erin Parker is a Southern gal living in Texas with her husband and two daughters. She started The Speckled Palate to share what she was cooking as a newlywed… and over the years, it’s evolved to capture her love for hosting. Specifically, the EASIEST, lowest key entertaining because everyone deserves to see their people and connect over good food. Learn more about her…

Erin, your photography is absolutely stunning. Love your flavour combination. Roasted strawberries are a totally novel idea for me. Thanks for sharing this yummy recipe.
Anna, thank you so much. You are too sweet! I completely agree — up until a few weeks ago, roasted strawberries were a totally novel idea for me, too, and they are SO GOOD. You must try them!
stunning recipe! totally craving cheesecake now…
Thanks so much, Lynn! Hopefully, there is some restaurant/bakery that has fabulous cheesecake somewhere near you!
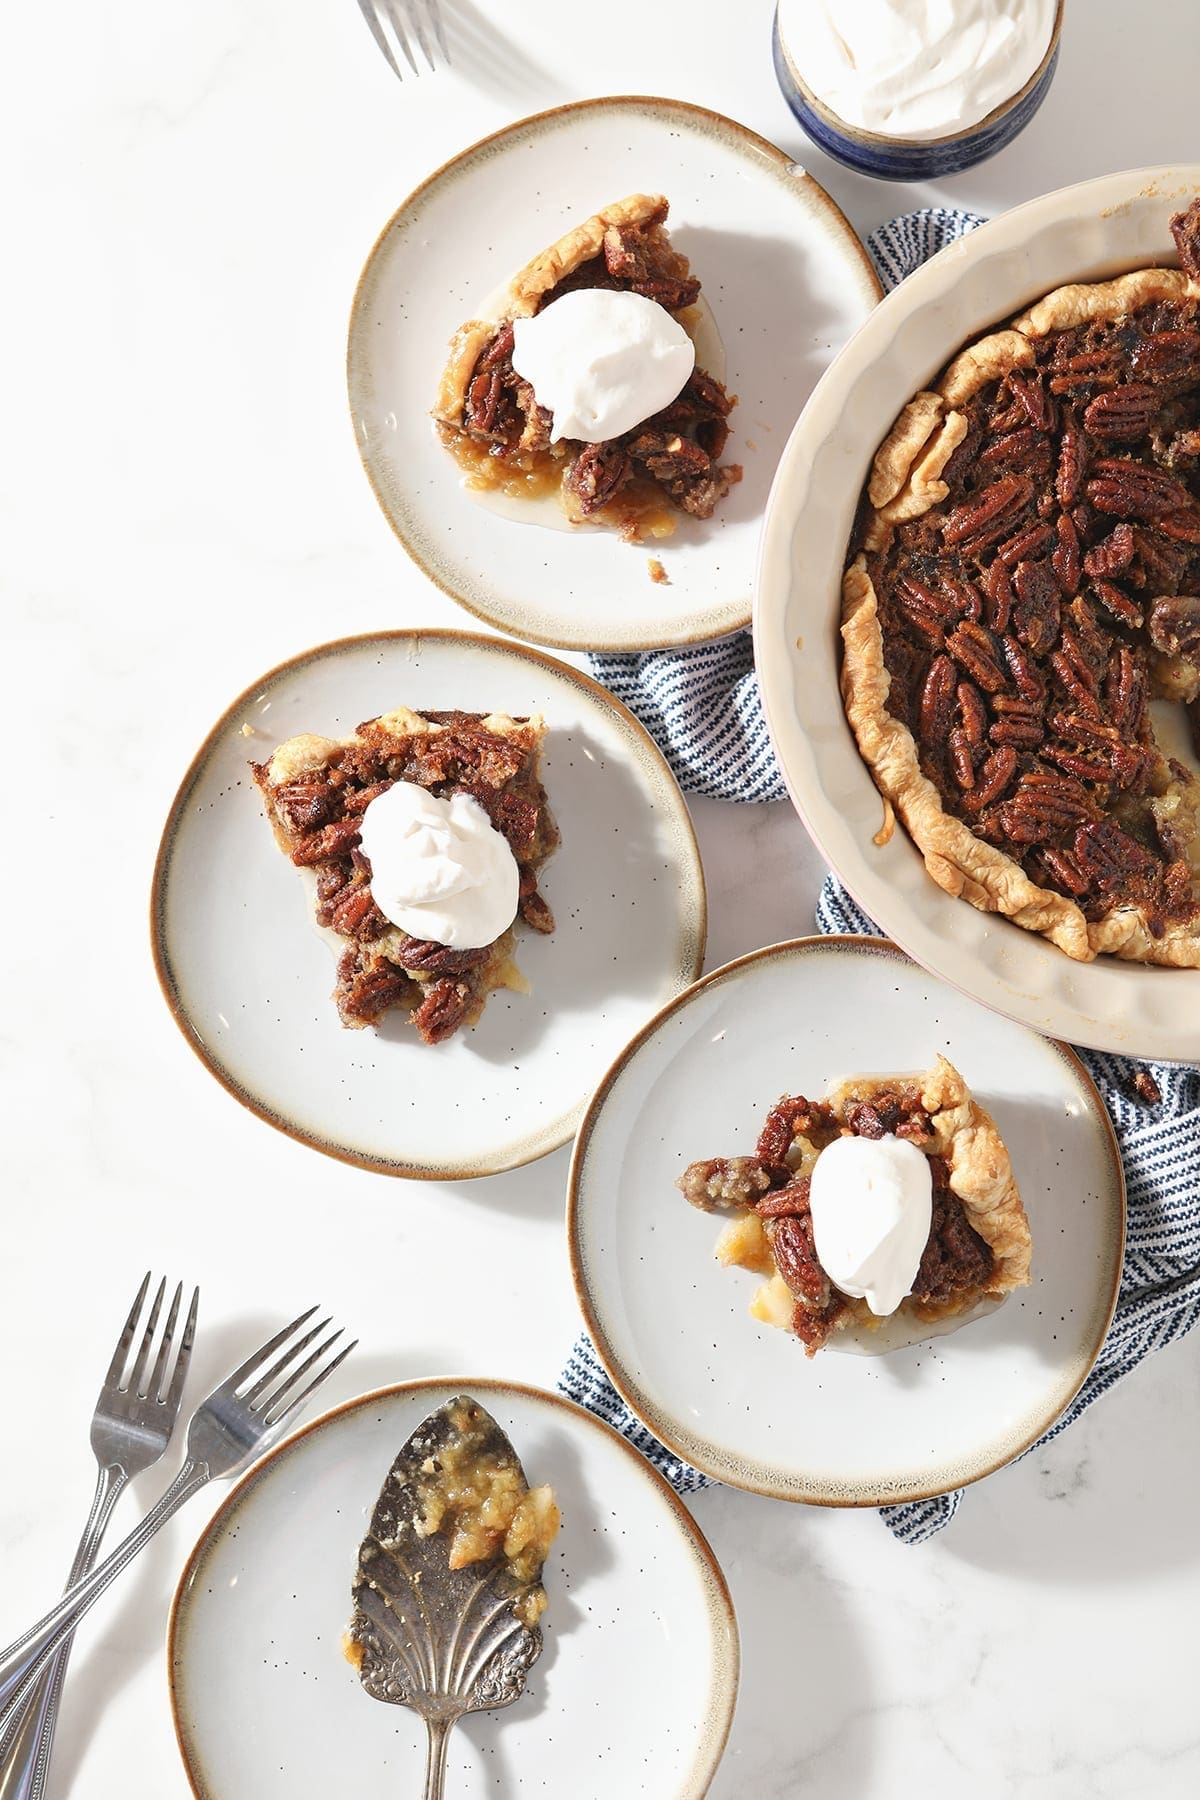
Awesome idea. I need to make these gorgeous pops! Thanks for your kind words about my peach pie 🙂
Thanks, Suzanne! These pops have been a nice sweet treat for the hot summer days we’ve been experiencing in Louisiana. And you’re welcome — your peach pie looked delightful, and I loved the story and sentiment behind it!
I love roasted berries, and I cannot get over how beautiful your photos are; now I’m craving these pops