
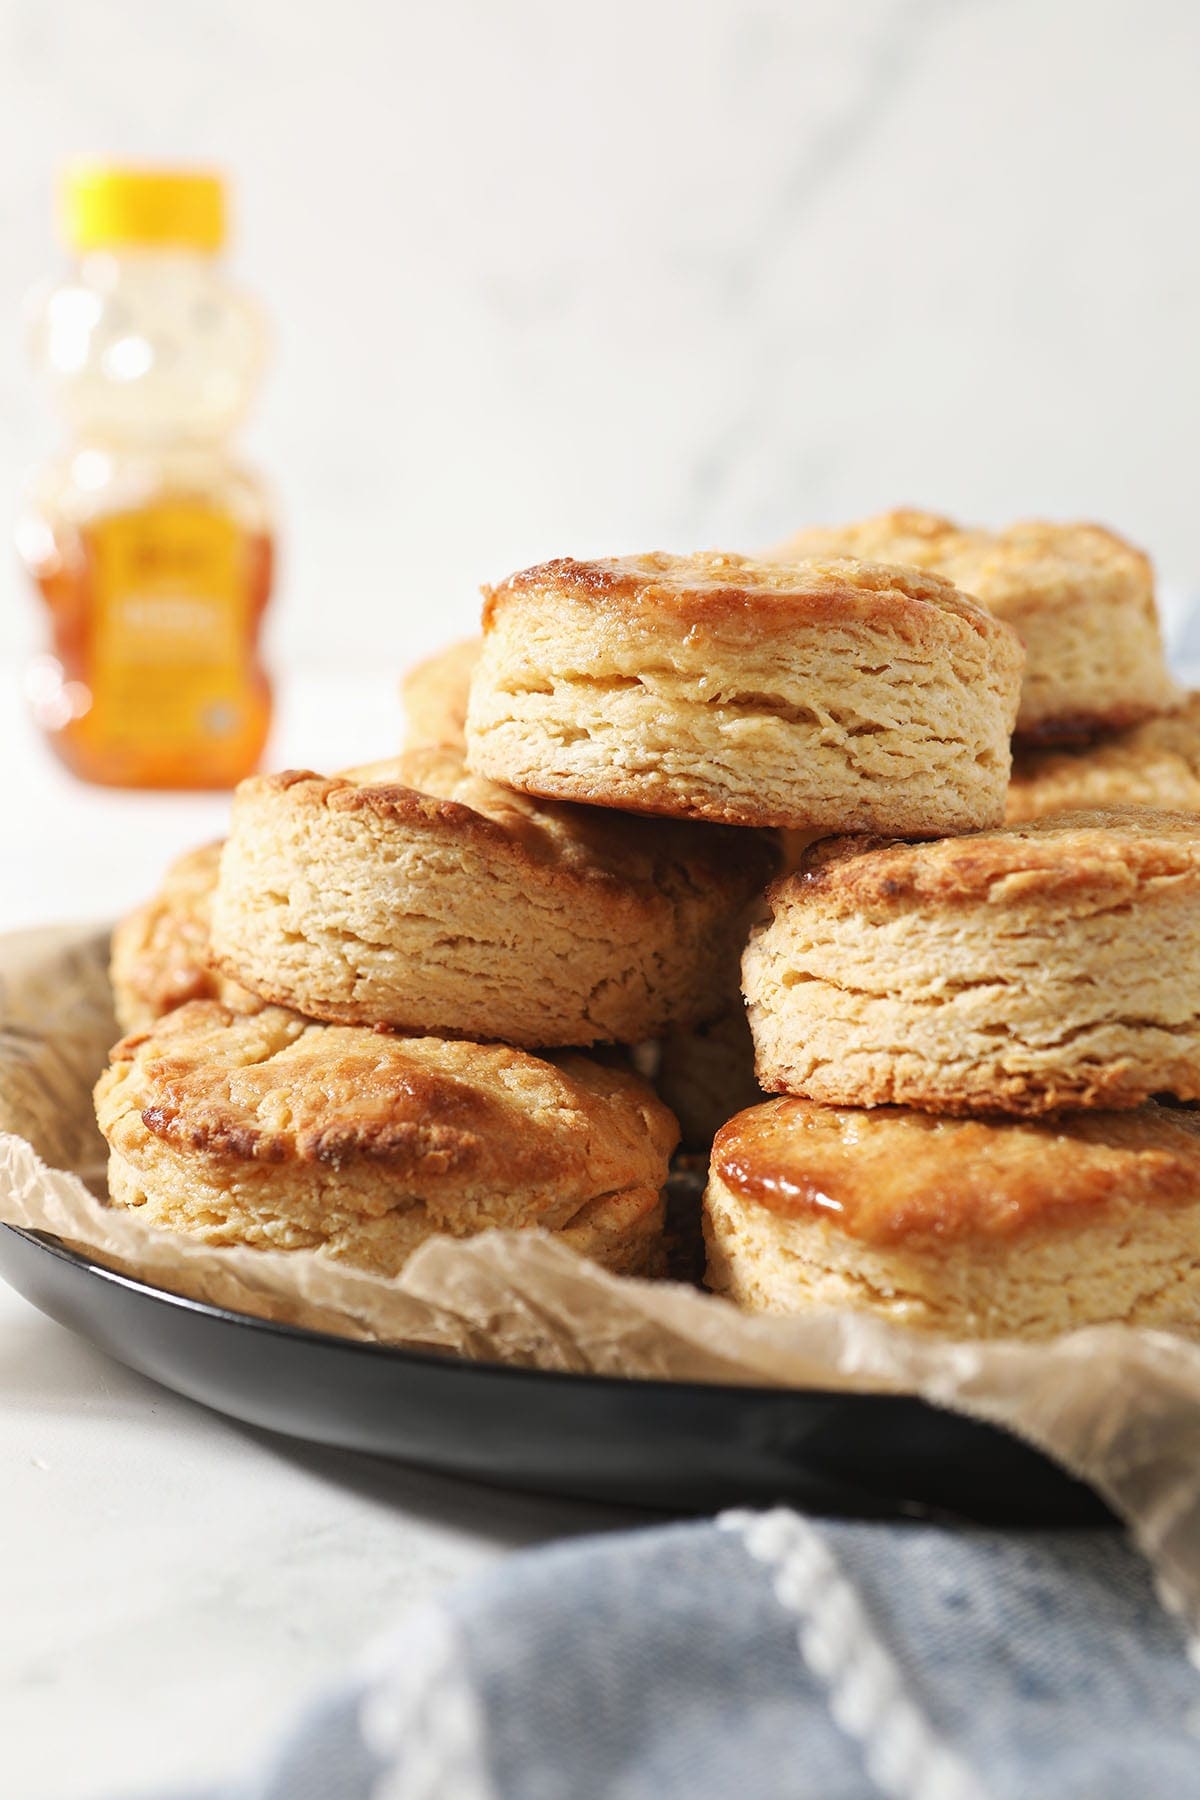
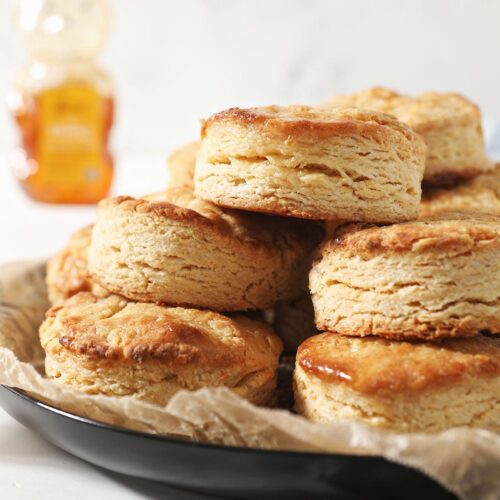
Honey Butter Biscuits
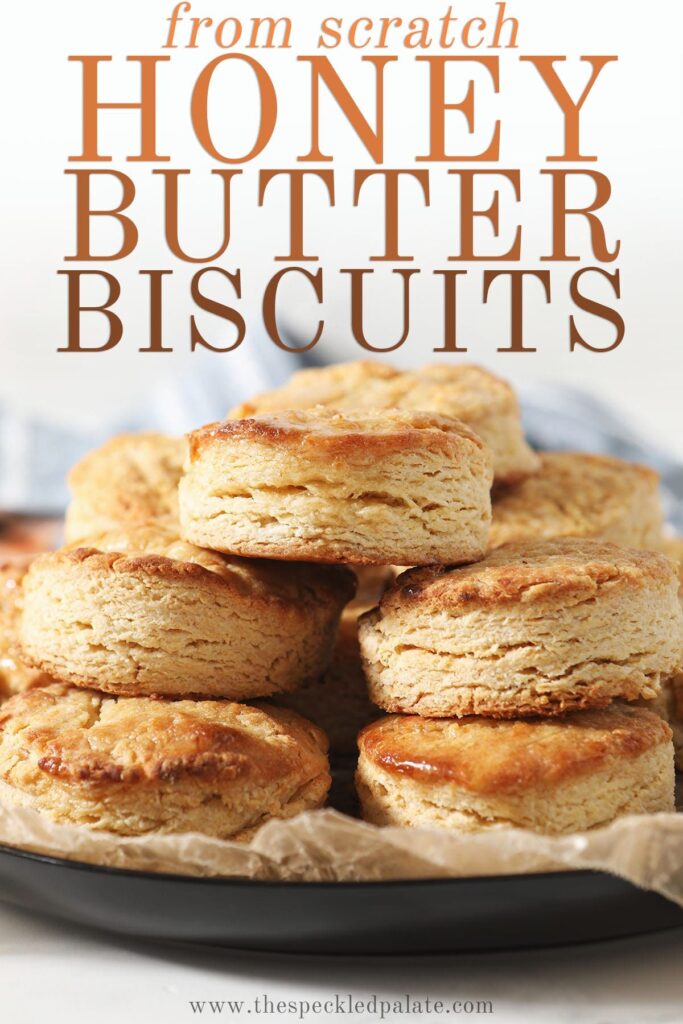
Honey Butter Biscuits are the best salty-sweet biscuits from scratch you’ll ever make! This easy biscuit recipe calls for just six ingredients, and you probably already have them in your home already. They take less than 30 minutes, too! Makes 8 honey biscuits.
Want to save this?
This post contains affiliate links.
It’s hard not to be a biscuit lover when you’re raised in the South.
Whether you’re into a classic Cream Biscuit or more exotic twists on the classic, like French Onion Biscuits and Raspberry Shortcake Biscuits, a good biscuit makes my heart sing.
And today, I’m so excited to introduce y’all to this buttery, sweet Honey Biscuit recipe!
Why I love this recipe:
If you like the combination of sweet and salty in a beautiful package, this biscuit recipe is for you. And if you like your biscuits homemade, this is for you, too!
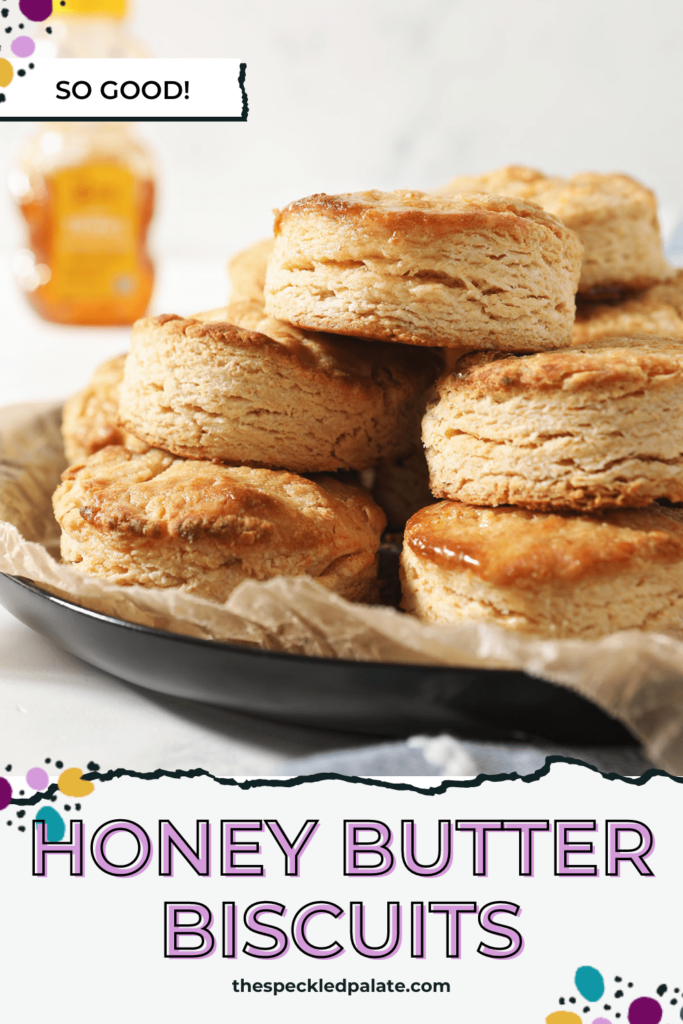
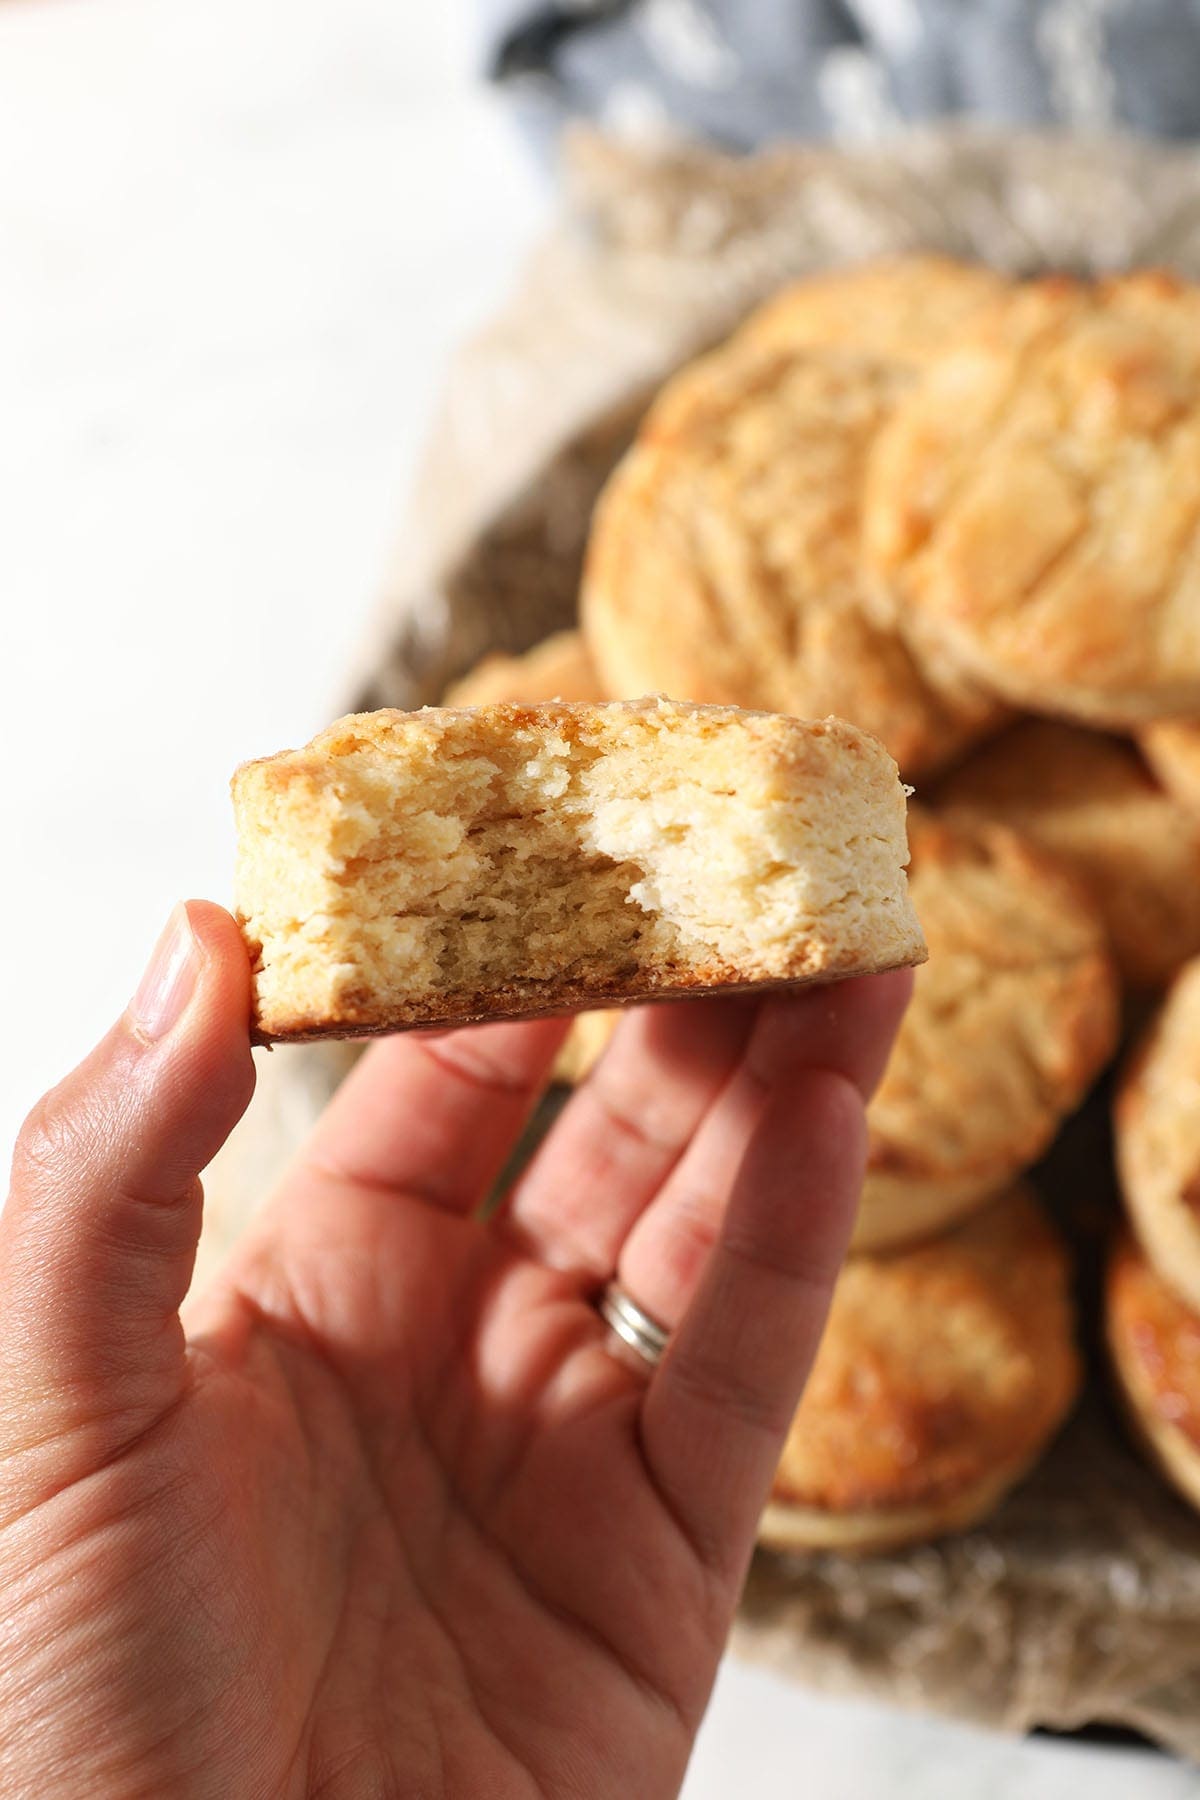
These fluffy, flaky Honey Biscuits are perfect for pairing with brunch, dinner or any ‘ol time because they’re dang good. My kids are obsessed with them, and they have the BEST flavor.
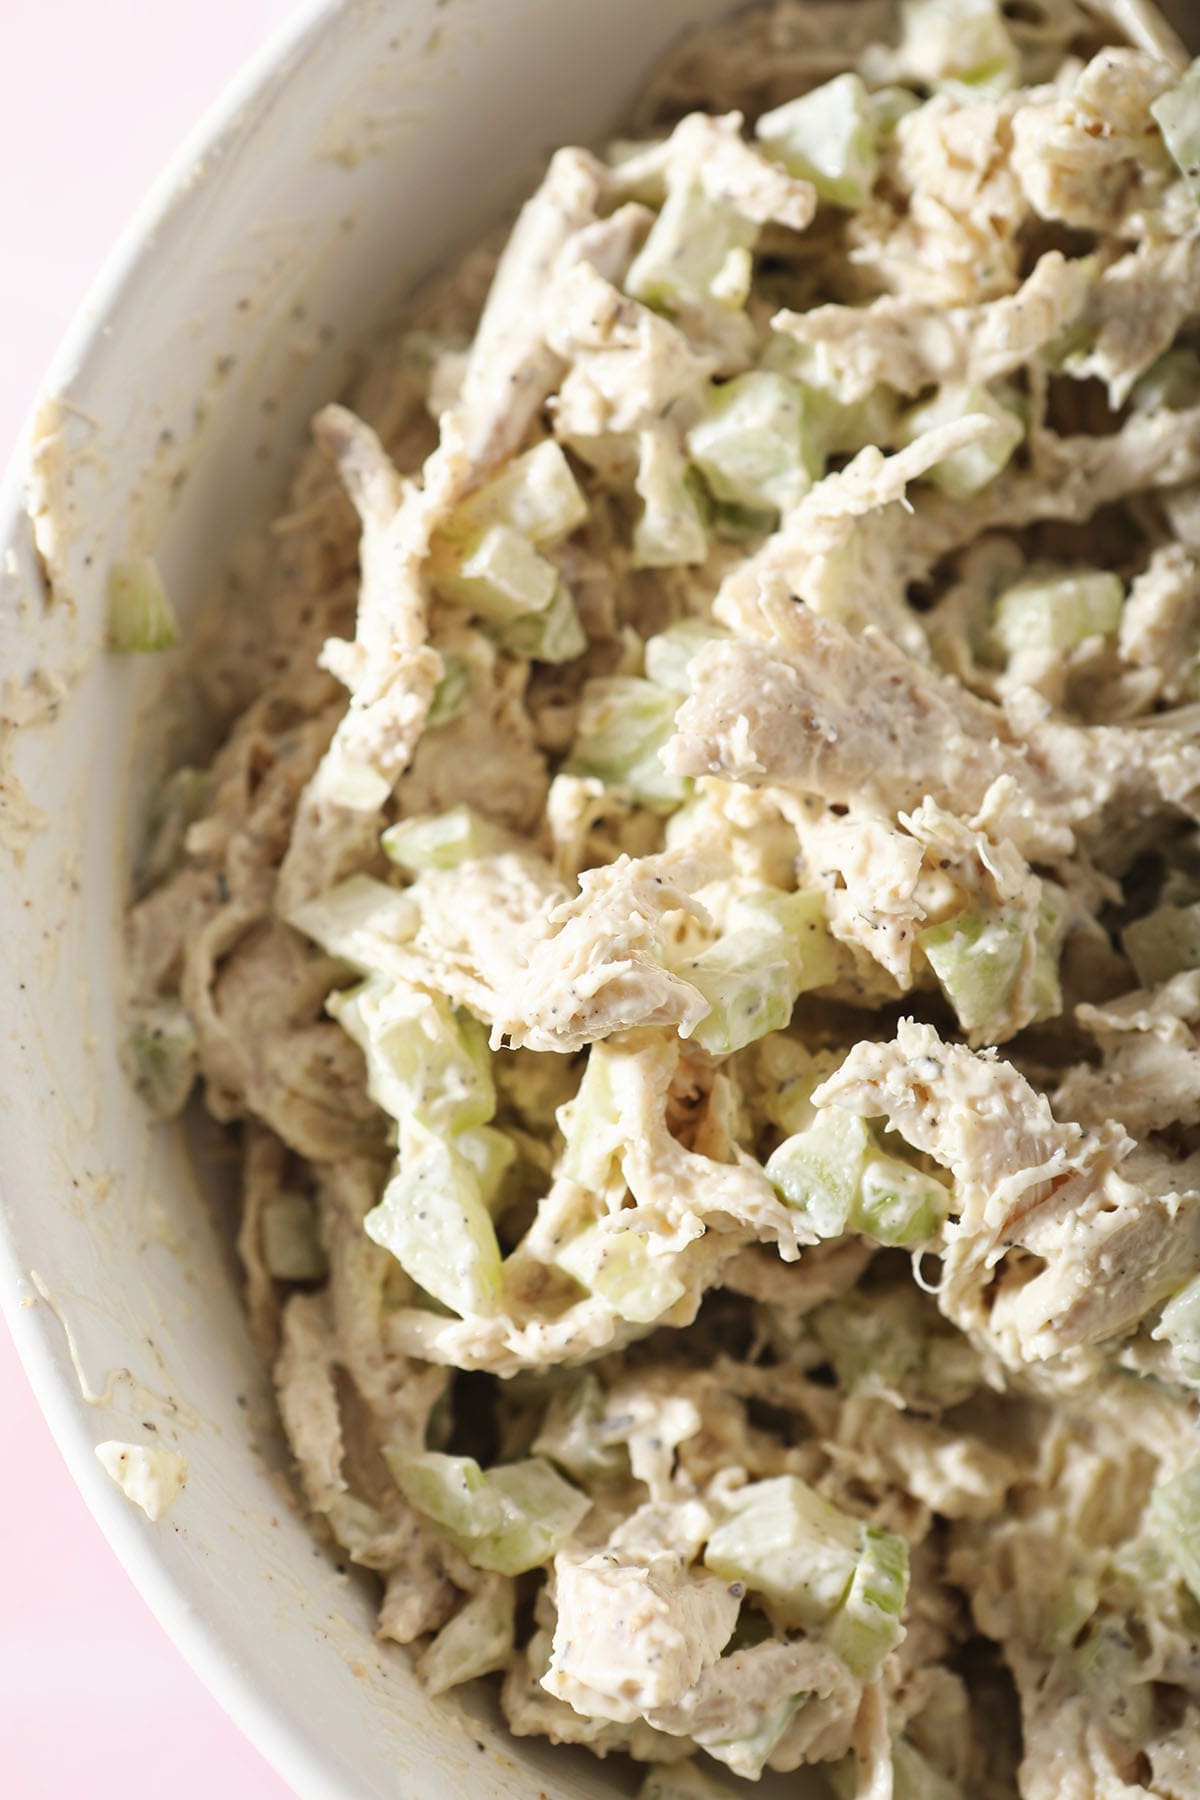
In fact, we’ve eaten them with soup and slathered them with Rotisserie Chicken Salad for a quick lunch.
I love this recipe because it’s easy to make, it doesn’t require much time and I normally have all the ingredients ready to go.
The only thing you’ve really got to do is freeze your butter because having extremely COLD butter is super important to biscuit makin’.
Other biscuit recipes to try ASAP: Coconut Oil Vegan Biscuits | Irish Cream Biscuits with Boozy Chocolate Gravy | Thanksgiving Turkey Biscuits and Gravy | Vegan Sweet Potato Sage Olive Oil Biscuits | Chili Cheese Biscuits | Homemade Butter Biscuits | Blueberry Biscuits
What you need to make this recipe:
The Speckled Palate participates in affiliate programs. As an Amazon Associate, I earn a commission from qualifying purchases. Please refer to my disclosure page for more information about these affiliate programs.
- Glass bowls
- Liquid measuring cup
- Box grater
- Rolling pin
- Biscuit cutter
- Baking sheet
- Nonstick or silicone baking mat or parchment paper
Let’s talk ingredients!
In addition to the tools above, you’re going to need some ingredients to make this recipe, too! Chances are, you might already have some of them in your fridge or pantry. Scroll down to the recipe card for the full measurements and instructions.
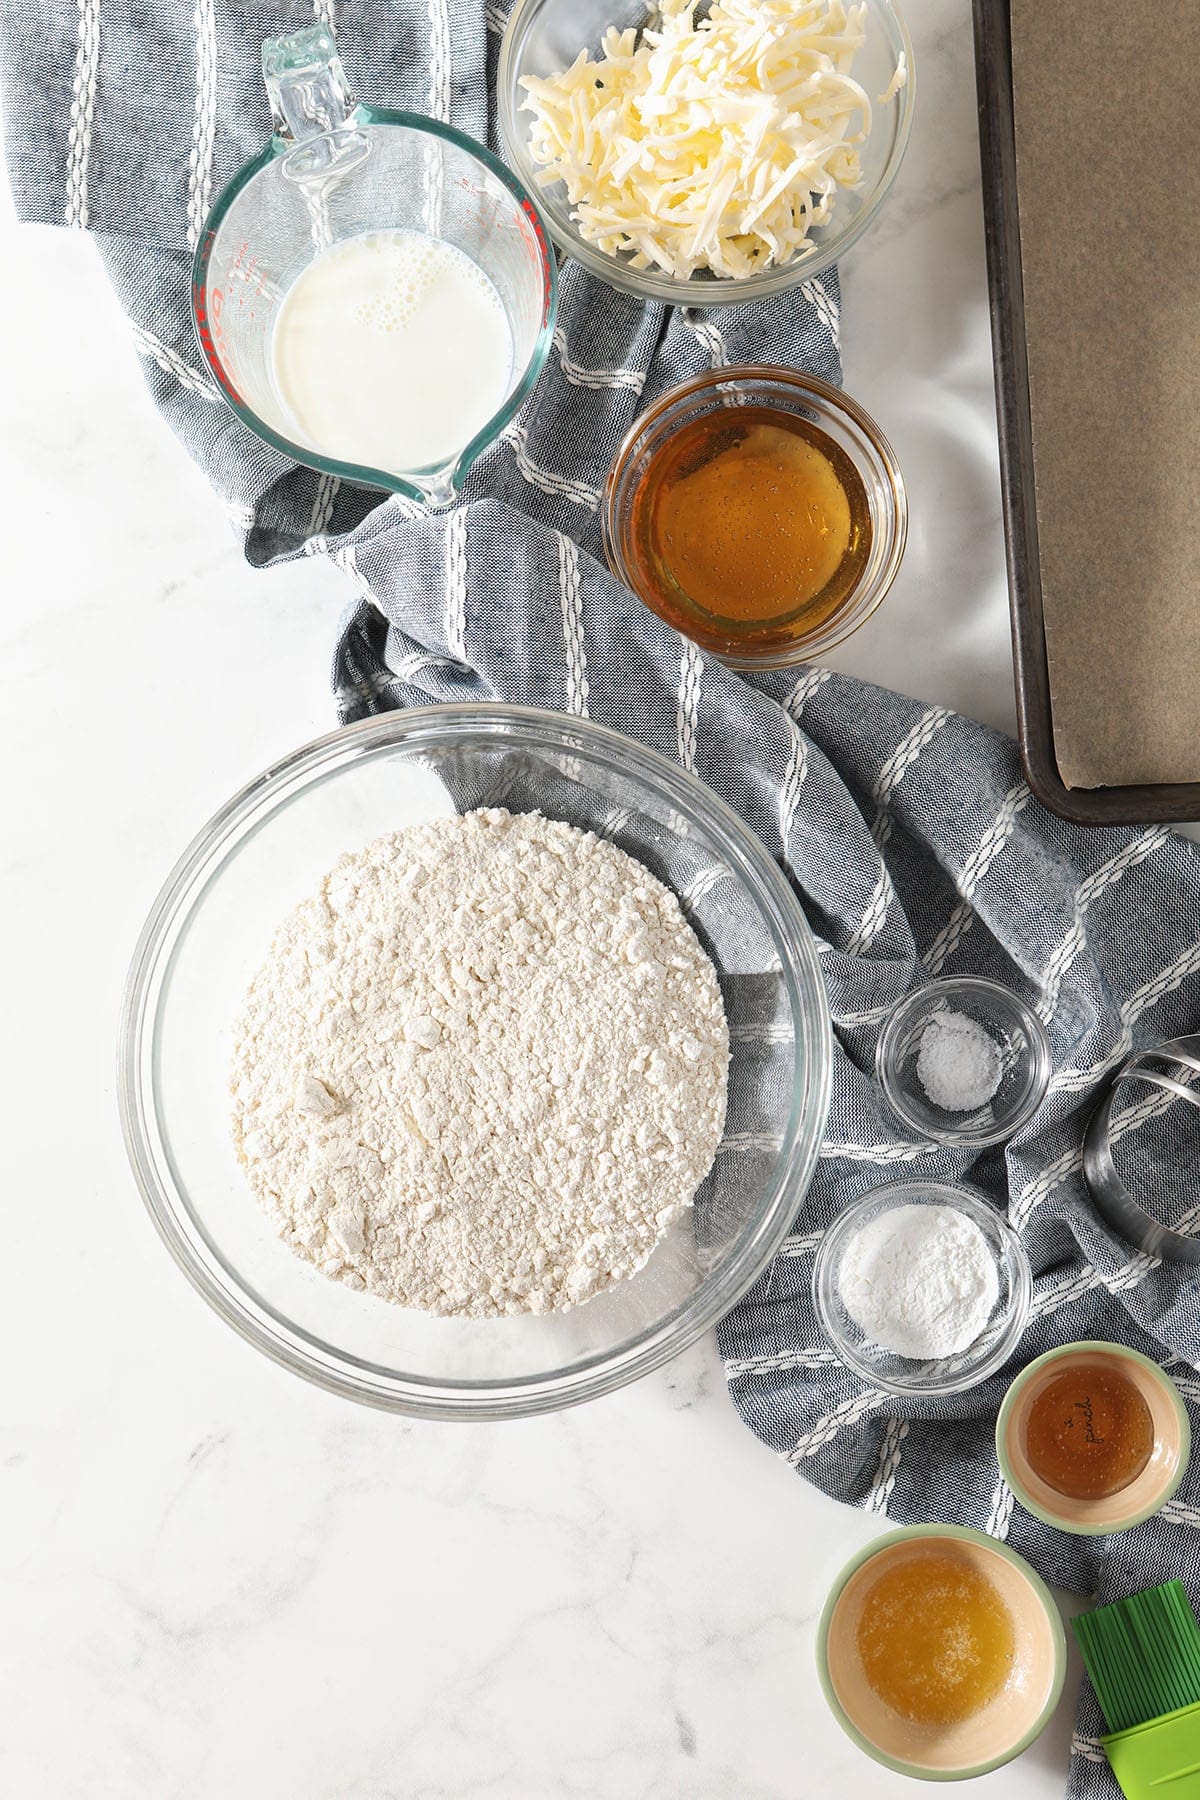
Here’s what you need to get from the grocery store:
- All-purpose flour — we keep unbleached flour at our house, but the regular ‘ol kind works here, too.
- Baking powder — this is our leavener, so make sure it’s fresh! This is not the same thing as baking soda.
- Kosher salt — just a pinch is all you need!
- Salted butter — it needs to be super duper cold. I like to throw mine into the freezer and then shred it so it doesn’t get too warm.
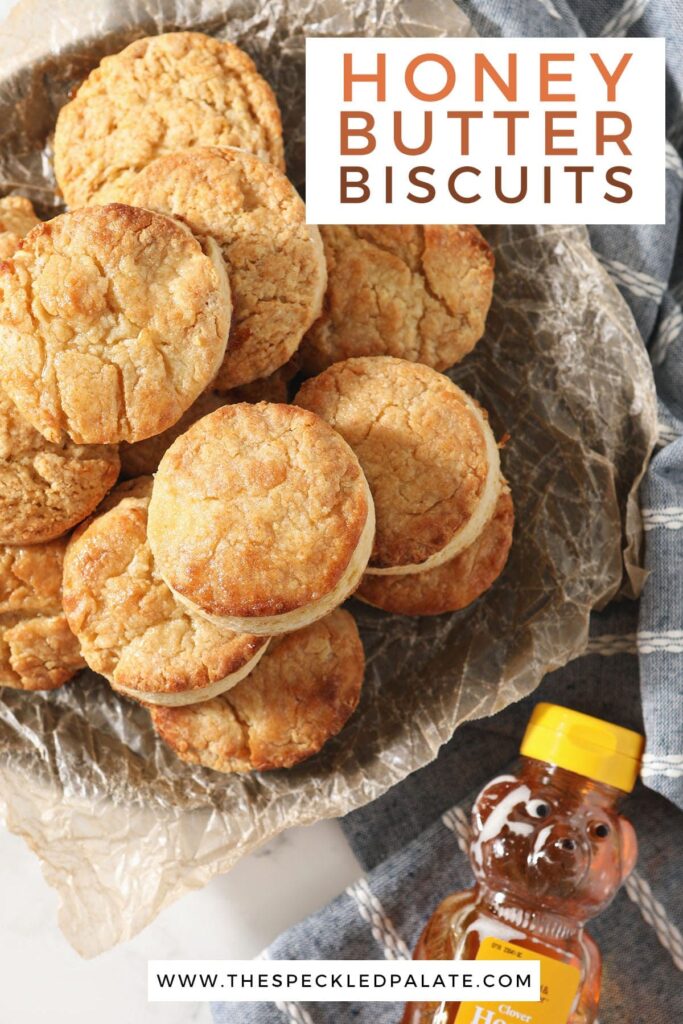
- Honey — your favorite kind is what you should use to add that perfect touch of sweetness to these! I love to use local honey in my kitchen. There is no substitute, so don’t ask.
- Whole milk — while I’m sure lower fat milks will work here, I think that whole milk gives extra awesomeness to these biscuits.
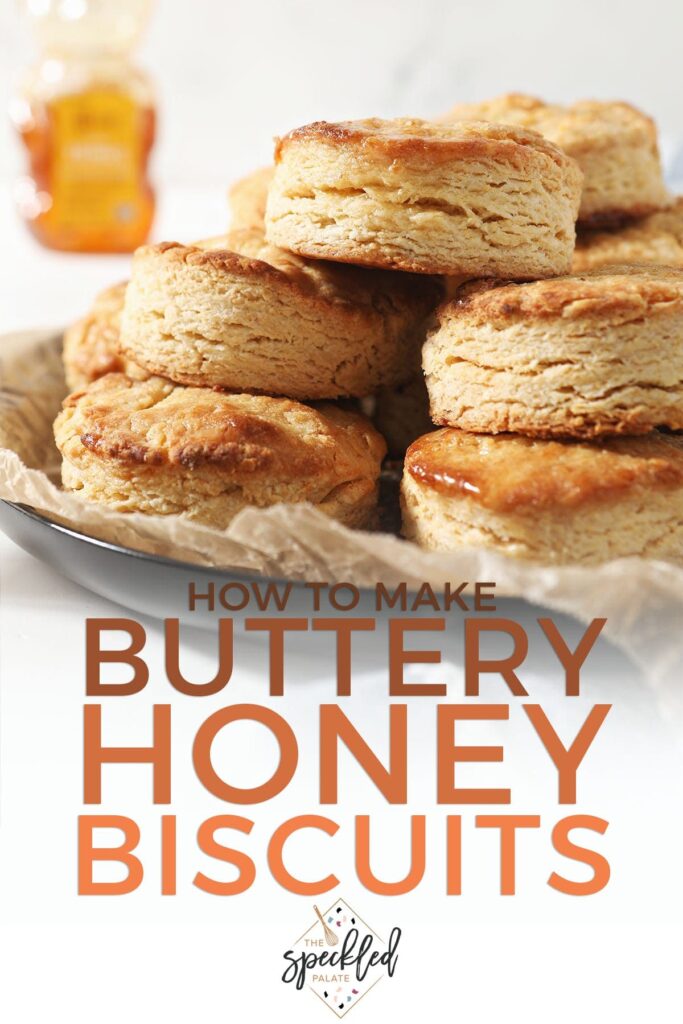
How to make Flaky Biscuits from Scratch
Prep the ingredients
Freeze your butter. No, seriously. This is a step. Do this an hour beforehand, or you can just toss your butter in the freezer whenever you get home from the store so it’s ready to rock and roll.
Prep your tools. This means you need to line a baking sheet with parchment or a nonstick baking mat. Get out your bowl, measuring cup, biscuit cutter, etc.
Also, preheat the oven.
Make the biscuits
Shred the butter with a box grater. I place mine on top of a plate, and shred, then transfer the butter and plate to the freezer to stay cold while I get the rest of the ingredients in order.
Mix the dry ingredients. Measure the flour into a large bowl with baking powder and salt. Give ‘em a stir, and let them hang out.
DID YOU KNOW?
This is essentially our self rising flour that we’re making from scratch… because I never have that in my pantry, and if I do, it’s gone bad because I haven’t used it in years.
Measure the wet ingredients. I like using a liquid measuring cup and will measure the milk, then the honey, into the same cup. Set these aside for later.
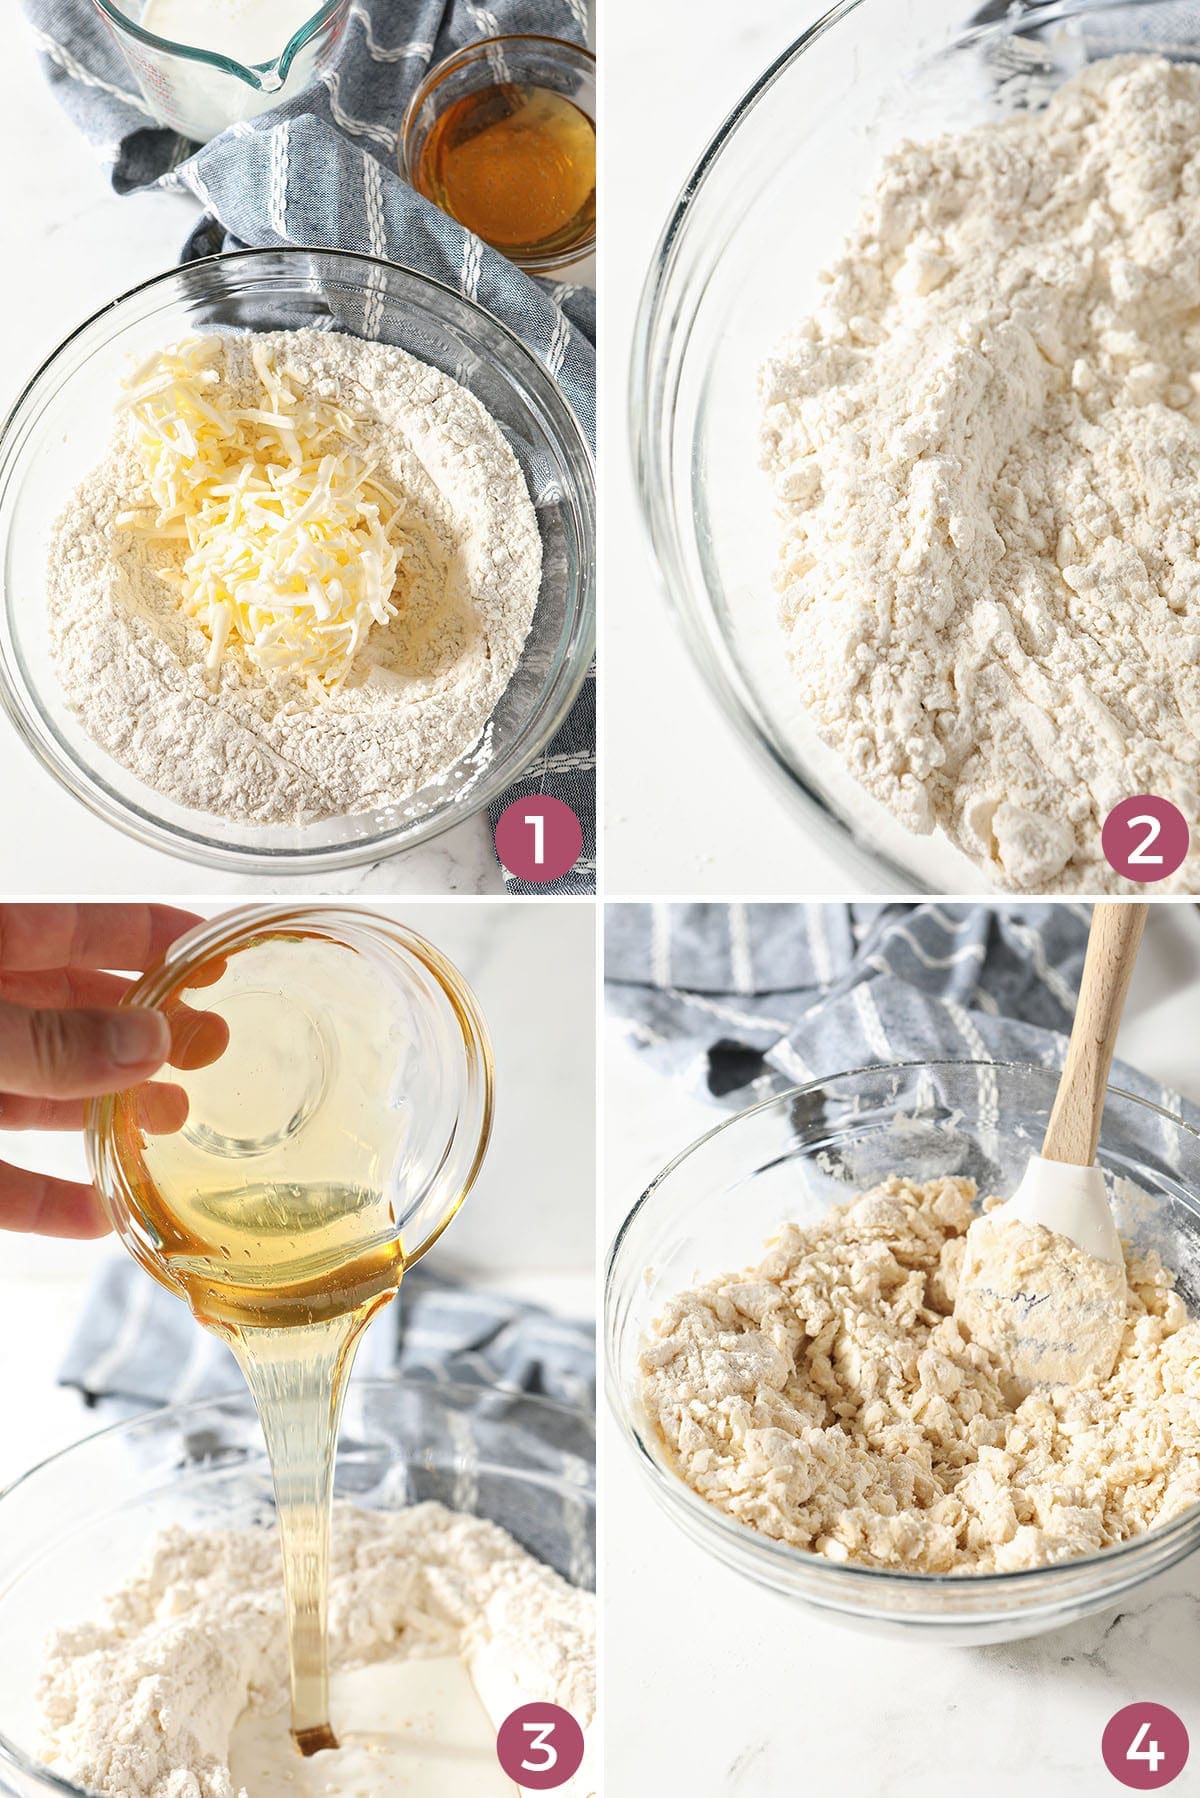
Add the butter. Remove butter from the freezer, and put it into the bowl with the dry ingredients. Use a rubber spatula to fold it in. It should look like little peas or grains of rice when you’ve mixed it up.
Mix the biscuit dough. Pour the milk-honey mixture into the flour mixture, and stir until just combined.
It’ll be a shaggy dough, and that’s OK — we’re going to shape it once we turn it out onto a countertop or a lightly floured surface.
Shape the honey biscuits. This is imperative for them to have flaky layers.
How to shape biscuits
How to shape biscuits:
Flour a flat, clean work surface in the kitchen. I like to use the counter, but you could use a large clean cutting board. Flour your hands, too.
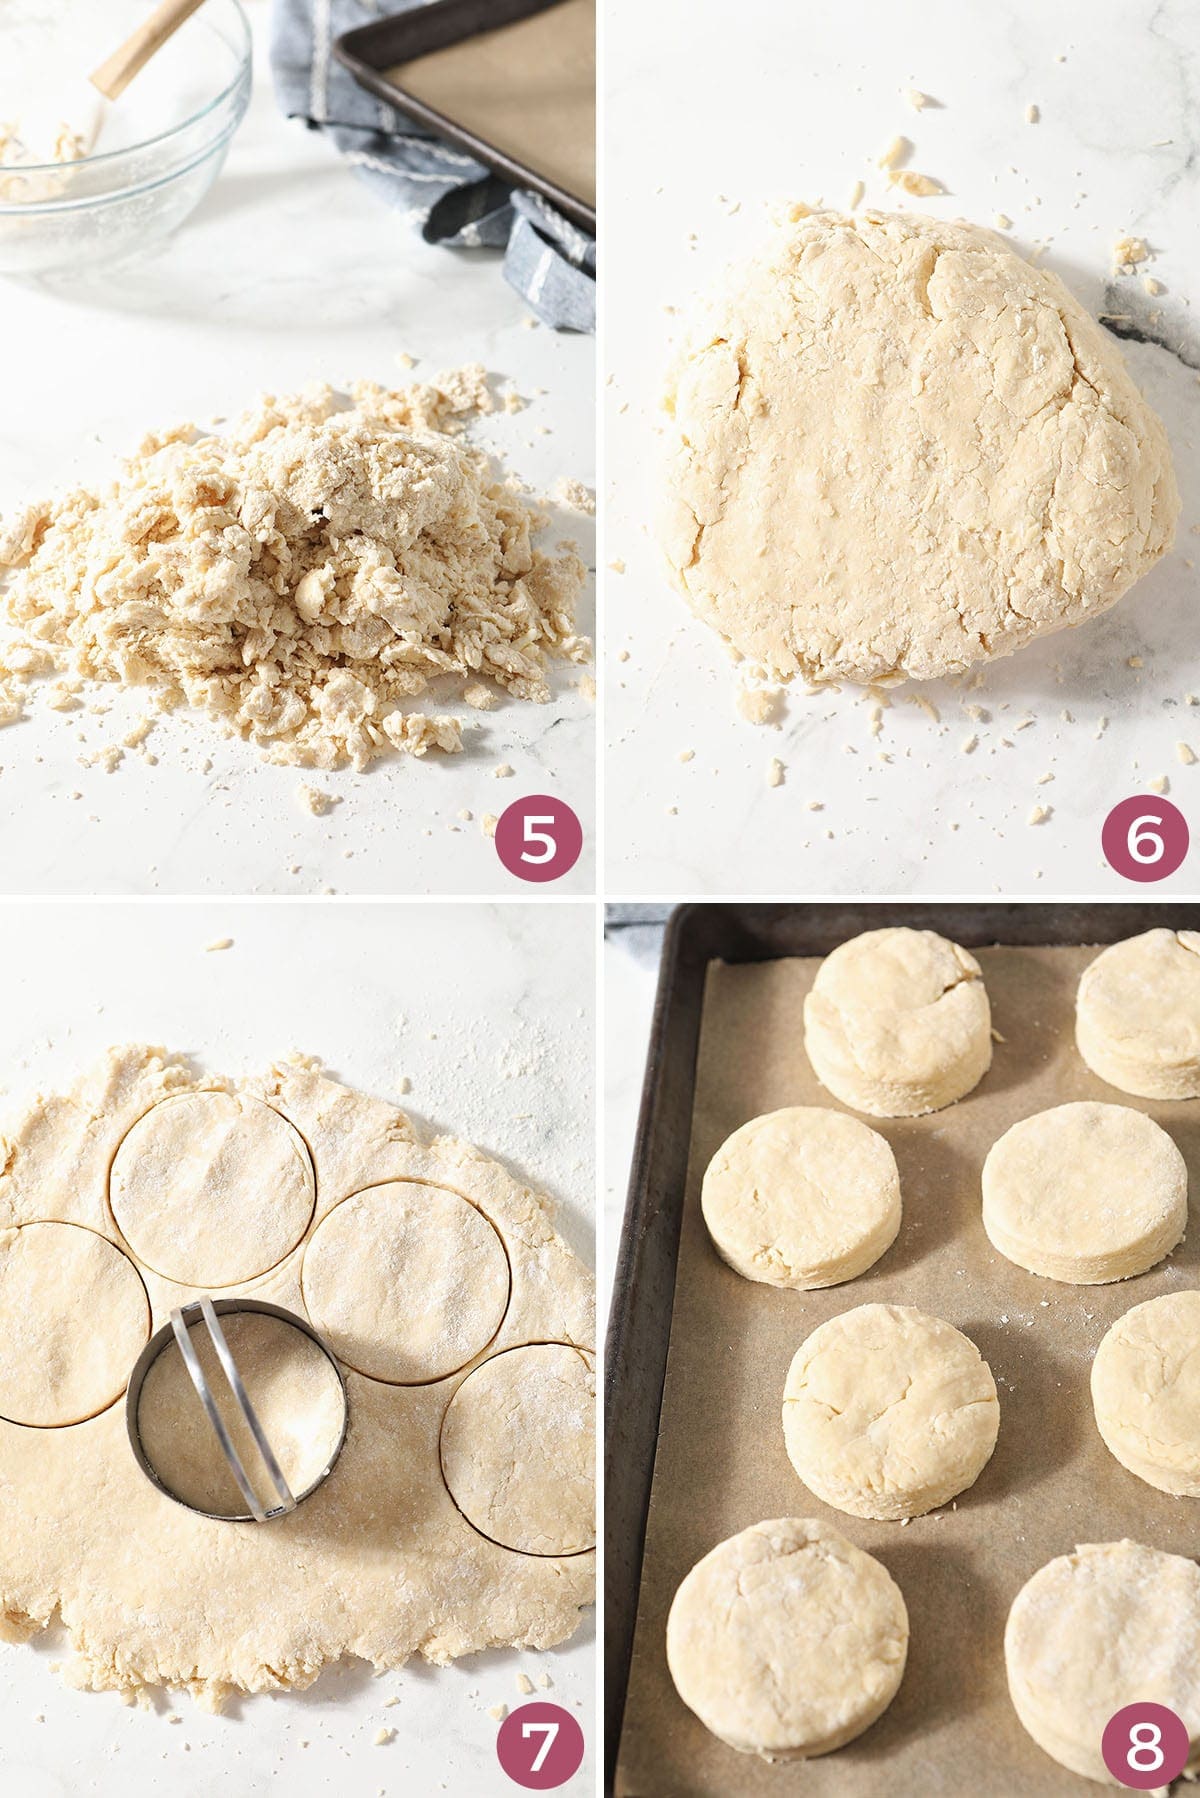
Turn the dough out onto the floured surface. Sprinkle additional flour on top of the dough before patting it into a 1.5″ tall rectangle. The key is moving quickly so that the ingredients don’t get too hot!
Fold the dough into thirds, bringing the short sides to meet in the middle like you would a tri-fold pamphlet or a letter.
You can use a bench scraper for this portion to help you shape the dough.
Gently pat the dough into another 1.5” tall rectangle.
Cut the biscuits. Use a biscuit cutter for this step. My 1 ½” biscuit cutter is my favorite for this, but you can make smaller biscuits, too. You could also make them larger with a 3-inch biscuit cutter if you prefer.
Do not twist them as you cut into the dough. It will affect the rise!
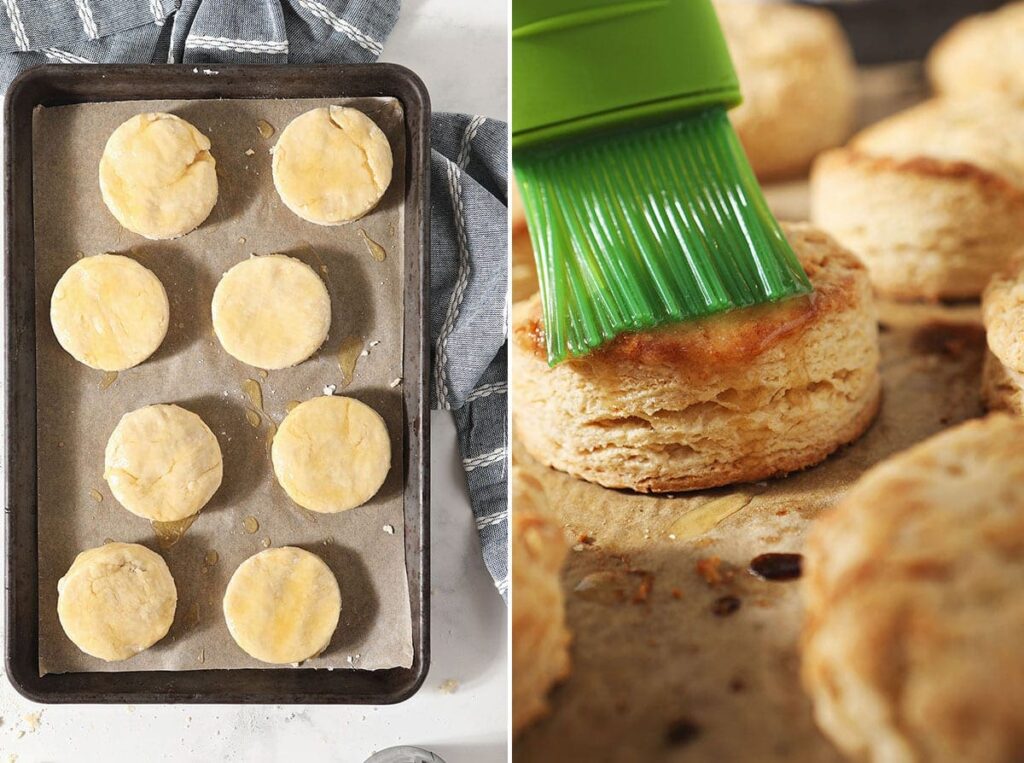
Place the biscuits onto your prepared baking sheet and brush with a little butter. You could also make a honey butter glaze by melting honey butter and brushing it on top of the biscuits.
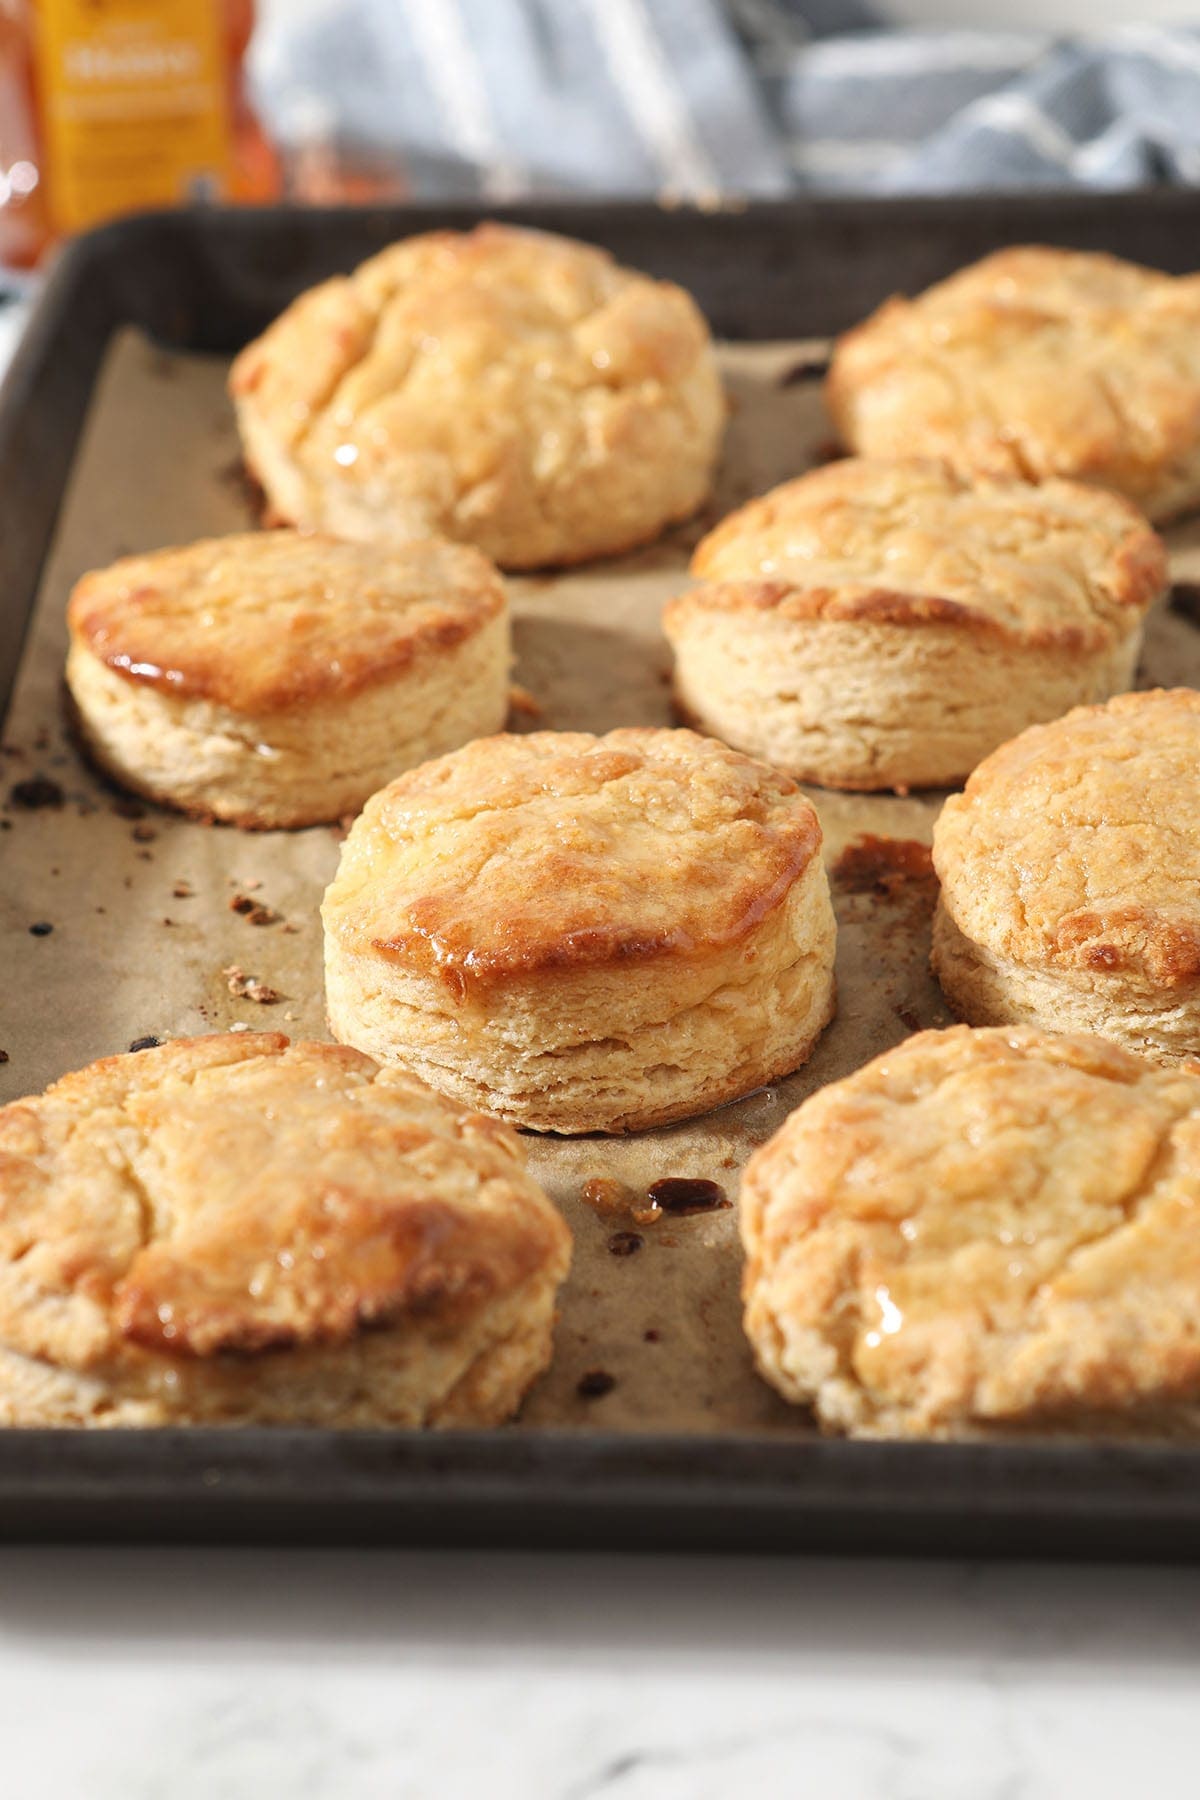
Bake the biscuits. This will take 10-13 minutes in a preheated oven. The biscuits will have risen, puffed up and should be a beautiful golden brown.
Brush with honey butter. As our last step, brush the baked biscuits with honey butter right after coming out of the oven, and enjoy!
Erin’s Easy Entertaining Tips
Homemade biscuits while entertaining? It feels like the right thing to do, for me, and honestly, it feels super Southern, which makes my Tennesseean heart happy.
Honey Biscuits can pair with so many recipes, so it’s really a matter of what else you want to serve because these are dunkable, perfect for spreading whipped honey butter (regular salted butter or hot honey sauce) onto and excellent beside most anything.
Here are some things you can do while making these homemade biscuits for your people:
- Double the recipe. If you’re feeding a crowd and they’d like more than one, make a double batch.
- Make your biscuits in advance, but don’t bake ‘em. Instead, freeze them. (I have details about this in the FAQ below, as well as in the recipe card for you.) Basically, make the biscuits and throw them in the freezer, then bring them out and bake them like freezer biscuits!
- Brush with honey butter after baking. If you’re making the biscuits and freezing them, bake these right before it’s time to eat so that guests can enjoy a warm, buttery biscuit.
Frequently Asked Questions
Look, there’s nothing more delightful than a warm biscuit. So if you want to make these biscuits in advance, I recommend FREEZING them.
Line a baking sheet with parchment, and pop the biscuits into the freezer instead of the oven. Freeze for 2-3 hours, or until the biscuits are solidly frozen, then transfer to a freezer-safe bag for up to a few weeks. When you’re ready to bake them, remove from the freezer, place on a prepared baking sheet, and bake at 425°F for 15-20 minutes. (The bake might take a little bit longer because they’re solidly frozen, so keep an eye on them.)
There are a few things that might be at play here.
Were all your ingredients cold? If not, this could be your culprit. Biscuits require cold fat to become fluffy and delightful… and if you’re putting warm ingredients into the biscuit batter, the fat is melting before it goes into the oven.
Is your oven running hot enough? High heat = steam = sky high biscuits. It’s science, y’all.
Is your baking powder expired? This could also be the cause.
You can heat these biscuits in the toaster oven (or regular oven). Preheat to 350°F, and bake for 5-7 minutes, or until the biscuits are warmed through.
Quick tips and tricks to the best biscuits
- Use cold ingredients. That frozen butter is key. Why? Biscuits require cold fat to become fluffy and delightful… and if you’re putting warm ingredients into the biscuit batter, the fat is melting before it goes into the oven.
- Work quickly. This ties in with the point above. We want the frozen butter to stay as cold as possible while we’re mixing, rolling and cutting the biscuits so that our honey biscuits have beautiful pockets of fluff in them.
- Store biscuits in an airtight container at room temperature. We will sometimes keep ours in the pantry for 1-2 days. If you’re not going to eat the biscuits that are extra, put them in a plastic bag and freeze them until you want a biscuit.
Here’s how you can make them in your own kitchen…
Honey Butter Biscuits
EQUIPMENT
As an Amazon Associate and member of other affiliate programs, I earn from qualifying purchases.
Ingredients
- 2 cups all-purpose flour
- 1 tablespoon baking powder
- ½ teaspoon kosher salt
- 8 tablespoons salted butter frozen
- ¼ cup honey
- ½ cup whole milk
- 2 tablespoons salted butter melted, for brushing
- 1 tablespoon honey for brushing
Want to save this?
Instructions
Chill the ingredients!
- One hour before making the biscuits, place the stick of butter and the bowl in the freezer.
- DO NOT SKIP THIS STEP, as your biscuits might not rise if your ingredients are not cold.
Make the Biscuits
- Line a baking sheet with parchment paper or a nonstick baking sheet, and set aside.
- Preheat the oven to 450°F. Make sure that the oven completes its preheat before the biscuits go into it, as a hot enough oven is imperative for fluffy, tall biscuits!
- Grate the 8 tablespoons of frozen butter with a box grater. Transfer back to the freezer until it’s time to use.
- In the chilled bowl, combine the dry ingredients — the flour, baking powder and salt. Whisk until combined.
- Add the frozen butter. Use a plastic spatula to fold the butter into the dry ingredients.
- Pour in the honey and milk, and stir using the spatula until a shaggy dough forms.
Shape and Cut the Biscuits
- Flour a flat, clean work surface in the kitchen. You can use the kitchen counter or a large clean cutting board. Flour your hands, too.
- Turn the dough out onto the floured surface. Sprinkle additional flour on top of the dough before patting it into a 1.5″ tall rectangle. The key is moving quickly so that the ingredients don't get too hot!
- Fold the dough into thirds, bringing the short sides to meet in the middle like you would a tri-fold pamphlet or a letter. You can use a bench scraper for this portion to help you shape the dough.
- Gently pat the dough into another 1.5” tall rectangle.
- Use a biscuit cutter to cut the biscuits. Do not twist as you cut them.
- Place the biscuits onto the prepared baking sheet. When you are left withscraps, reshape the dough into a round and cut more biscuits.
- Repeat until all the dough has been cut and placed on the baking sheet.
- Bake for 10-13 minutes, or until the biscuits have risen and are golden brown.
- Brush with melted honey butter right after the biscuits come out of the oven.
- Let cool, then enjoy!
Notes
Quick tips and tricks to the best biscuits
- Use cold ingredients. That frozen butter is key. Why? Biscuits require cold fat to become fluffy and delightful… and if you’re putting warm ingredients into the biscuit batter, the fat is melting before it goes into the oven.
- Work quickly. This ties in with the point above. We want the frozen butter to stay as cold as possible while we’re mixing, rolling and cutting the biscuits so that our honey biscuits have beautiful pockets of fluff in them.
- Store biscuits in an airtight container at room temperature. We will sometimes keep ours in the pantry for 1-2 days. If you’re not going to eat the biscuits that are extra, put them in a plastic bag and freeze them until you want a biscuit.
Nutrition

About the Author:
Erin Parker is a Southern gal living in Texas with her husband and two daughters. She started The Speckled Palate to share what she was cooking as a newlywed… and over the years, it’s evolved to capture her love for hosting. Specifically, the EASIEST, lowest key entertaining because everyone deserves to see their people and connect over good food. Learn more about her…


My husband and I are huge fans of your cheddar biscuits but today we decided to switch it up to this one and WOW!!! We loved it!! thanks for another FANTASTIC recipe 🙂