
Halloween Cookie Bars
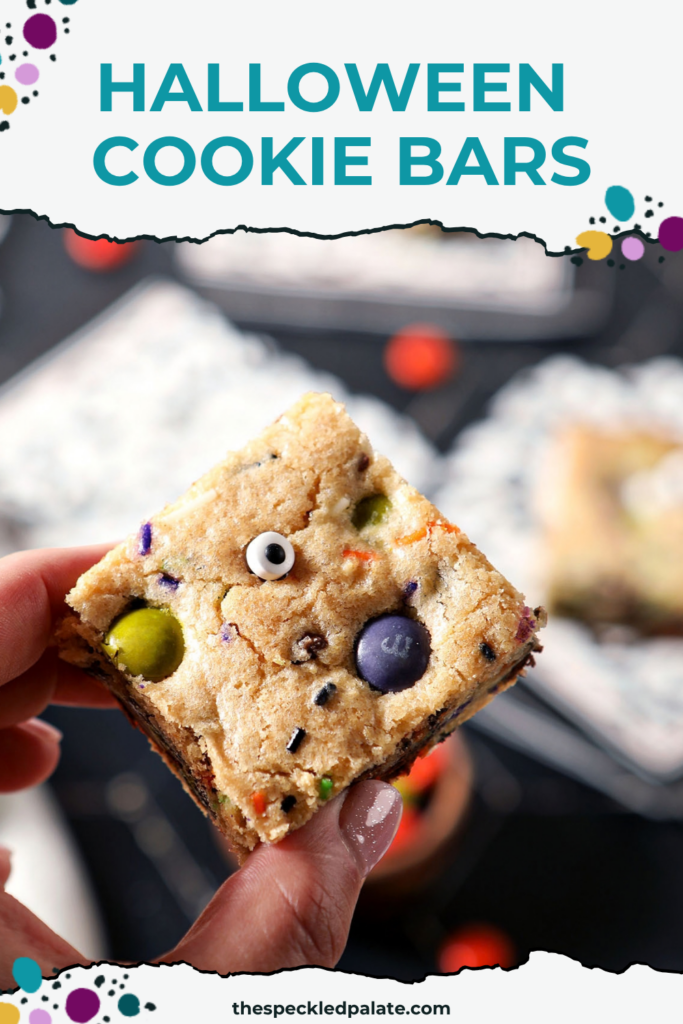
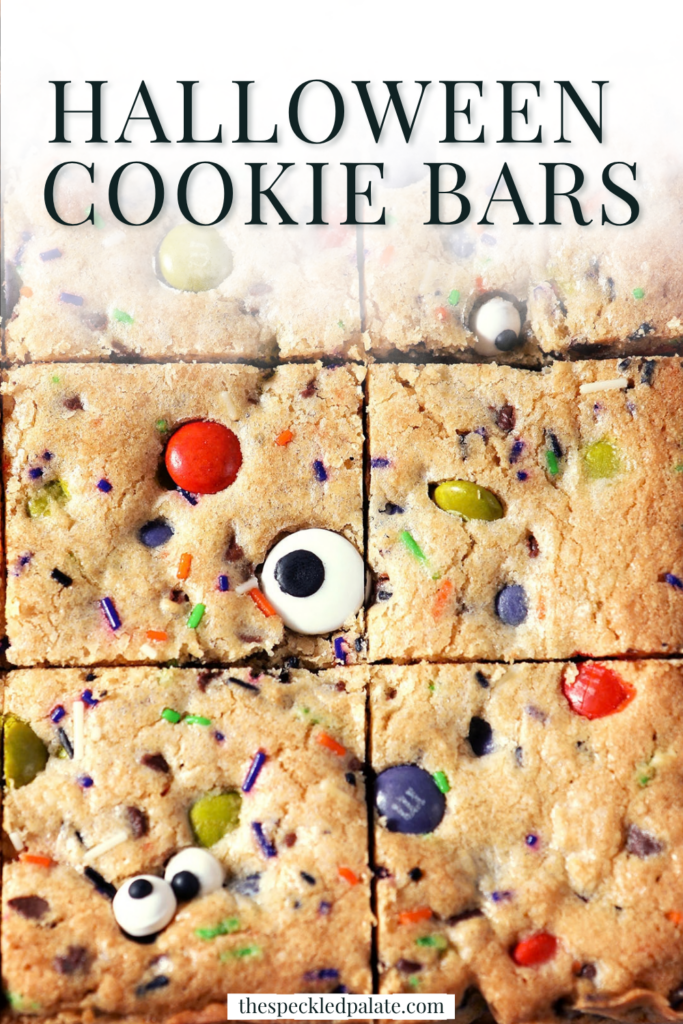
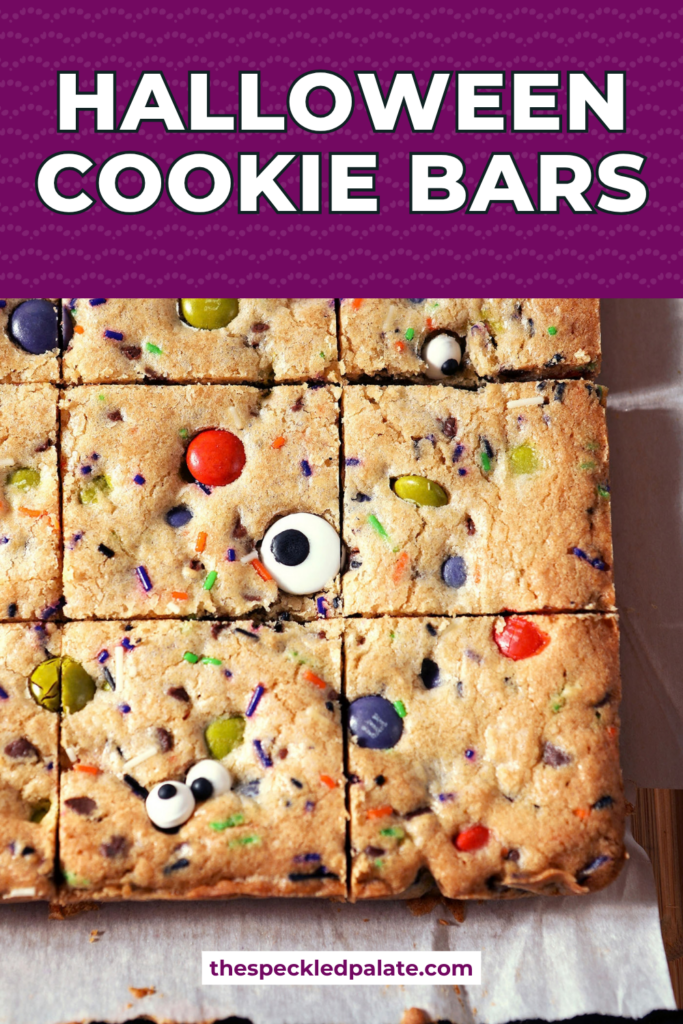
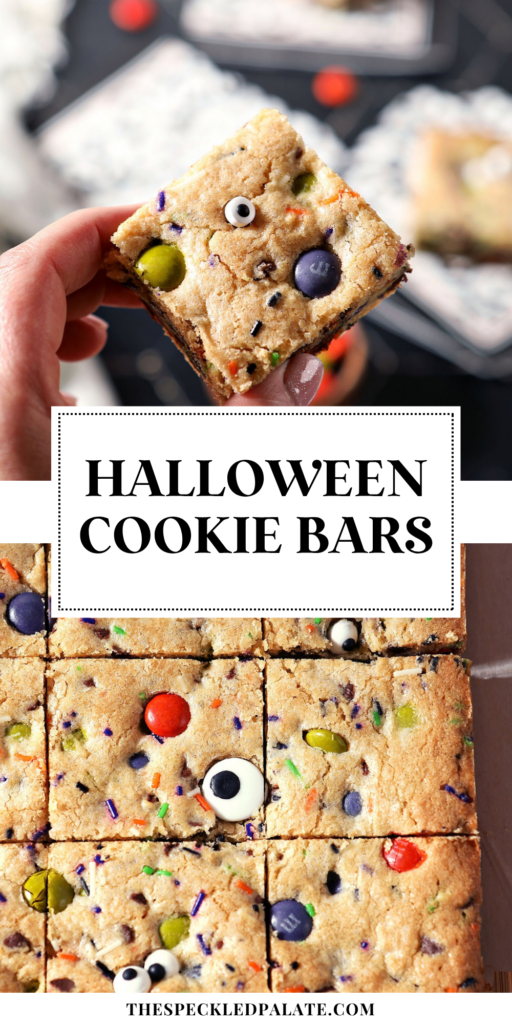
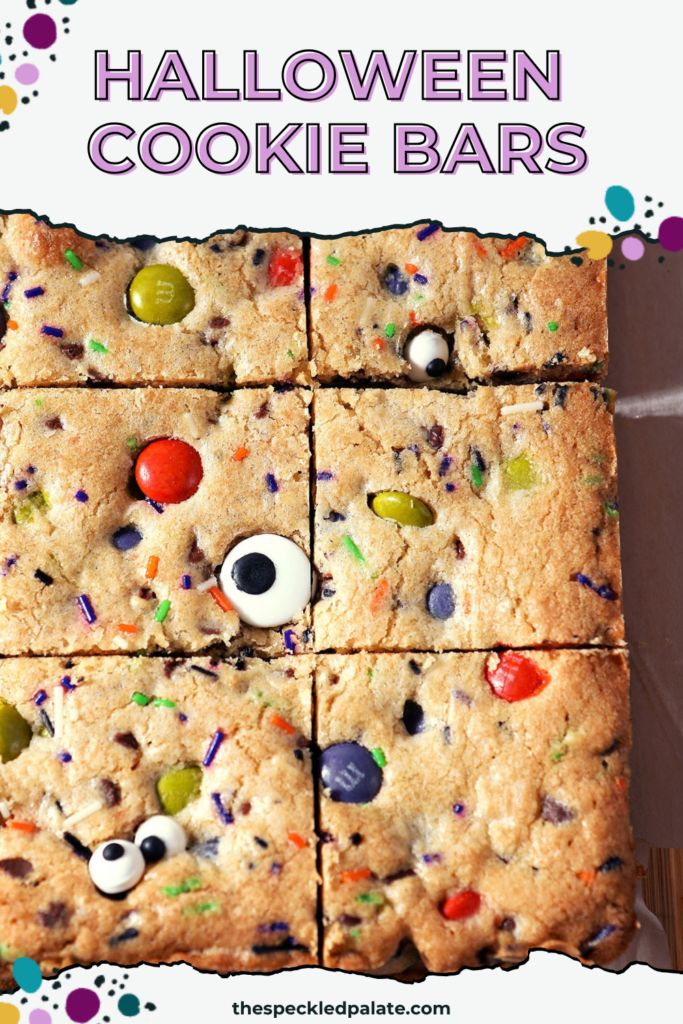
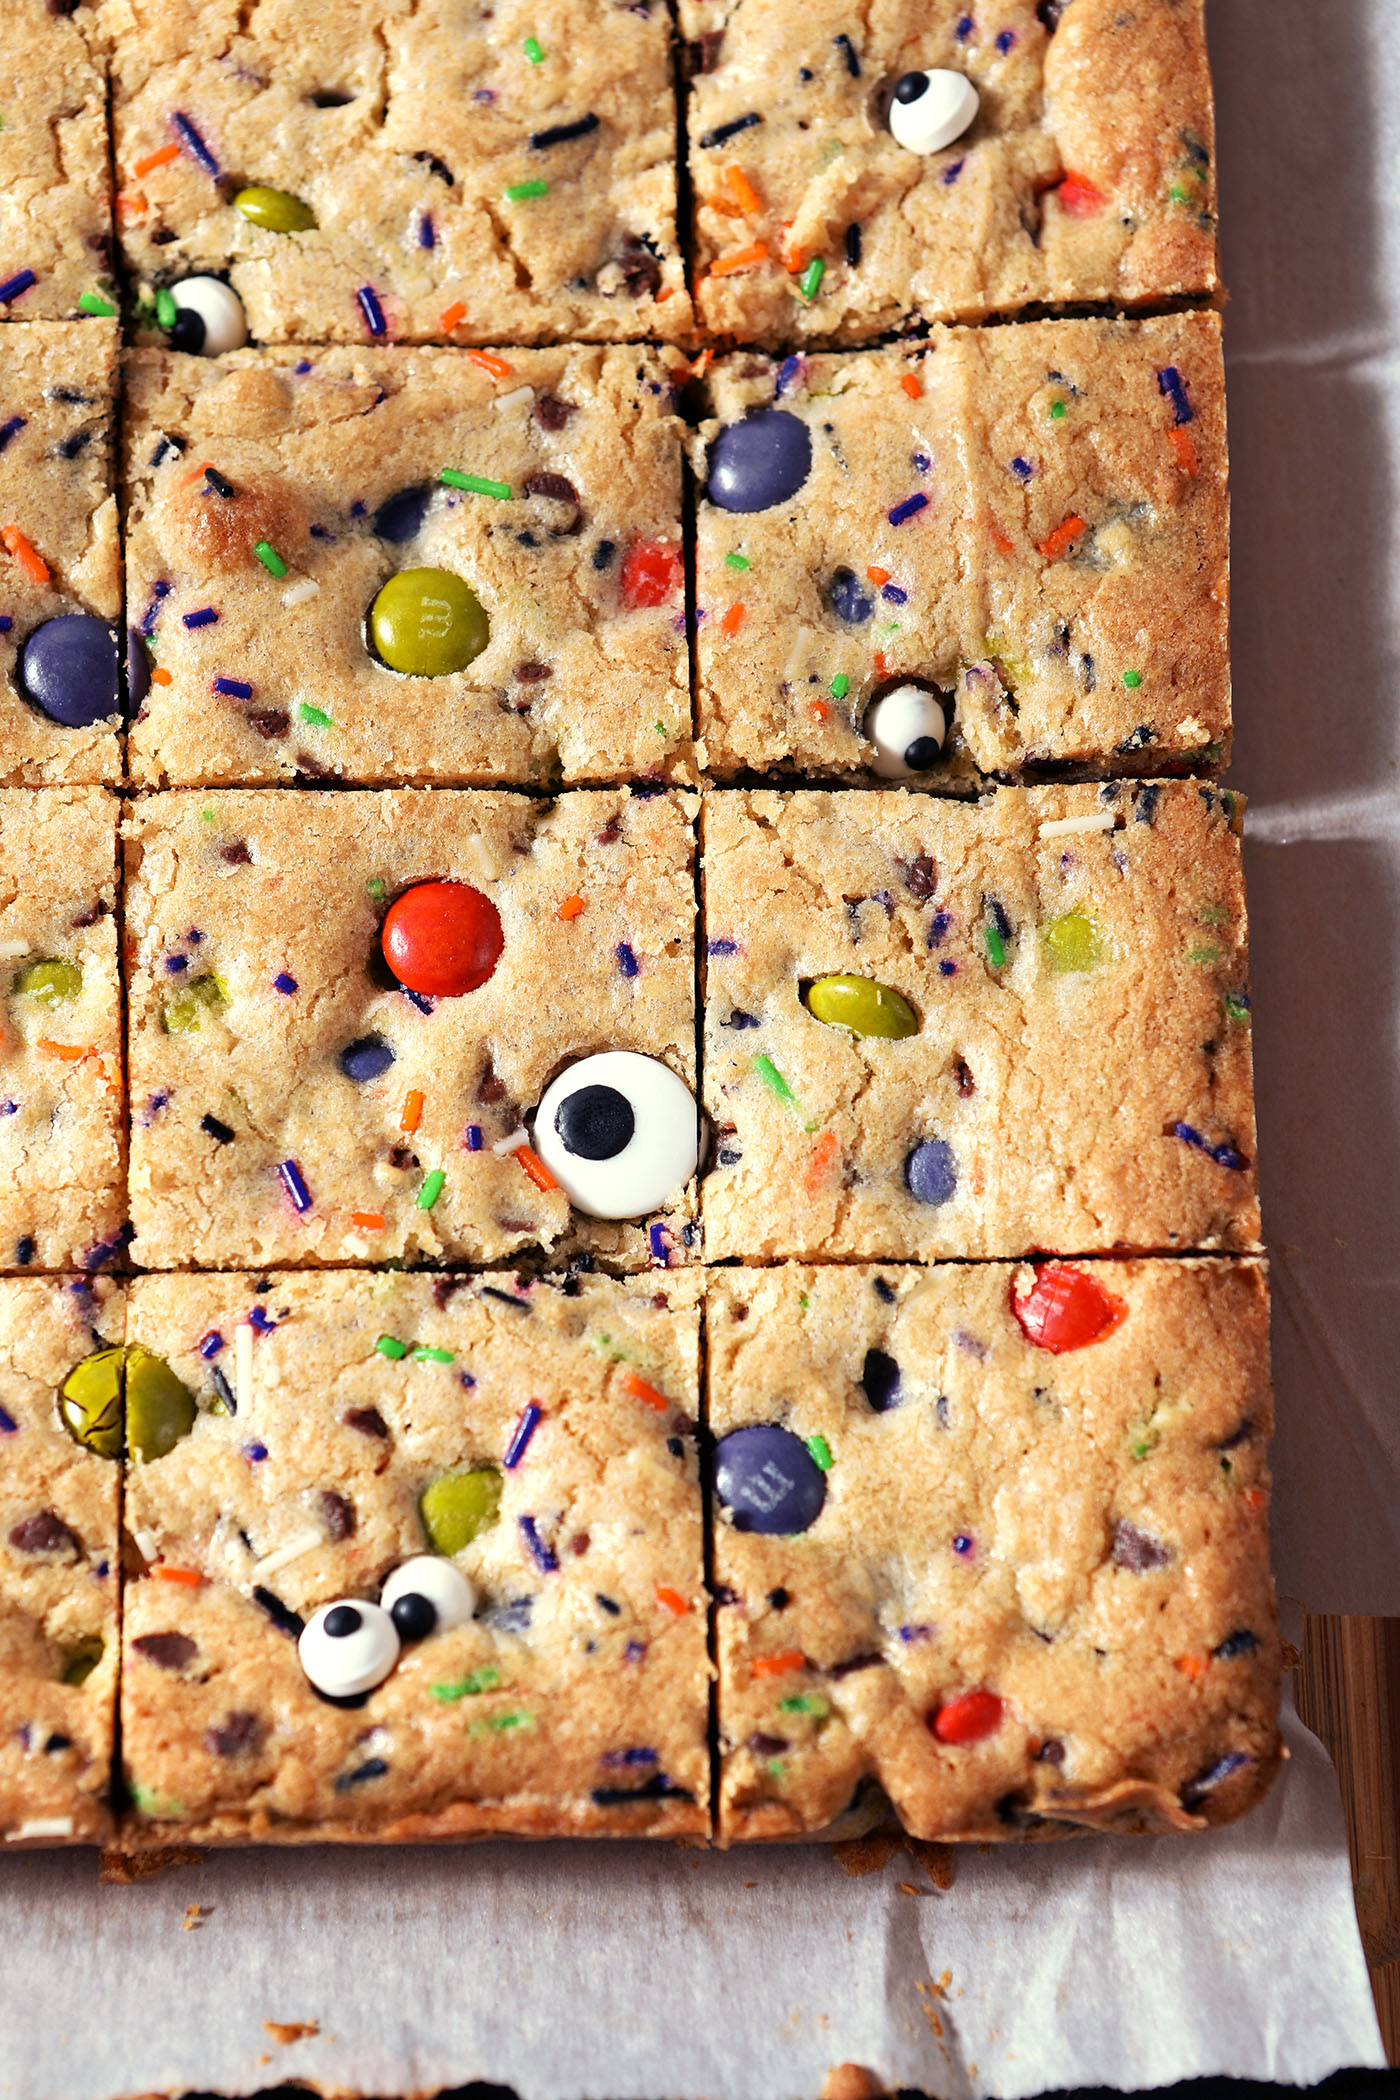
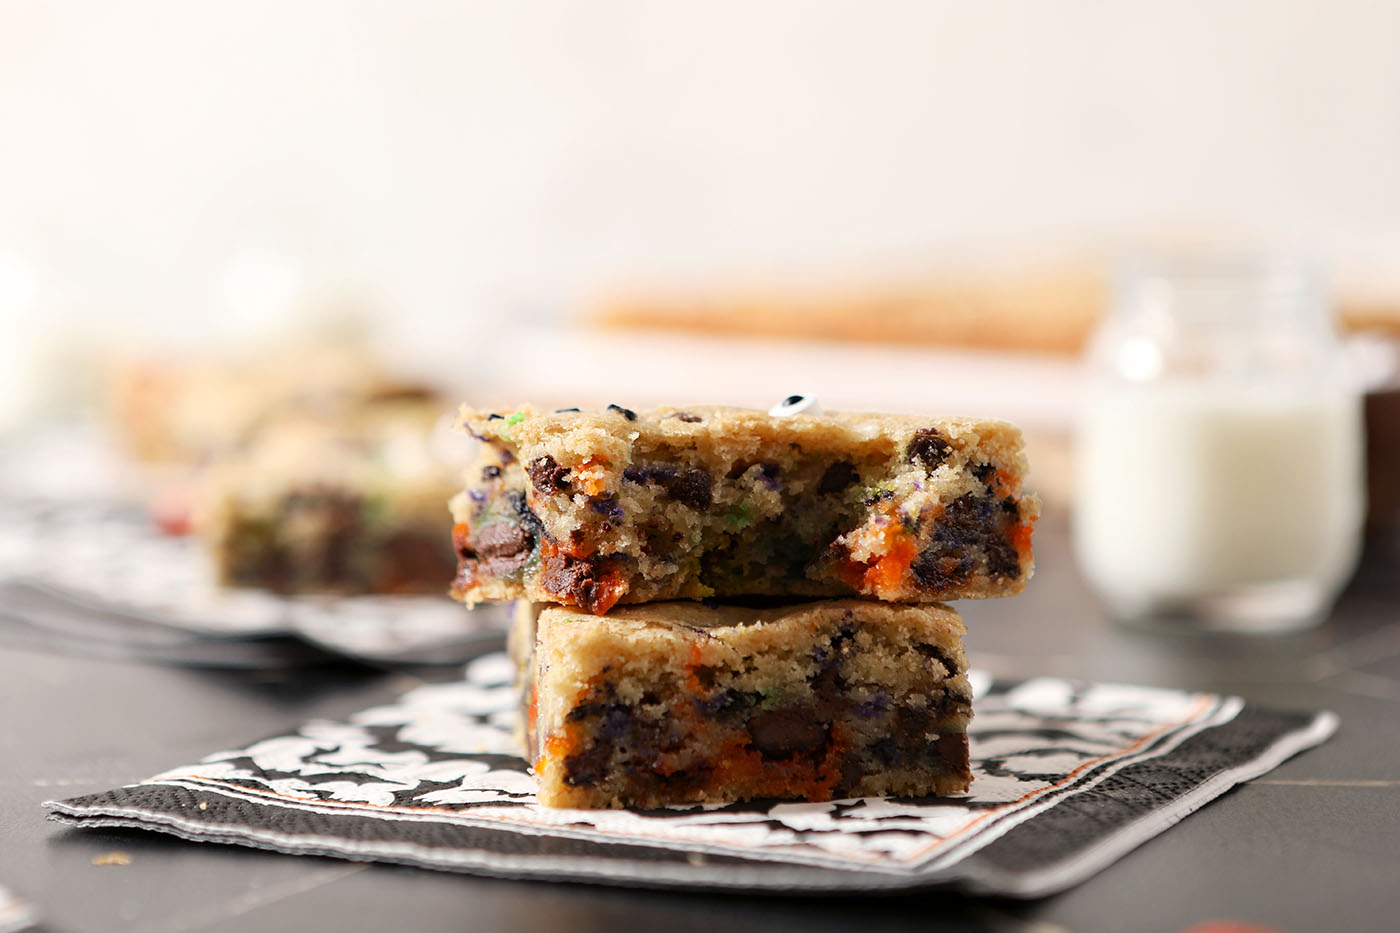
Studded with colorful chocolate-coated candies, festive sprinkles and chocolate chips, gooey Halloween Cookie Bars are the perfect October dessert! Calling for simple ingredients and no chill time, this bar cookie recipe is perfect for sharing for all Halloween-related activities and ready to enjoy in less than an hour.
Want to save this?
This post contains affiliate links.
I love a cookie bar so much, and I also love being able to bring festive treats to any gathering I might be attending for any season. The same includes Halloween, which is coming up.
So today, I wanted to take what I did with my M&M Christmas cookie bars and make them for Halloween. As you do.
Spoiler alert: they’re reaaaaaaaally good and the colors and flavors make me incredibly happy.
Why we love this recipe:
As someone who loves to find an easy and delicious dessert to make for any given holiday, I especially love this recipe because of its simplicity and the flavors it brings. (It’s essentially my classic Chocolate Chip Cookie Bars recipe, but with added M&M candies and sprinkles for bonus flavor and colors.)
There’s a lot of chocolate in here, but to me, it strikes a balance. The chocolate provides some gooiness, and the sprinkles provide a little crunch and color.
Paired with the exterior of these bars, you’ve got an excellent crispness on the outside while the interior remains chewy and a little gooey if you’re enjoying them warm.
Pro tip!
If you like the gooeyness, heat these bars up in the microwave after slicing for 10- to 15-seconds to melt the chocolate again whenever you want one.
Plus, you don’t have to chill the cookie dough, so as soon as you make it, you throw it into the pan and bake it off until gooey and perfect.
Other Halloween cookie recipes you might enjoy: Halloween Funfetti Cookies | Halloween Chocolate Cookies with White Chocolate Chips | Halloween Rice Krispie Treats
What you need to make this recipe:
The Speckled Palate participates in affiliate programs. As an Amazon Associate, I earn a commission from qualifying purchases. Please refer to my disclosure page for more information about these affiliate programs.
- Stand mixer (or a hand mixer and mixing bowl)
- Nonstick cooking spray
- Kitchen scale
- Measuring cups and spoons
- Parchment paper
- 9” x 13” baking pan
- Offset spatula
Let’s talk ingredients!
In addition to the tools above, you’re going to need some ingredients to make this recipe, too! Chances are, you might already have some of them in your fridge or pantry. Scroll down to the recipe card for the full measurements and instructions.
Here is what you need to get at the store to make this recipe:
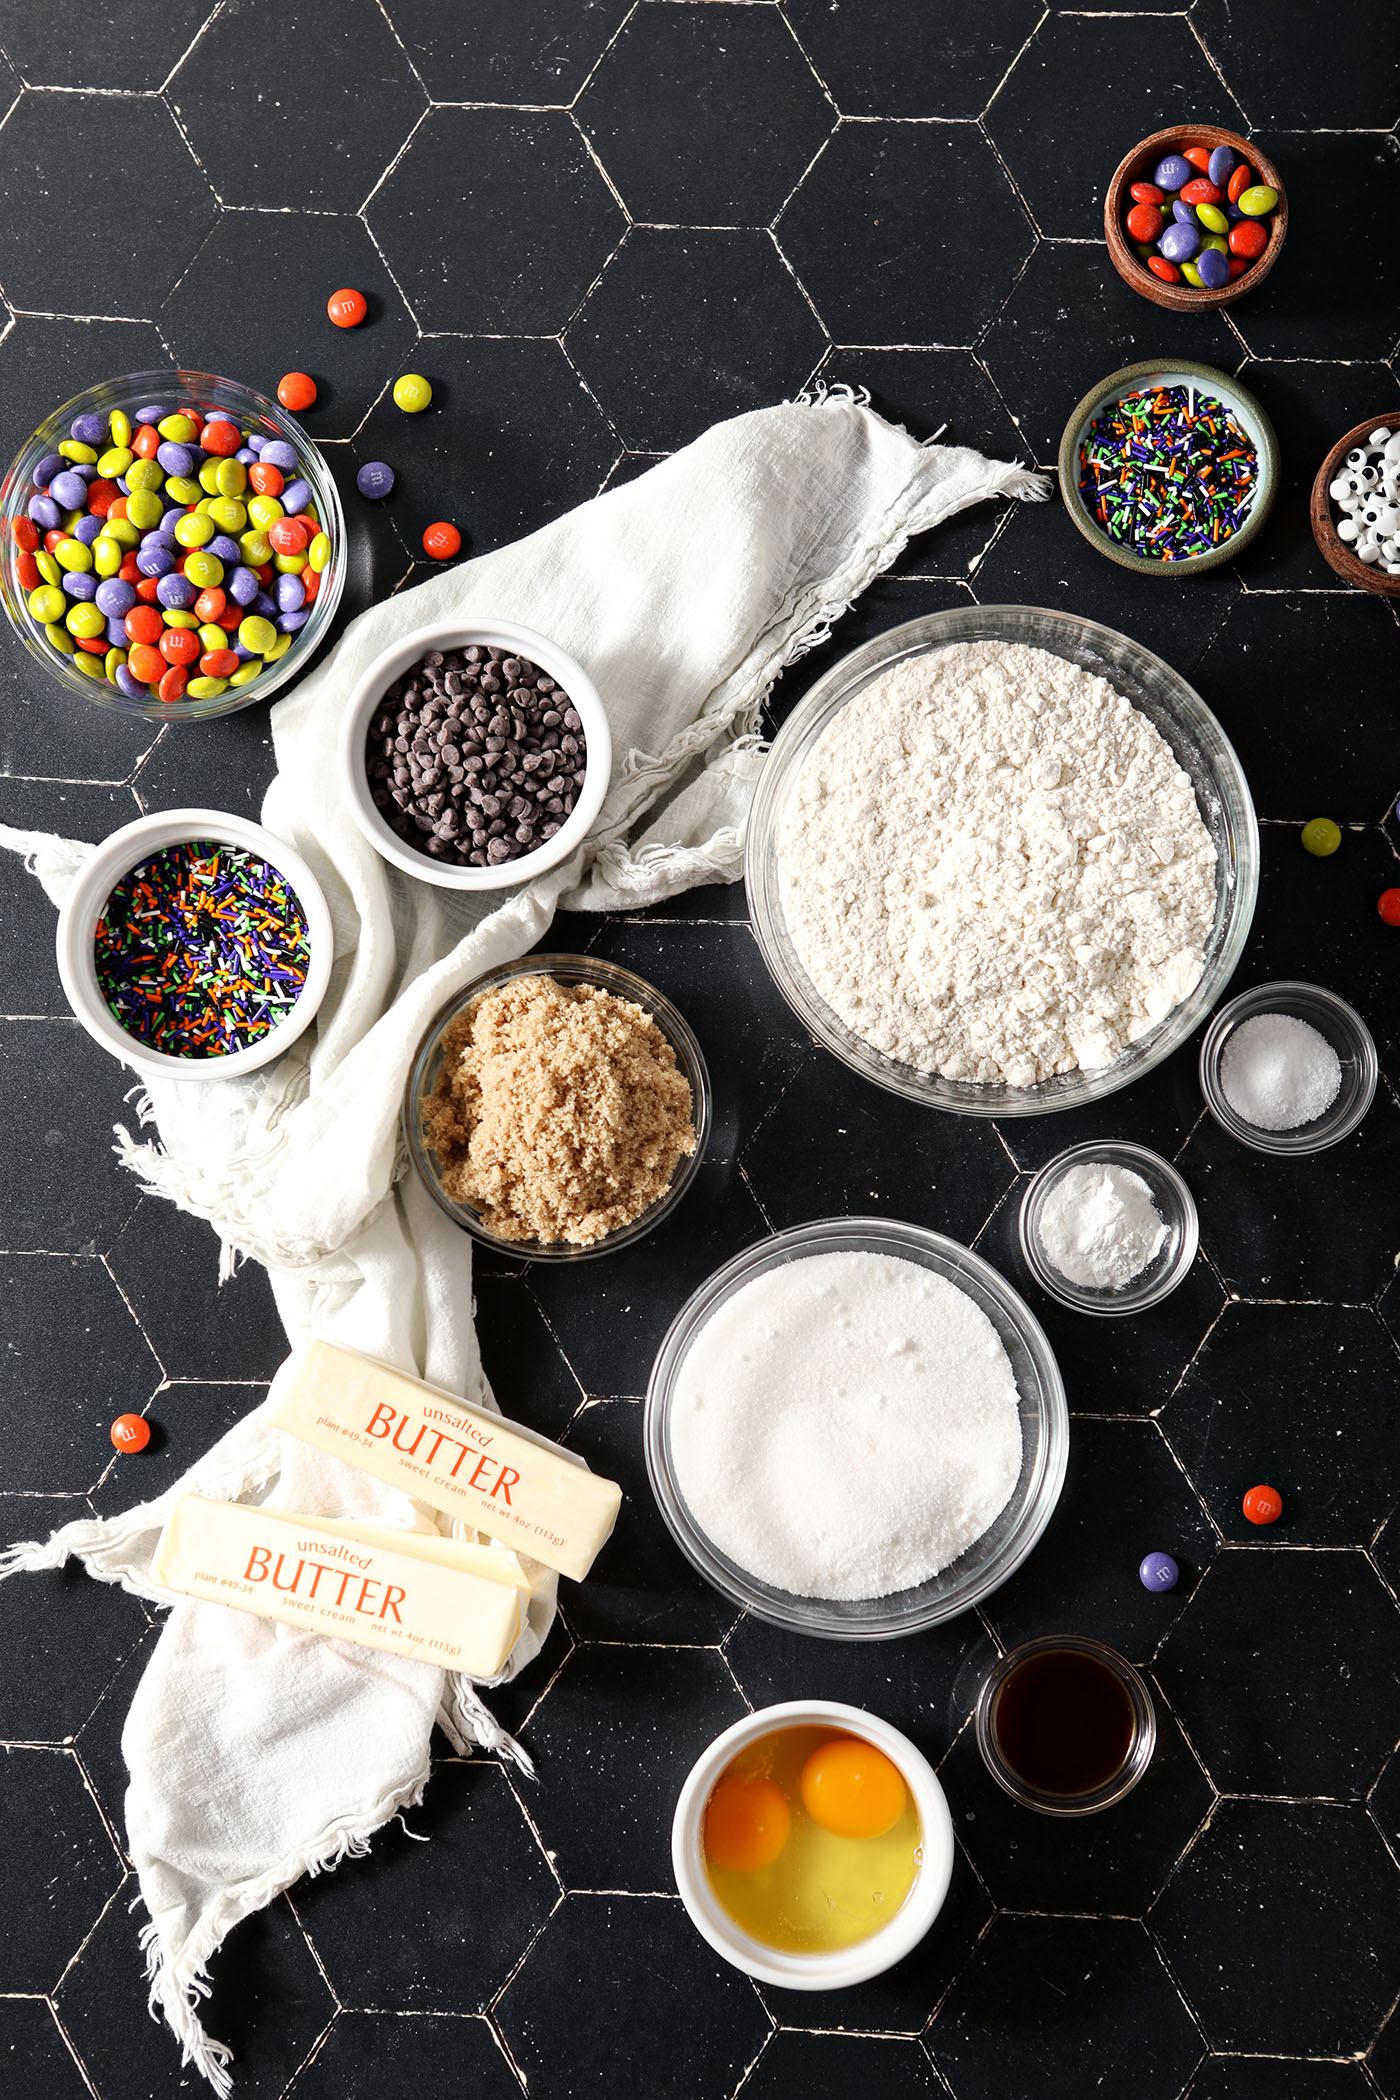
- Unsalted butter — this needs to be at room temperature so we can easily cream it with the sugars. There is no substitute. Remove your butter from the fridge about 30-45 minutes before you want to make the cookie dough.
- Granulated sugar — also known as white sugar, this gives our bars a lovely sweetness.
- Brown sugar — you may use light brown or dark brown sugar here. The dark brown sugar will give more molasses flavors than the lighter one, but both work.
- Eggs — these provide structure, as well as some leavening for our cookie bars.
- Pure vanilla extract — we use a lot of it, but trust me on this. It adds such loveliness to the batter and final cookie bars.
- All-purpose flour — we keep unbleached AP flour at our house, but you can use whatever you’ve got at your house. I have not tried to make this recipe with a gluten free substitute flour, so I do not recommend doing that.
- Kosher salt — I like to use a medium grain kosher salt for this. A similarly sized grain sea salt would also be OK.
- Baking soda — this is our leavening agent, and it helps these bars rise a little! Make sure yours is fresh. Please do not replace it with baking powder because it is not the same thing.
- Chocolate-covered candies — I used the Halloween-colored milk chocolate candies for these bars.
- Chocolate chips — I used bittersweet chocolate chips for this recipe because I like them for it. If you don’t like this, consider using semisweet chocolate chips or milk chocolate chips. Please note that if you use these, your bars will be a little sweeter.
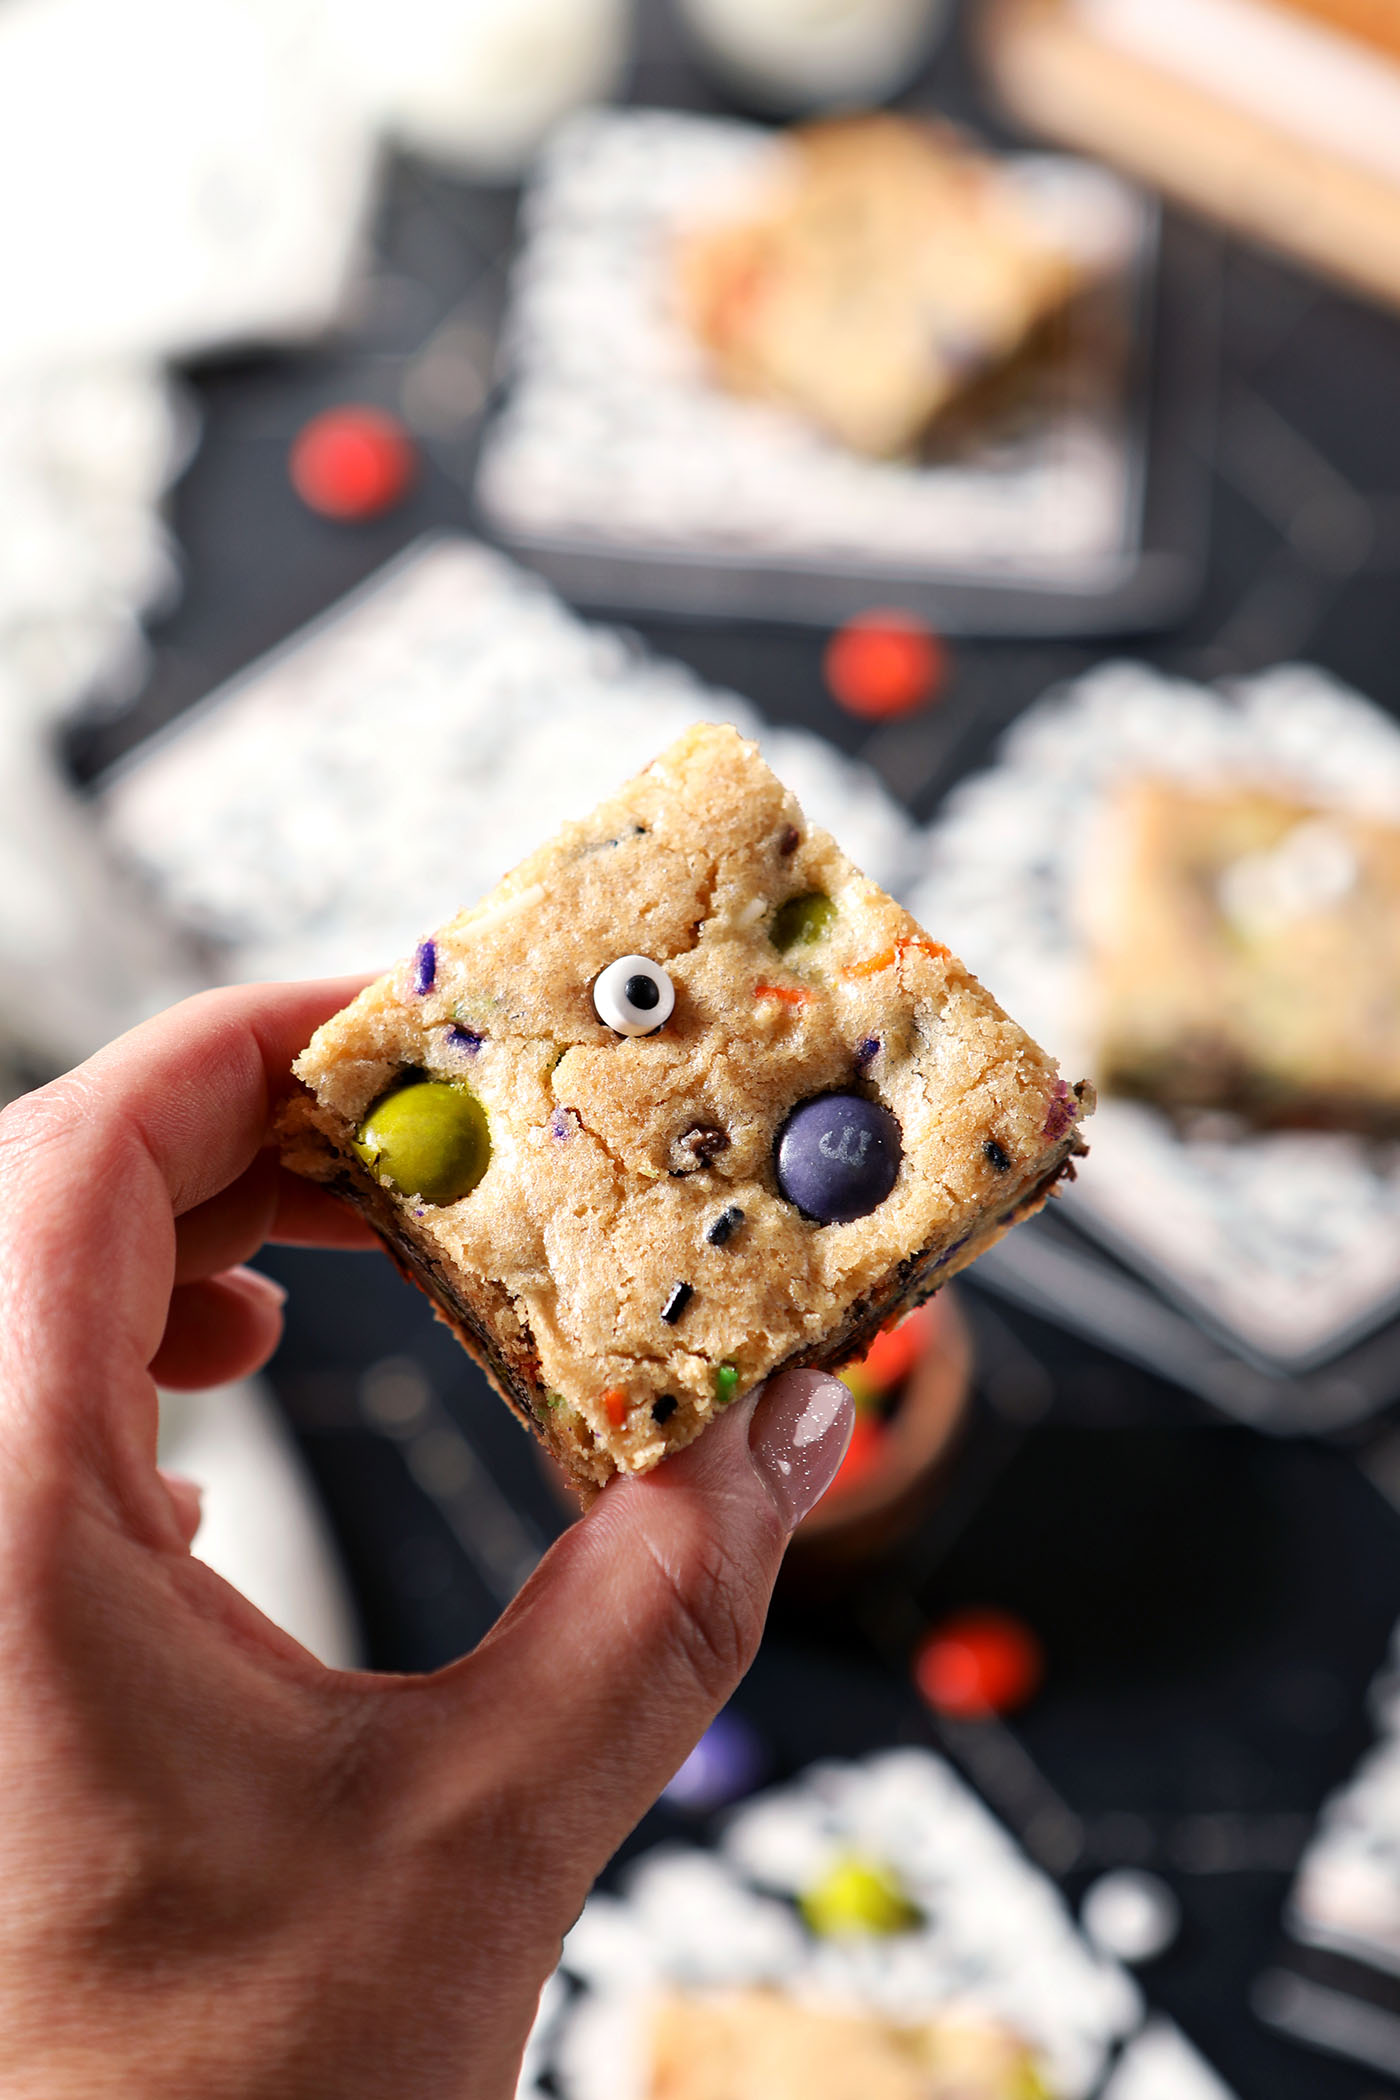
- Sprinkles — I used a combination of various Halloween-themed sprinkles. Keep in mind that some will dye the cookie dough colors. I added eyeball sprinkles after the cookie bar is baked.
How to make Halloween Cookie Bars:
Prepare. Spritz a 9″ x 13″ pan with nonstick baking spray. (You can also line with parchment to create a sling.) Preheat the oven, too.
Remove the butter and eggs from the fridge so they can come to room temperature.
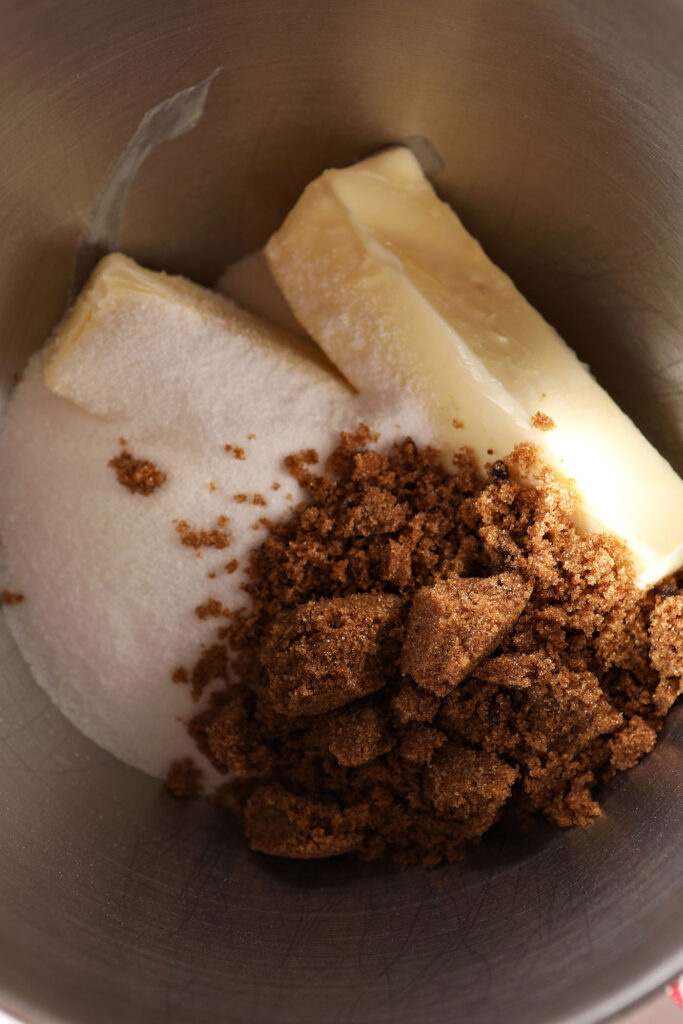
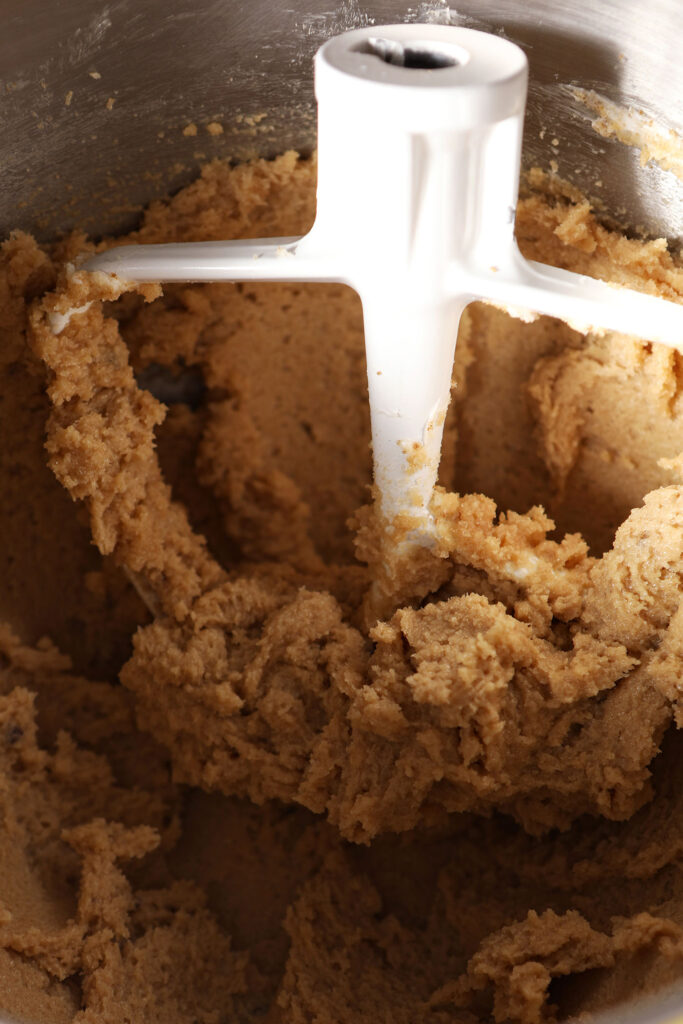
Cream the butter and sugars. Measure the softened butter, granulated sugar and brown sugar into the base of a stand mixer fitted with the paddle attachment. (This can also be done in a large bowl with a hand mixer.)
Cream them together until light and fluffy. This should take about 2-3 minutes.
DID YOU KNOW?
Creaming the sugar and butter makes a fluffy, light cookie bar. The process adds air the batter, creating air pockets so the dough can rise more when it bakes.
Scrape down the sides of the bowl with a rubber spatula.
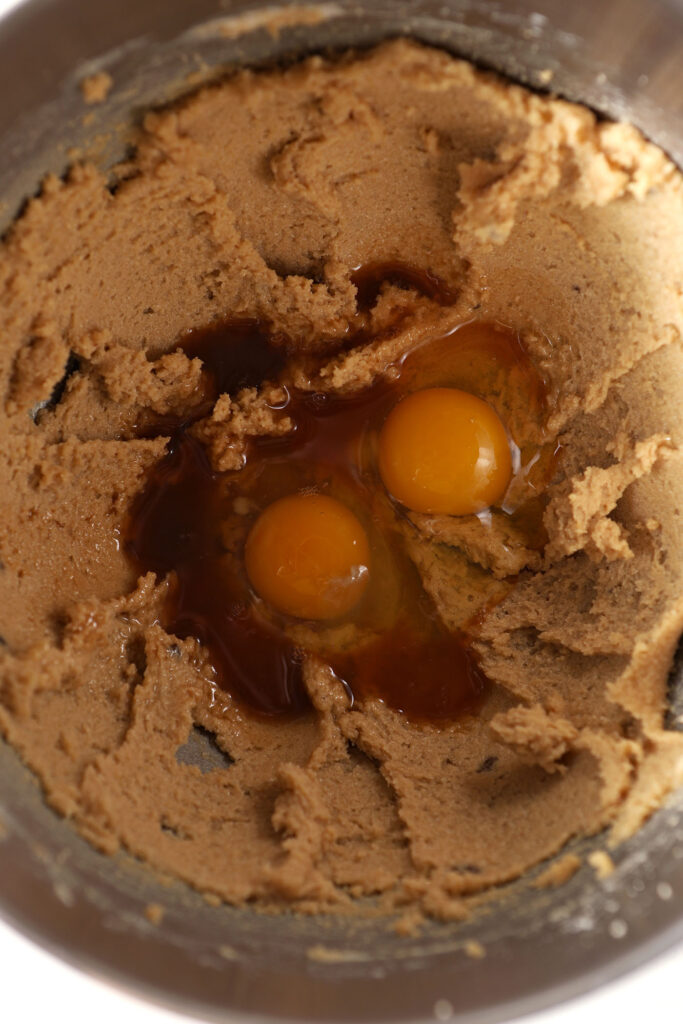
Add the eggs and vanilla. Beat until combined. Don’t forget scrape down the sides again to ensure all the ingredients get mixed in.
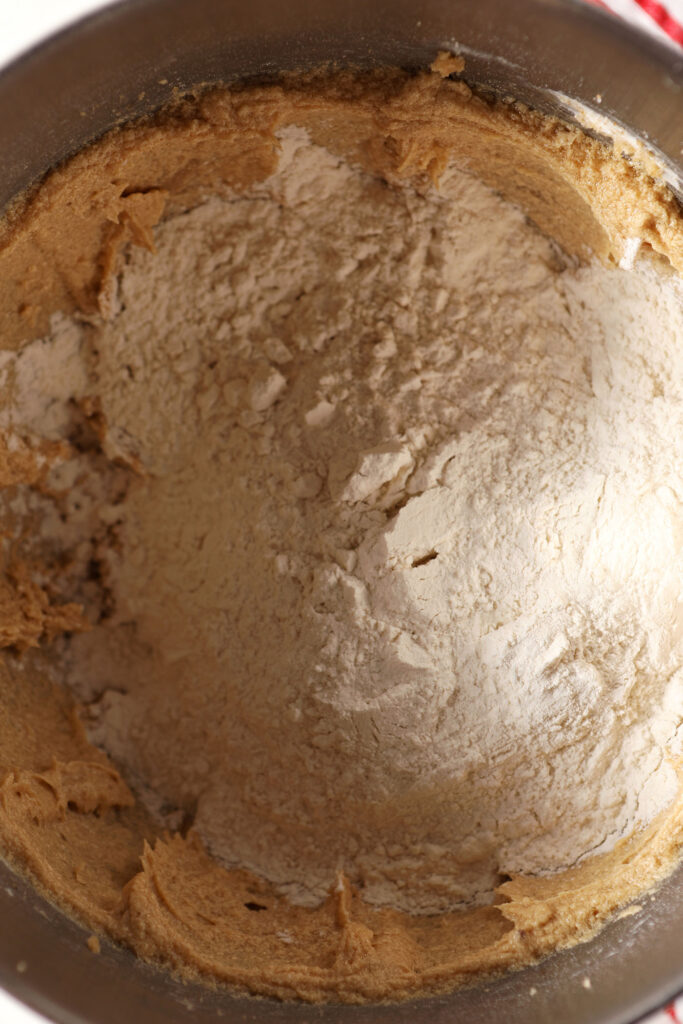
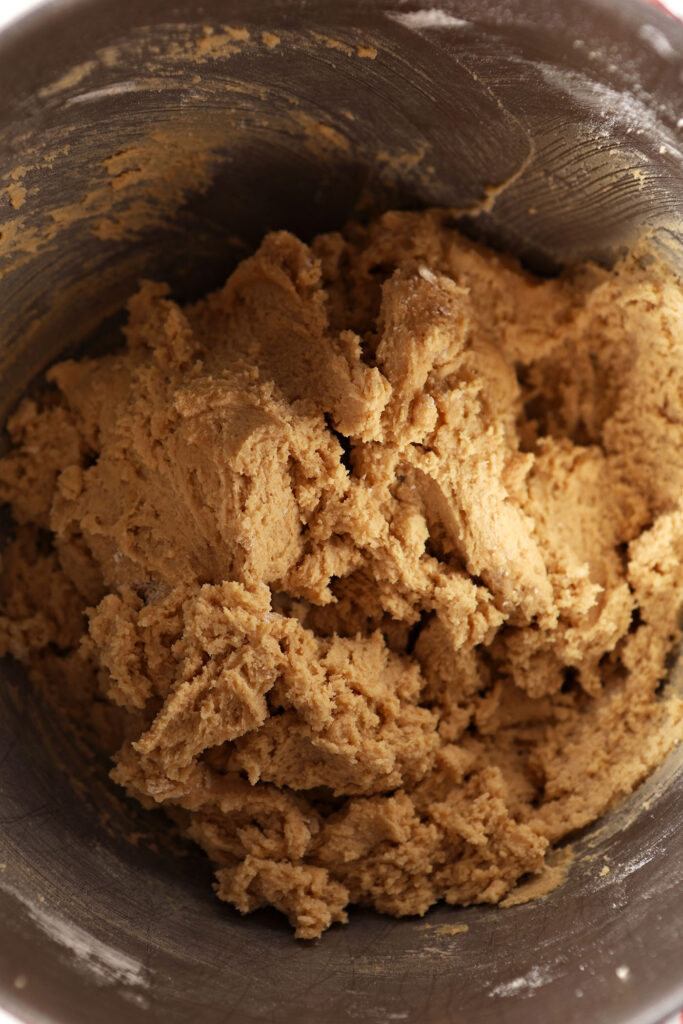
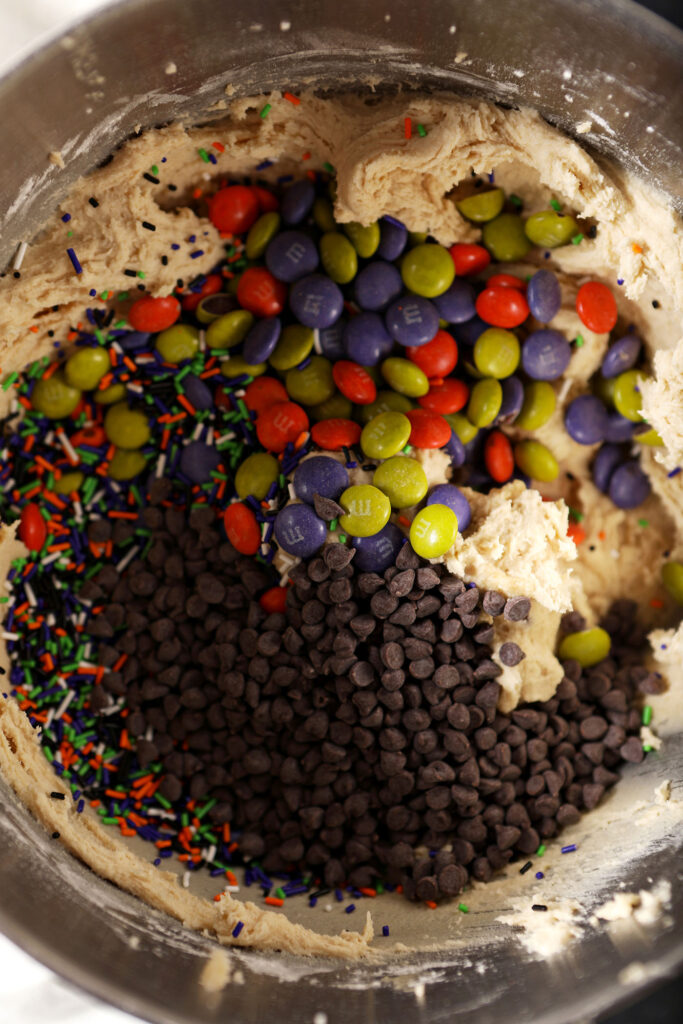
Measure in the dry ingredients. Gently scoop the flour, salt and soda into the mixing bowl. If you’re baking with kids, let them do this part. It’s super fun… but also a little messy. 😉
Pro tip: Turn on the mixer at a low speed at first so you don’t get covered in flour.
Next, add the mix-ins. This includes the M&Ms, chocolate chips and sprinkles. Mix for a few seconds until just combined!
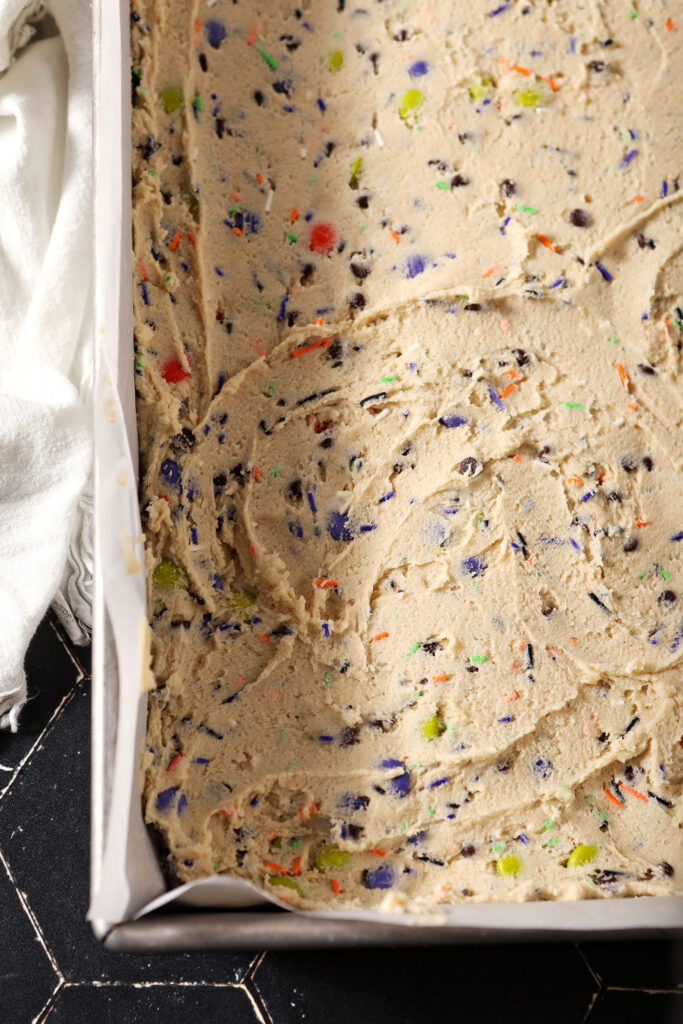
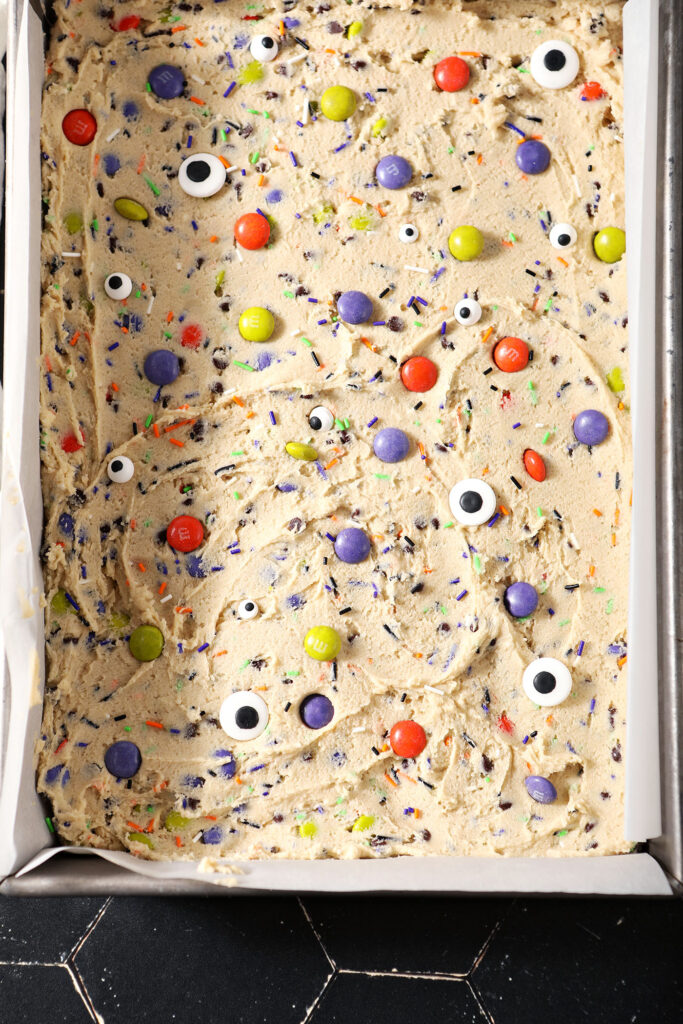
Form the cookie bars. Dollop the batter into the prepared pan, and spread using your hands or an offset spatula.
You may spray your hands or a spatula with nonstick baking spray to ensure the batter doesn’t stick. Once the dough is spread into the pan, pop it in the oven and bake until golden brown and delicious.
I like to add a few more colorful candies on top of the bars before they bake, but you do you!
Once baked through, remove from the oven and cool completely before slicing.
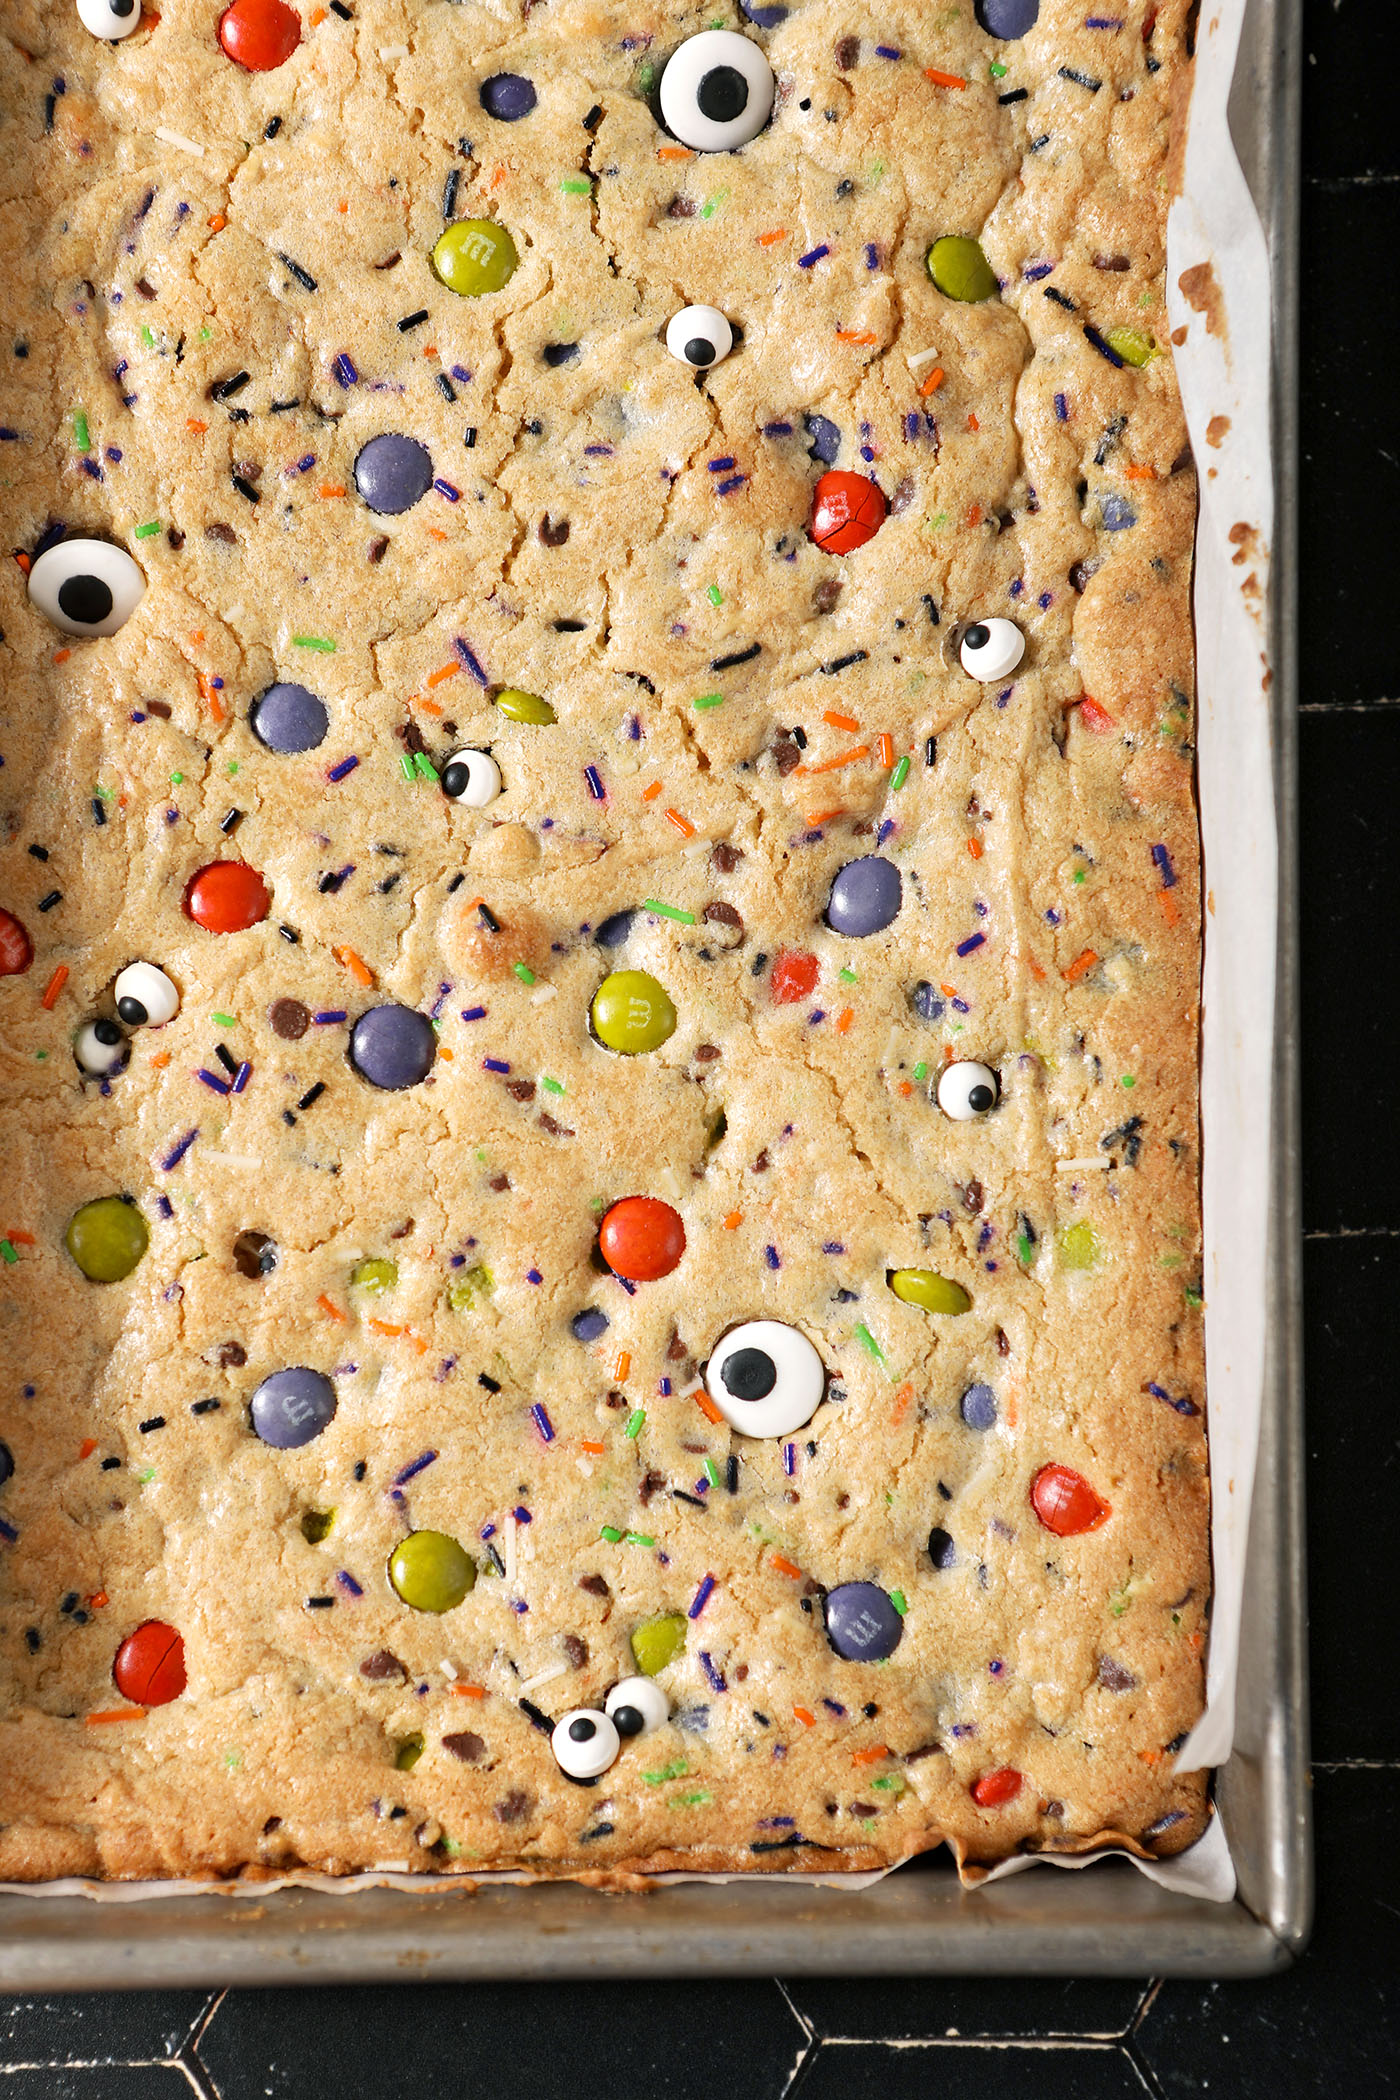
If you want to add bonus decorations, gently press them into the top directly after the bars come out of the oven. I found that the eyeball sprinkles look better if you add them after baking.
how to store:
Store the cooled cookie bars in an airtight container in the refrigerator for up to 5 days.
You can also freeze these cookie bars. Once they are cooled, transfer to a parchment or wax paper-lined sheet pan and freeze for 3-4 hours or until frozen solid. Transfer to a freezer baggie, and keep frozen for up to 3 months. Defrost in the fridge before enjoying.
Erin’s Easy Entertaining Tips
If you’re hosting a Halloween party and want to make and serve an easy dessert that your guests can grab and go, this is one that I absolutely recommend.
The magic of a bar cookie is that you toss it all together, you bake it off, and then you slice it, and that’s pretty much it. They’re incredibly simple to share.
Here are some things that I might do if I were making these for a gathering this season:
- Make them early. Simply follow the instructions in the recipe card below, then allow them a few hours to cool completely. Cover with plastic wrap, or slice, transfer to a plate, then cover, and you’re good to go!
- Half or double the recipe. Depending on the size of your gathering, you can cut this recipe in half easily OR make a double batch for a big crowd! (If you half it, use an 8×8″ or 9×9″ pan. If you double it, use two 9×13″ pans.)
- Involve the kids. If you’ve got kids who like to help in the kitchen, this recipe is excellent! They can help measure, mix and spread the batter, as well as decorate the top, before baking.
Frequently Asked Questions
A jelly roll pan would work perfectly because it has a rim and is roughly the same size.
No. We don’t have to worry if the batter spreads because it’s baking in a pan, so it doesn’t need to chill.
This cookie recipe works with vegan butter, so if you prefer that, use two sticks of your favorite vegan butter in place of the unsalted butter. You can also swap out the type of chocolate chip you use. If you prefer a sweeter chocolate chip, feel free to use something that is sweeter. If you like dark chocolate, use that instead.
Quick tips and tricks to make Halloween Cookie Bars:
- Switch out the chocolate. If you don’t like bittersweet chocolate, use milk chocolate chips or semisweet chocolate chips instead. Those will make these cookie bars sweeter, so keep that in mind.
- How to store: Store the cooled cookie bars in an airtight container in the refrigerator for up to 5 days.
- How to freeze: Transfer the baked cookie bars to a wax or parchment-lined baking sheet. Place in the freezer, and freeze for 4-5 hours, or until solid. Transfer to a freezer bag and keep for 3 months in the freezer. Reheat in the toaster oven, or let come to room temperature on the countertop before enjoying.
Here’s how to make this recipe…
Halloween Cookie Bars
EQUIPMENT
As an Amazon Associate and member of other affiliate programs, I earn from qualifying purchases.
- Measuring cups
- Measuring spoons
- Parchment paper
- Rectangular cake pan (9" x 13")
Ingredients
- 1 cup unsalted butter (2 sticks)
- 1 ¼ cup granulated sugar
- ½ cup dark brown sugar
- 2 eggs at room temperature
- 1 tablespoon pure vanilla extract
- 3 cups all-purpose flour
- 1 teaspoon kosher salt
- 1 teaspoon baking soda
- 1 cup Halloween chocolate-coated candies
- ½ cup chocolate chips
- ¼ cup Halloween sprinkles
Instructions
- Preheat the oven to 350°F. Spray a 9”x13” baking pan with nonstick baking spray, and set aside. You may also line it with parchment paper to assist in lifting out the final bars.
- In the bowl of a stand mixer using the paddle attachment, cream the softened 1 cup unsalted butter, 1 ¼ cup granulated sugar and ½ cup dark brown sugar together until the butter is light yellow and the sugars are well incorporated, about 2-3 minutes. Use a rubber spatula to scrape down the sides.
- Add in 2 eggs and 1 tablespoon pure vanilla extract, beating until combined, about 1-2 minutes. Scrape down the sides using the rubber spatula to ensure all ingredients get mixed in.
- Measure 3 cups all-purpose flour, 1 teaspoon kosher salt and 1 teaspoon baking soda into the mixing bowl before turning on the mixer at a low speed. Continue mixing until the batter has come together and is nice and sticky.
- Measure in 1 cup Halloween chocolate-coated candies, ½ cup chocolate chips and ¼ cup Halloween sprinkles. Gently mix them into the batter using the flat beater attachment or a rubber spatula.
- Scoop the cookie dough out of the bowl and into the prepared baking pan. Use your hands or an offset spatula to press the batter out evenly throughout the pan.
- Bake for 30 minutes, or until golden brown and cooked through.
- Let cool completely on a wire cooling rack before cutting into 24 cookie squares.
- Enjoy with a glass of your favorite kind of milk!
Notes
Nutrition

About the Author:
Erin Parker is the recipe developer, food photographer and founder of The Speckled Palate, where she shares recipes, many Southern and Louisiana-inspired, and easy, low-key entertaining ideas since 2011. Whether you’re searching for a weeknight dinner or a party menu, Erin’s recipes are made for sharing with the people you love. Learn more about Erin and learn more about TSP.
Before leaving a comment or rating, ask yourself: