
How to Make Sweetened Whipped Cream
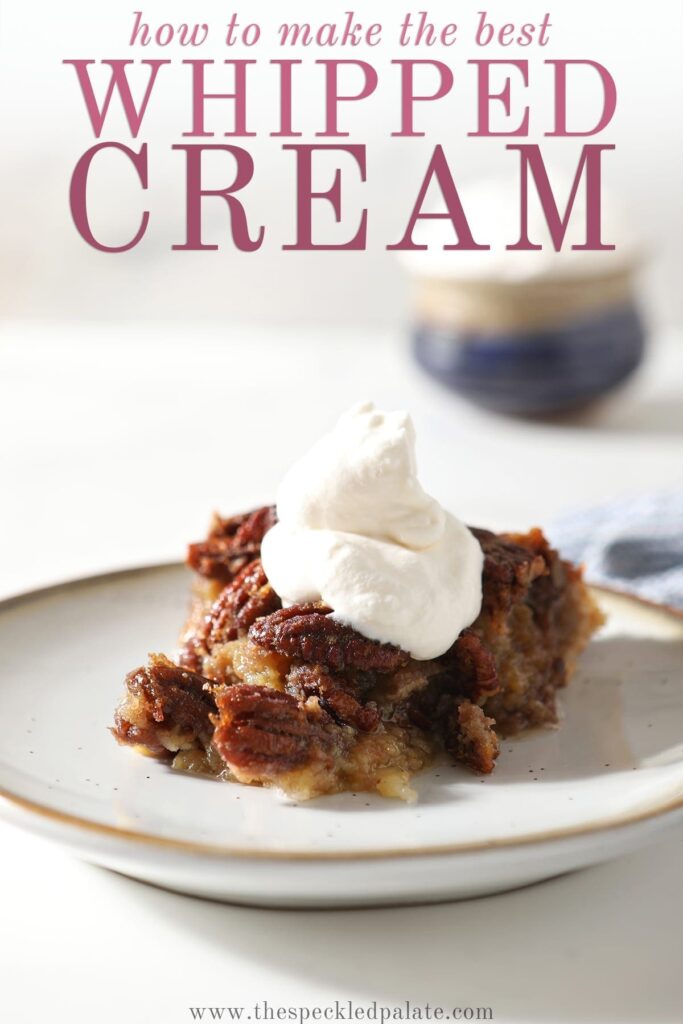
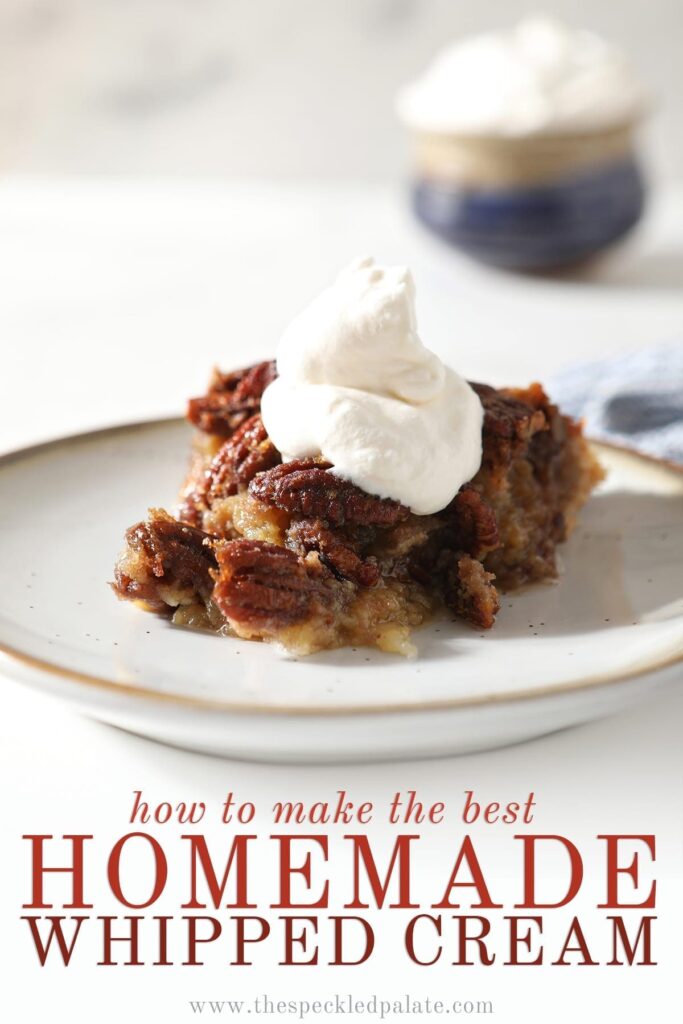
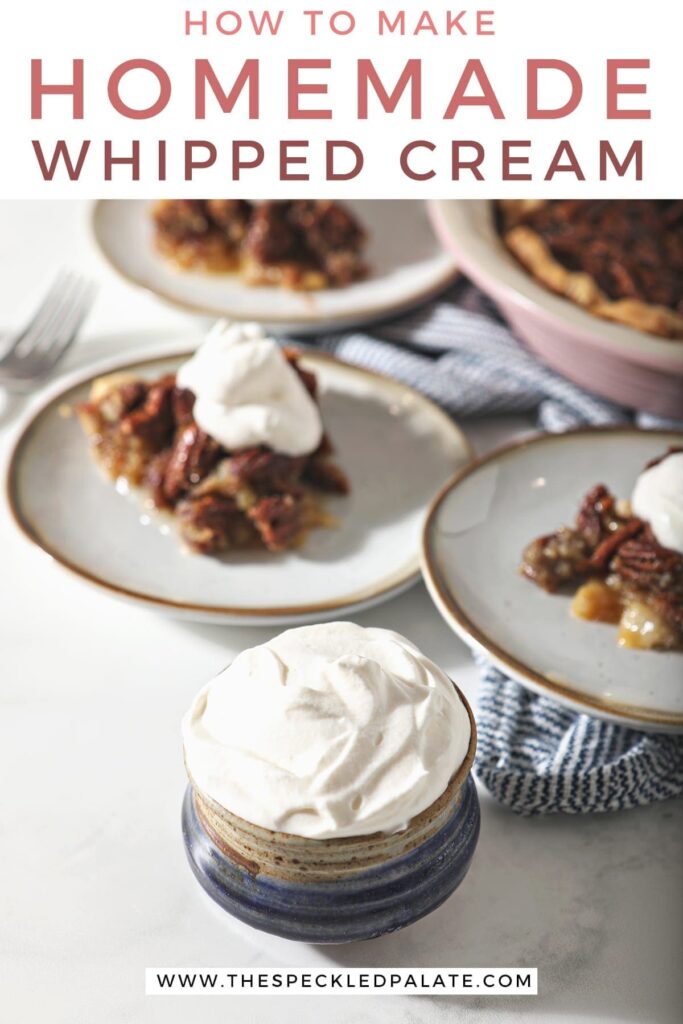

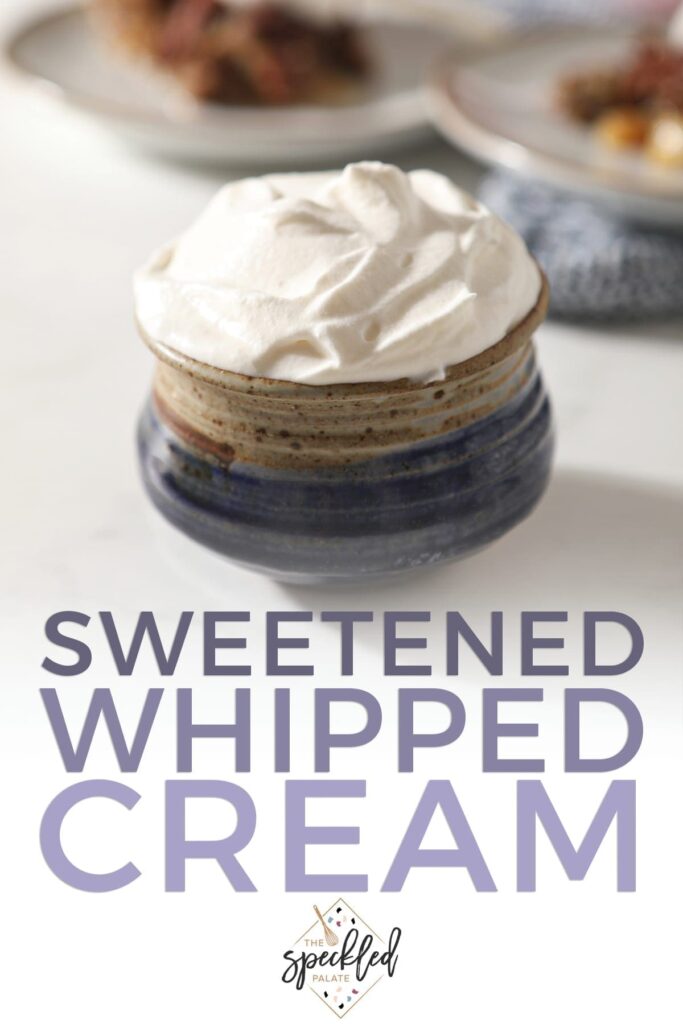
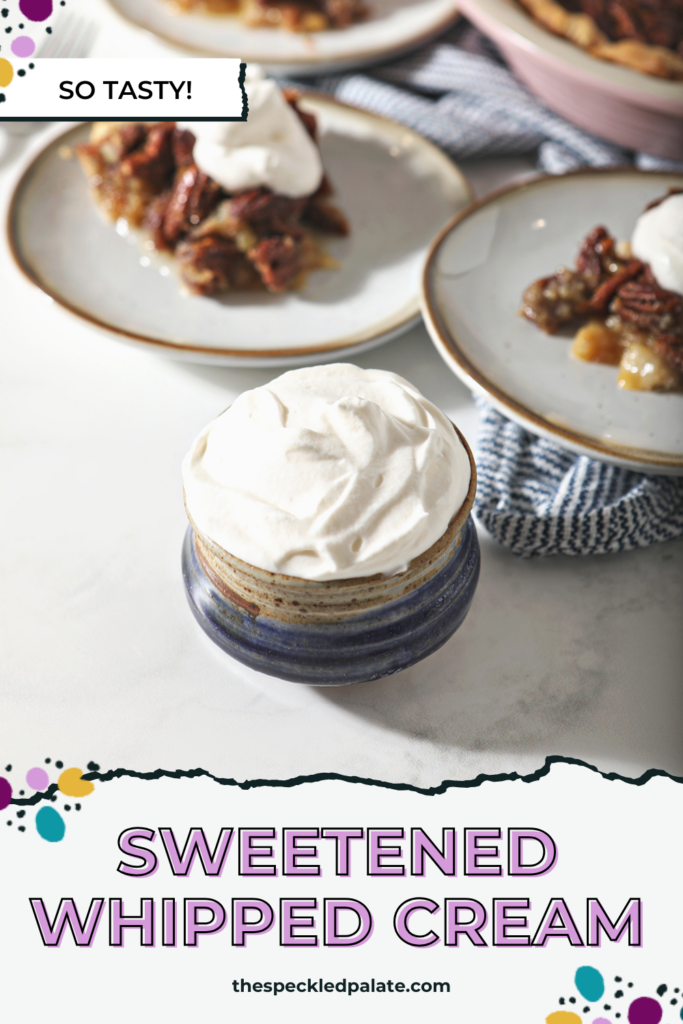
This simple 4-ingredient Homemade Whipped Cream Recipe is perfectly sweet and easy to make. All it takes is five minutes, and you have the most decadent sweetened whipped cream to add to any dessert! Makes 10-12 servings.
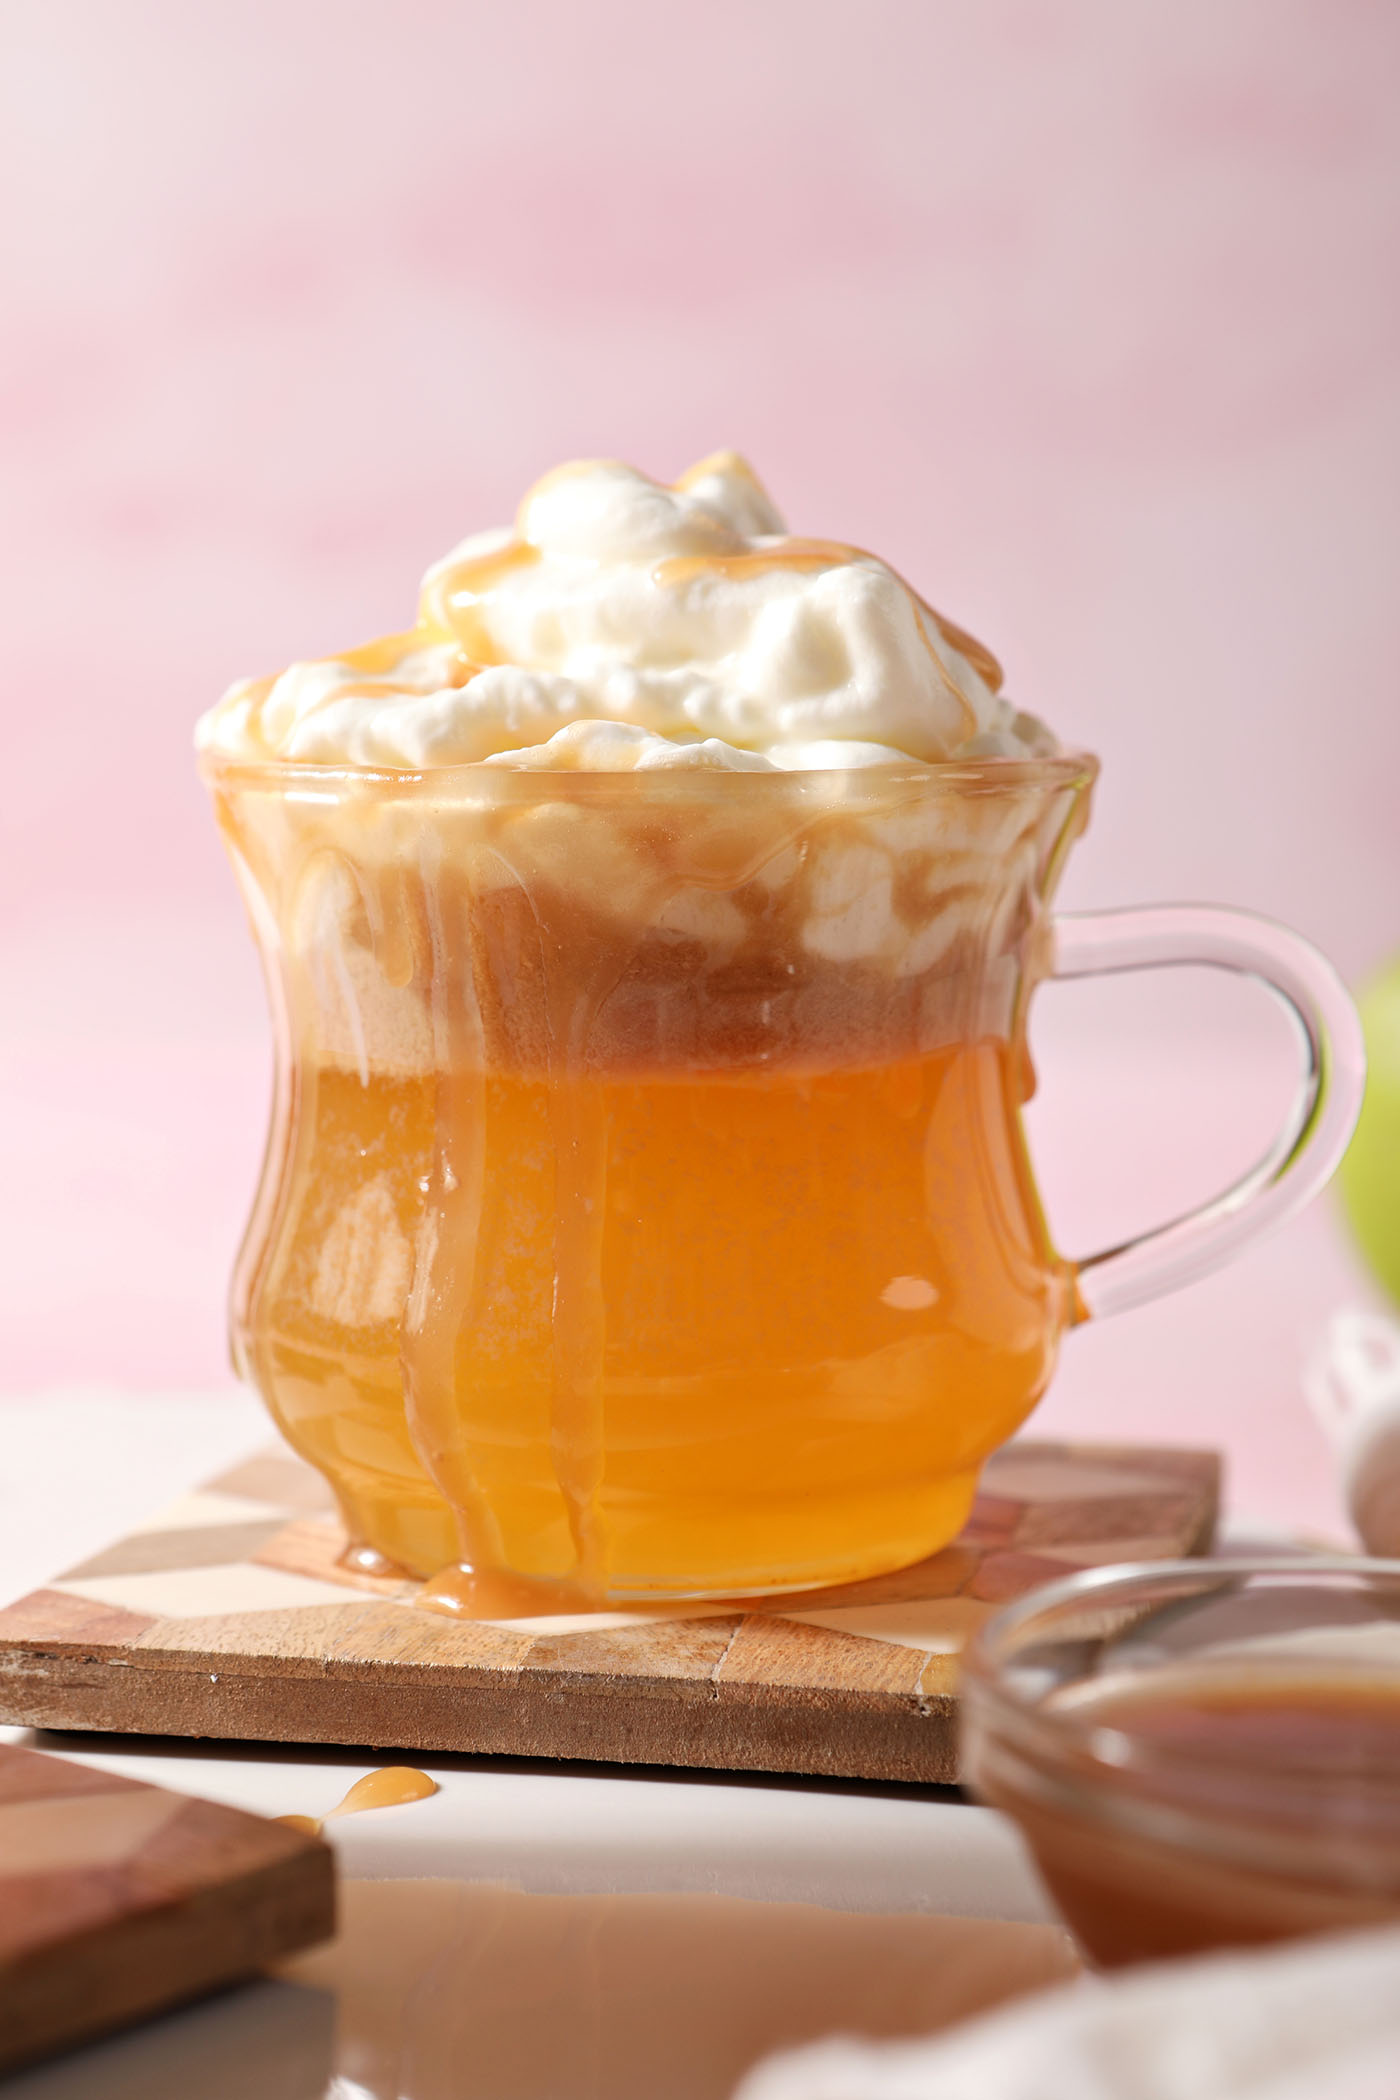
Looking for something to serve this on? Check out Upside Down Cranberry Cake, Blueberry Strawberry Pound Cake and Peppermint Milkshake.
Want to save this?
When I was a kid, I refused to eat anything that was served with whipped cream. Pies, cakes, desserts, hot chocolate all got passed by because I wasn’t so sure about it.
To this day, I can’t tell you why I disliked it, though I suspect it had something to do with the fact that what I was being served wasn’t actually homemade whipped cream.
Instead, it was probably a store-bought whipped topping, like Cool Whip, which I still don’t enjoy.
Hi, hello. Finicky food blogger friend, right here.
However, I’ve come to accept that real homemade whipped cream is something I can stand behind, which is why I want to share this recipe with you today.
Why I love this recipe:
Homemade whipped cream is incredibly simple to make, and it’s so flavorful, too! It adds such a nice sweet creaminess on top of so many desserts, and it’s something we all need to have in our recipe box.
This recipe, in particular, calls for four ingredients. You might already have them on hand. And if you don’t, they’re easy to find at the store.
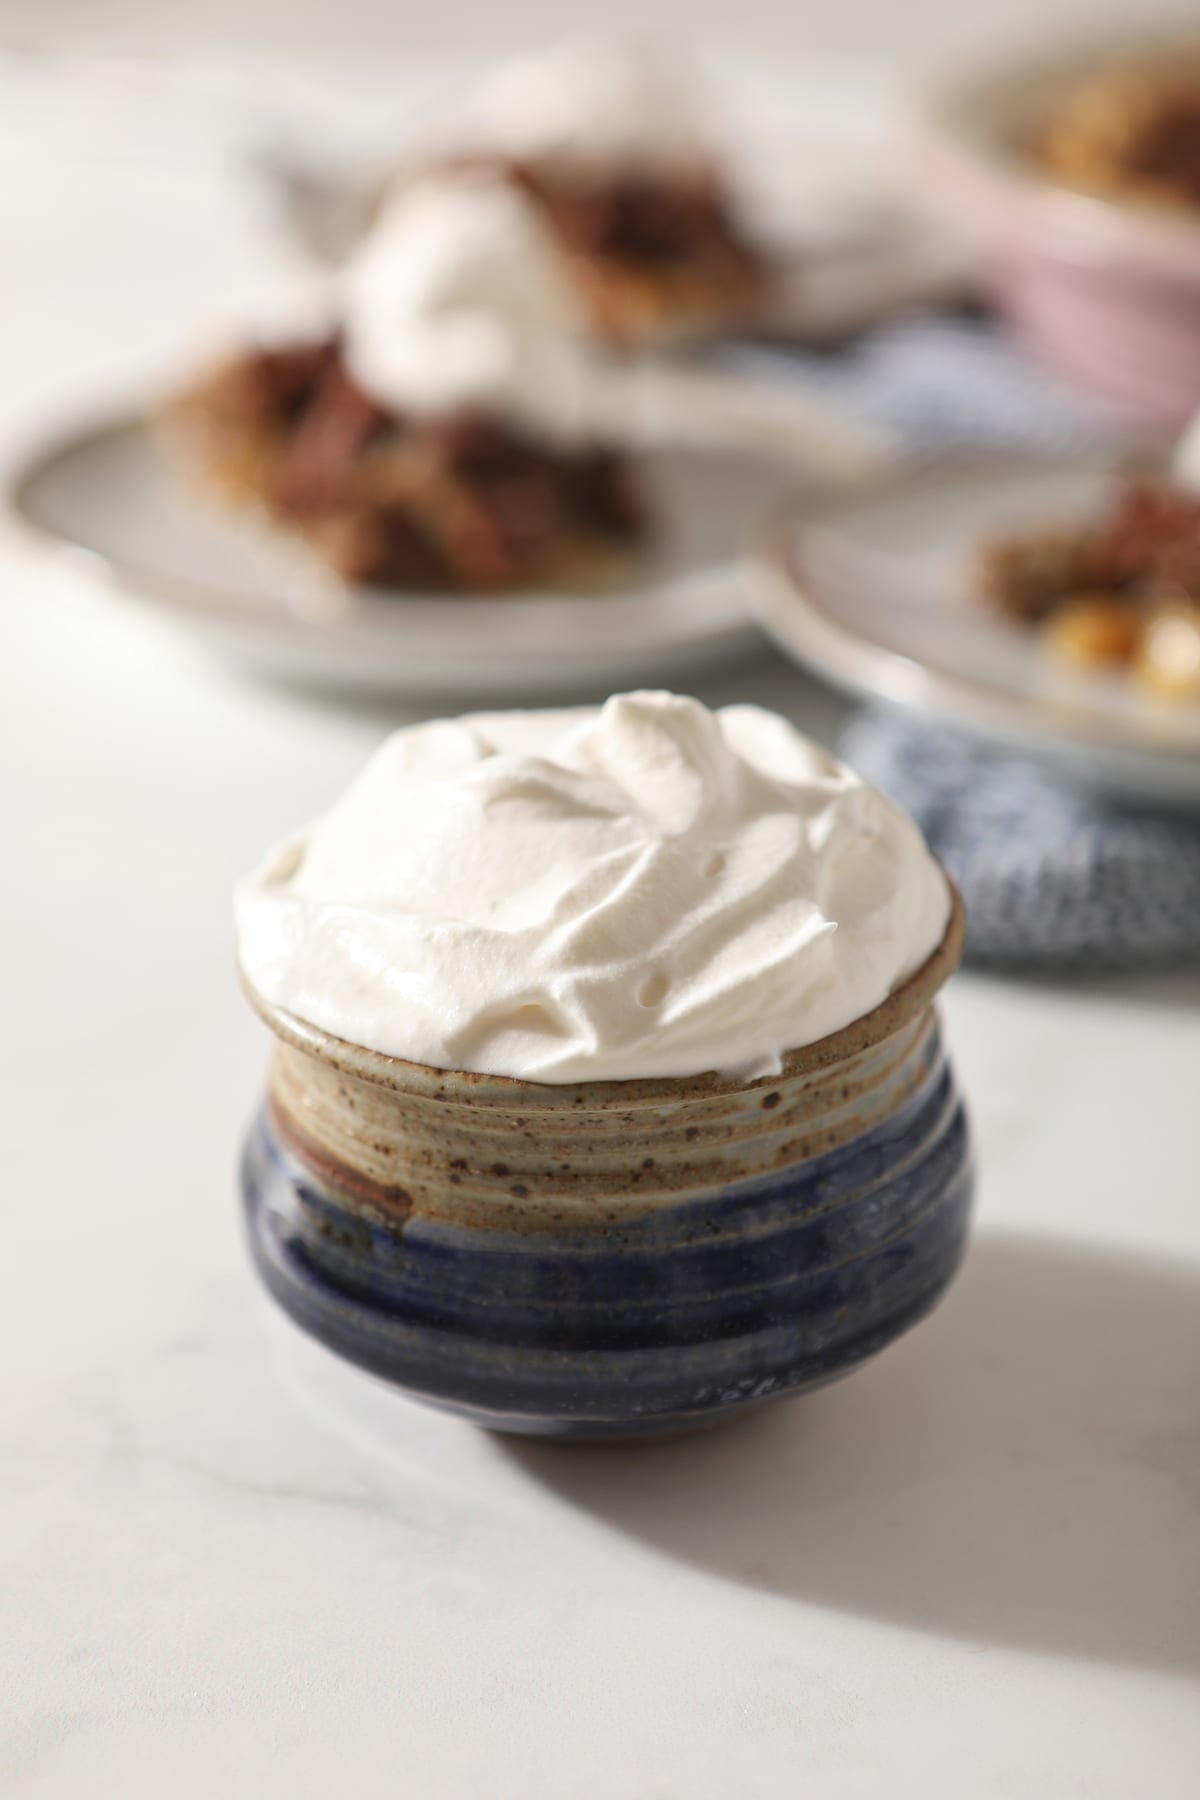
I want to note that this is NOT stabilized whipped cream, so it will not hold its shape like a recipe for that.
However, it’s utterly delicious, and in my opinion, it doesn’t need to be stabilized because we’re adding this as a garnish for our favorite desserts year-round.
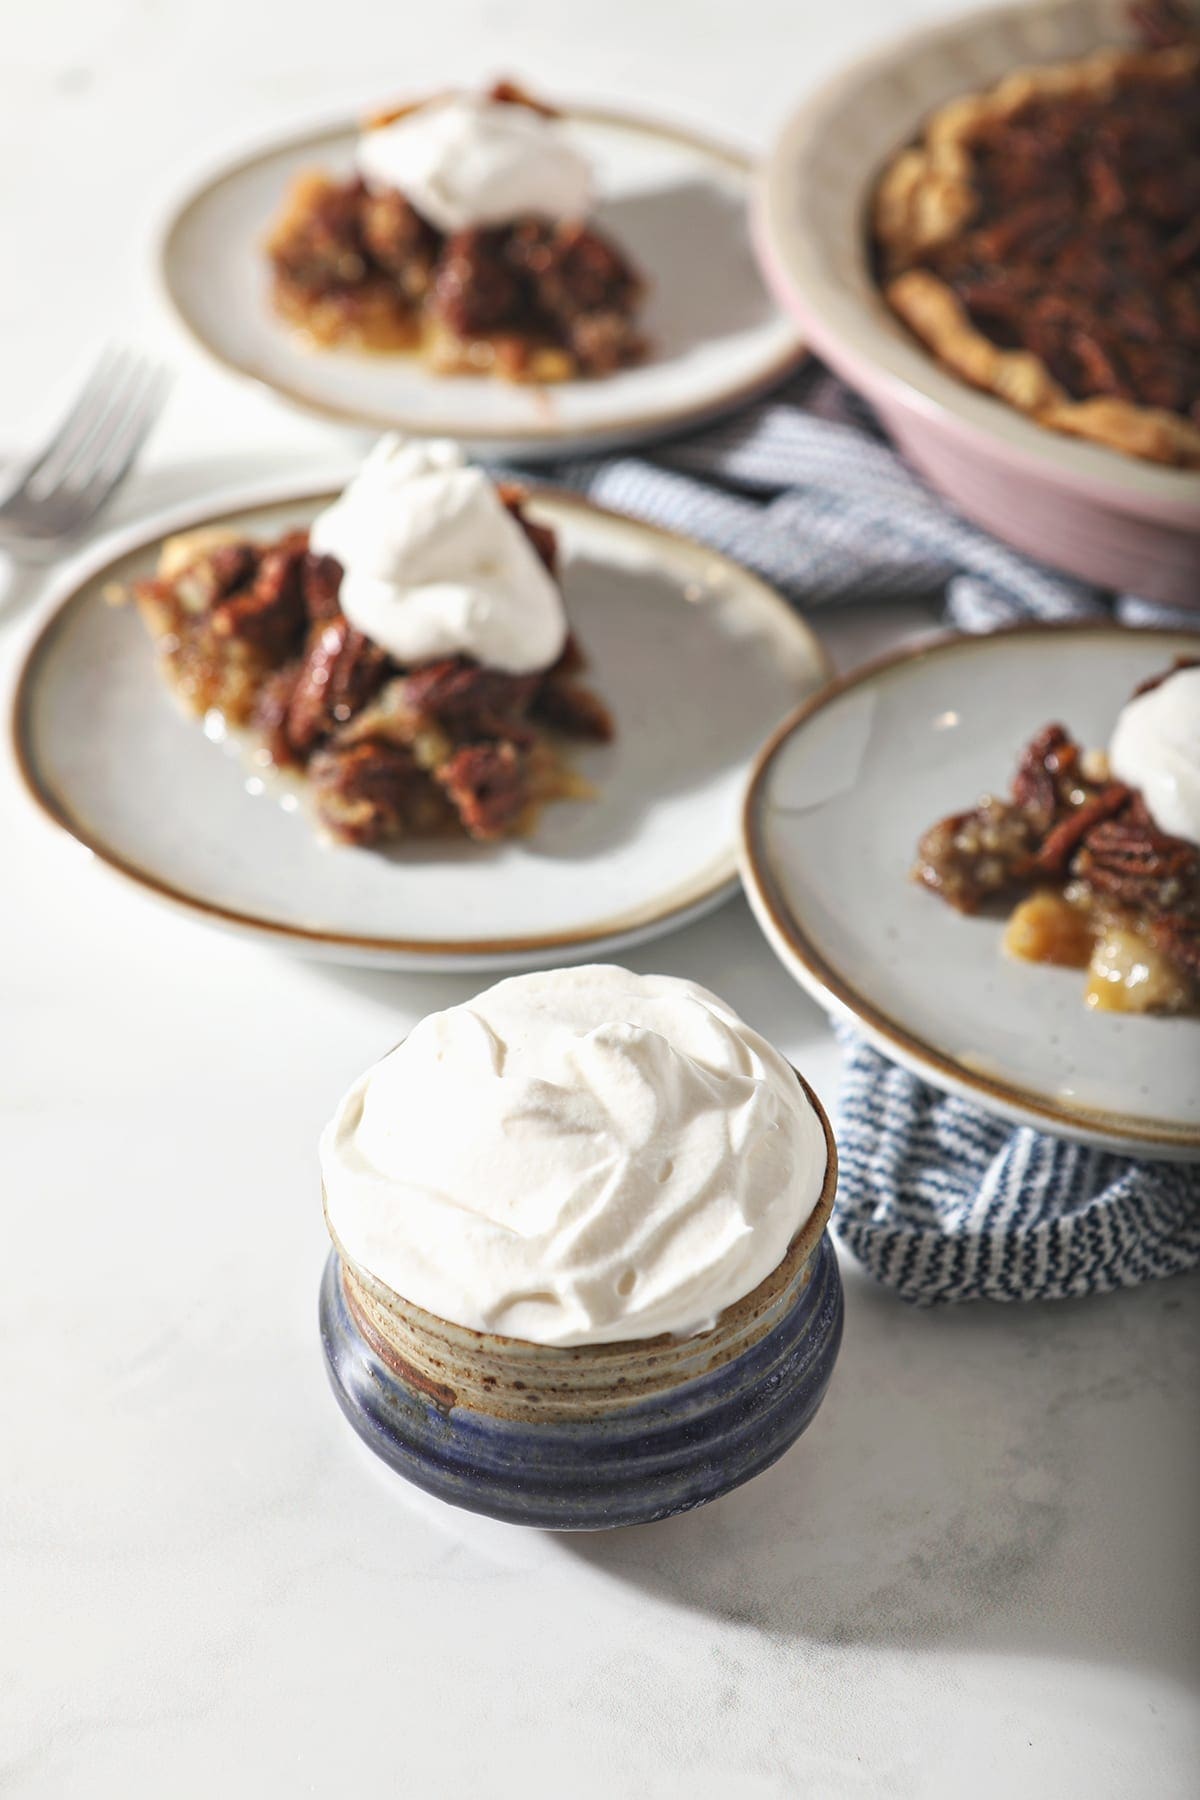
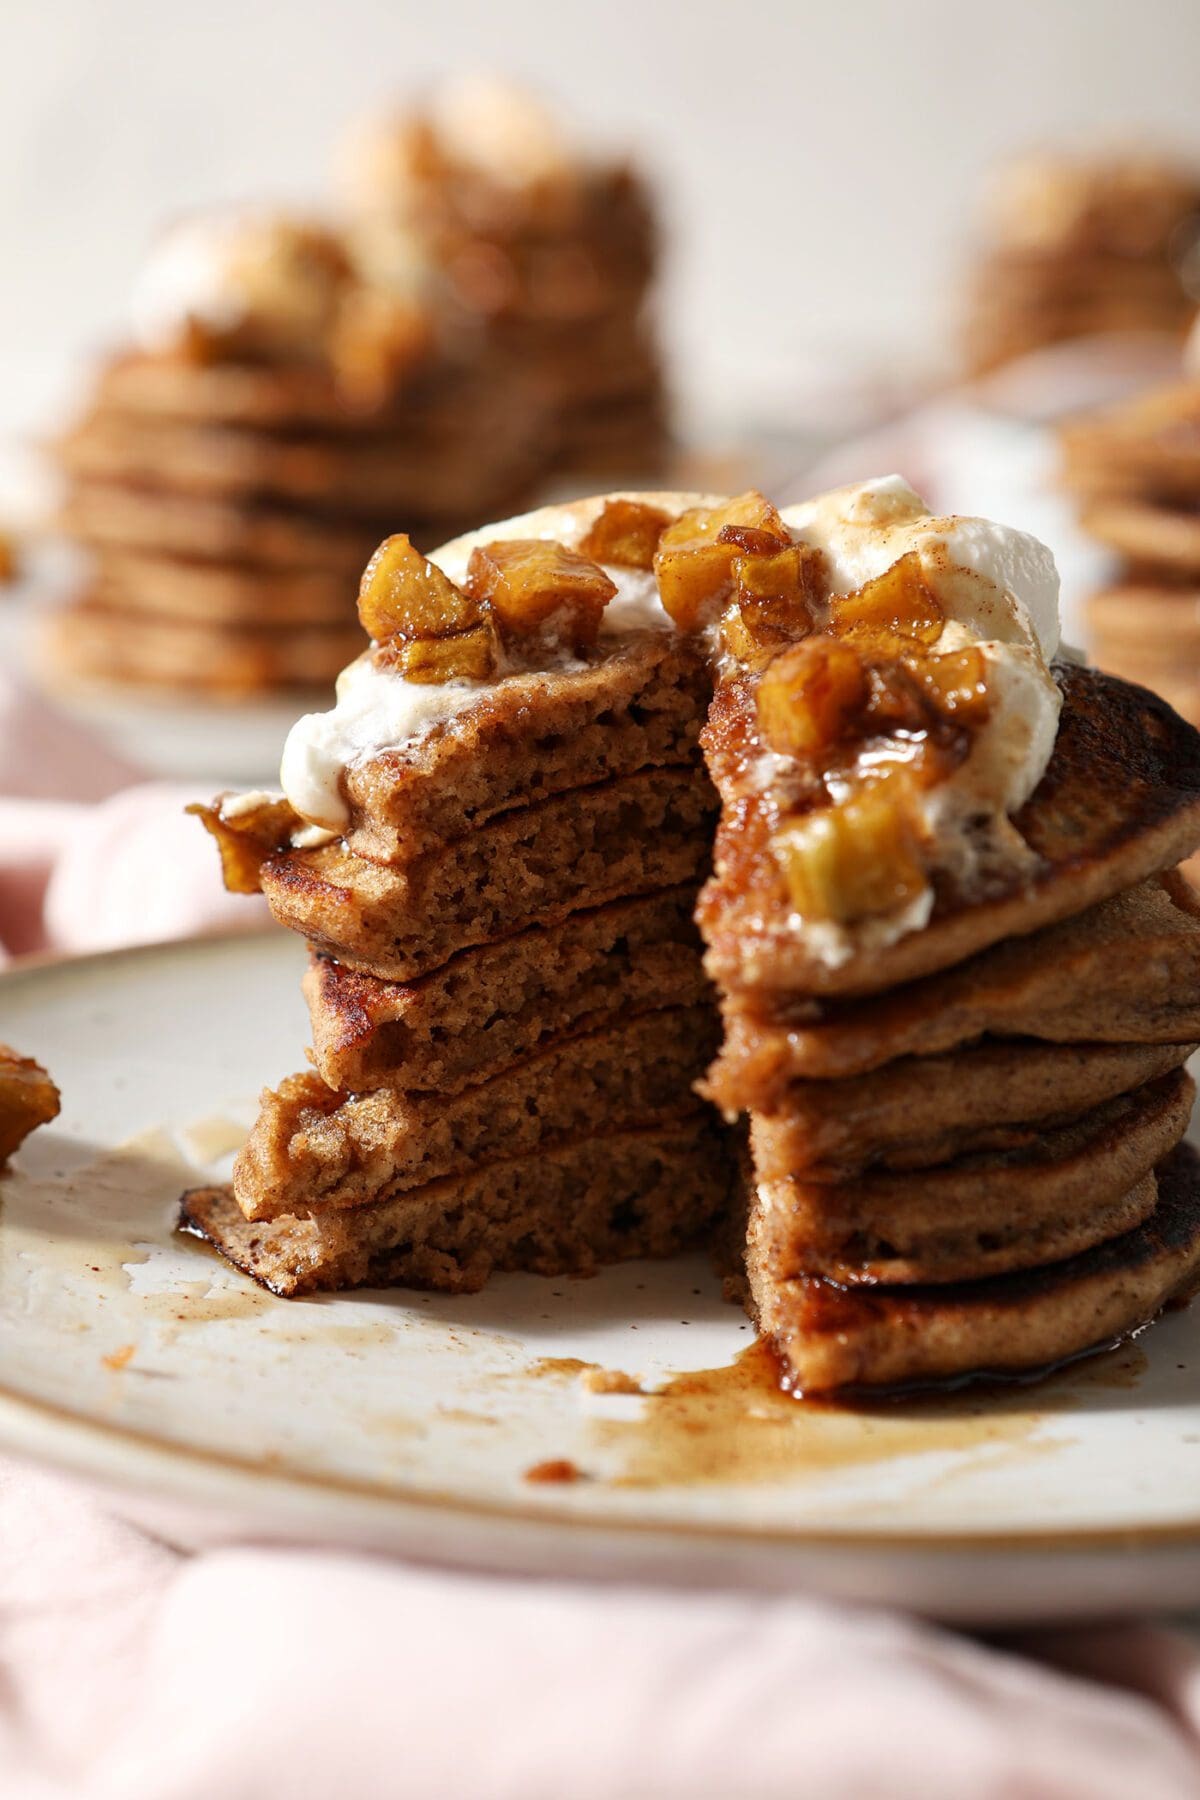
More desserts to serve this whipped cream on: Bourbon Pecan Pie | Creamy Cranberry Tart | Strawberry and Blueberry Hand Pies | Bourbon Pecan Pie Bars | Chocolate Pudding Pie with Graham Cracker Crust
Looking for dessert inspiration? My Dessert Recipe Index has tons of ideas for you!
What you need to make this Homemade Whipped Cream recipe
The Speckled Palate participates in affiliate programs. As an Amazon Associate, I earn a commission from qualifying purchases. Please refer to my disclosure page for more information about these affiliate programs.
- A large mixing bowl
- Hand mixer (or stand mixer fitted with the whisk attachment)
Let’s talk ingredients!
In addition to the tools above, you’re going to need some ingredients to make this recipe, too! Chances are, you might already have some of them in your fridge or pantry. Scroll down to the recipe card for the full measurements and instructions.
Here’s what you need:
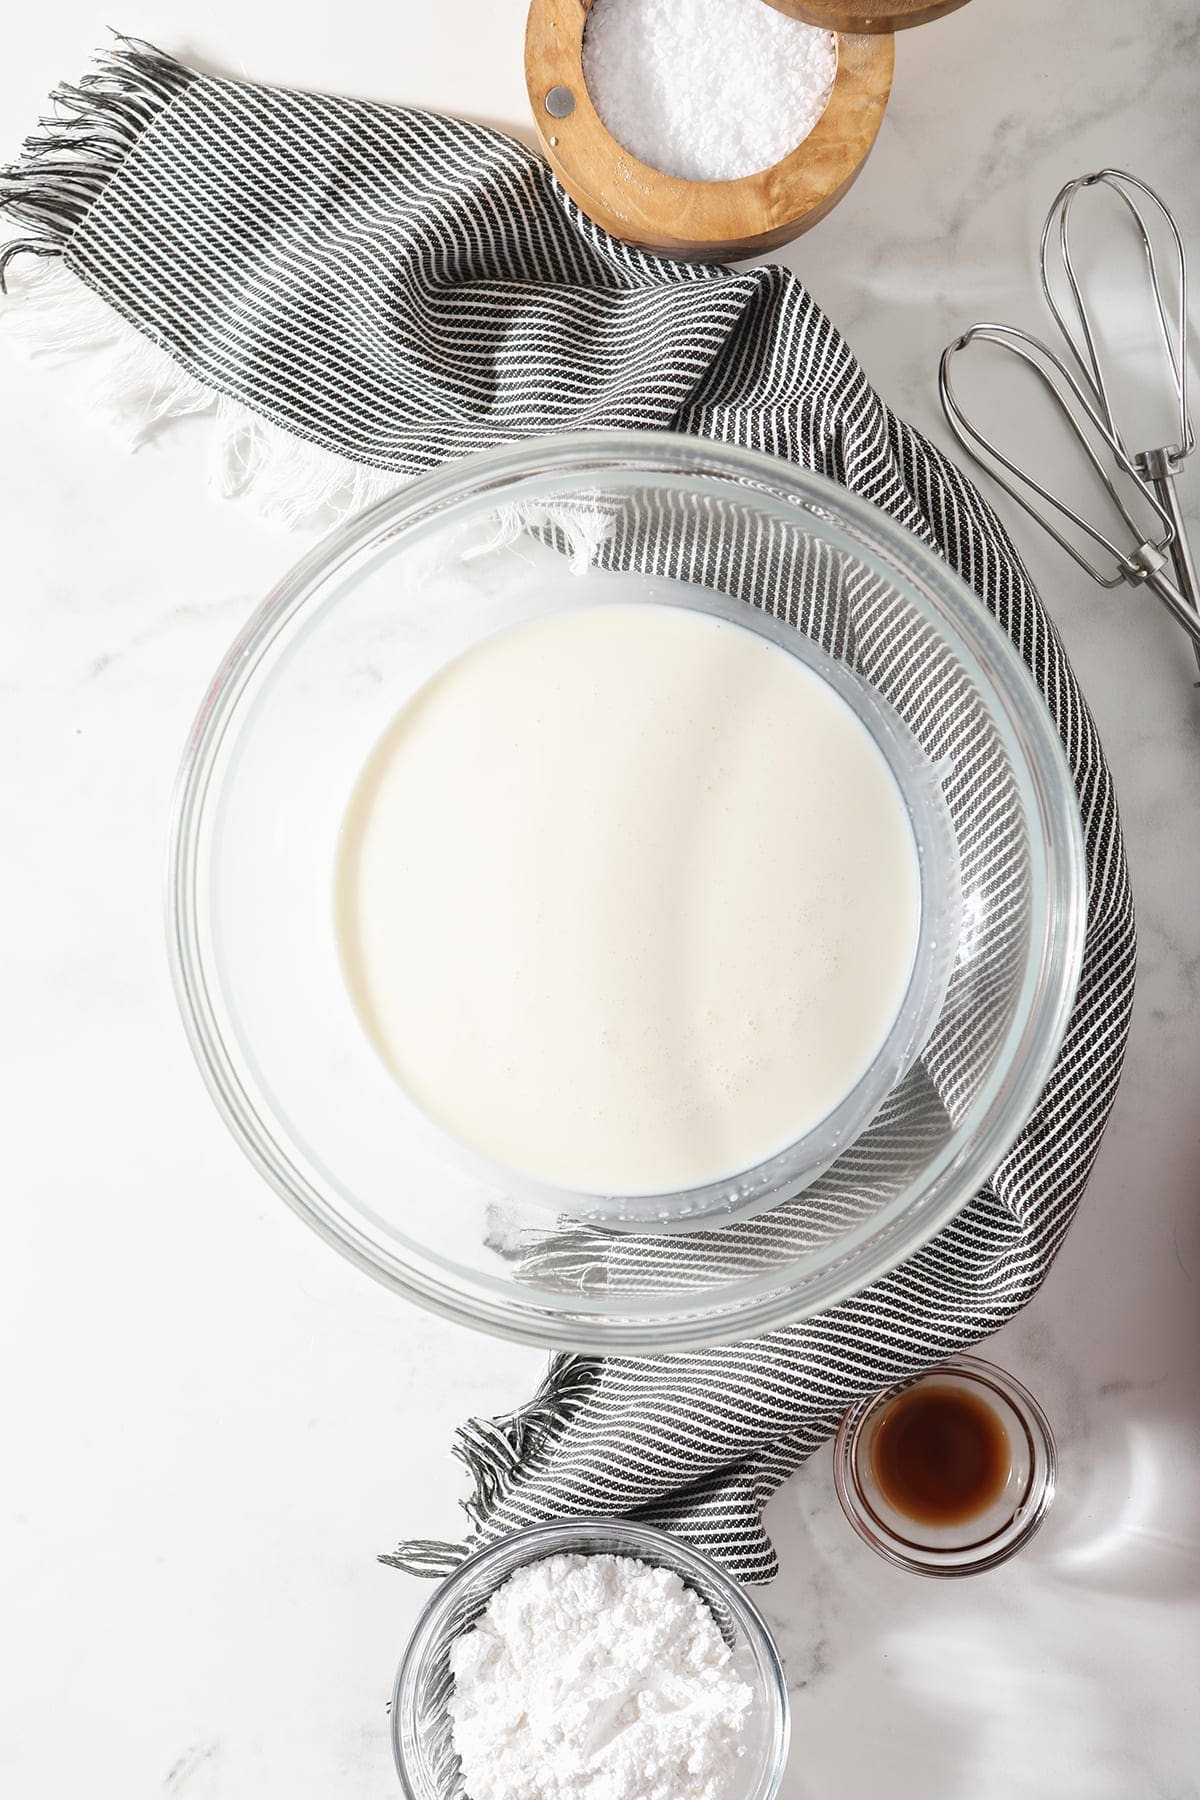
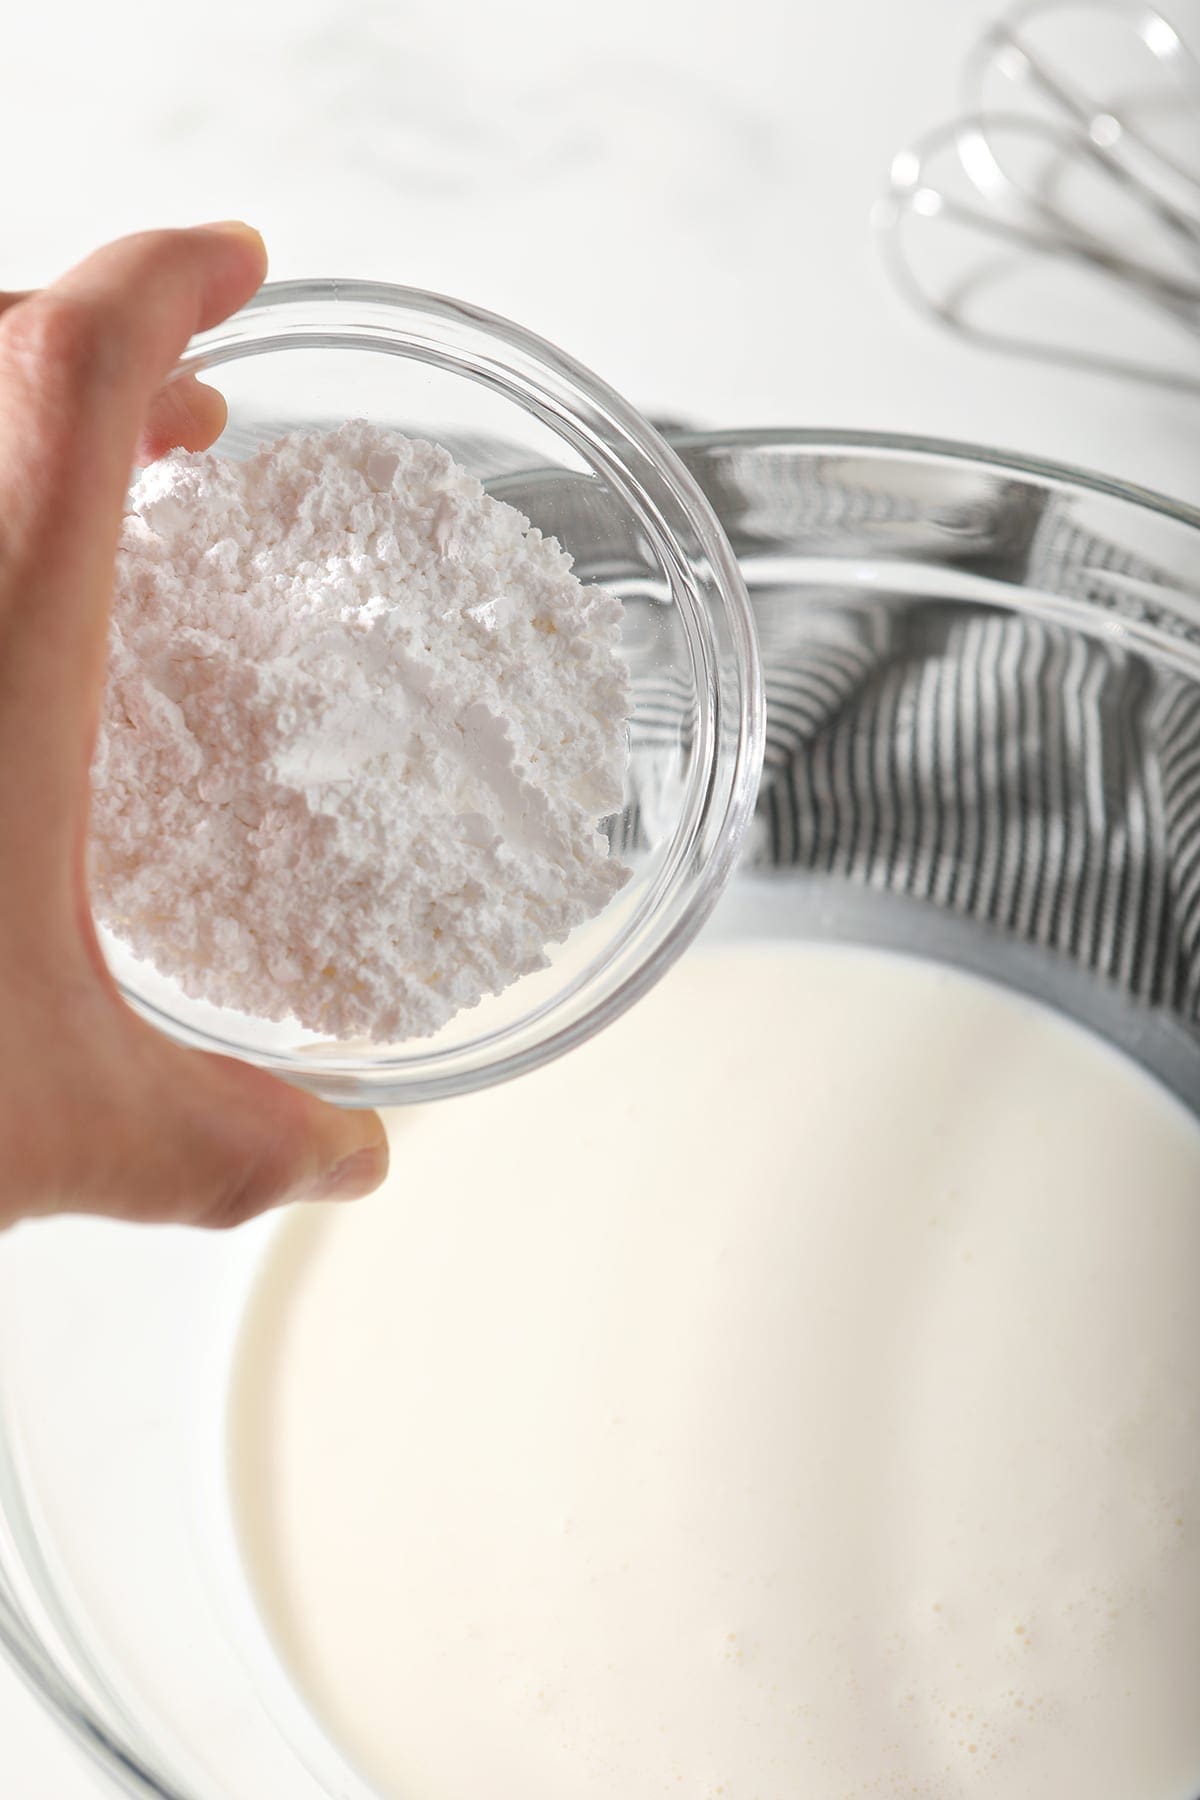
- Heavy cream or heavy whipping cream — just be sure that it is extremely cold.
- Powdered sugar — sometimes known as confectioner’s sugar. I like using this in place of granulated sugar because it’s super light and blends in easily.
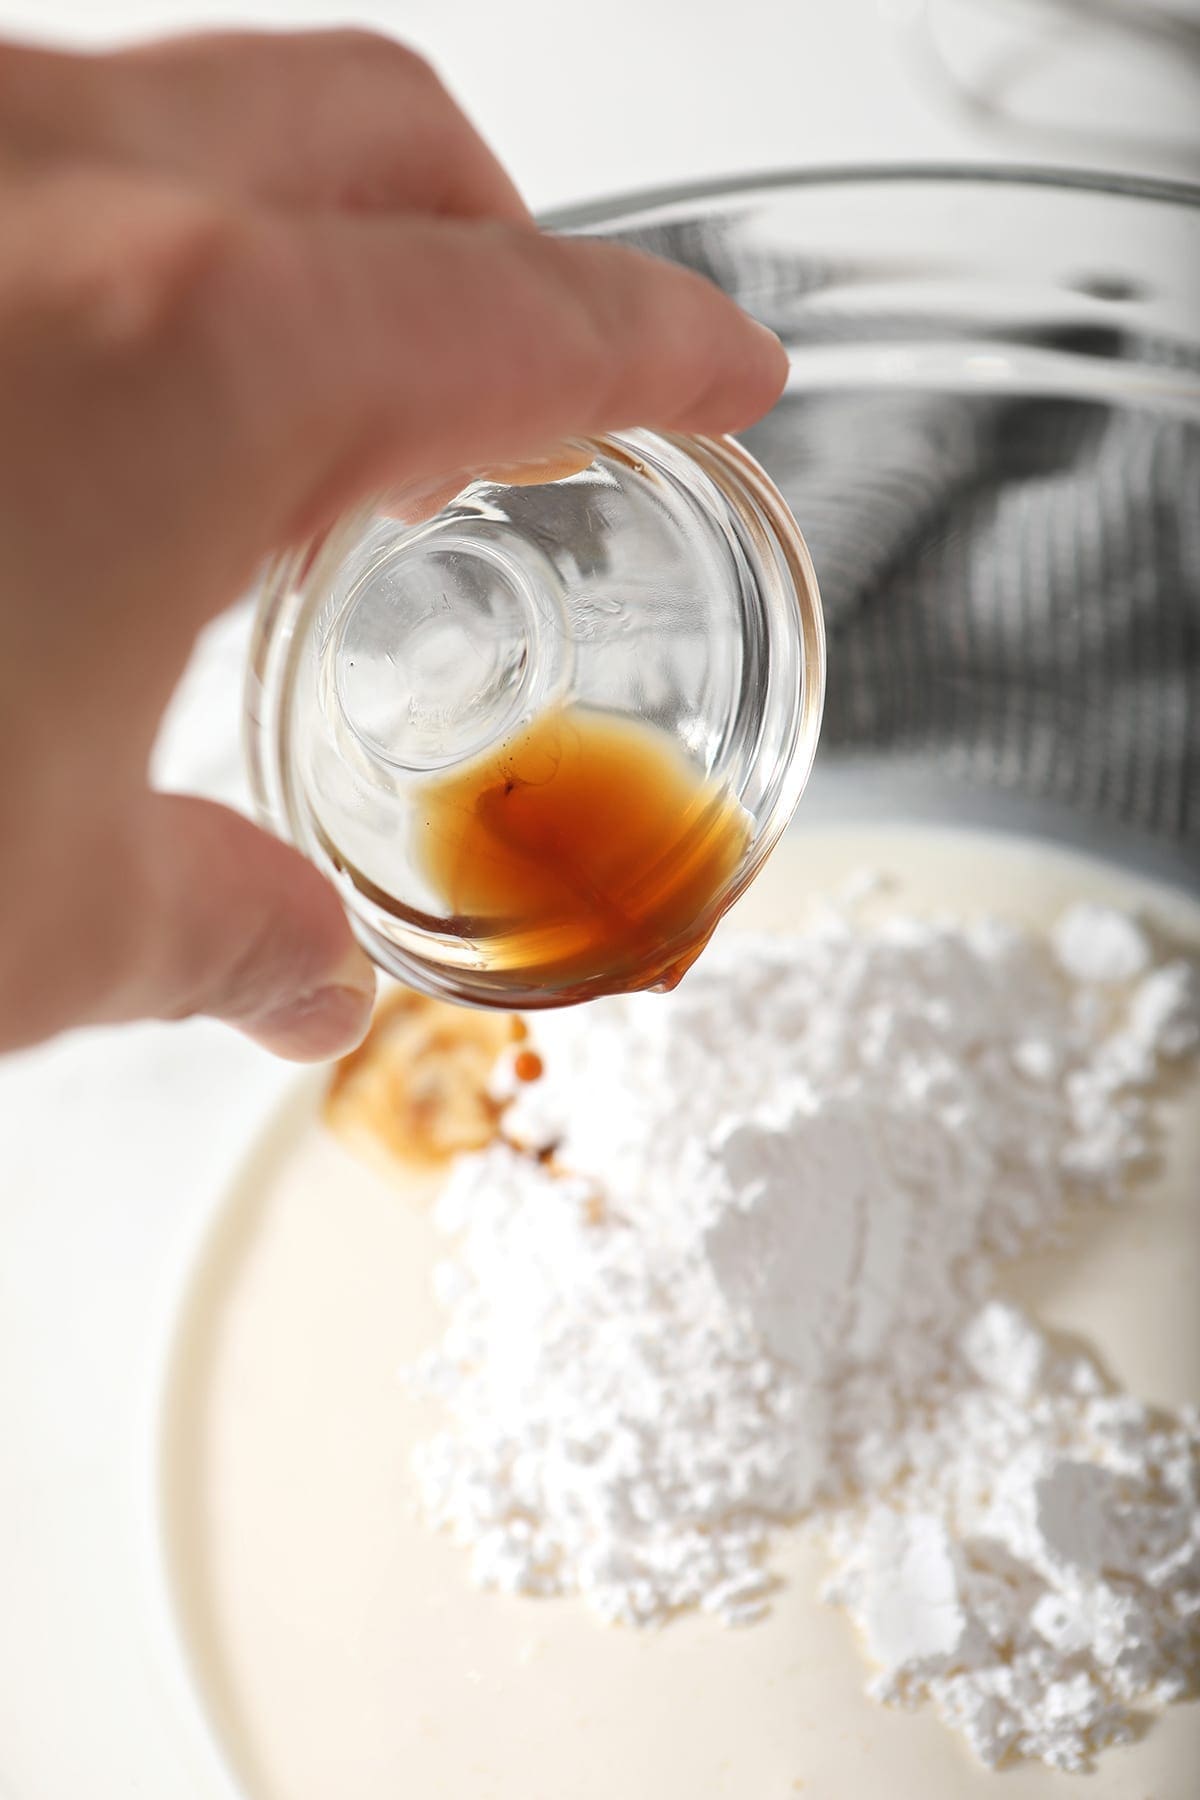
- Vanilla extract — for just a pop of vanilla essence! Trust me when I say it makes a difference, flavor-wise.
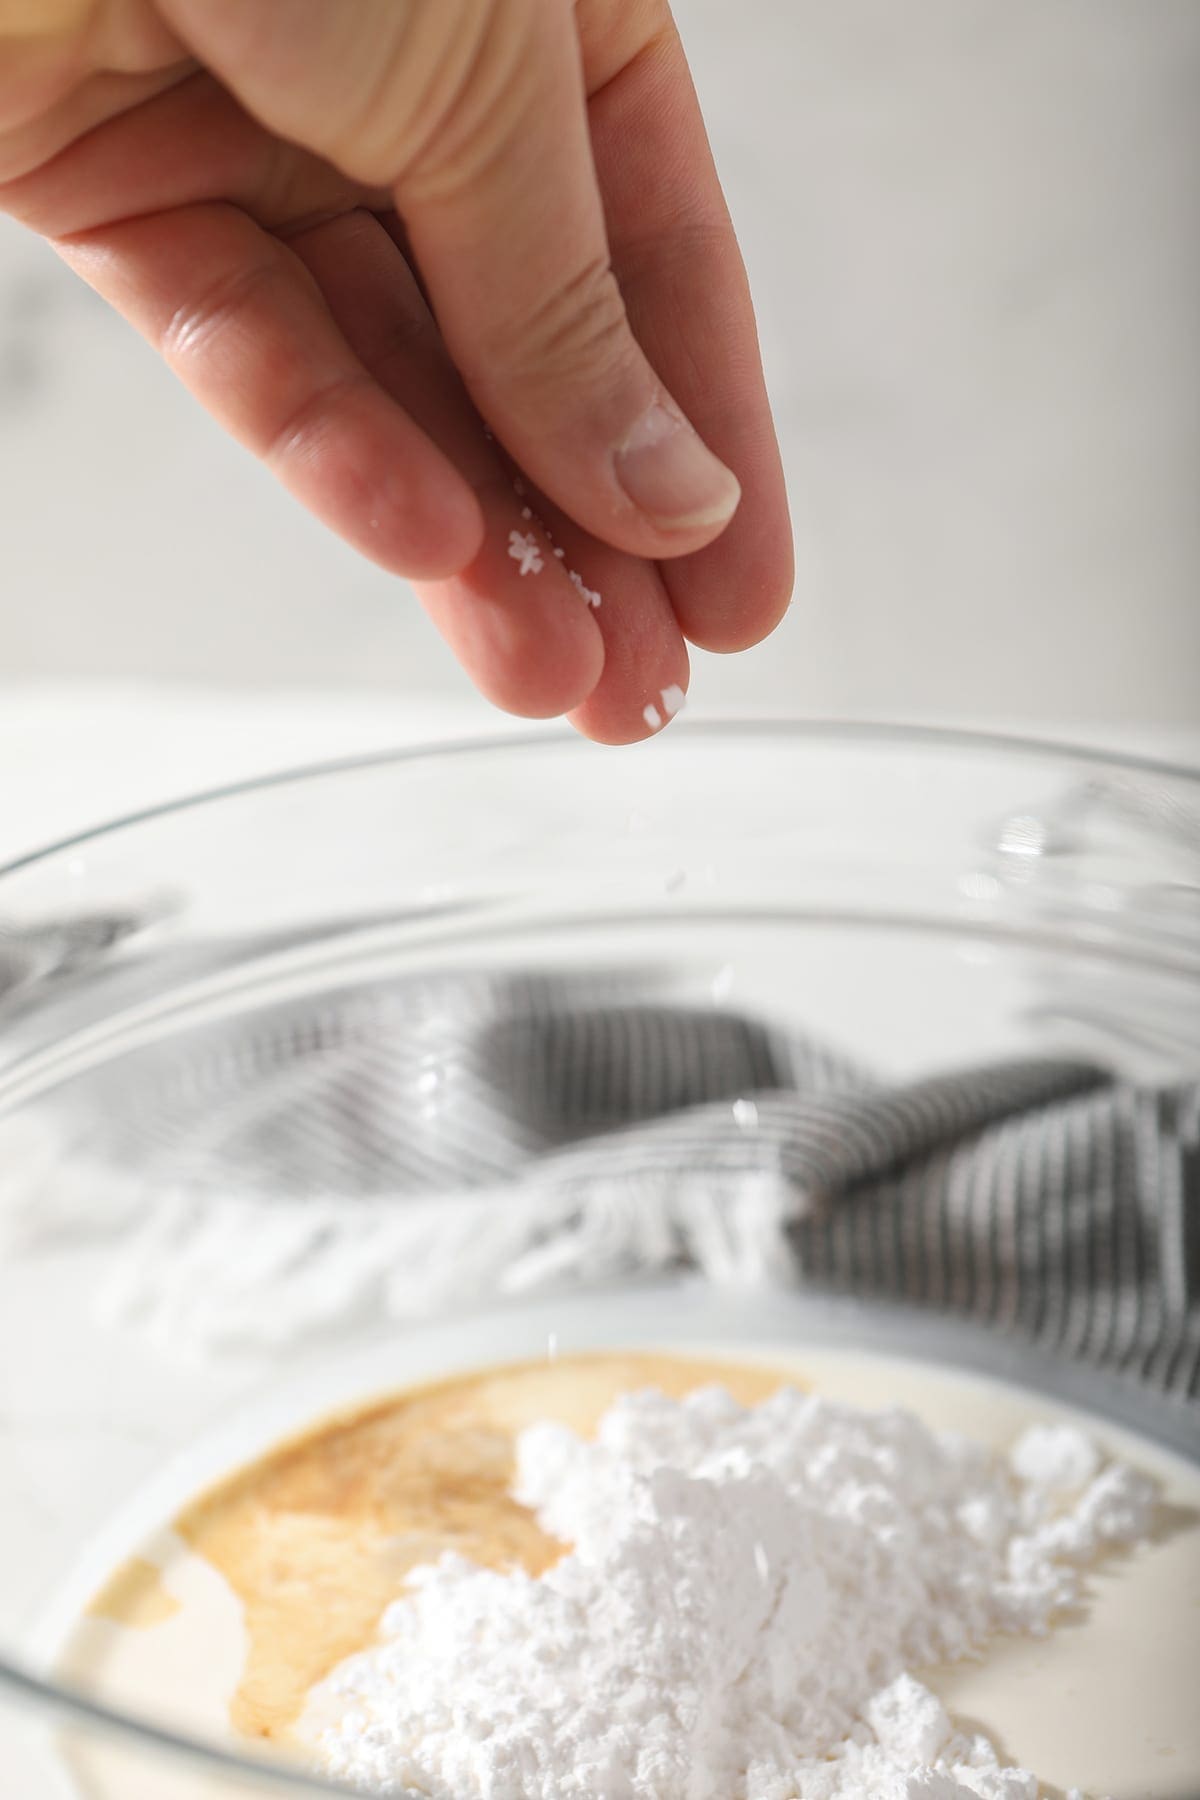
- Kosher salt — we will use just a pinch to balance out the sweetness!
How do you make whipped cream from scratch?
BEFORE YOU BEGIN!
Place a large bowl into your freezer for 10-15 minutes. While you can do this with a room temperature bowl, homemade whipped cream is easier to make with cold ingredients and tools.
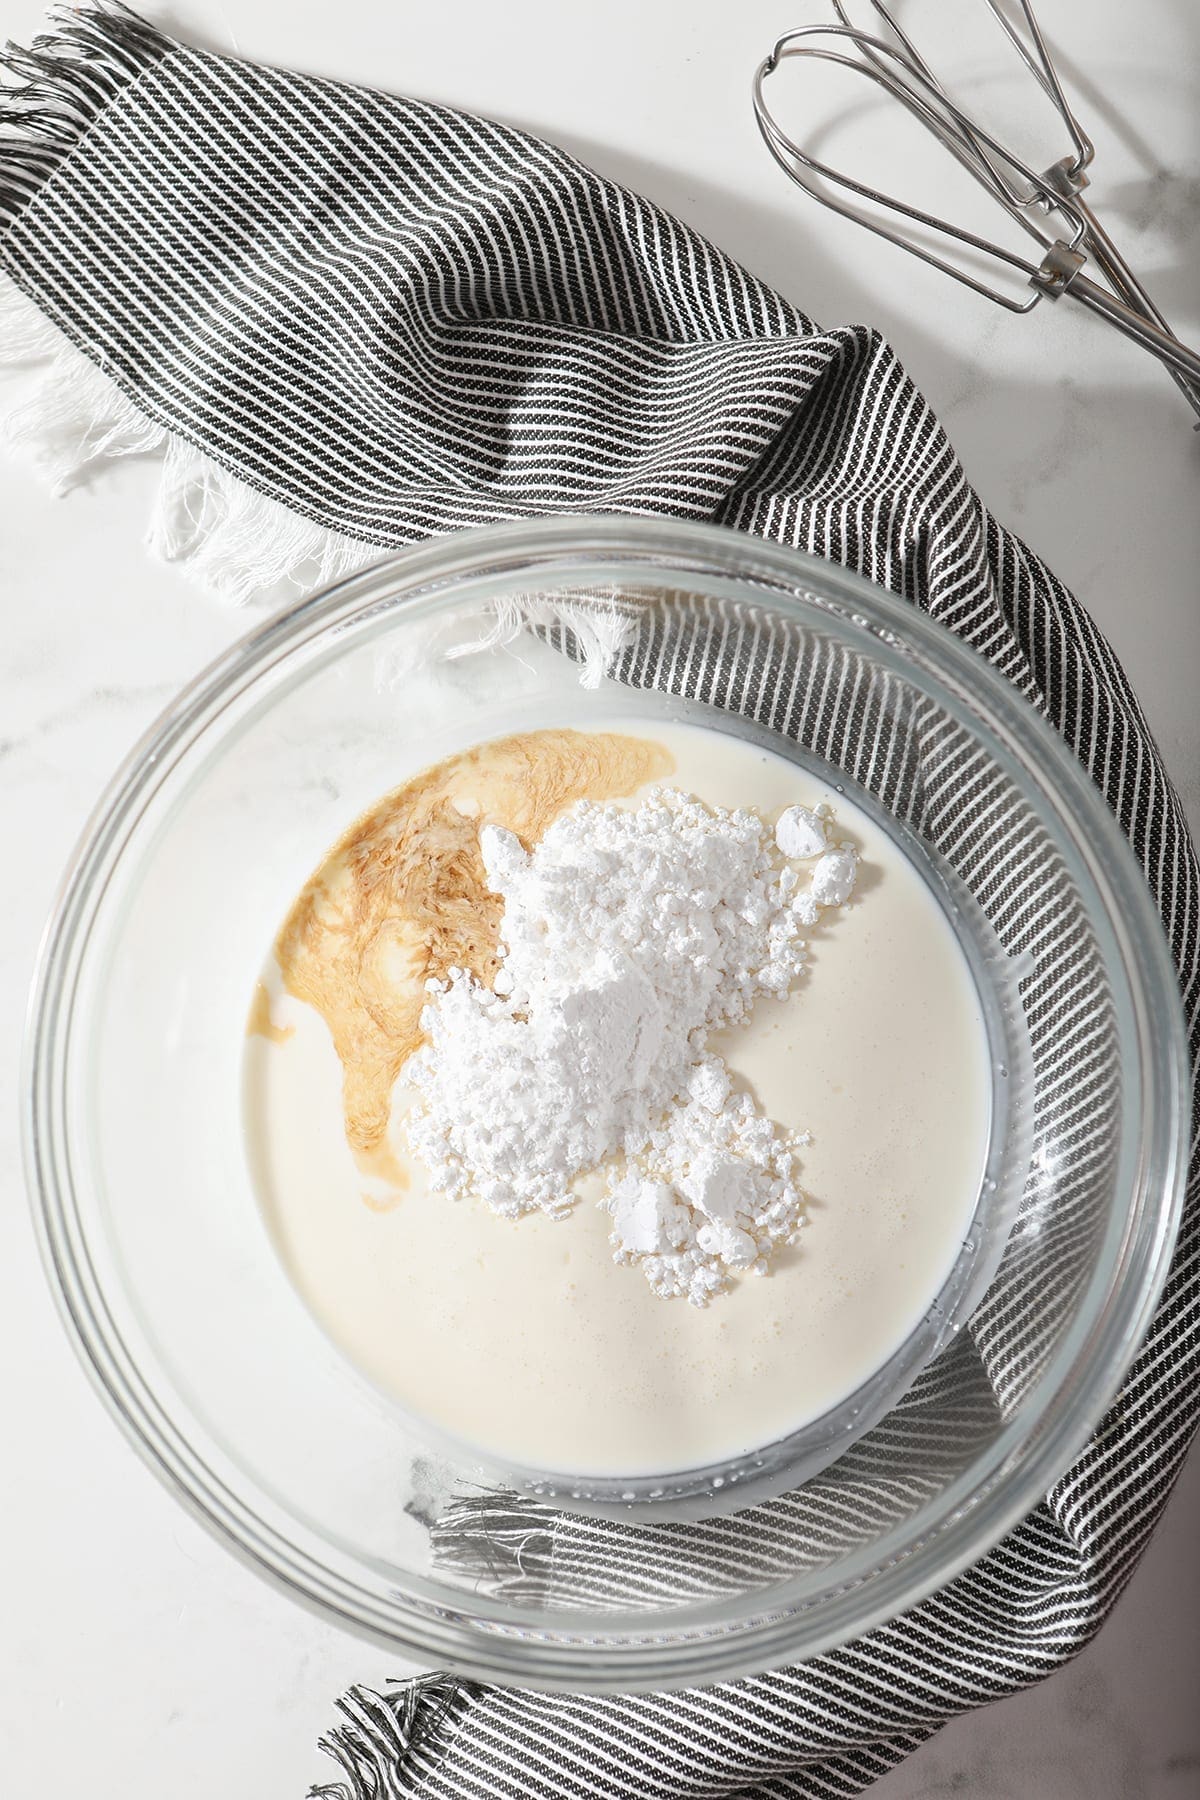
Pour the cold whipping cream into the chilled bowl. Sprinkle in the powdered sugar. Drizzle in the vanilla extract and add a pinch of salt, too.
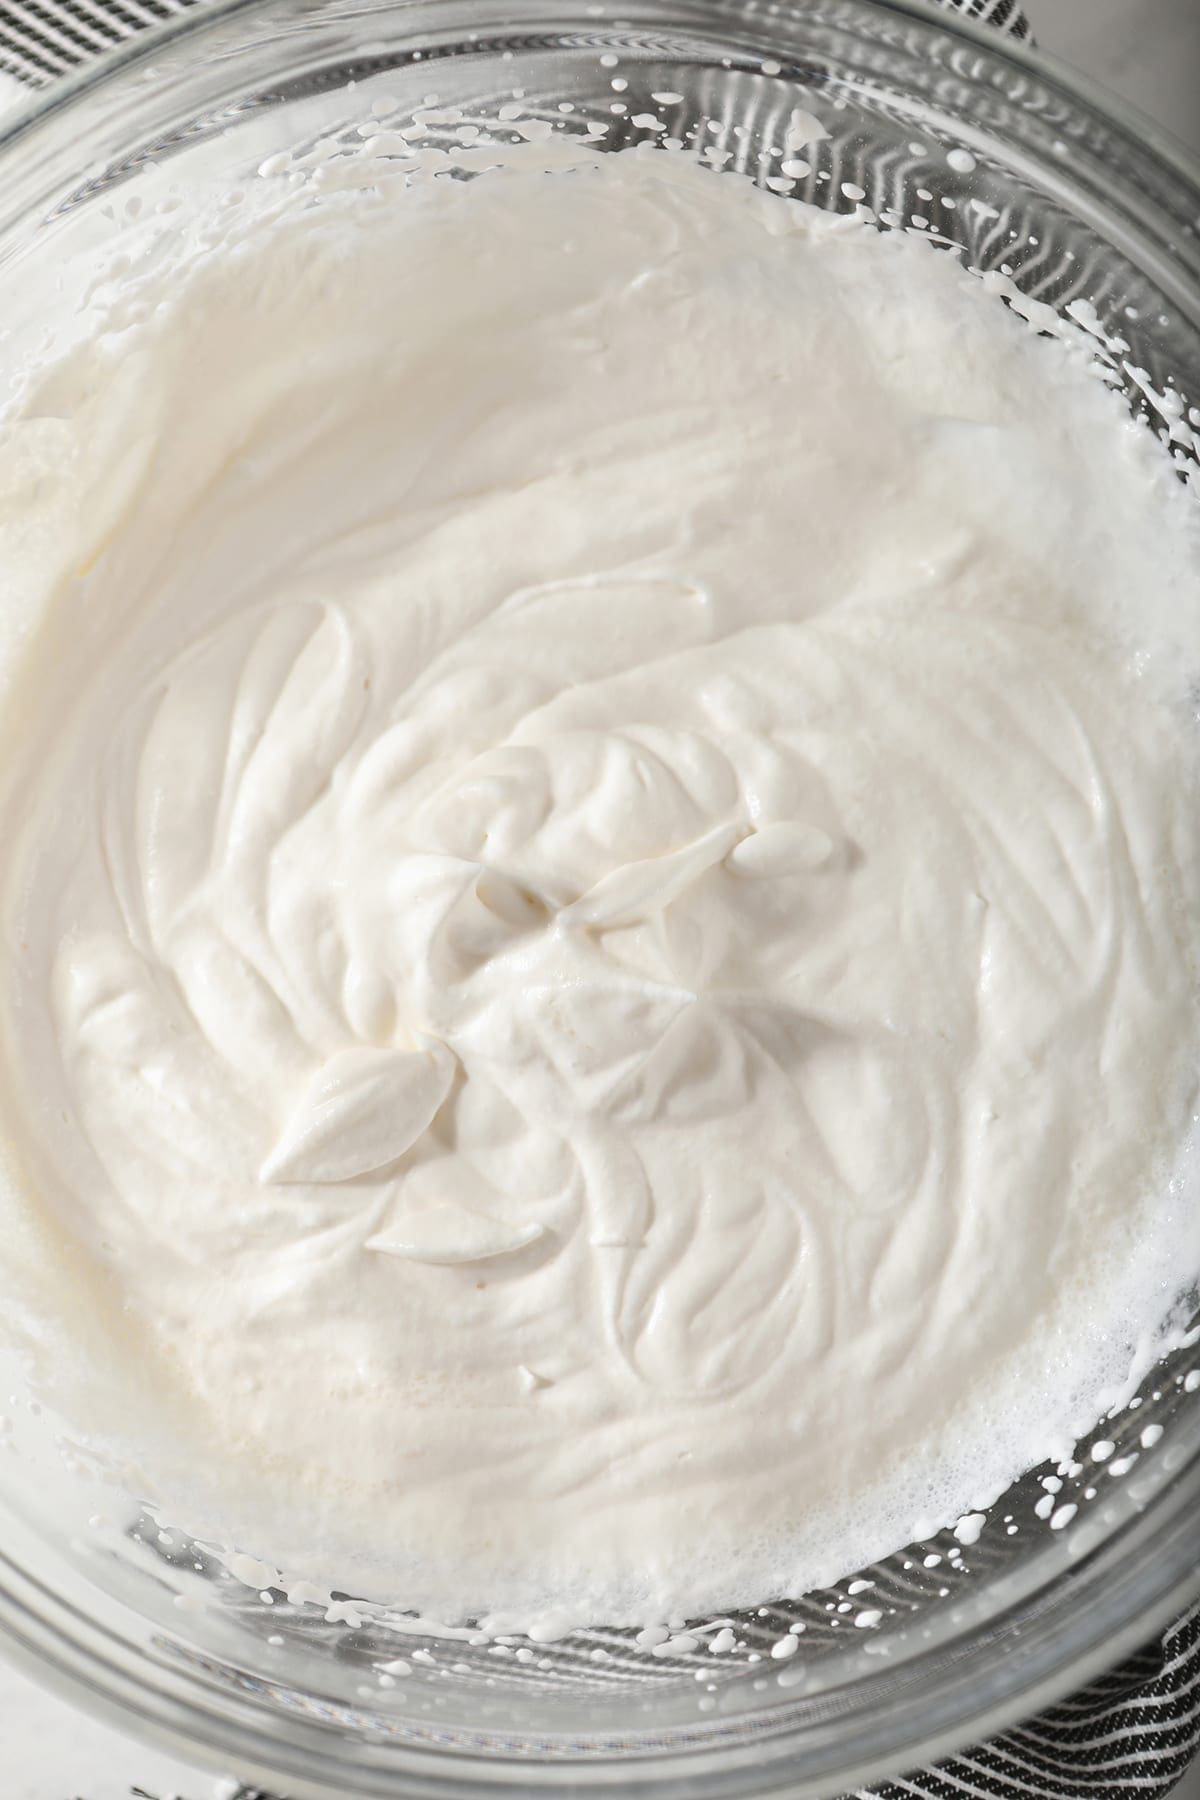
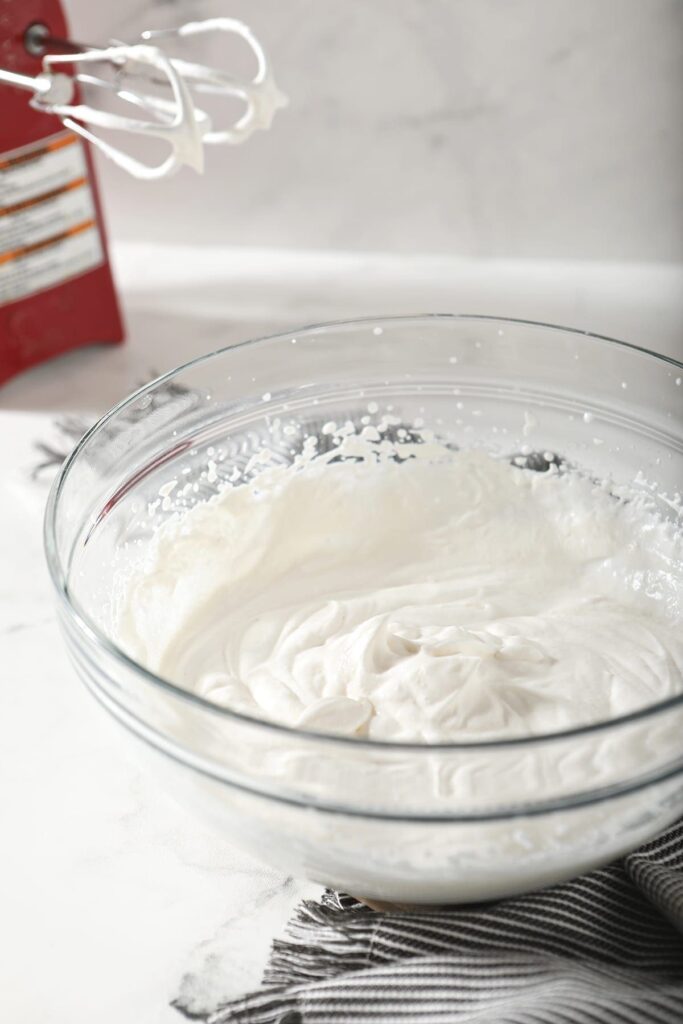
Whip the ingredients together until they’re fluffy and light with a hand mixer or a stand mixer. I like to start my mixer off on the lowest setting and as the cream begins to thicken, I turn it up to high speed.
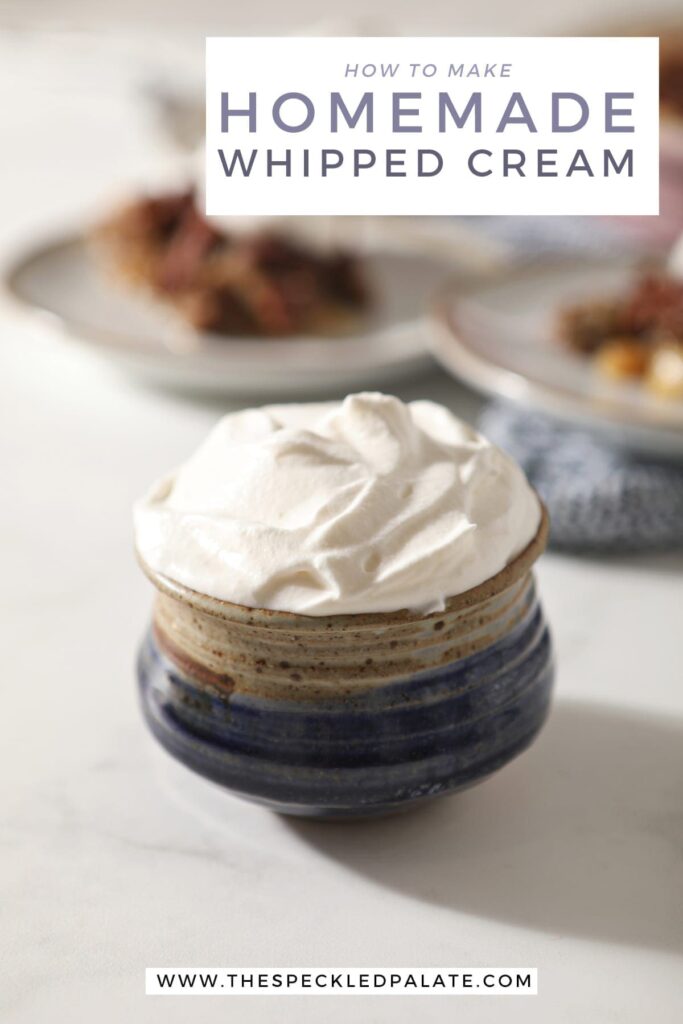
This process can take anywhere from 2 to 4 minutes until stiff peaks form.
What are stiff peaks?
When you turn off the mixer and lift the beaters out, the cream should stand on its own without slumping over. (Pro tip: If you life the beaters up and the cream slumps a little bit, these are known as soft peaks. Keep going because you’re close.)
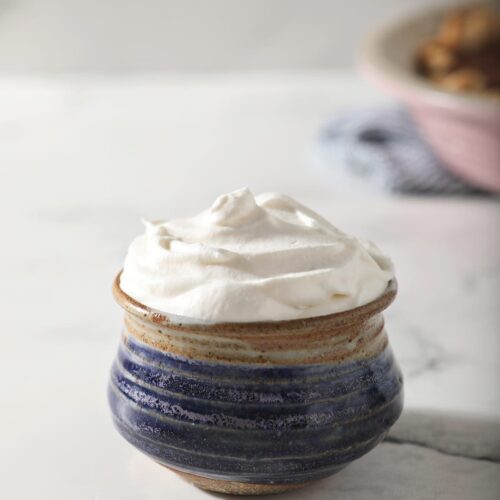
Keep the whipped cream cold and enjoy with your favorite baked goods!
Frequently Asked Questions
While I’m sure that you could probably whip regular milk for long enough to make some sort of whipped topping, I recommend using heavy whipping cream or heavy cream to make whipped cream. These two ingredients have the right fat content to make creamy, decadent whipped cream.
It lasts for 2-3 days in the refrigerator in a sealed, airtight food storage container.
Heavy whipping cream and heavy cream have the same fat content. However, regular whipping cream has less fat than heavy whipping cream and heavy cream. Be sure to read the labels to ensure you’re purchasing the right product!
No, they are not the same. Heavy cream has more fat content than half and half does.
Yes, it should last overnight when stored properly in the refrigerator.
If you want to use a wire whisk (affiliate link) to whip the cream by hand, you certainly can. Just be aware that it’s going to take some upper body strength, as well as more time than if you had a hand mixer.
As you whip cream with a mixer, air is pushed into the cream. When you reach the stiff peaks stage, the homemade whipped cream stands up on its own without curling over itself when the mixer/whisk is lifted out of it.
Quick Tips and Tricks for the best Homemade Sweetened Whipped Cream
- Use a cold bowl and cold ingredients! This makes for a better texture, as well as a whipped cream that holds its shape better.
- If your powdered sugar is grainy, run it through a fine mesh strainer (affiliate link) before sprinkling it into the cold cream.
- Store in the refrigerator for 2-3 days in a sealed, airtight food storage container. The whipped cream is not stabilized, so it won’t keep its stiff peaks as it sits, but it’ll still taste delicious.
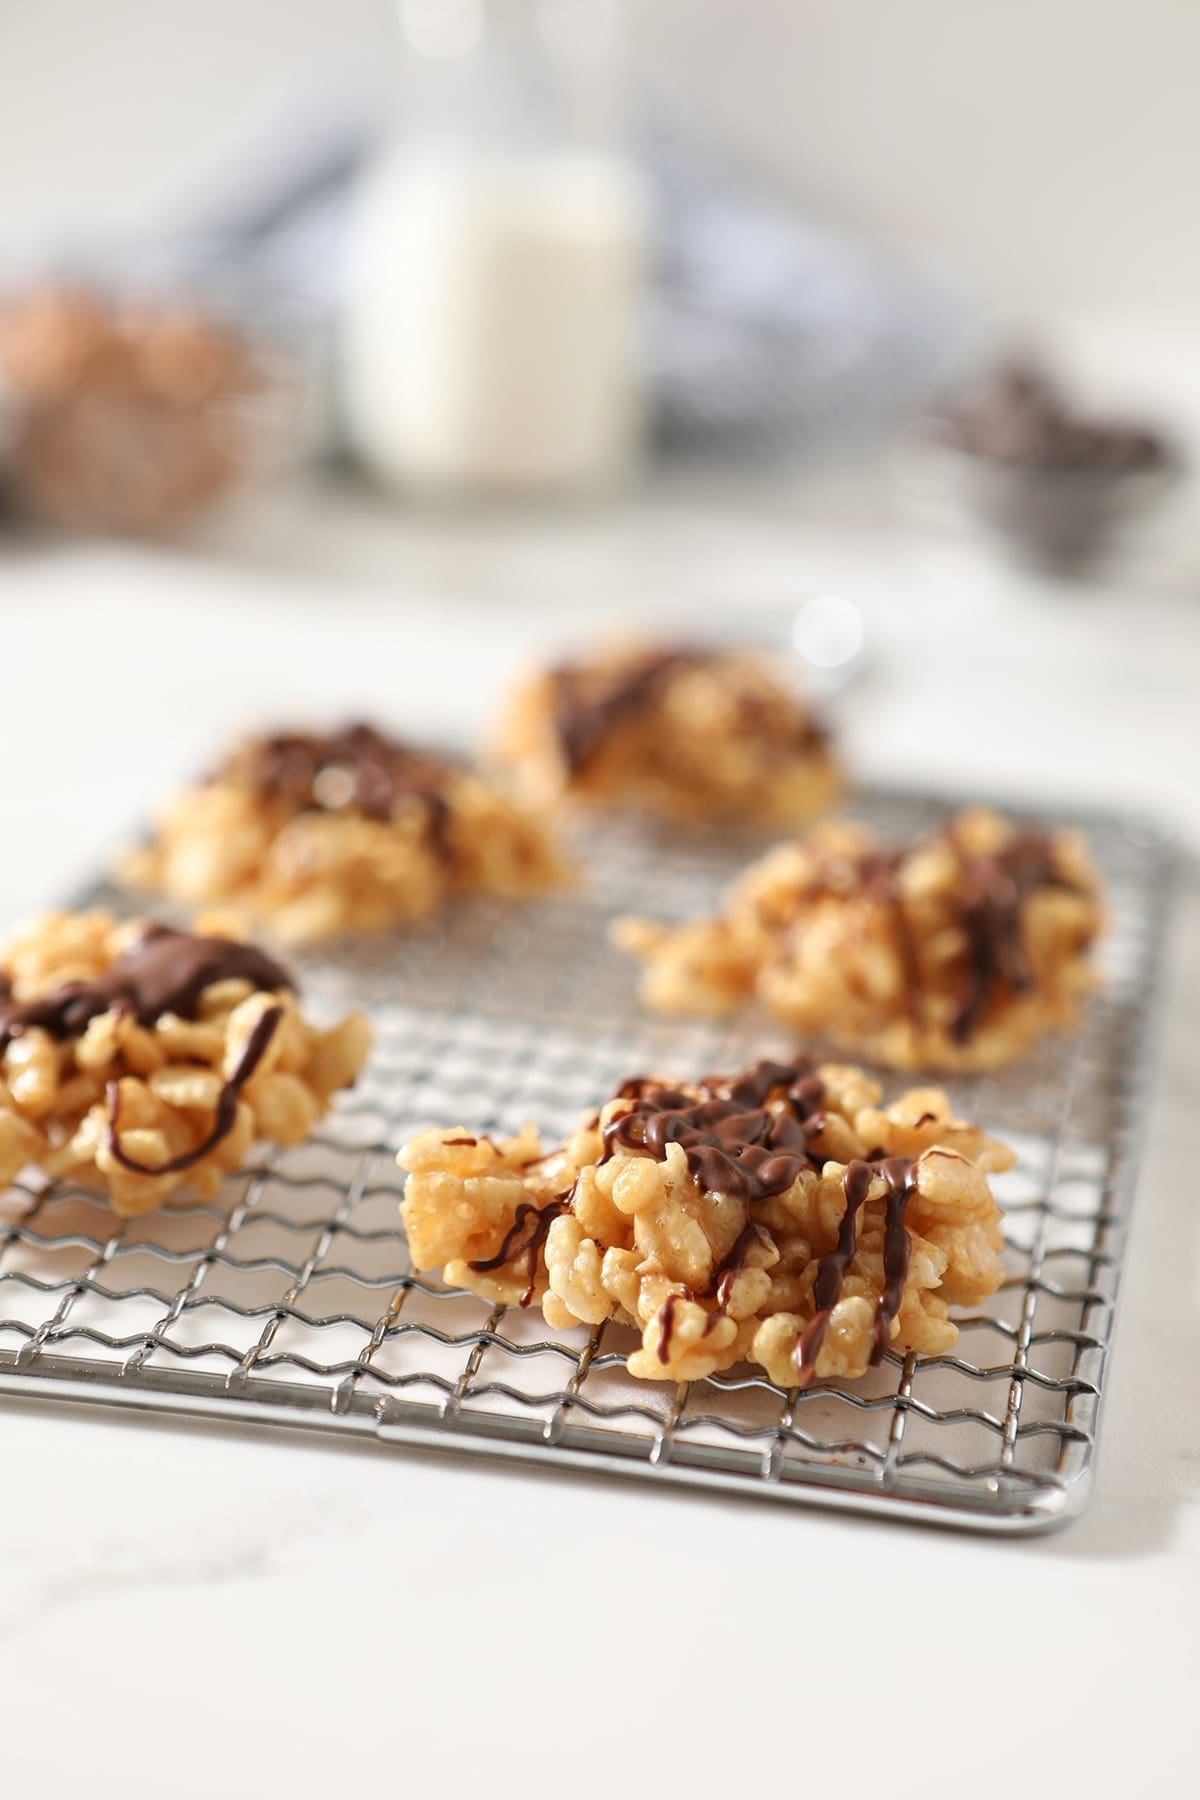
Fun variations of classic whipped cream:
- Adding ground up freeze-dried strawberries turns this goodness into Strawberry Whipped Cream.
- Bourbon in whipped cream? YES! Check out the Spiked Whipped Cream I paired with these Blackberry Peach Hand Pies.
- Zest a lemon into your whipped cream to make Lemon Whipped Cream!
Here’s how you can make it…
Homemade Sweetened Whipped Cream
EQUIPMENT
As an Amazon Associate and member of other affiliate programs, I earn from qualifying purchases.
Ingredients
- 1 cup heavy whipping cream
- 3 tablespoons powdered sugar
- 1 teaspoon pure vanilla extract
- A pinch of salt
Want to save this?
Instructions
- Place a large bowl in the freezer for 10-15 minutes.
- In the cold bowl, pour in the cold whipping cream. Add the powdered sugar, vanilla extract, and salt.
- Using a hand mixer, whip the ingredients together until they become fluffy and light.
- Keep cold, and enjoy with your favorite baked goods!
Notes
Quick Tips and Tricks for the best Homemade Whipped Cream
- Use a cold bowl and cold ingredients! This makes for a better texture, as well as a whipped cream that holds its shape better.
- If your powdered sugar is grainy, run it through a fine mesh strainer (affiliate link) before sprinkling it into the cold cream.
- Store the sweetened whipped cream in the refrigerator for 2-3 days in a sealed, airtight food storage container.
Nutrition

About the Author:
Erin Parker is a Southern gal living in Texas with her husband and two daughters. She started The Speckled Palate to share what she was cooking as a newlywed… and over the years, it’s evolved to capture her love for hosting. Specifically, the EASIEST, lowest key entertaining because everyone deserves to see their people and connect over good food. Learn more about her…


I have been making whipped cream wrong all these years, this was so easy and loved the tips!
Truly the best is the real deal and I love how easy this is! Making it tonight to go on a pumpkin pie! Loved your tips about the various names of cream!
So much better than the store bought stuff!! This turned out perfect!
Just the right tips and instructions for perfect whipped cream!
I have recently become addicted to those brown sugar oatmilk shaken espressos at the bucks and since I am not made of money I needed to start making them at home. But I could never quite get the sweet cream foam right for the top! This sealed the deal! Thank you!
For my morning coffee!
The best is always home made this is a big hit with our peach cobbler.
I agree with you, Rob! So happy to hear this was a big hit with your peach cobbler. That sounds divine!