
Buttermilk Biscuits
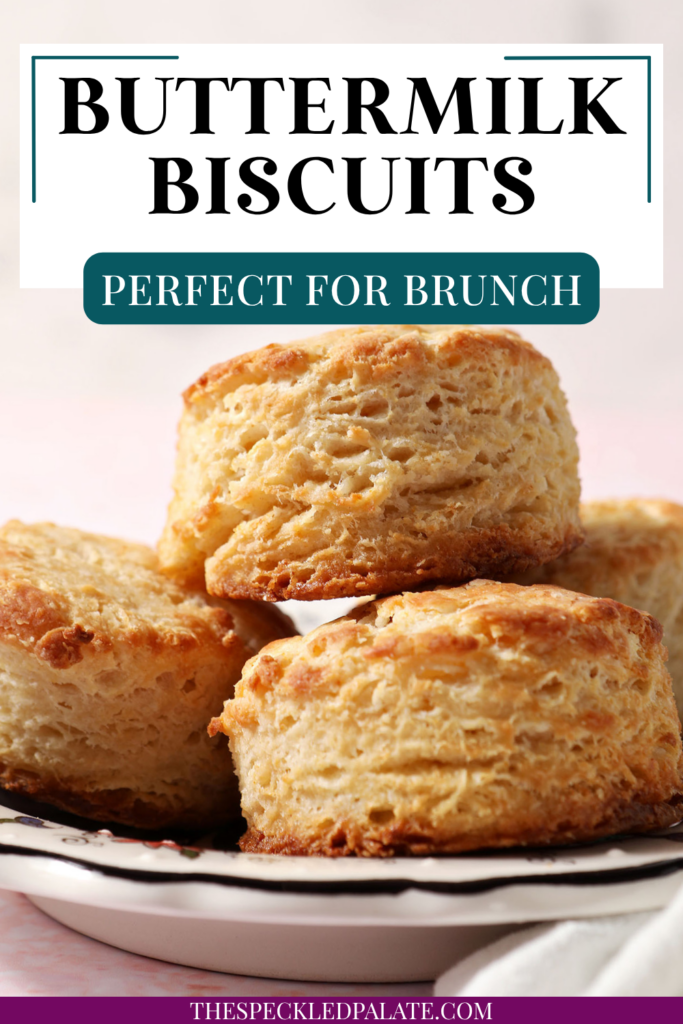
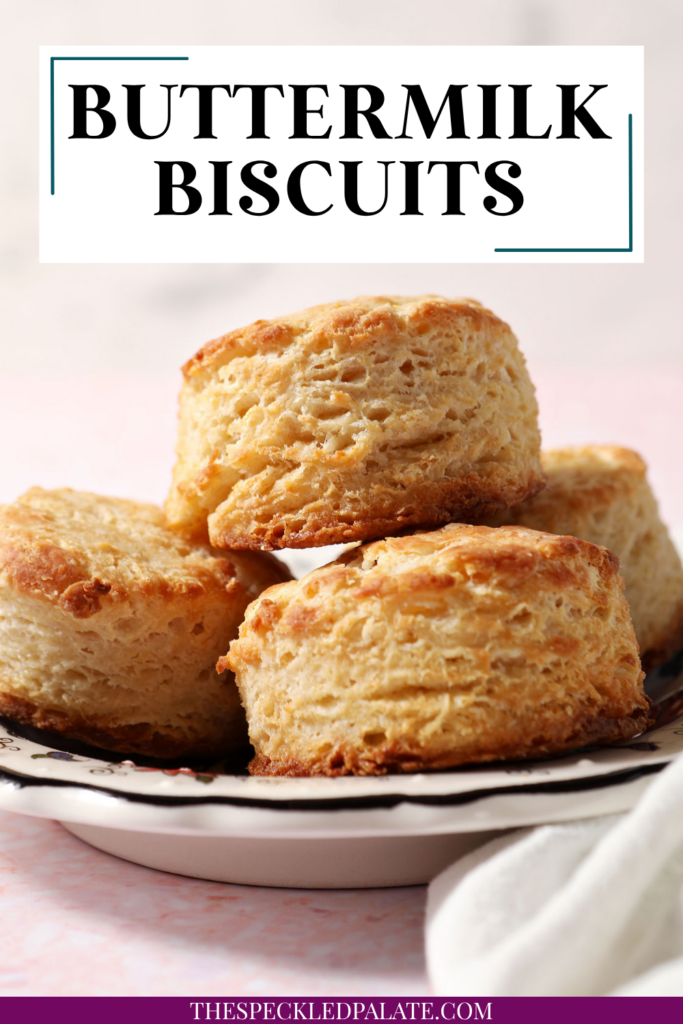
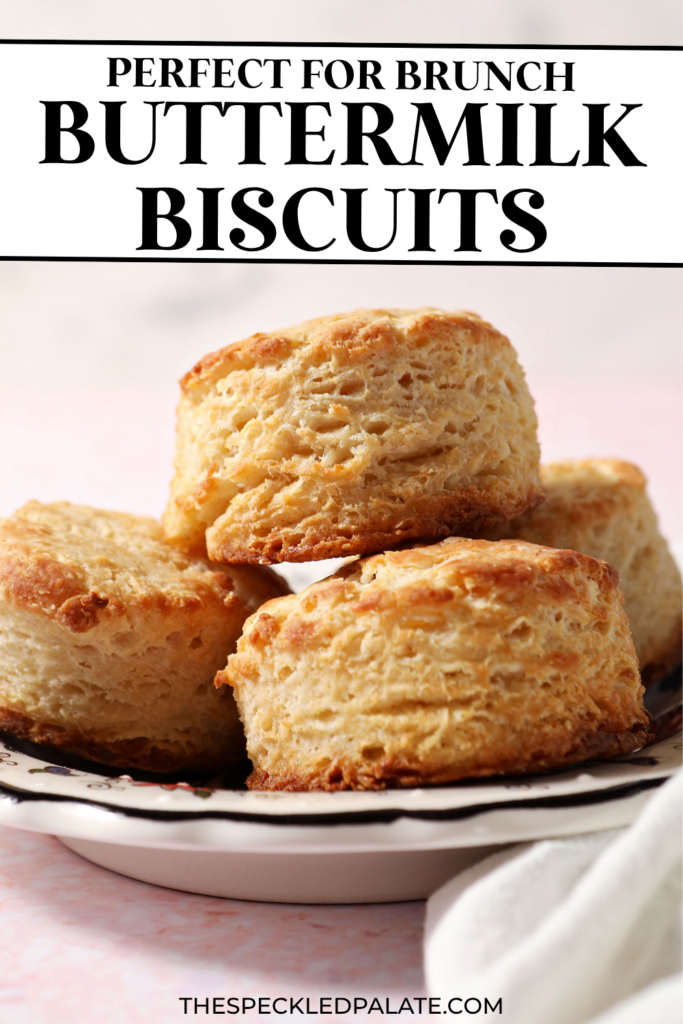
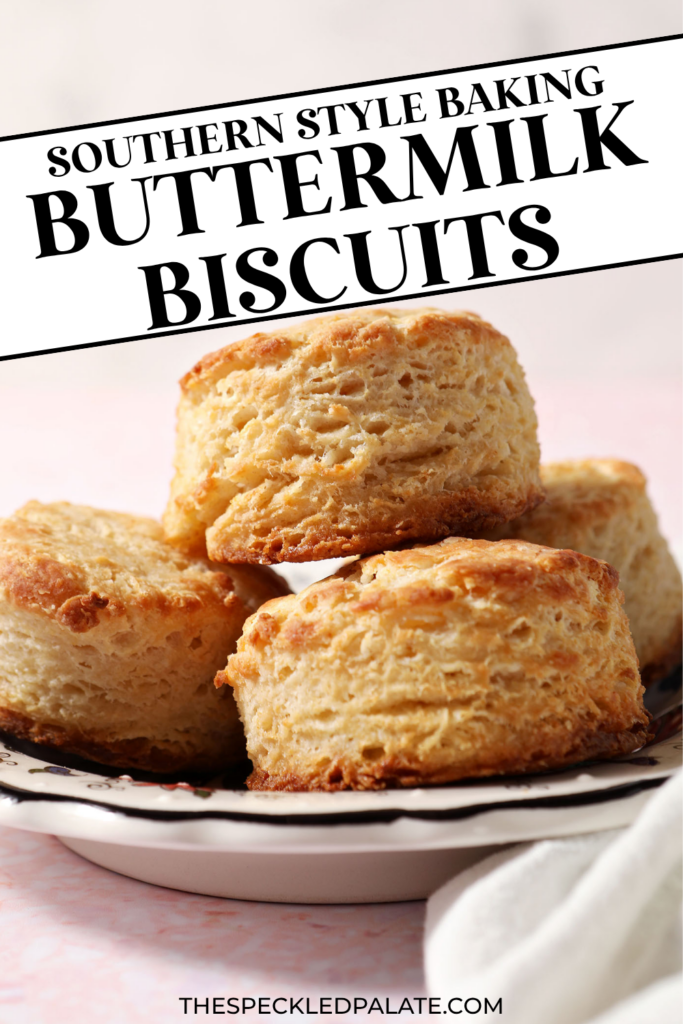
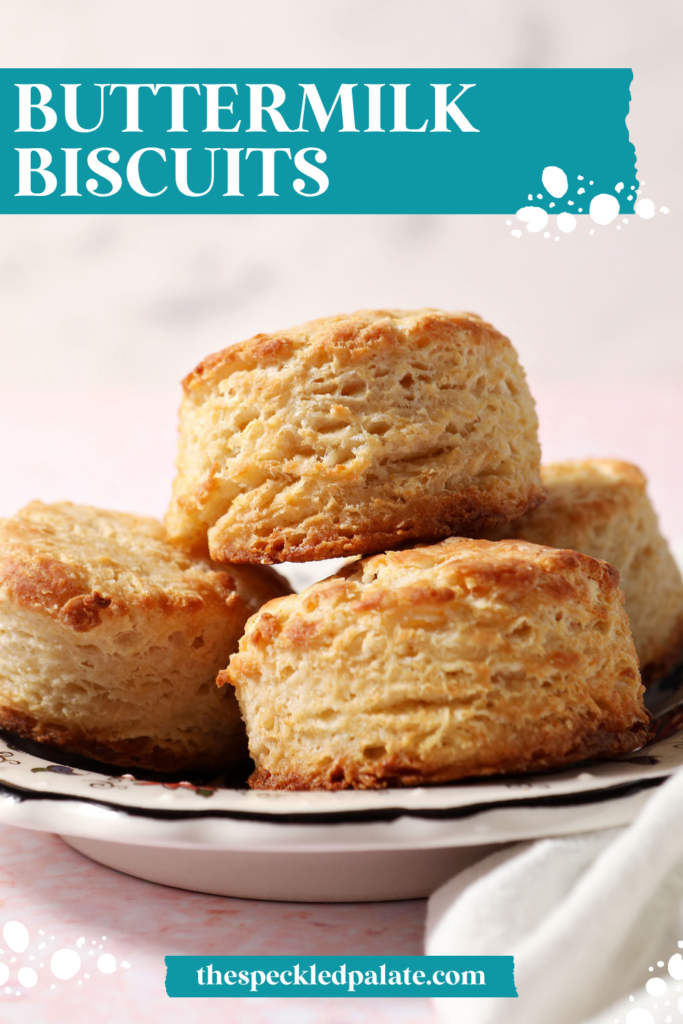
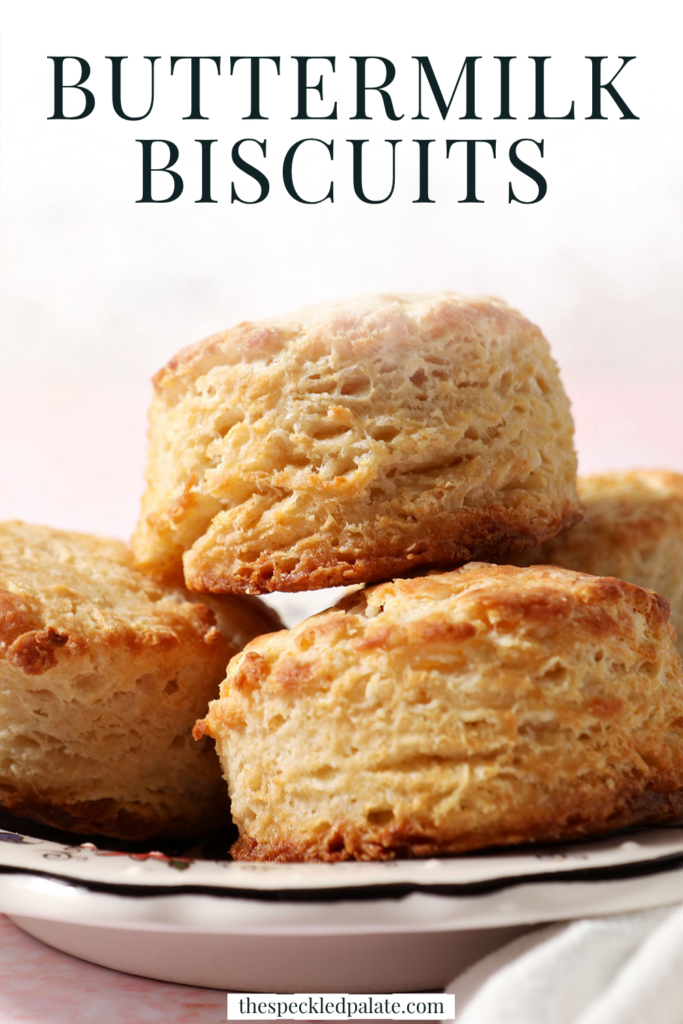
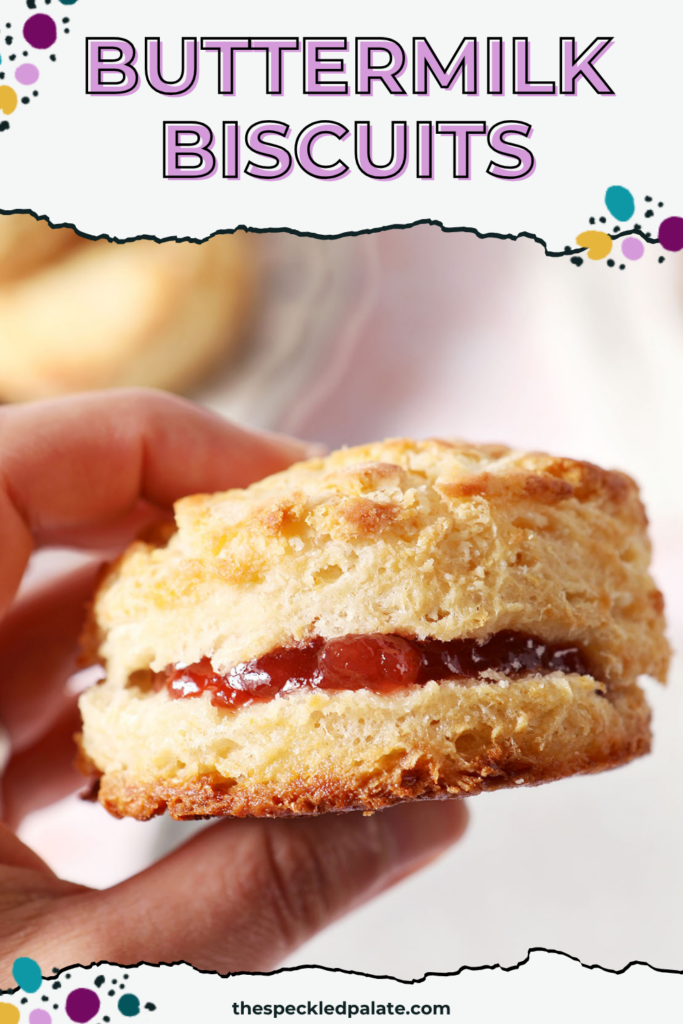
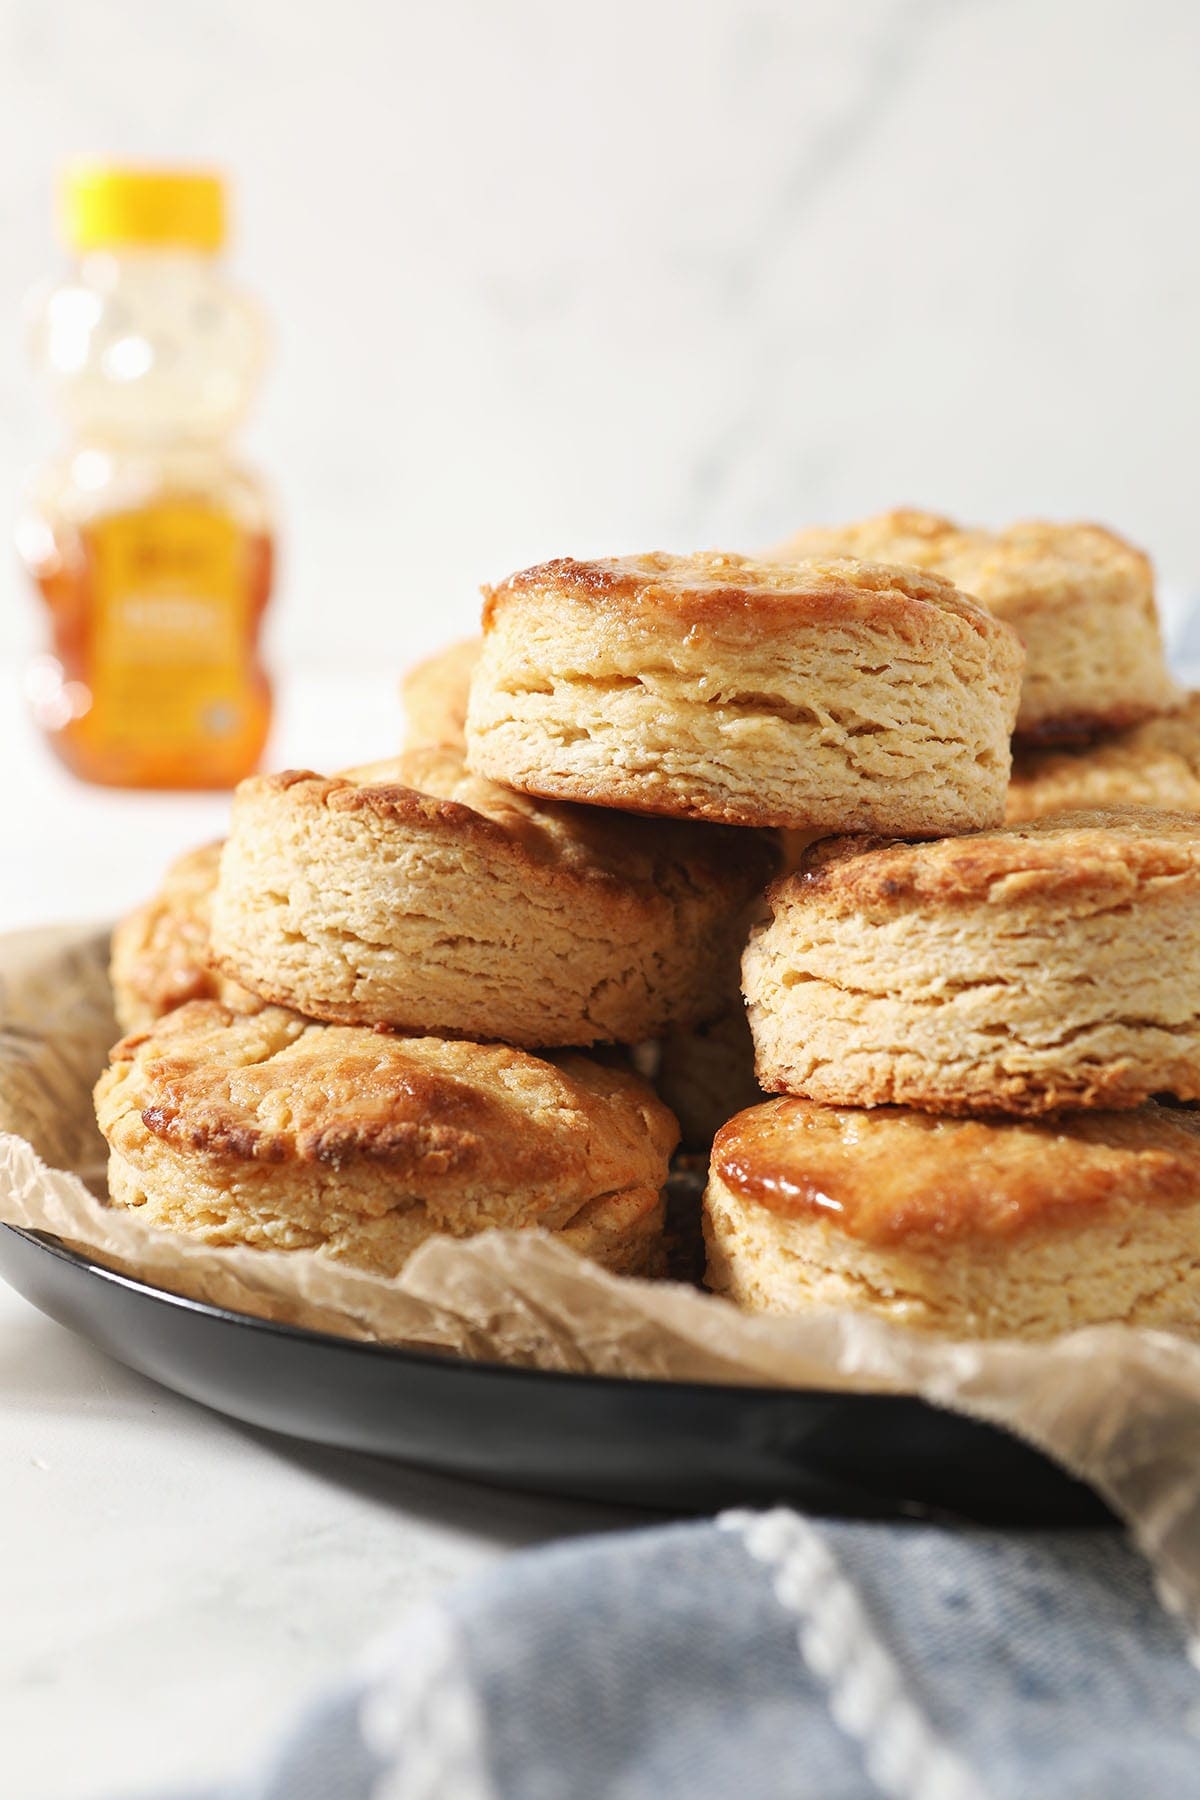
This Buttermilk Biscuit recipe is a Southern-style biscuit worth the effort — pillowy, tender and golden, made with a combination of flours and buttermilk that gives them the perfect rise and crumb. No White Lily required, no food processor necessary, either. All you need are simple ingredients, cold butter, a pastry blender and your hands.
Want to save this?
This post contains affiliate links.
As a Southerner, I am a bit of a biscuit snob.
I love a good biscuit… but not every biscuit is a good one.
And this Buttermilk Biscuit recipe has been a bit of a gamble recipe for me because unlike many Southerners, I didn’t have a family recipe to rely upon. (My parents are both from the Northeast, despite me being born, raised and living in the South for my entire life.)
However, at long last, I’m here to tell you that I’ve unlocked the secret to a good buttermilk biscuit!
Hint: it’s in the flour. (Bonus hint: no, you do not need to hunt down a bag of White Lily.)
Why I love this recipe:
Listen. I’m not going to lie to you and tell you that this is the simplest biscuit recipe around. You still must work to make them. (So if you were looking for a magical stir, plop and bake recipe, this is not it. Or a food processor situation? Also not it.)
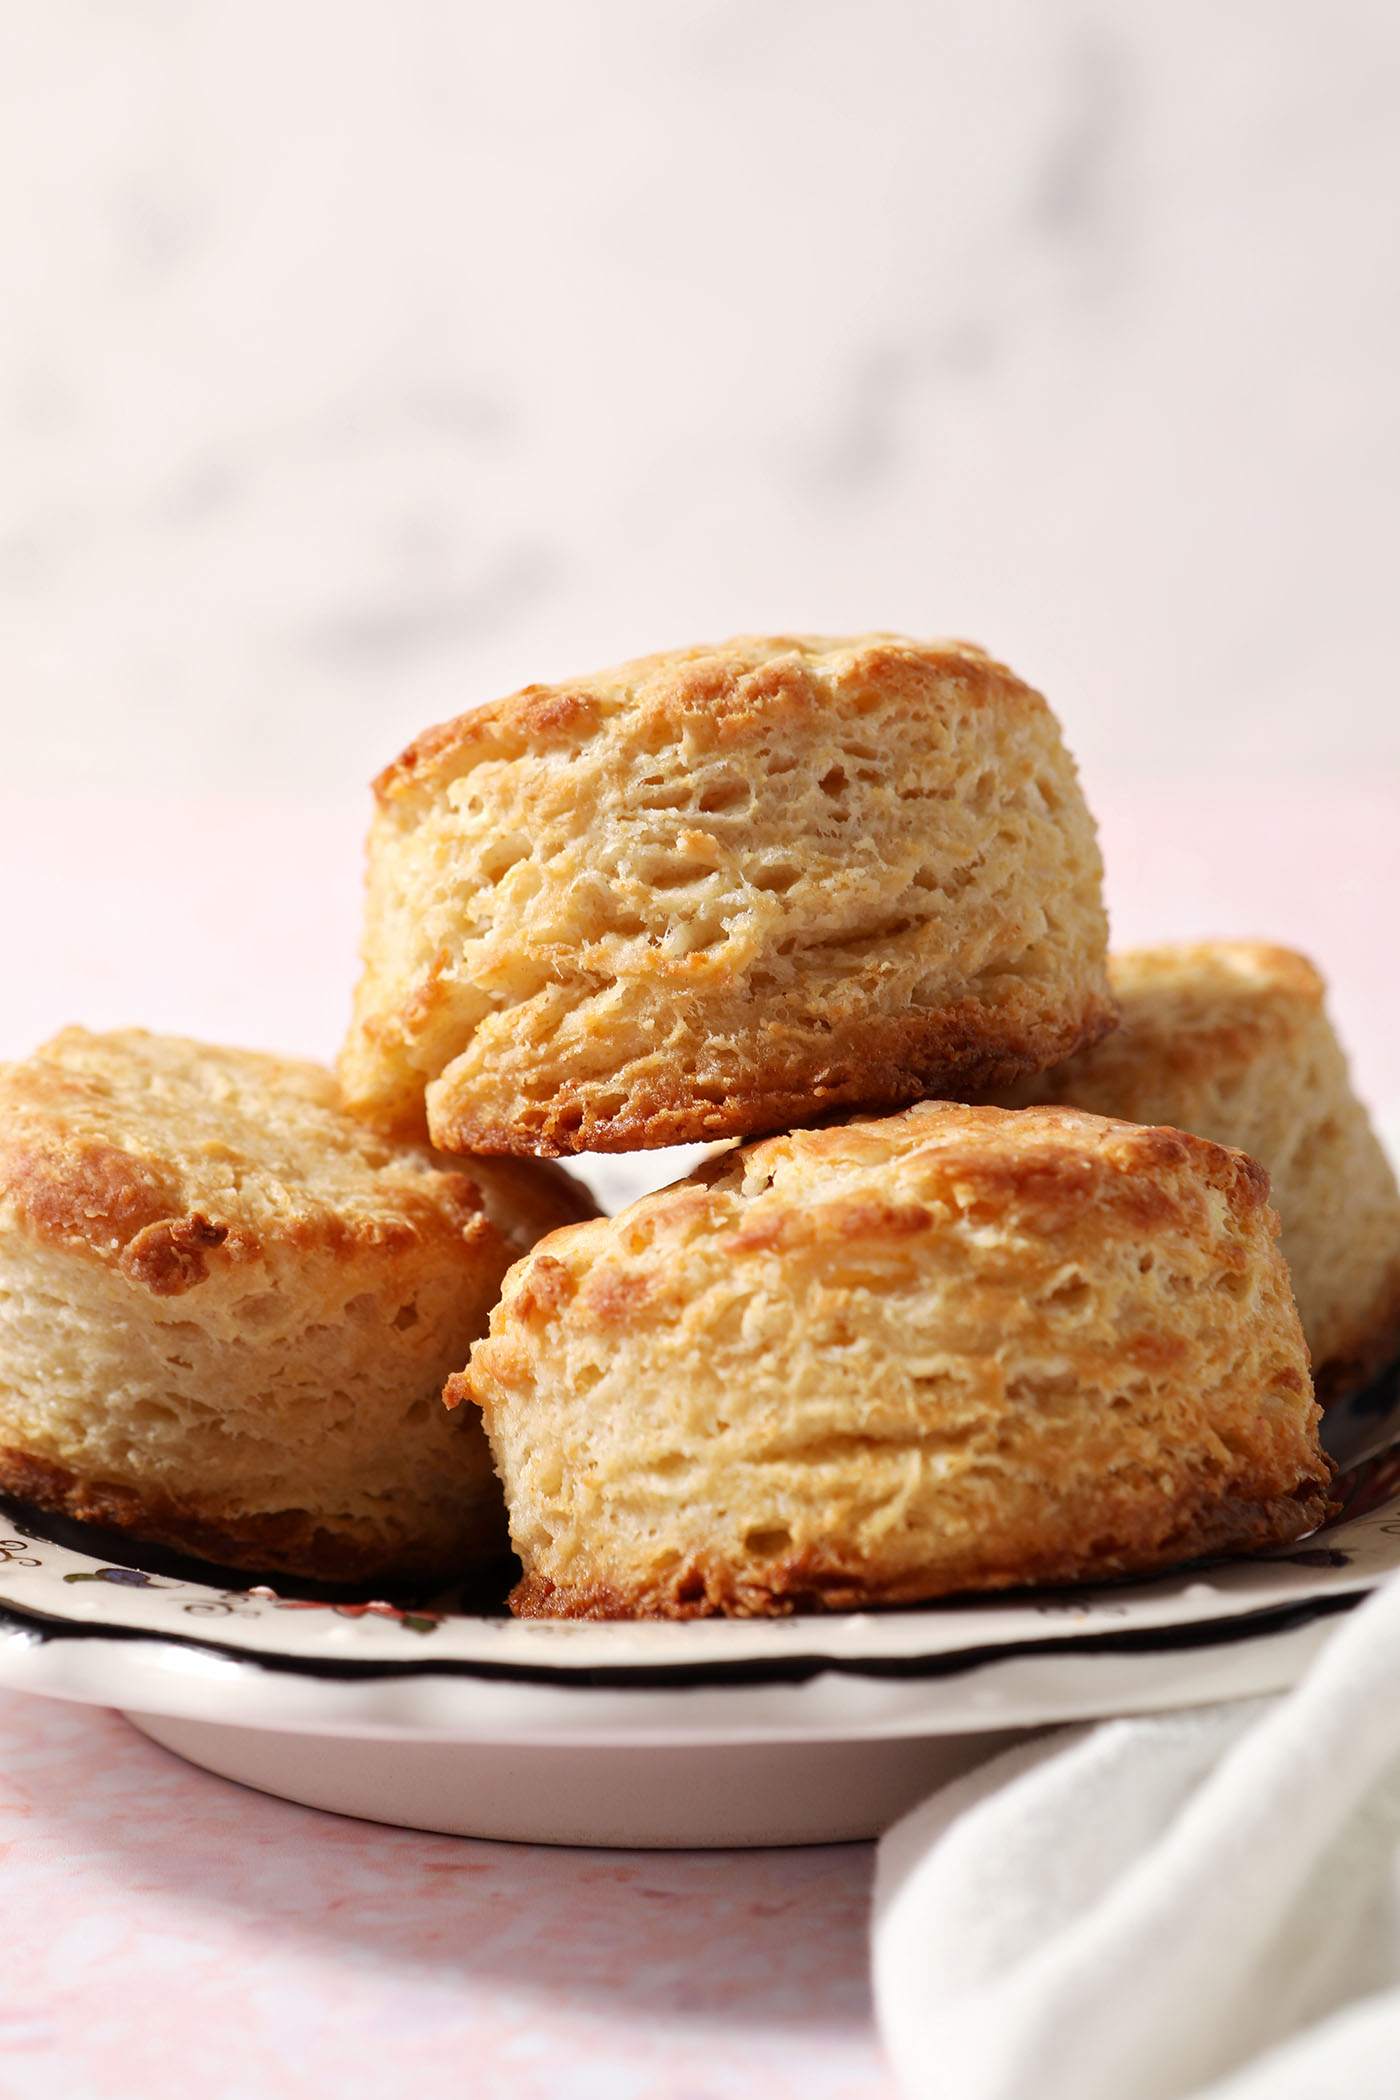
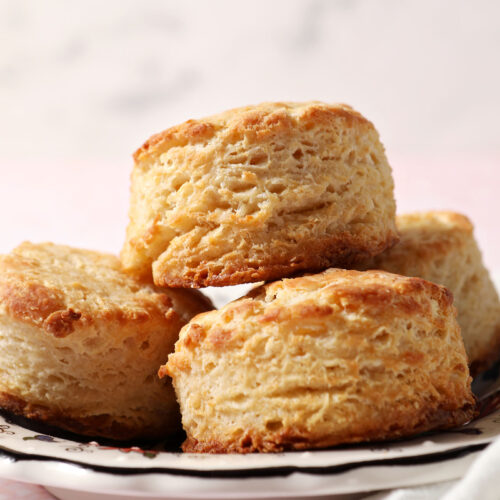
However, the end result — a beautifully pillowy biscuit with a tender crumb, buttery flaky layers and a lovely crunch on the exterior — is worth the effort to me.
Here are some more things that you need to know about these homemade buttermilk biscuits, in case the above didn’t convince you to try this recipe out…
- It took entirely too long to get right. (And this is a good thing for you!) My first attempt from last year included a handwritten note that said, “STUPID dense and tough.” We’ve come a long way since then, and all my trial and error means you get a recipe that works without the sadness of a disappointing biscuit.
- A friend ate one every single day for a week. When a guest staying with you happily chomps on a biscuit daily without any prompting, you know you’ve nailed the recipe.
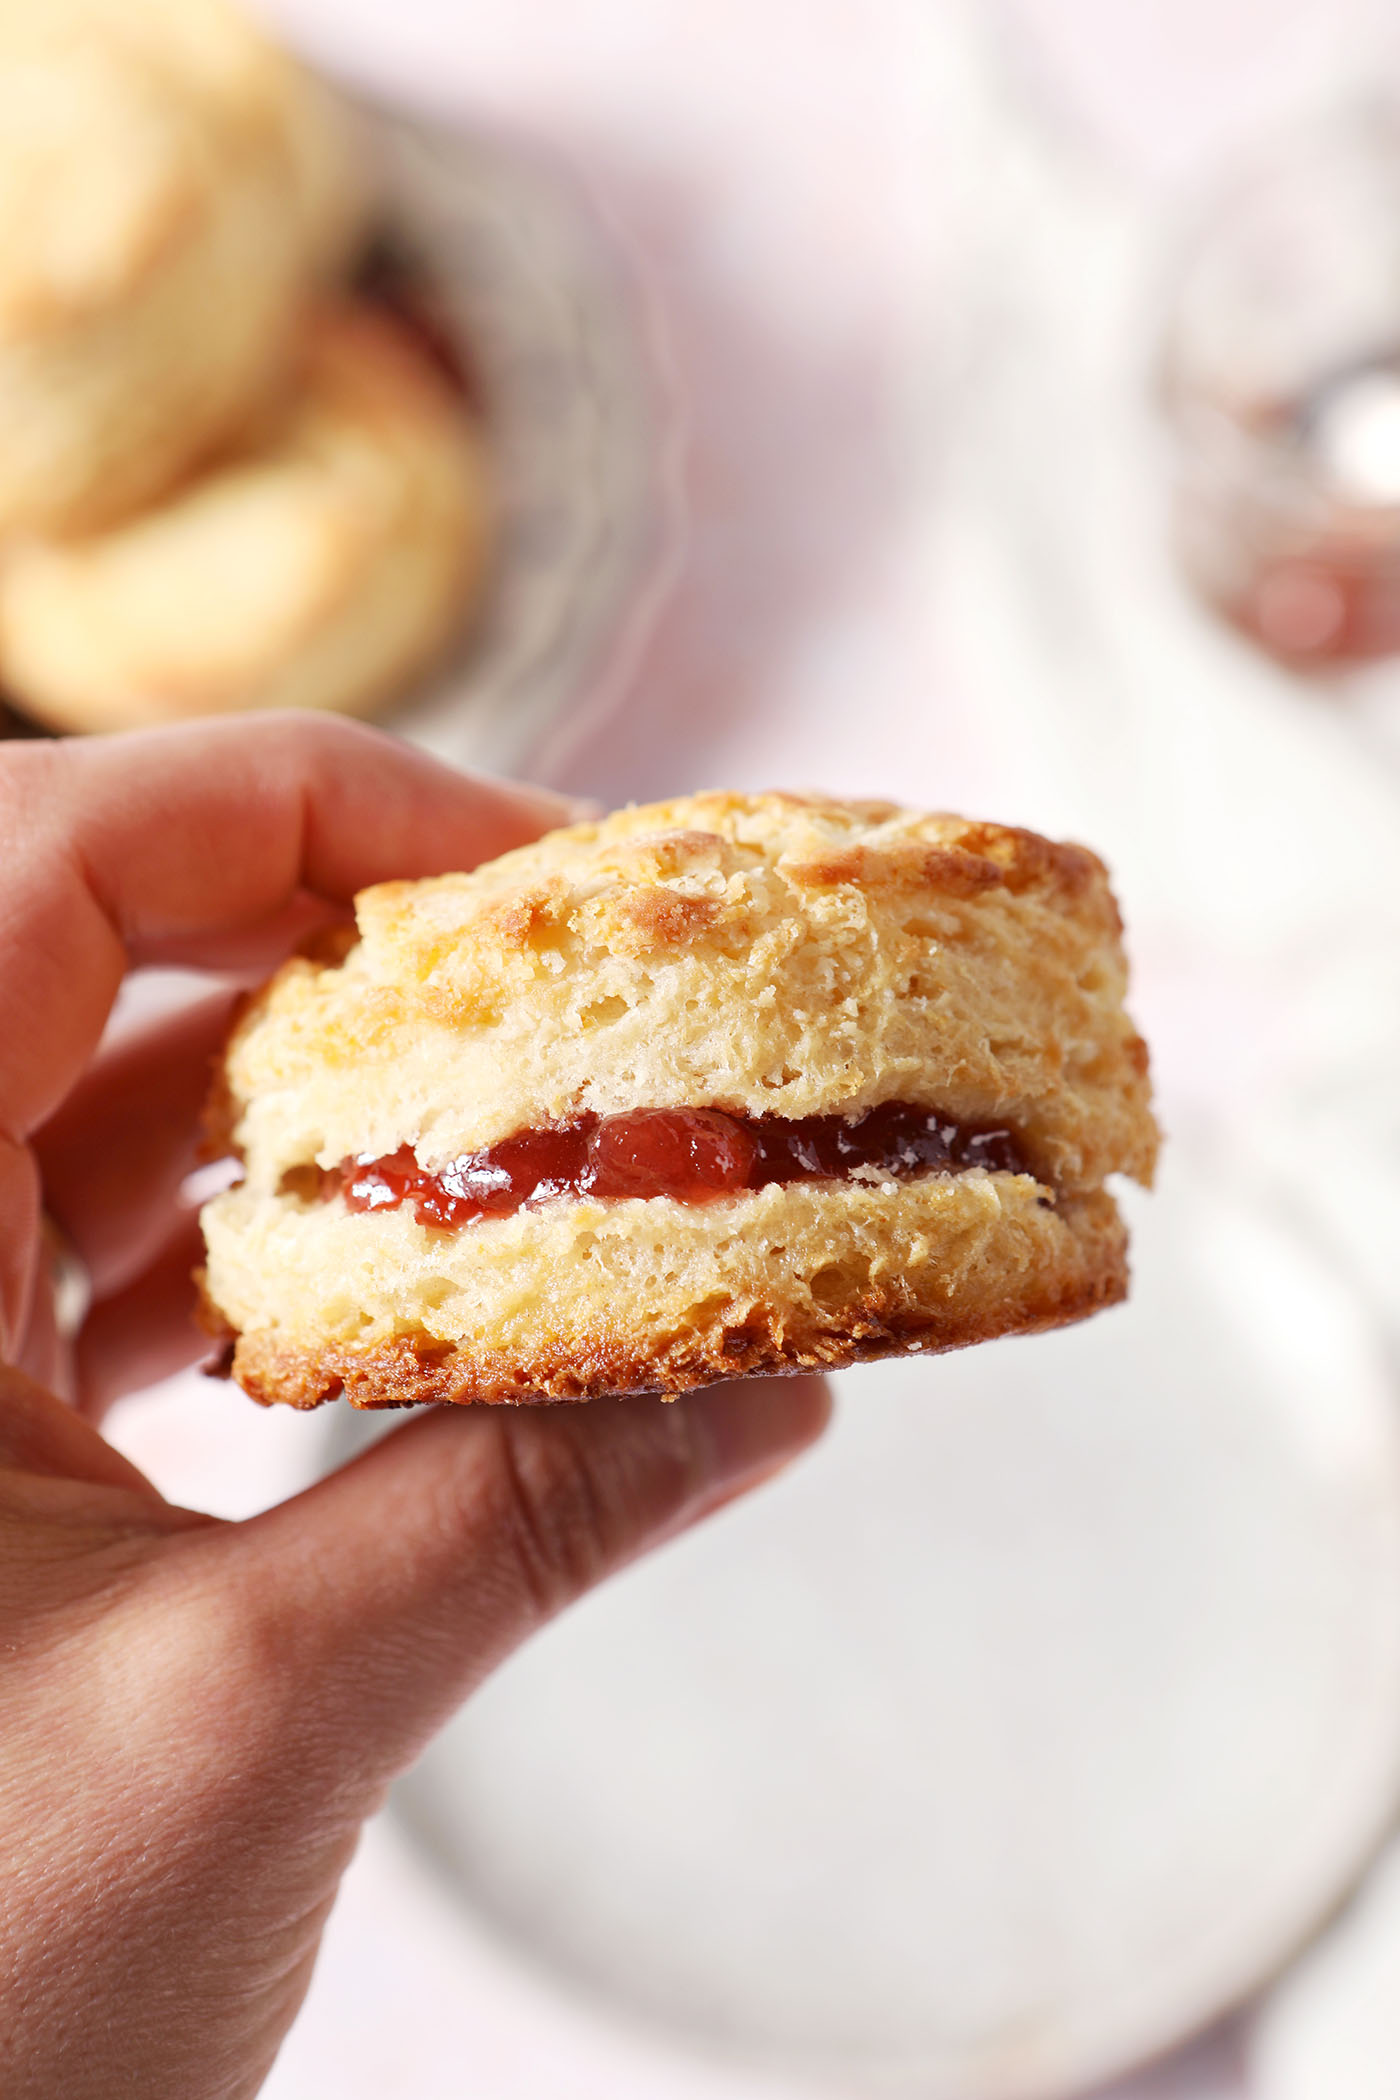
- Serve them sweet, savory or both. Slather them with jam, salted butter or a flavored butter — or split one open for a sandwich or coat it in gravy. There are no wrong answers.
Other biscuit recipes you might want to try: Homemade Cheddar Biscuits | Blueberry Biscuits | Honey Butter Biscuits
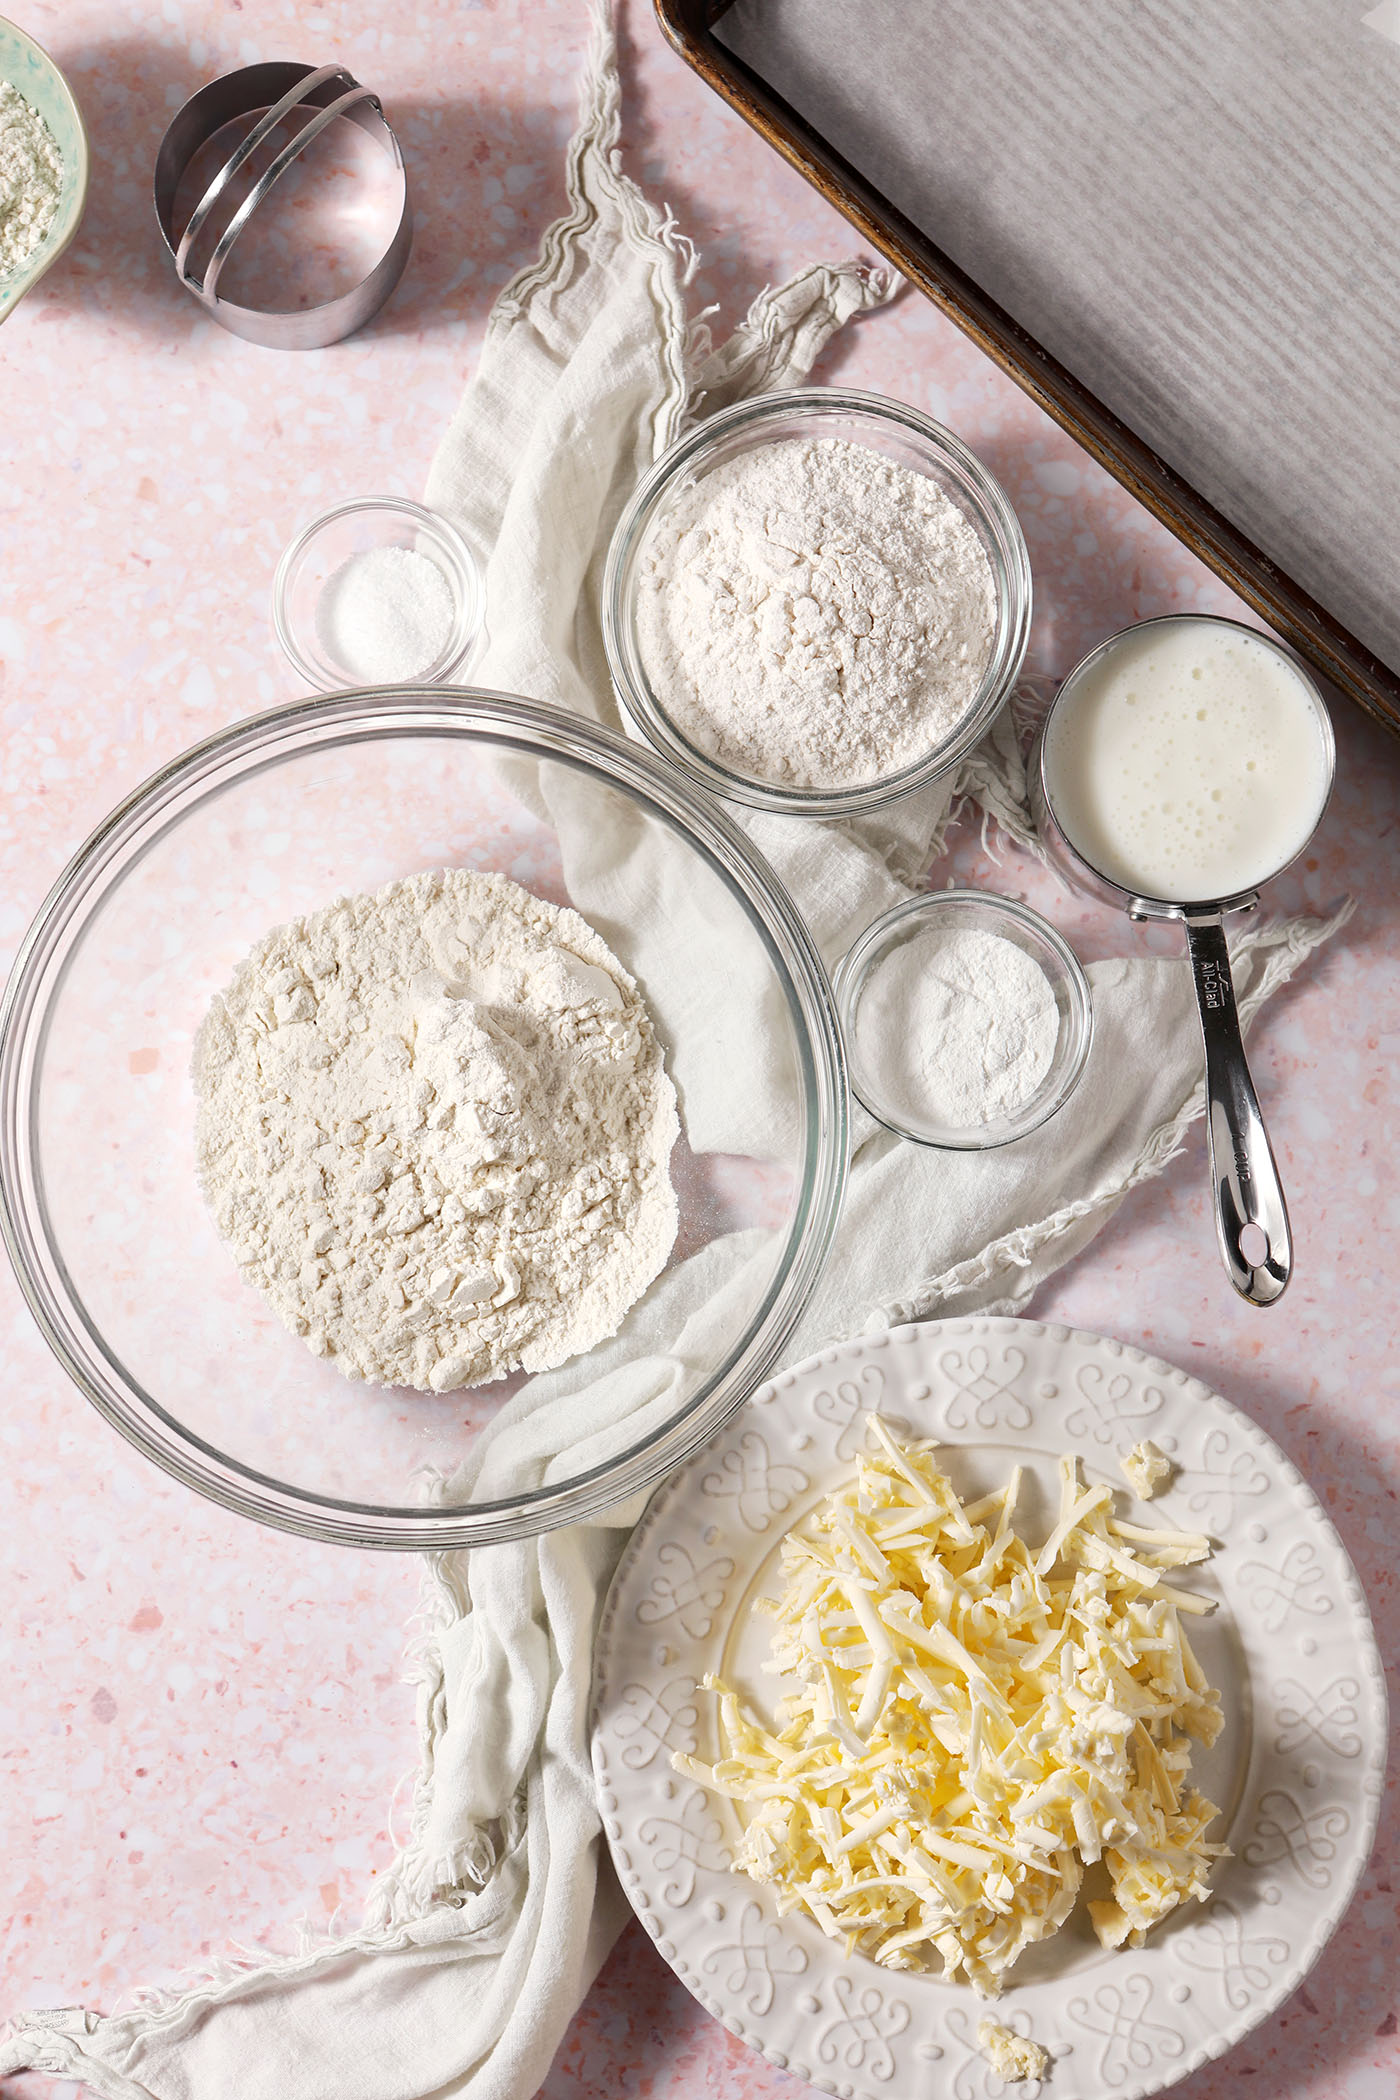
What you need to make this recipe:
The Speckled Palate participates in affiliate programs. As an Amazon Associate, I earn a commission from qualifying purchases. Please refer to my disclosure page for more information about these affiliate programs.
- Rimmed sheet pan
- Nonstick baking mat or parchment paper
- Large bowl for mixing
- Liquid measuring cup
- Measuring cups and spoons and/or a kitchen scale
- Box grater
- Pastry brush
- Sharp knife, bench scraper or a biscuit cutter
Let’s talk ingredients!
In addition to the tools above, you’re going to need some ingredients to make this recipe, too! Chances are, you might already have some of them in your fridge or pantry. Scroll down to the recipe card for the full measurements and instructions.
Here is what you need to get at the store to make this recipe:
- All-purpose flour — this serves as the part of the base for our biscuit recipe. I keep unbleached AP flour in my house, but you can use the regular kind, too.
- Bread flour — why are we adding this? Because bread flour has higher protein content and that, along with the buttermilk, is going to play into the texture of the biscuits. Combined with the slightly lower protein of the AP flour, we get an awesome combination of flours that create the ideal rise, crumb and texture.
- Baking powder — this is our leavener, and it will cause the biscuits to rise as they bake. Make sure yours is fresh, and also confirm that you’re not using baking soda because they’re different things.
- Kosher salt — a medium grain kosher salt is my favorite for a baked good like this. (Diamond Crystal is my go-to brand.)
- Unsalted butter — this is integral for making biscuits. You’ll need a full stick for the biscuits themselves and a little extra to brush ‘em with before they bake.
- Buttermilk — this is the liquid that goes into our dough. I like to use whole fat buttermilk because it yields the most flavor, but you could use a lower fat one if that is all that is available to you. If your biscuit dough is a bit dry, you can add extra buttermilk by the tablespoon until everything comes together.
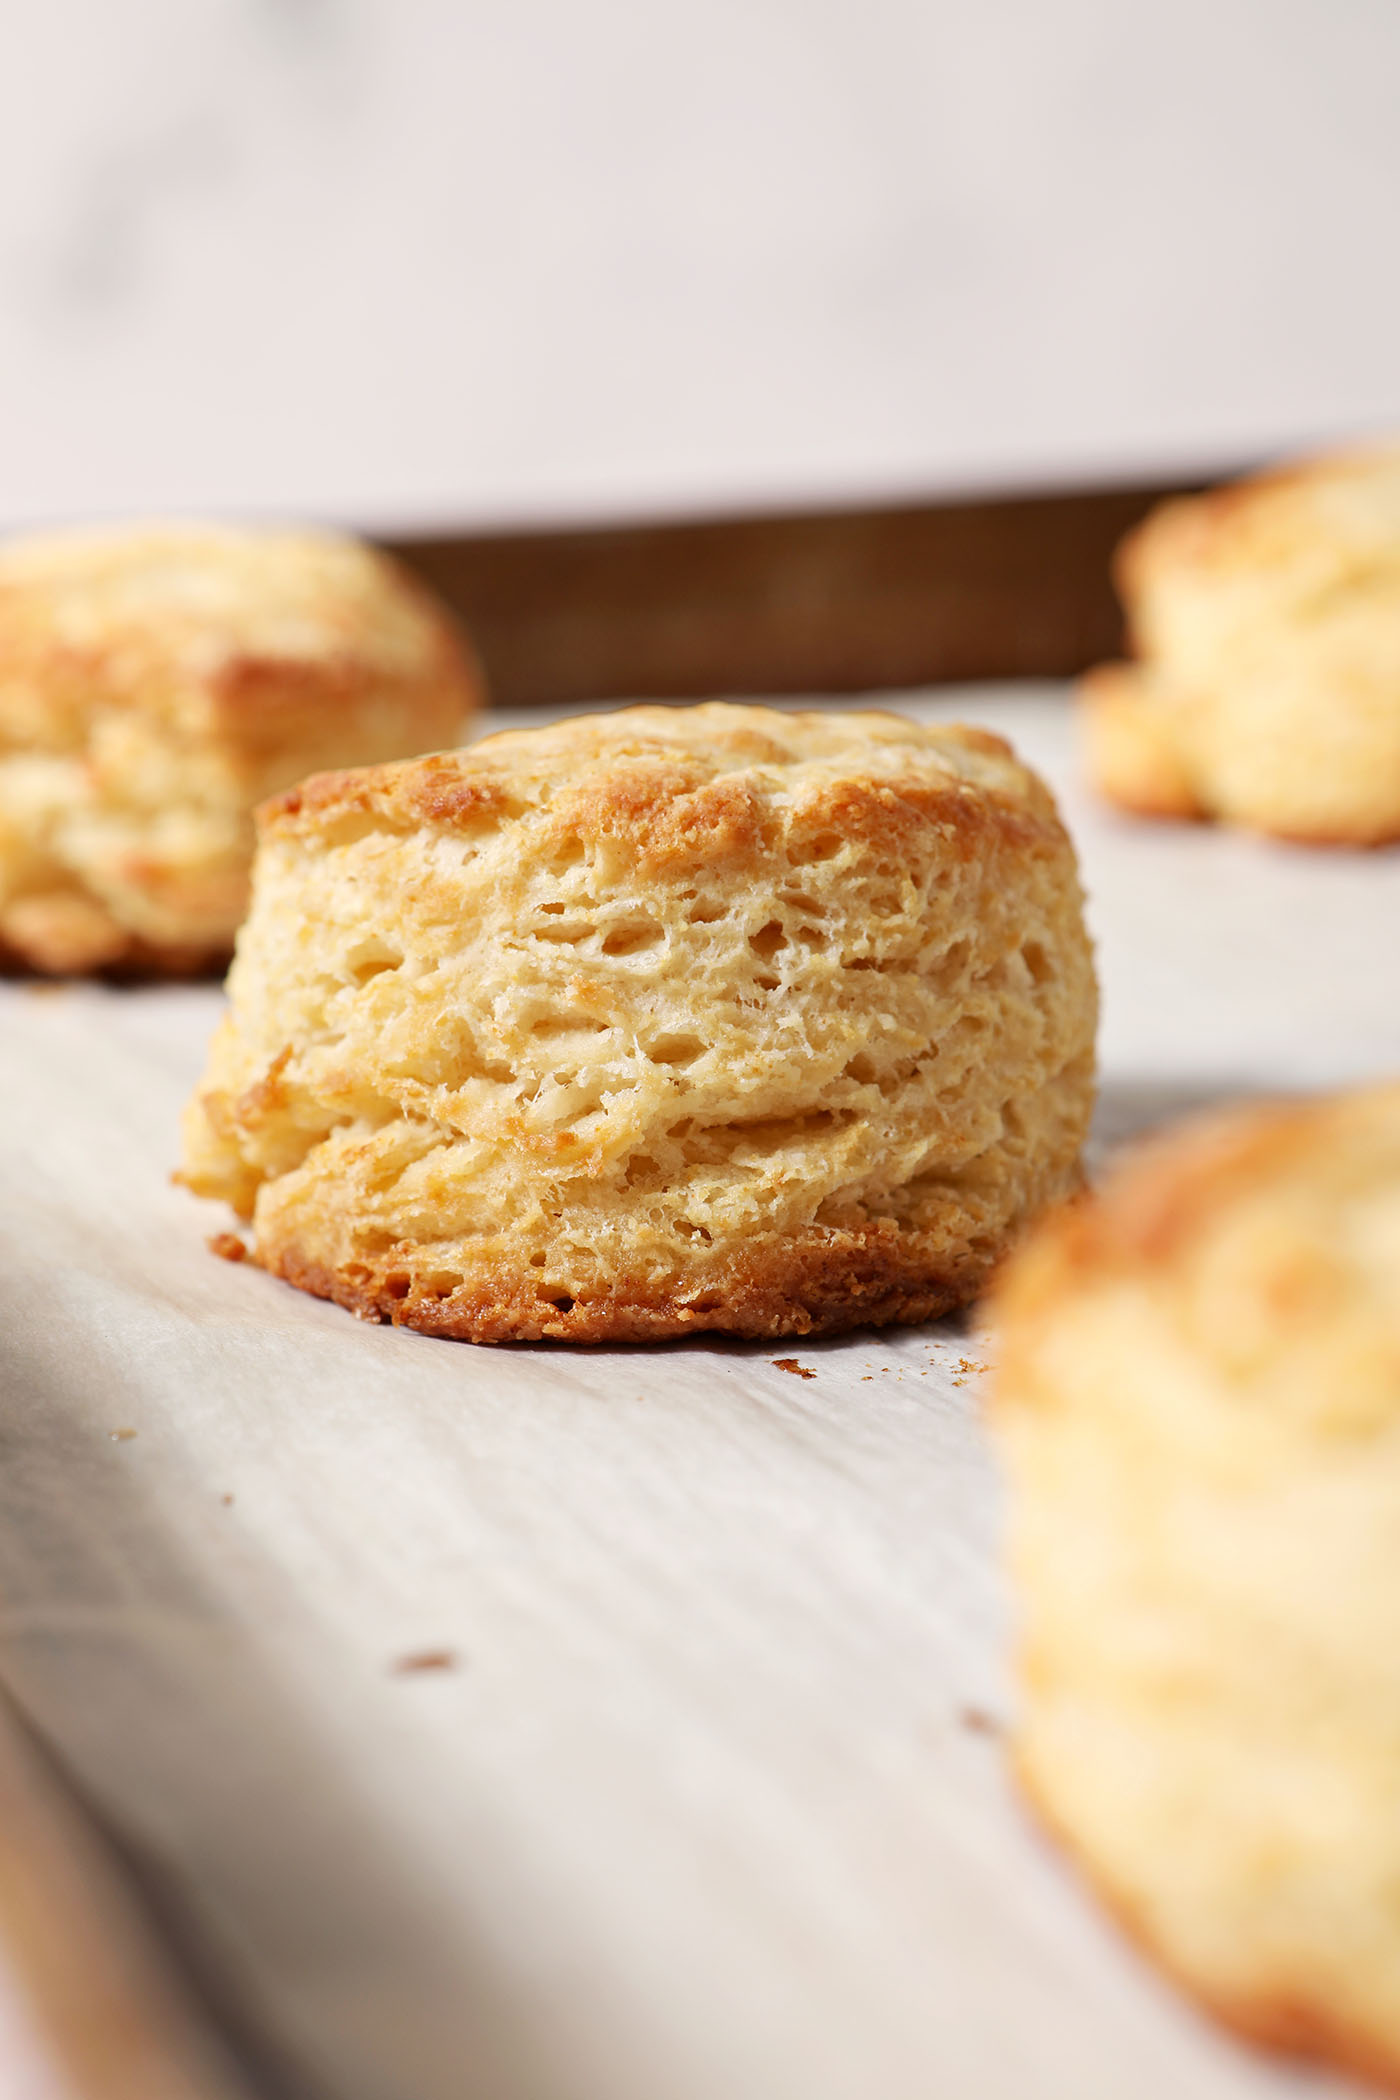
How to make Easy Buttermilk Biscuits
Preheat the oven. Line a sheet pan with parchment or a nonstick baking mat.
Combine the dry ingredients in a bowl. This includes both flours, baking powder and salt. Give ‘em a good stir.
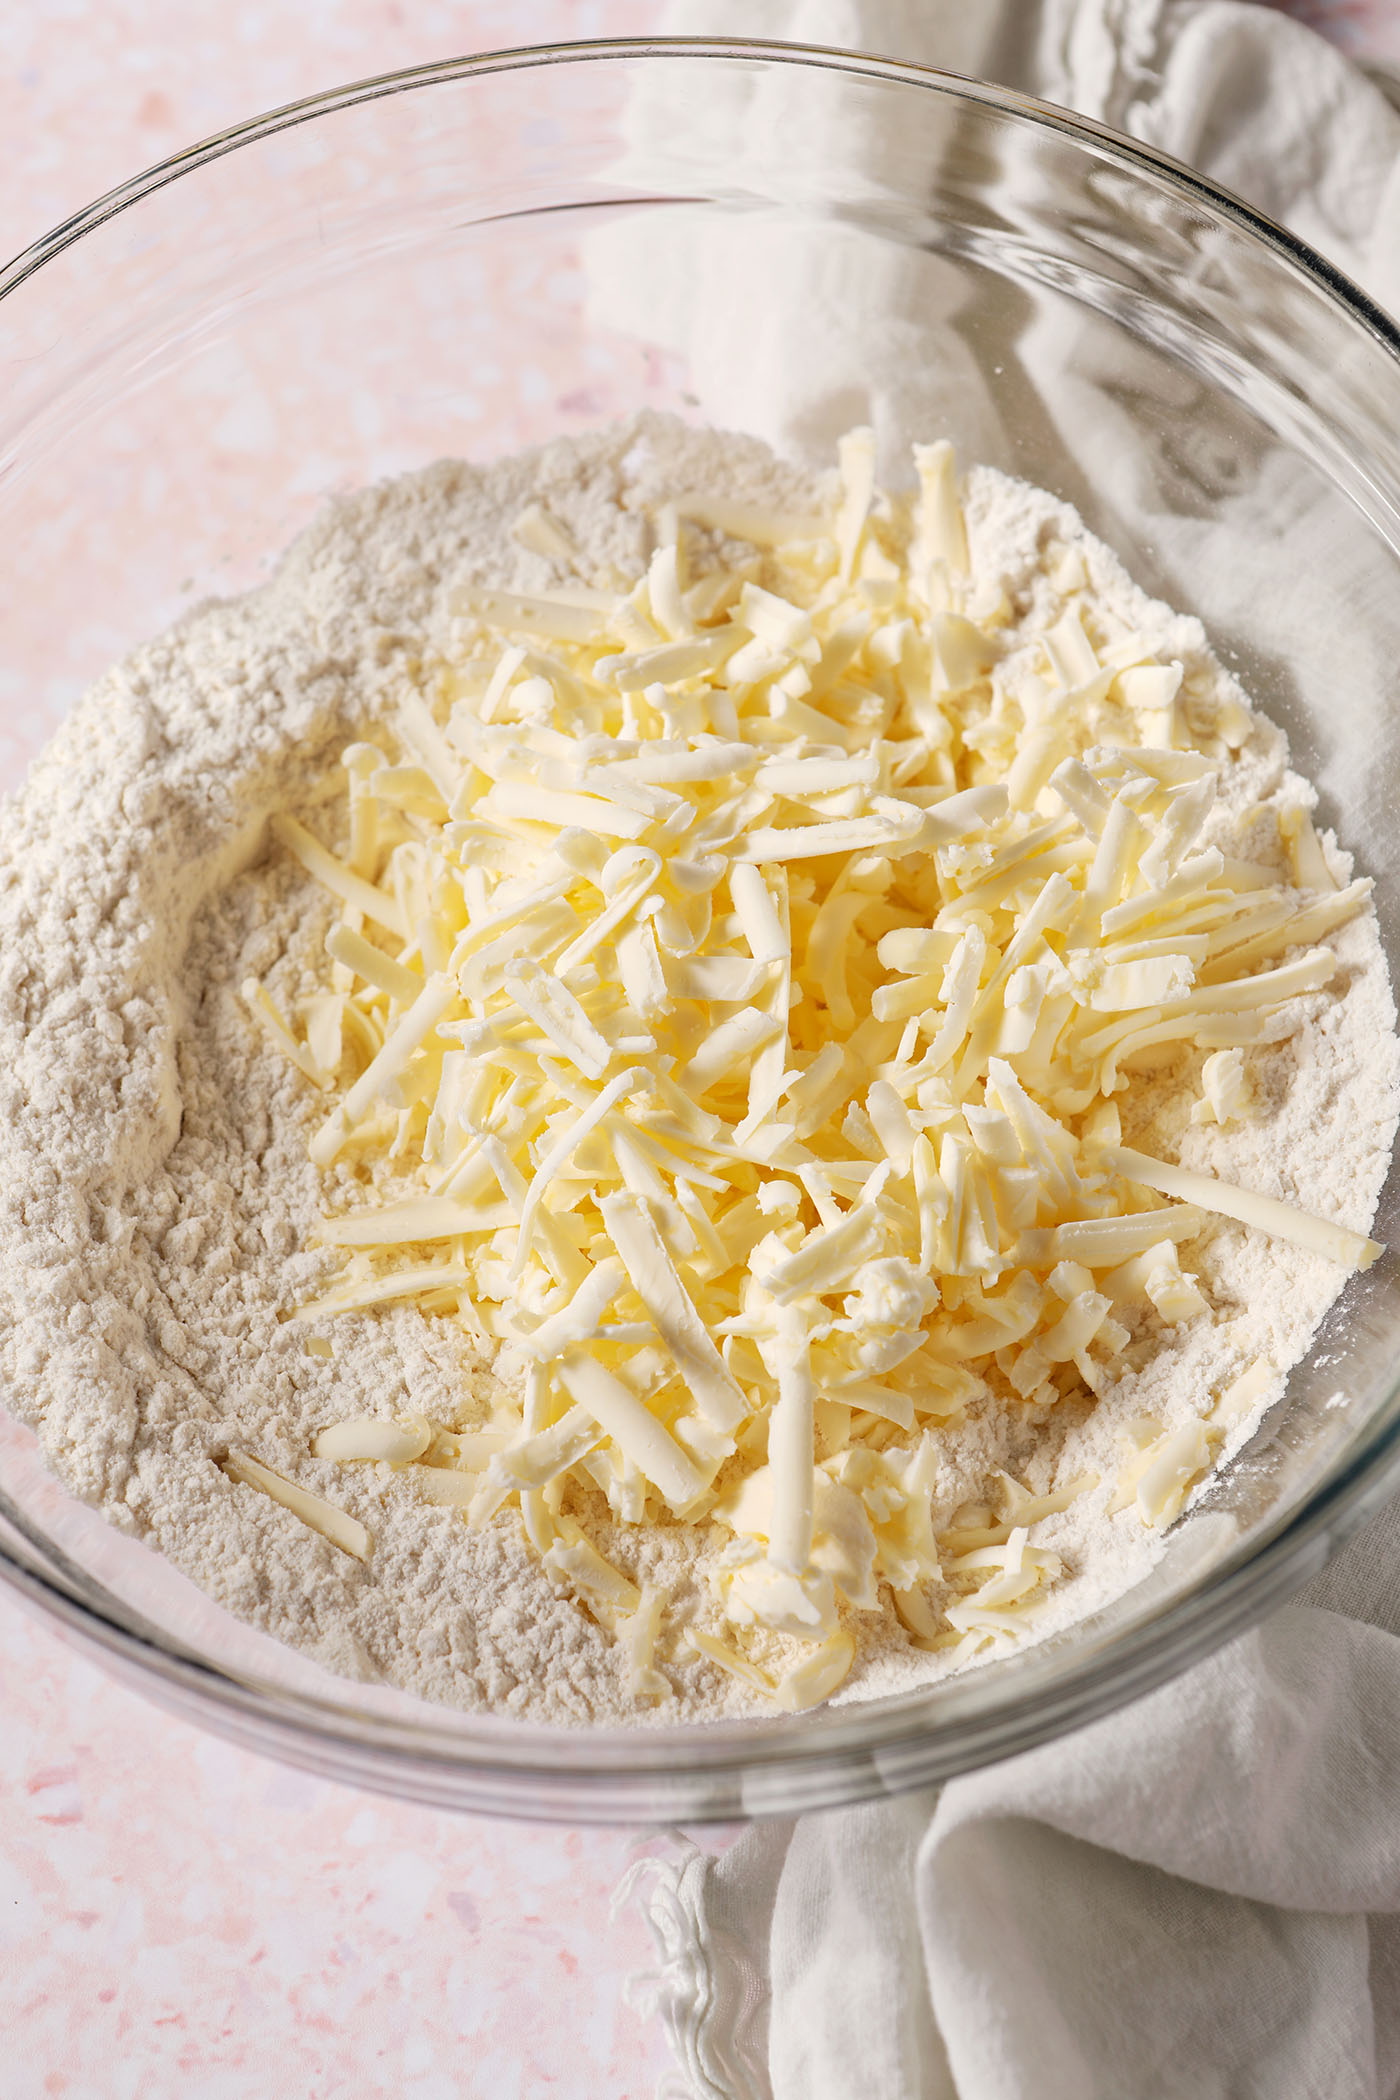
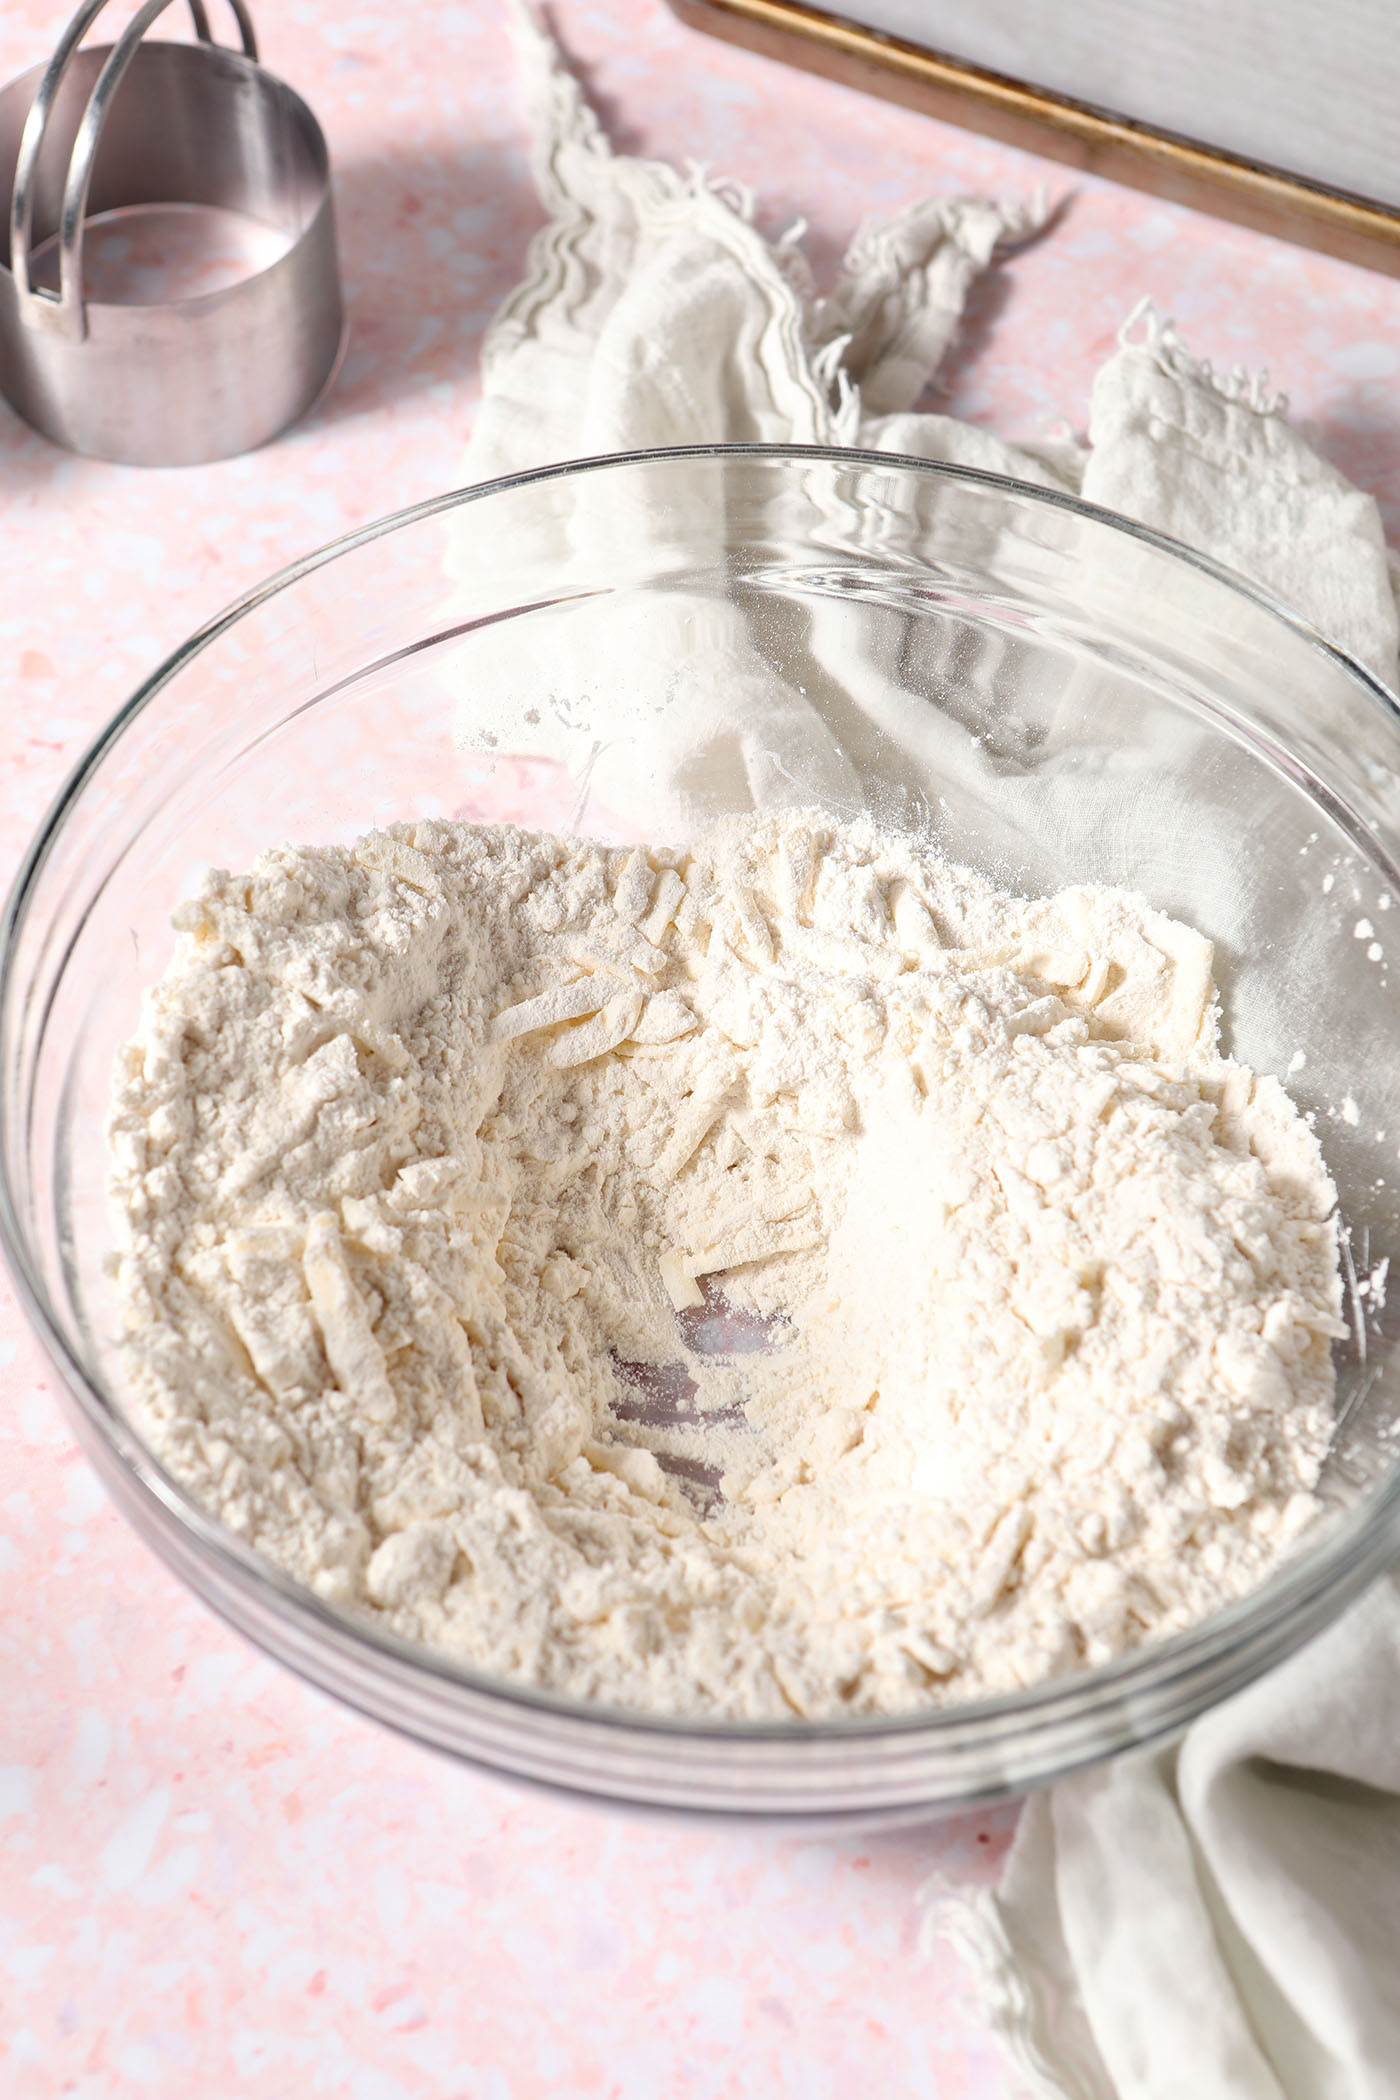
Grate the frozen butter directly into the flour mixture. A box grater or cheese grater is excellent for this.
Mix with a rubber spatula or your hands to coat the butter in the flour mixture.
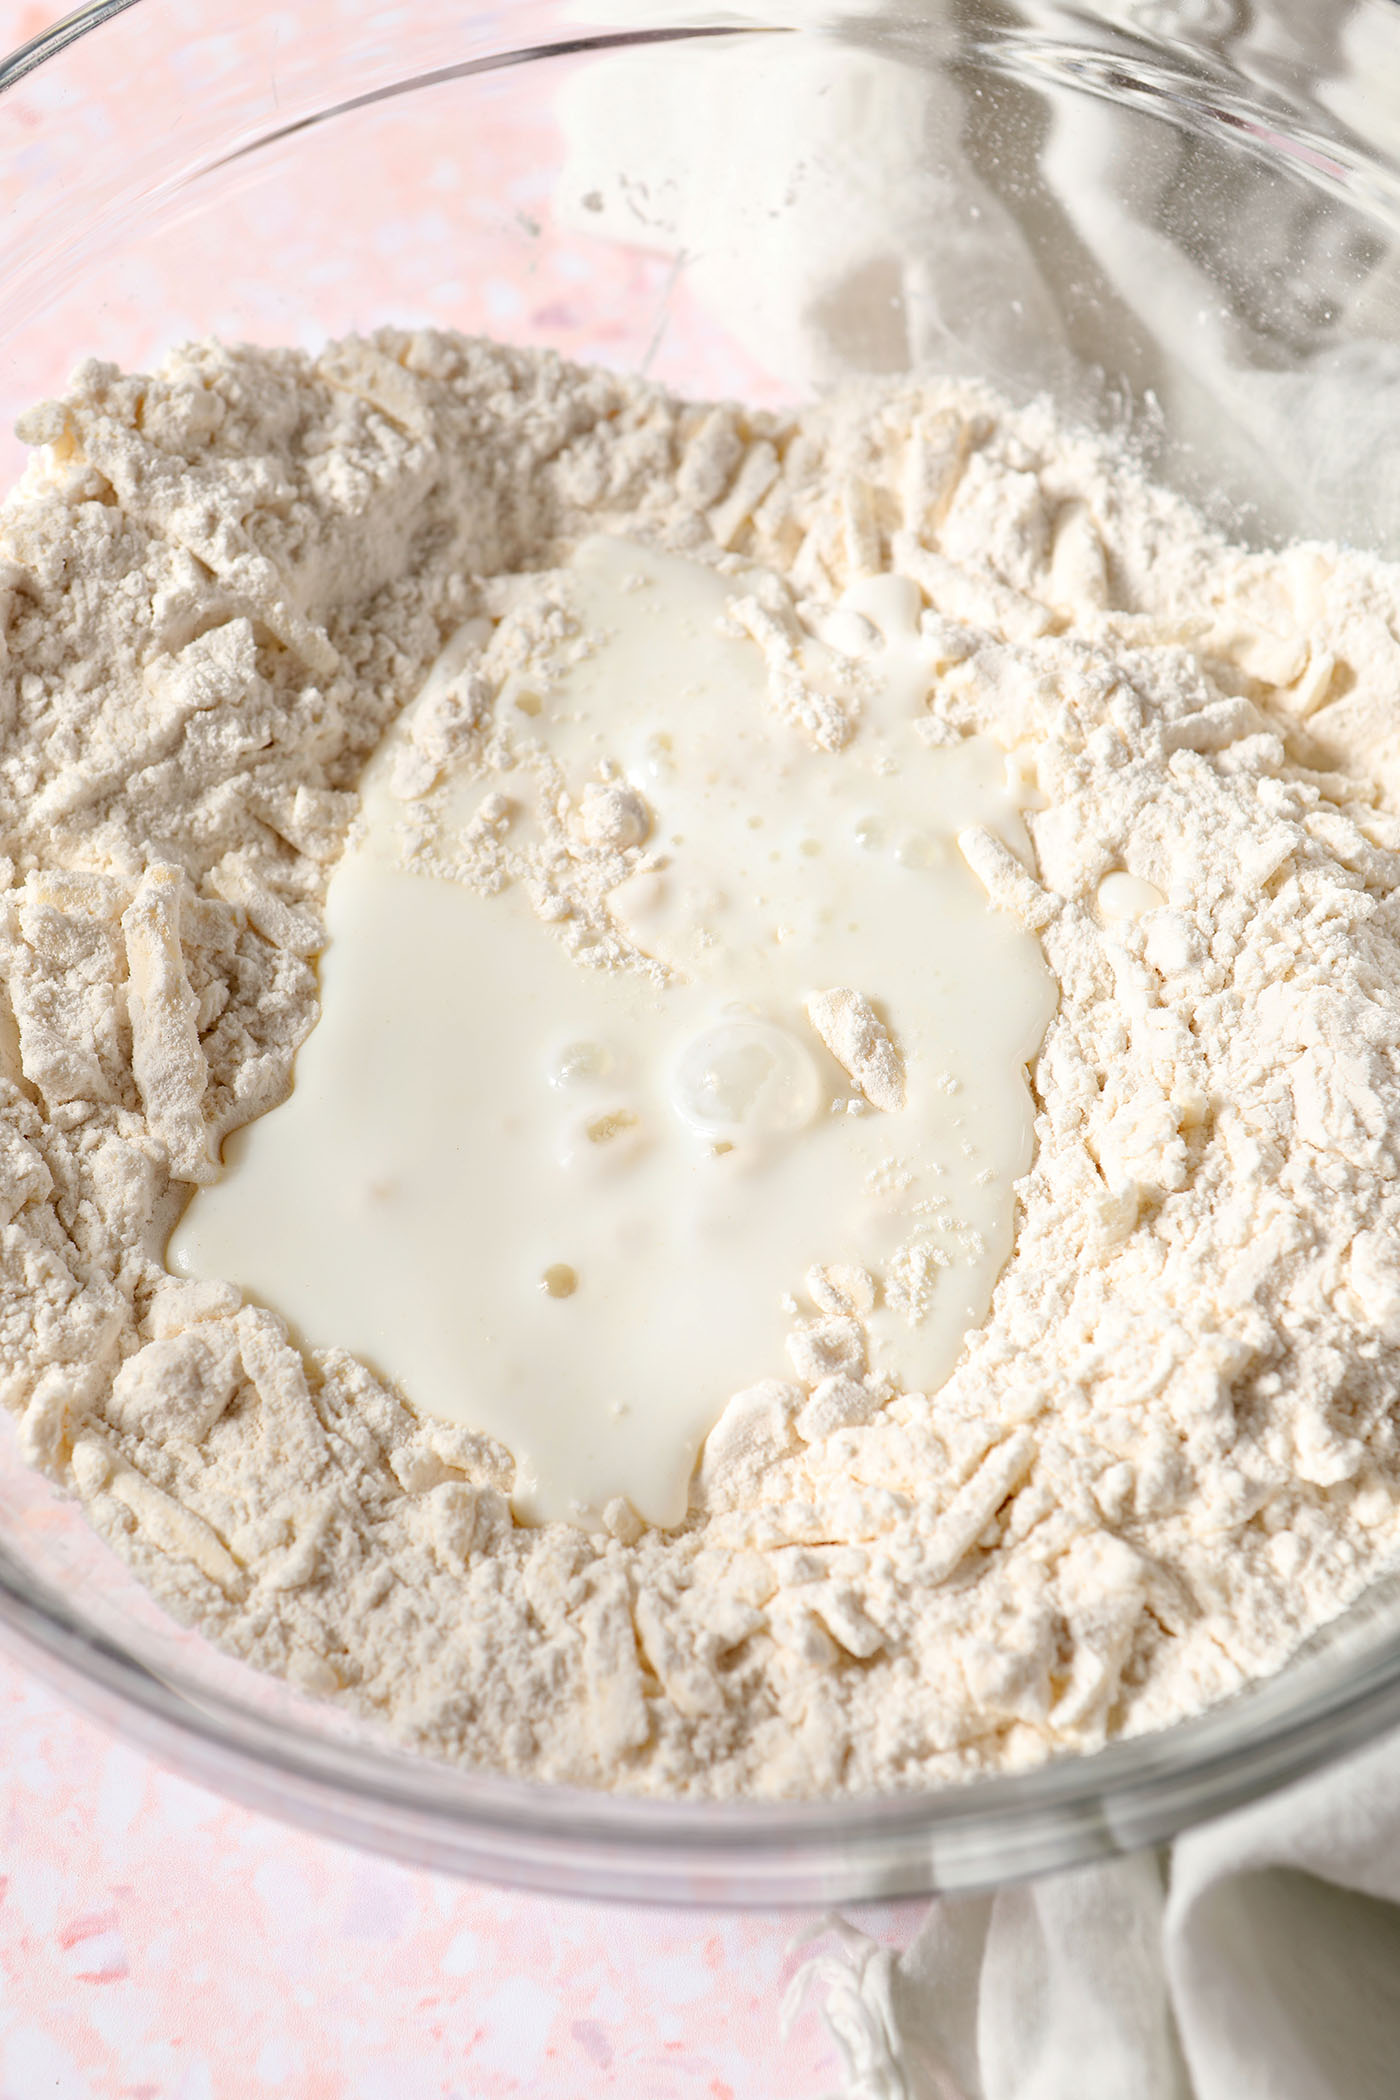
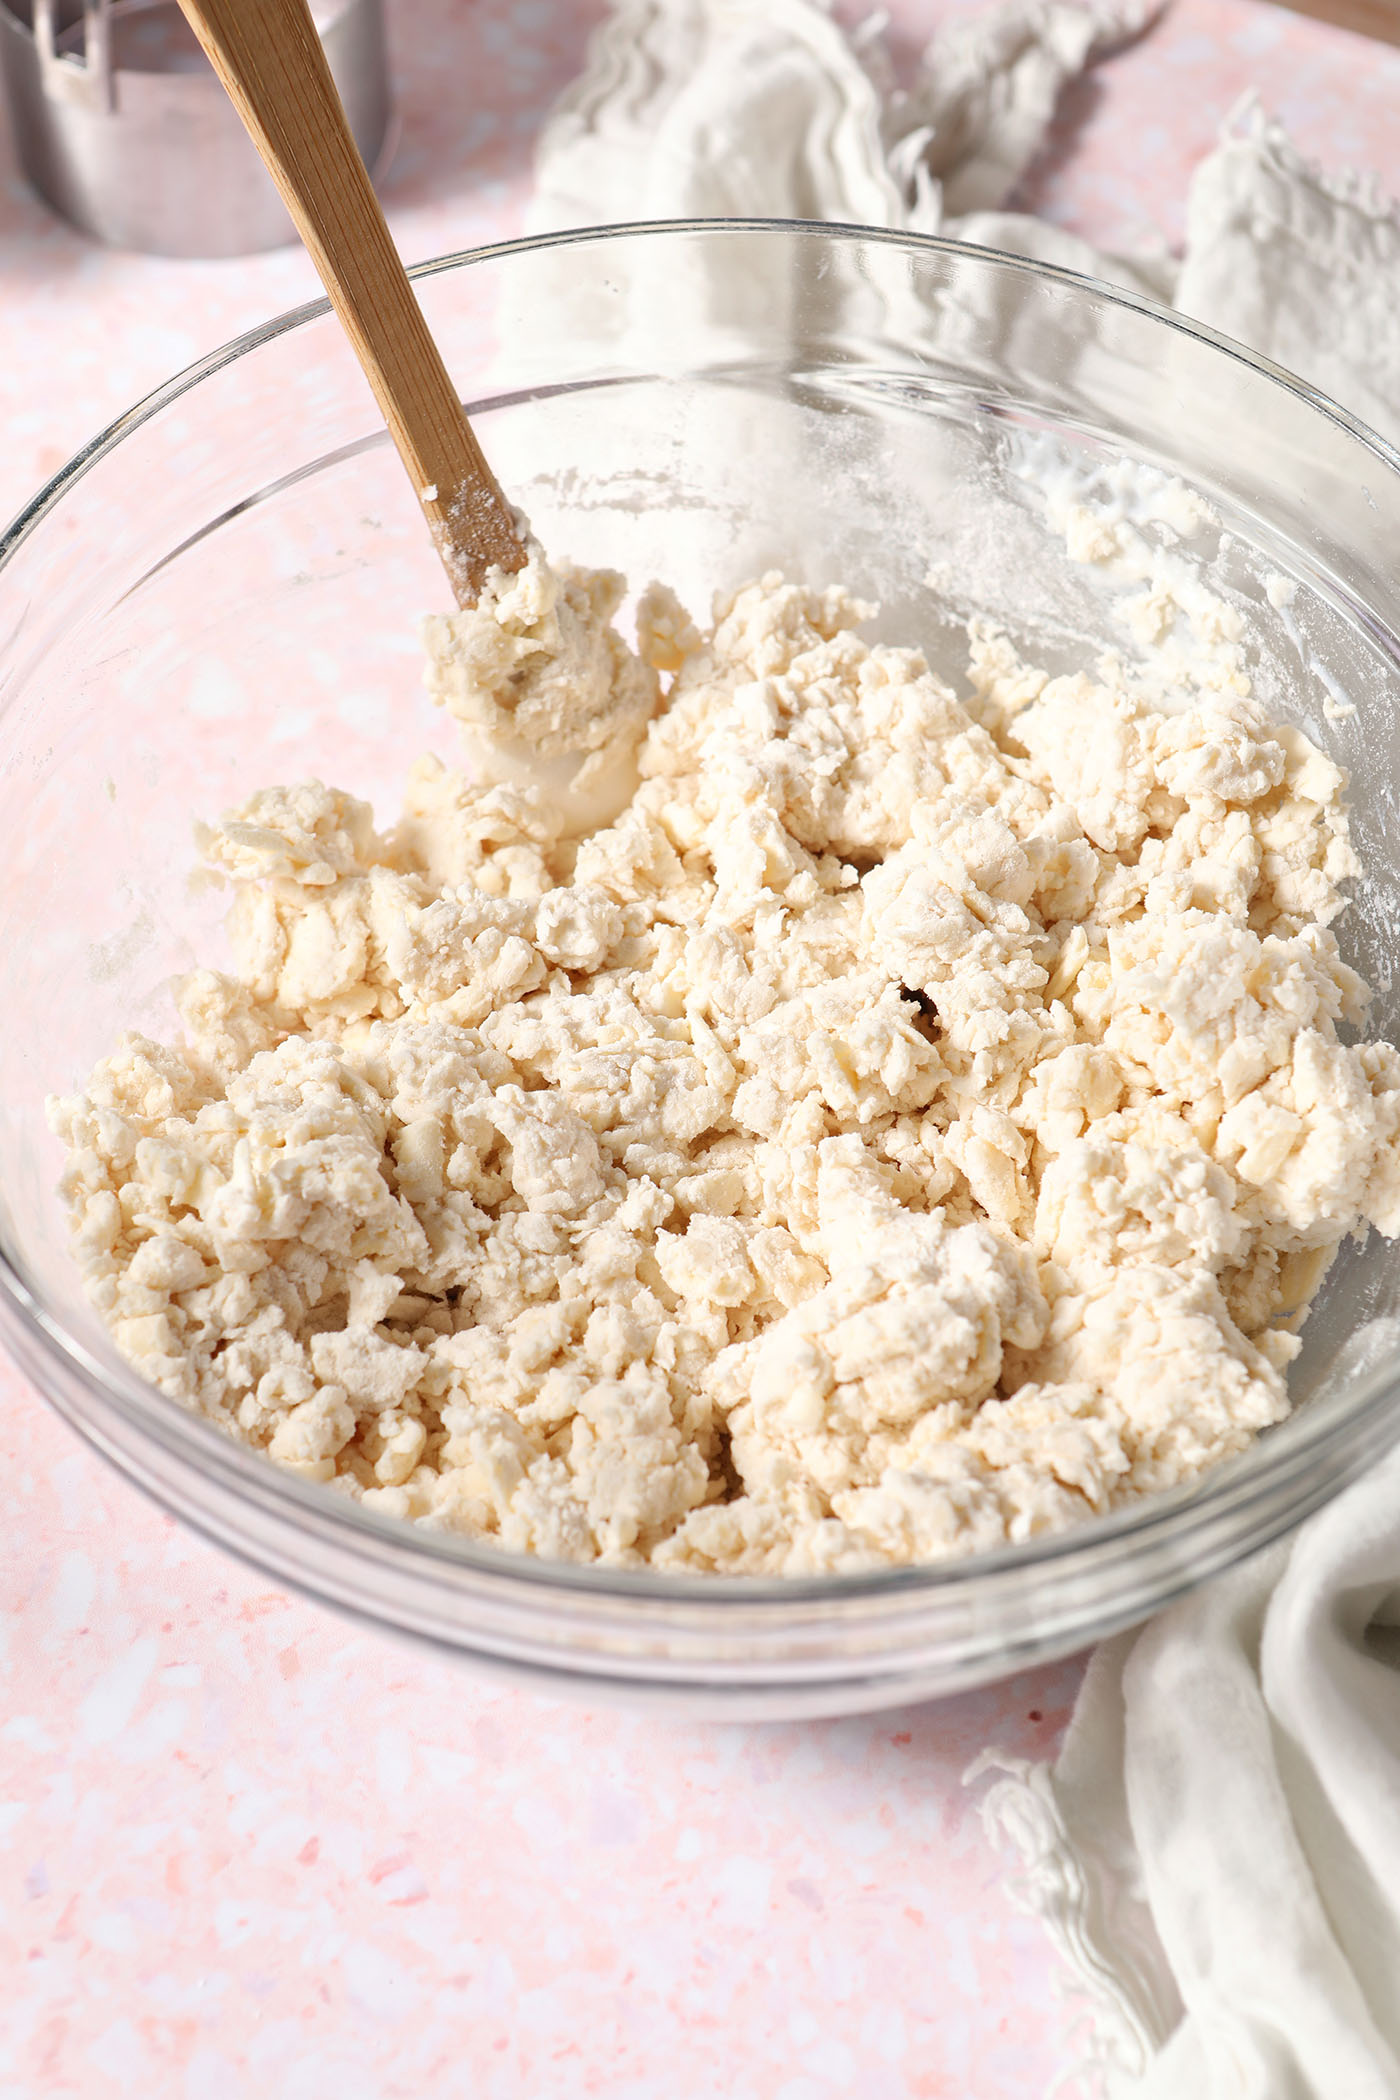
Pour in the buttermilk, and stir until the dough begins to pull away from the sides of the bowl. Be careful not to overmix, as this will affect how tall the biscuits get!
If the dough is still too loose to come together, you can add extra buttermilk, one tablespoon at a time.
It’s OK there to be some loose flour here and the dough will be shaggy with some coarse crmbs. Don’t stir it too much — just until the mixture starts coming together.
Not too many.
How to shape buttermilk biscuits
Real talk: this is the most challenging part of this recipe. Follow my lead.
Place a sheet of parchment paper onto a flat surface. Flour it lightly. This is a bit of a different method of other biscuit recipes I’ve made, but I really like it.
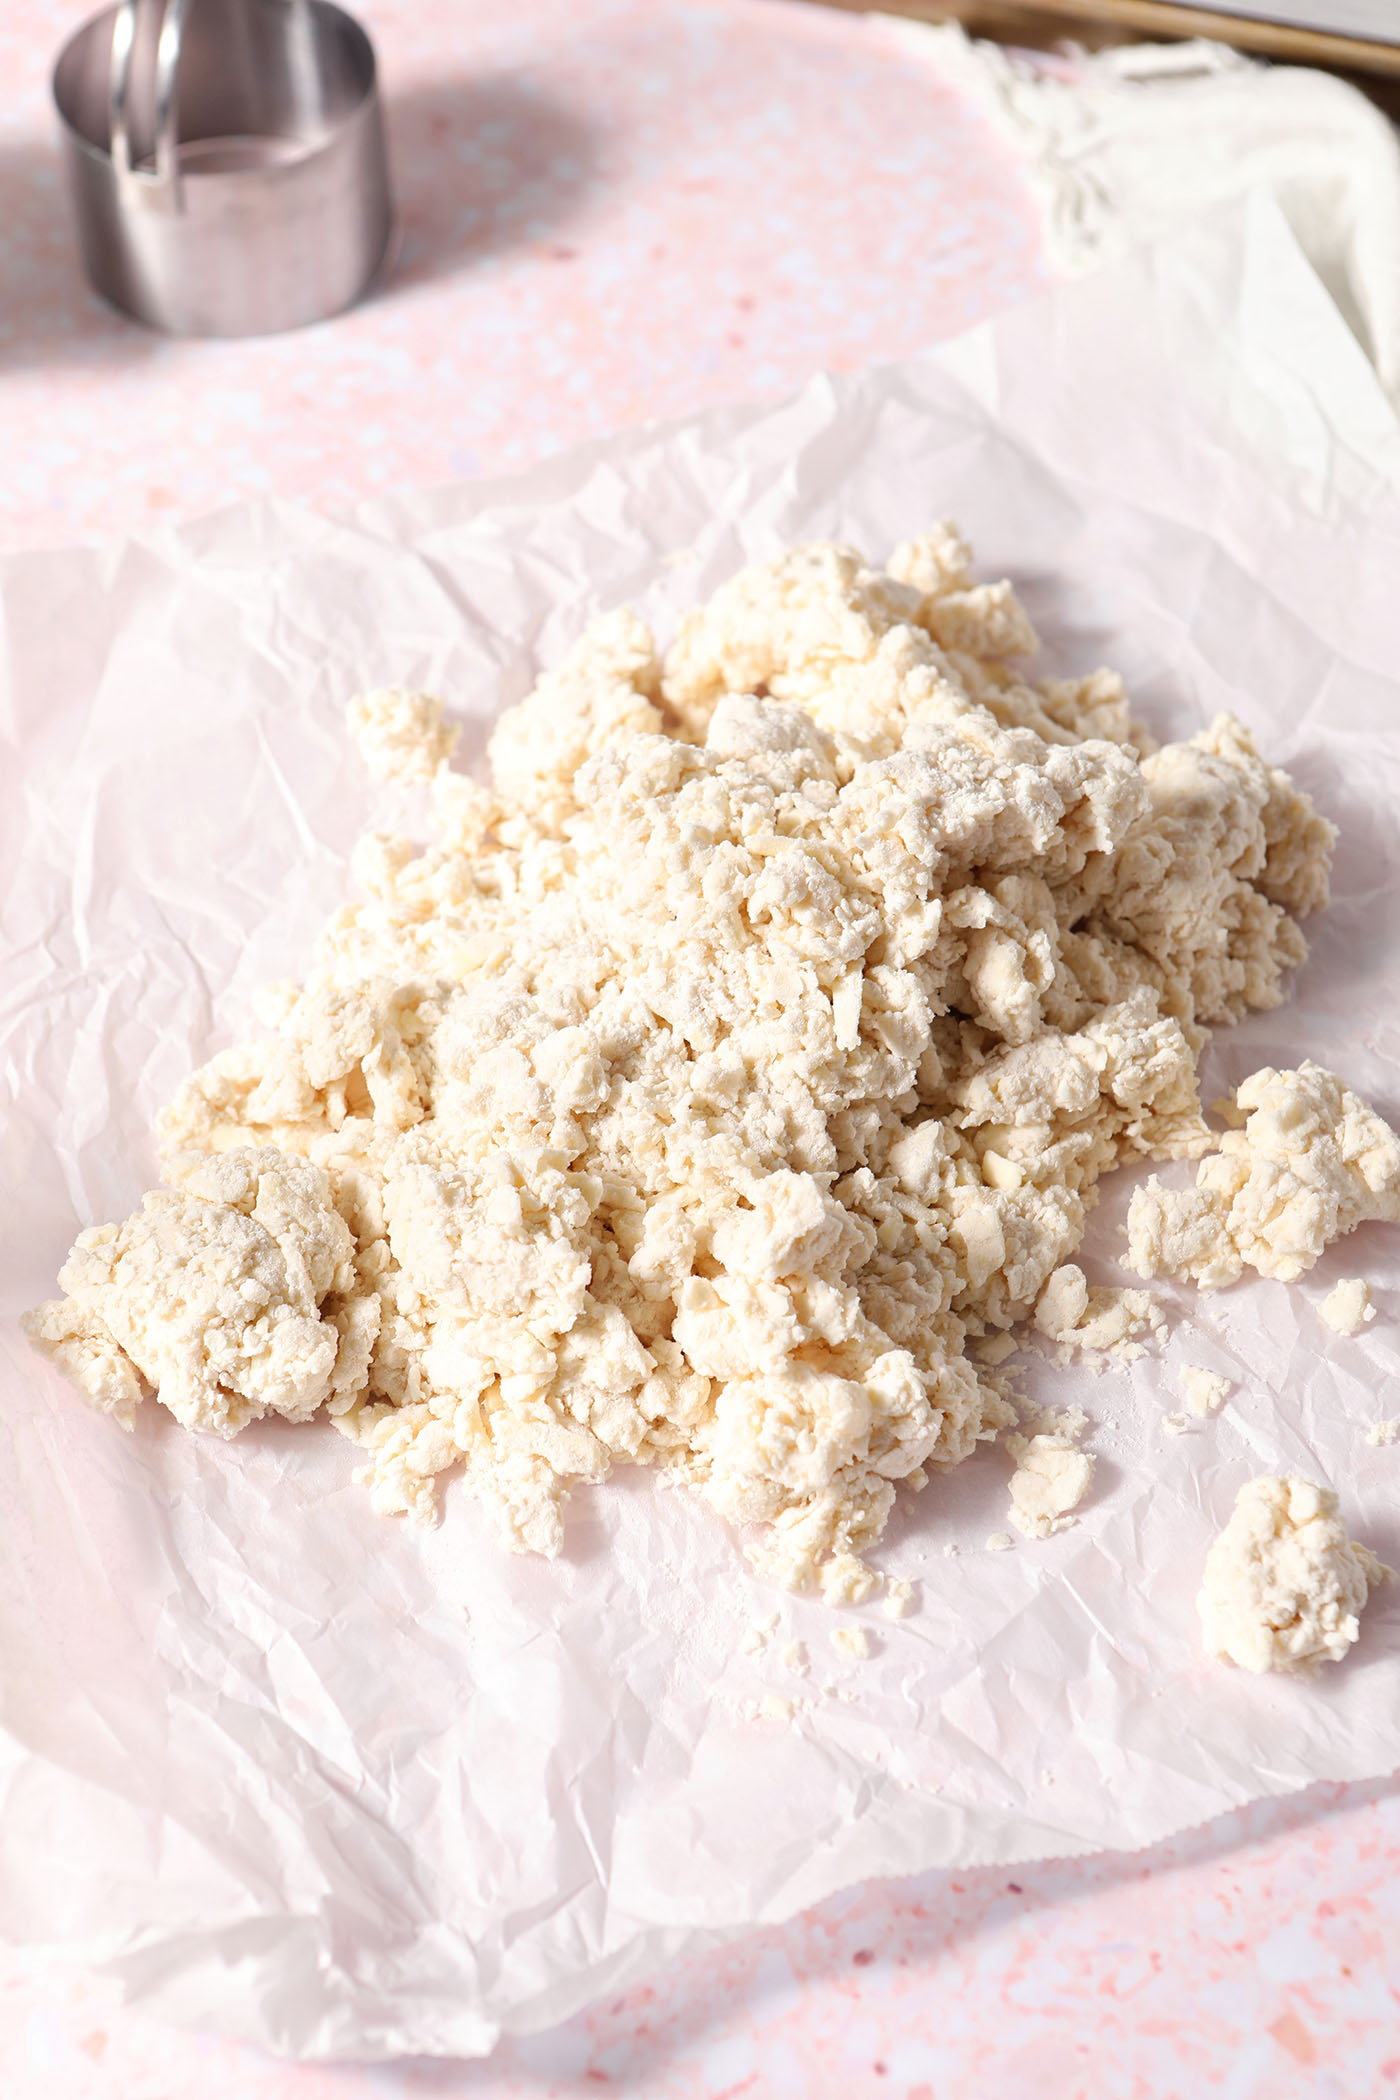
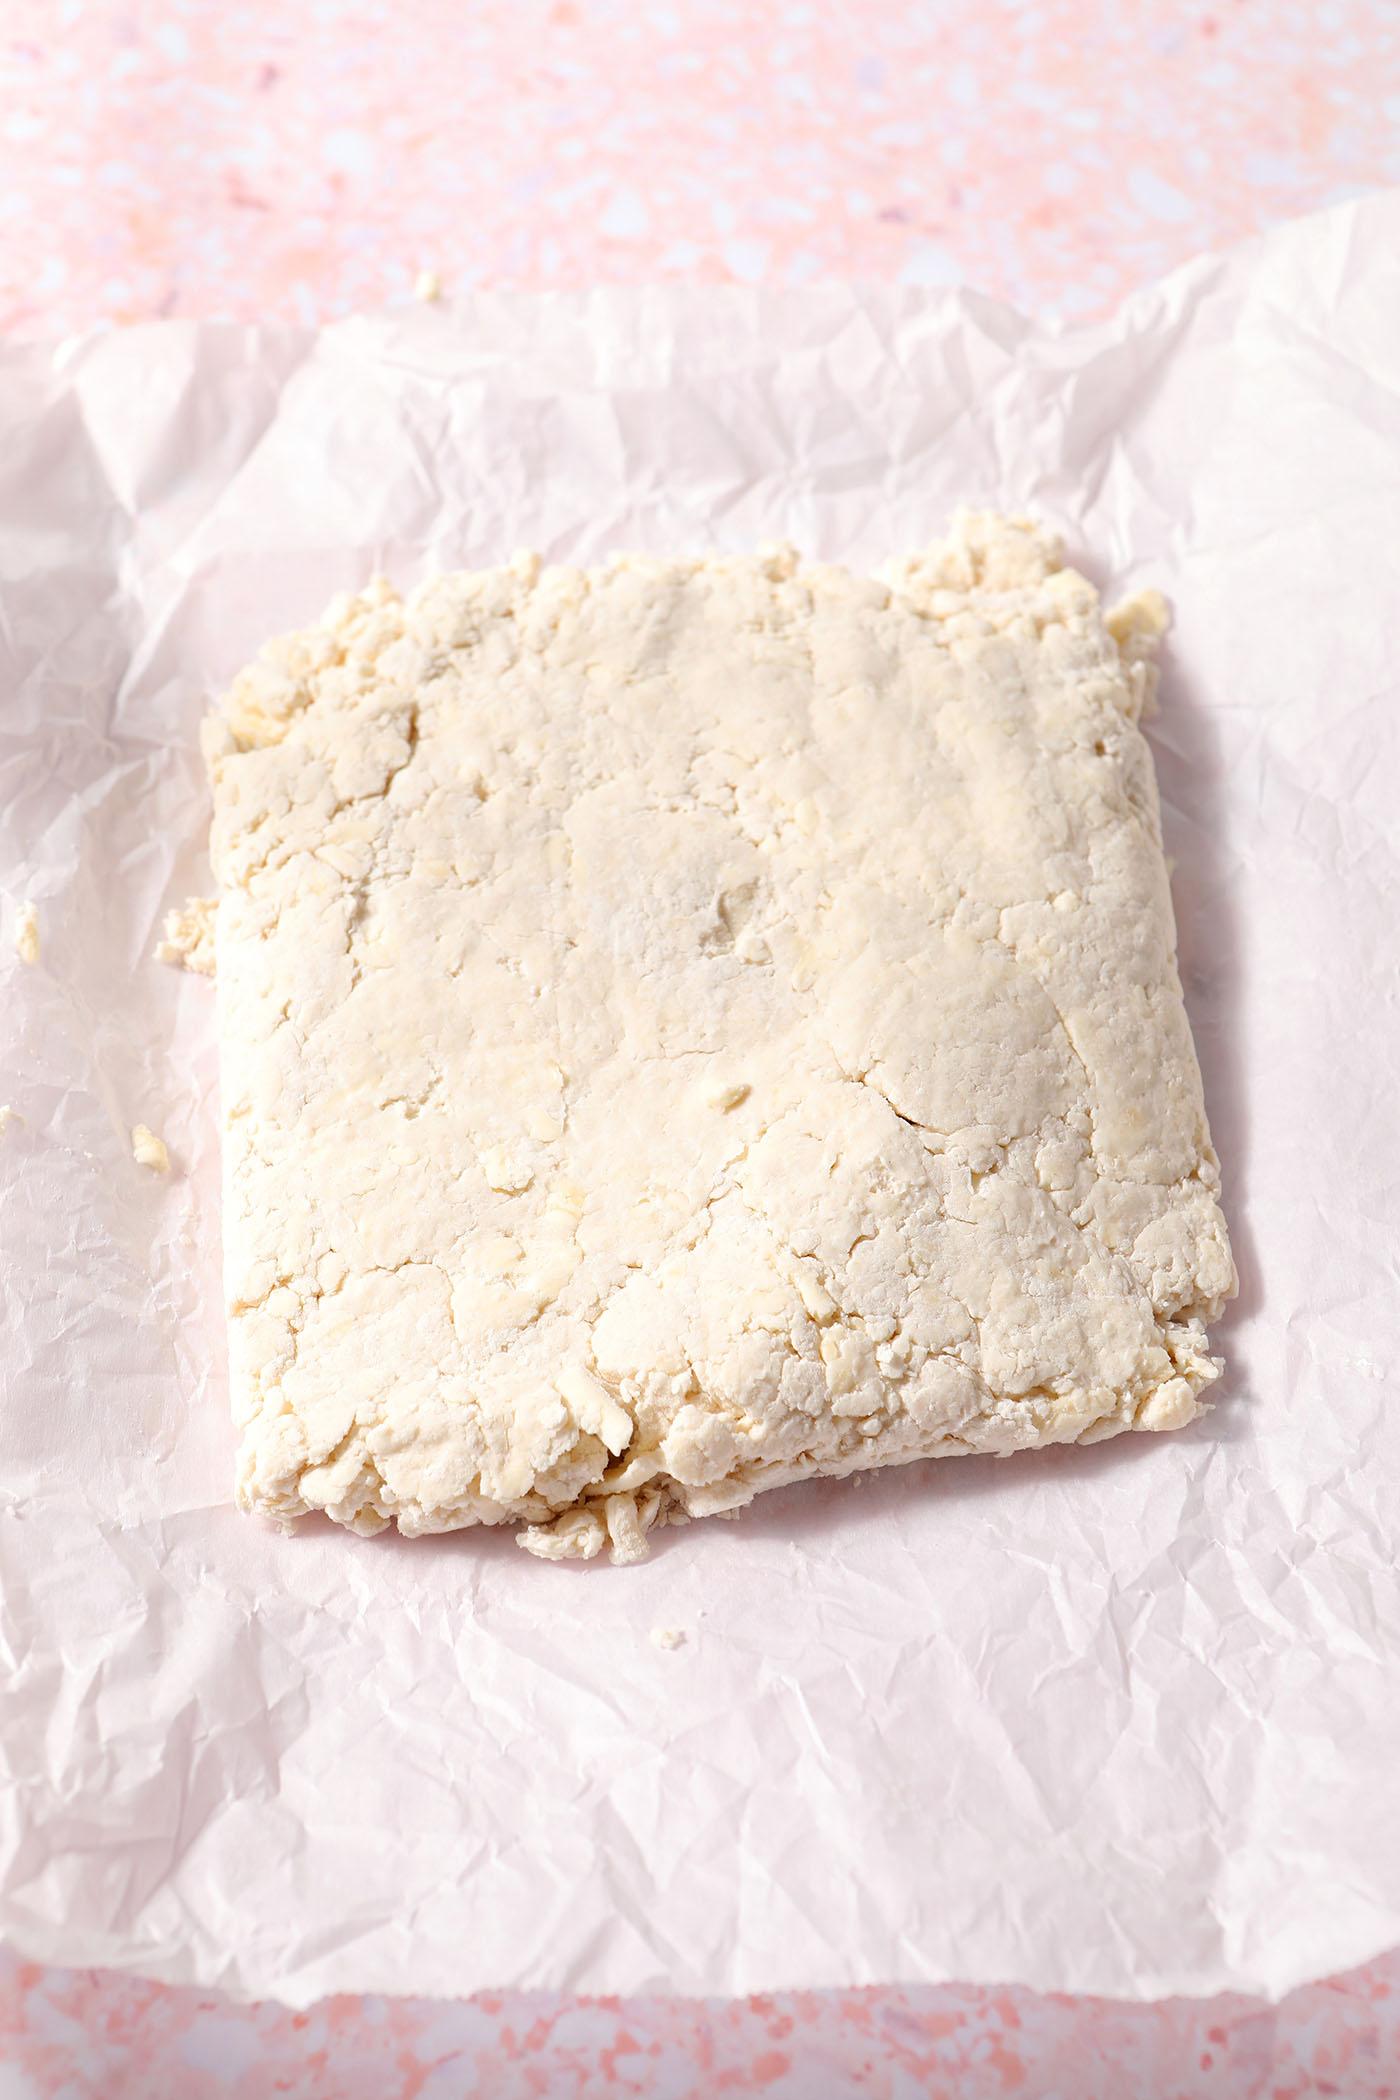
Use the parchment to push the dough into a square or a rectangle. Turn the biscuit mixture out on top of the parchment paper.
Fold the paper gently on top of the biscuit mixture to press it into itself. Do this from side to side to form a square or rectangle.
I like this action because it prevents you from getting your hands directly onto the mixture and heating up the butter.
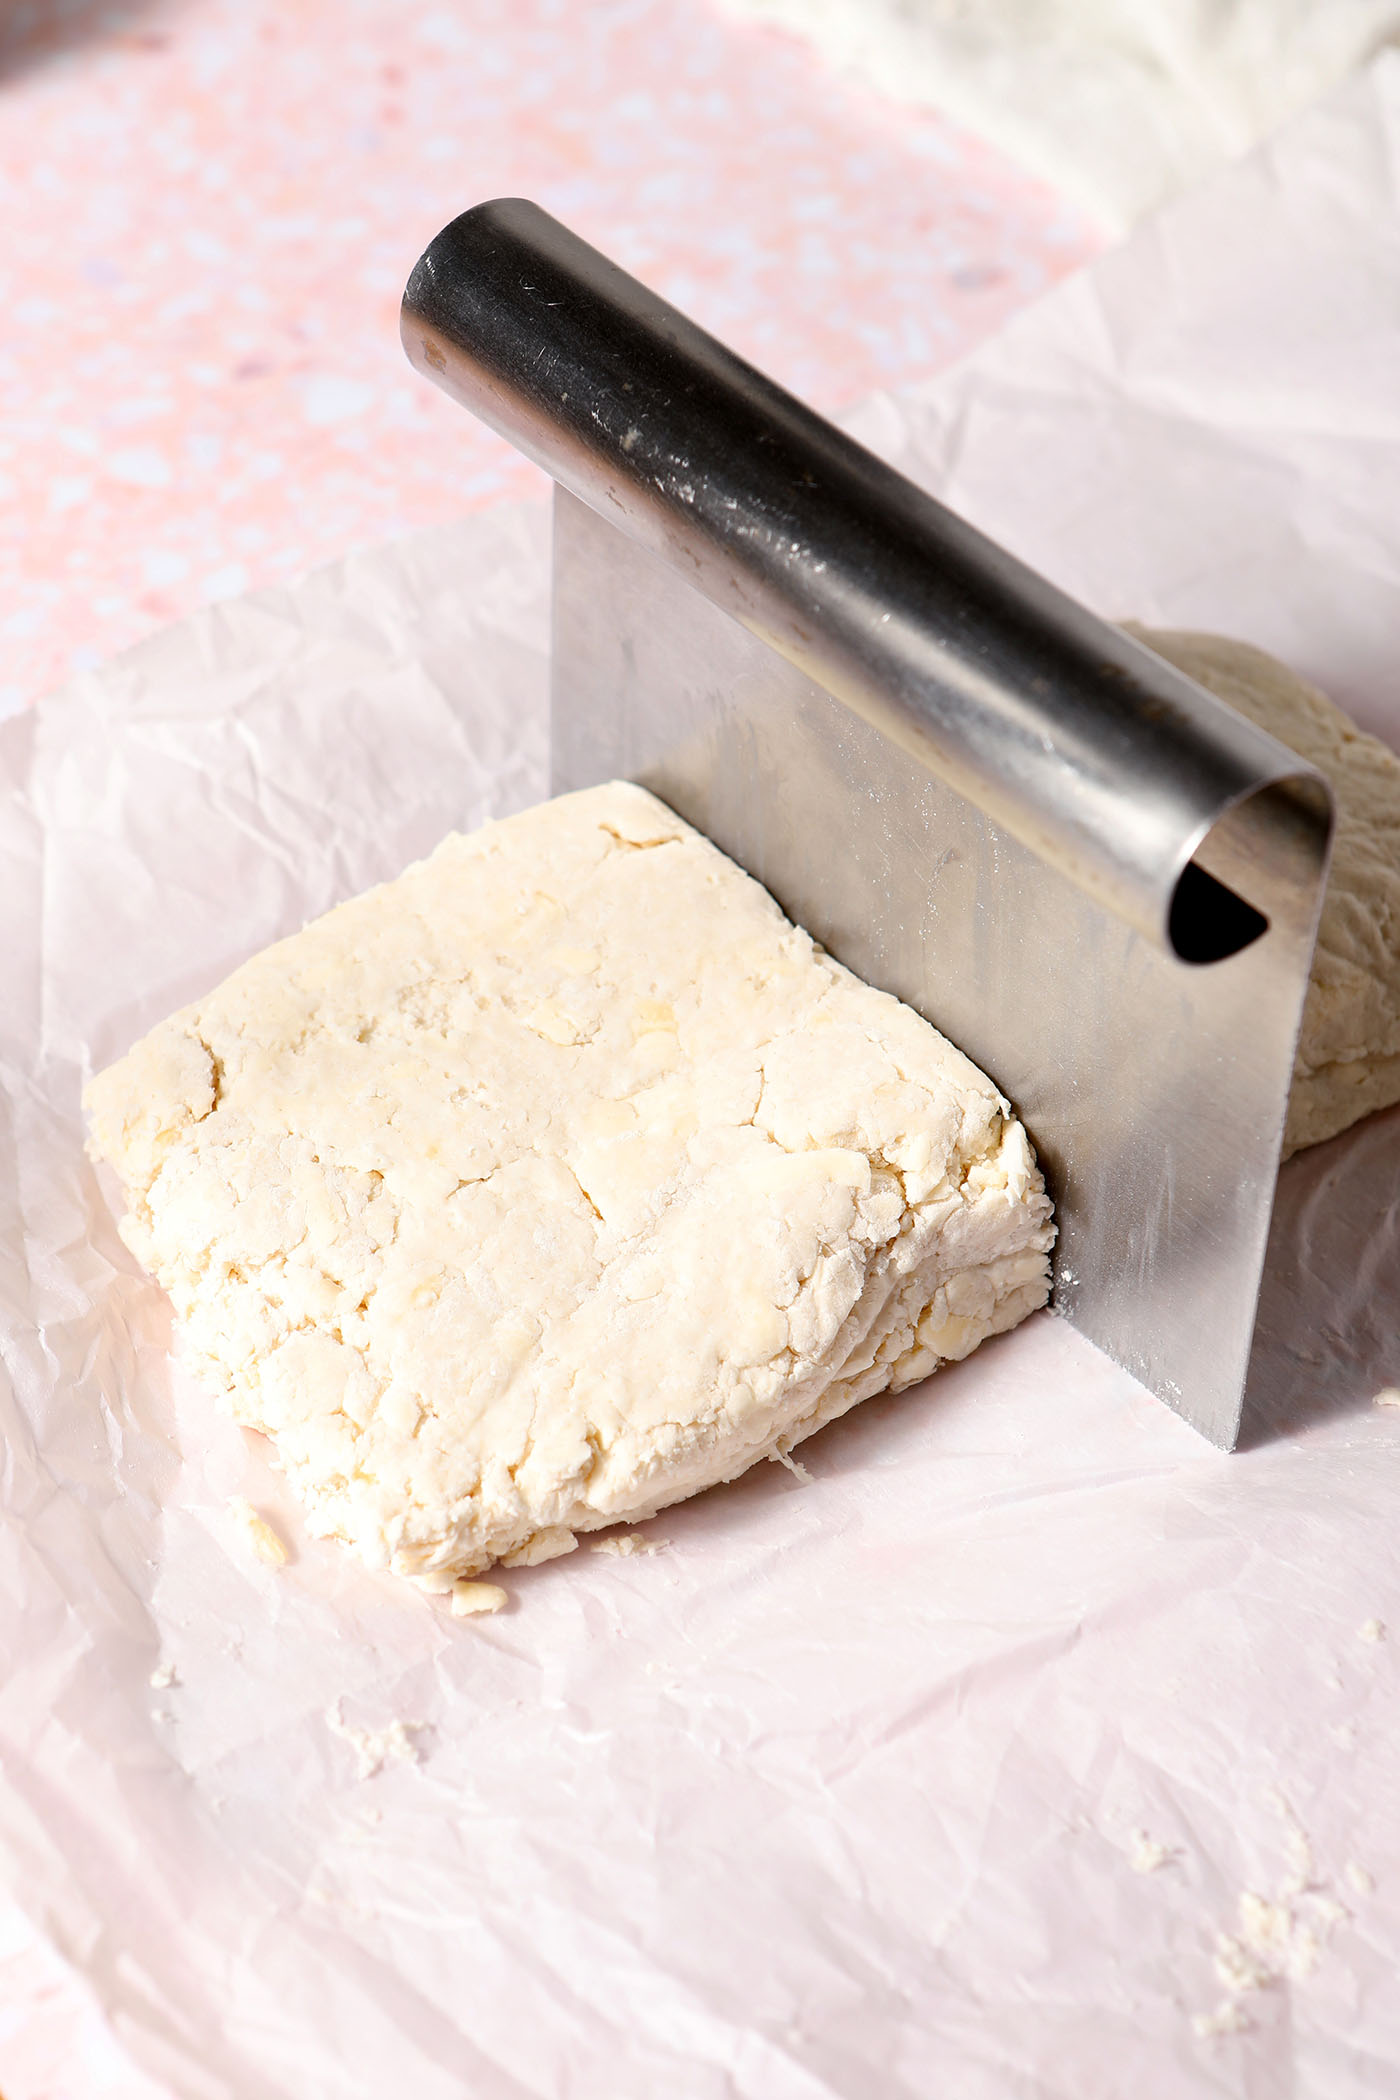
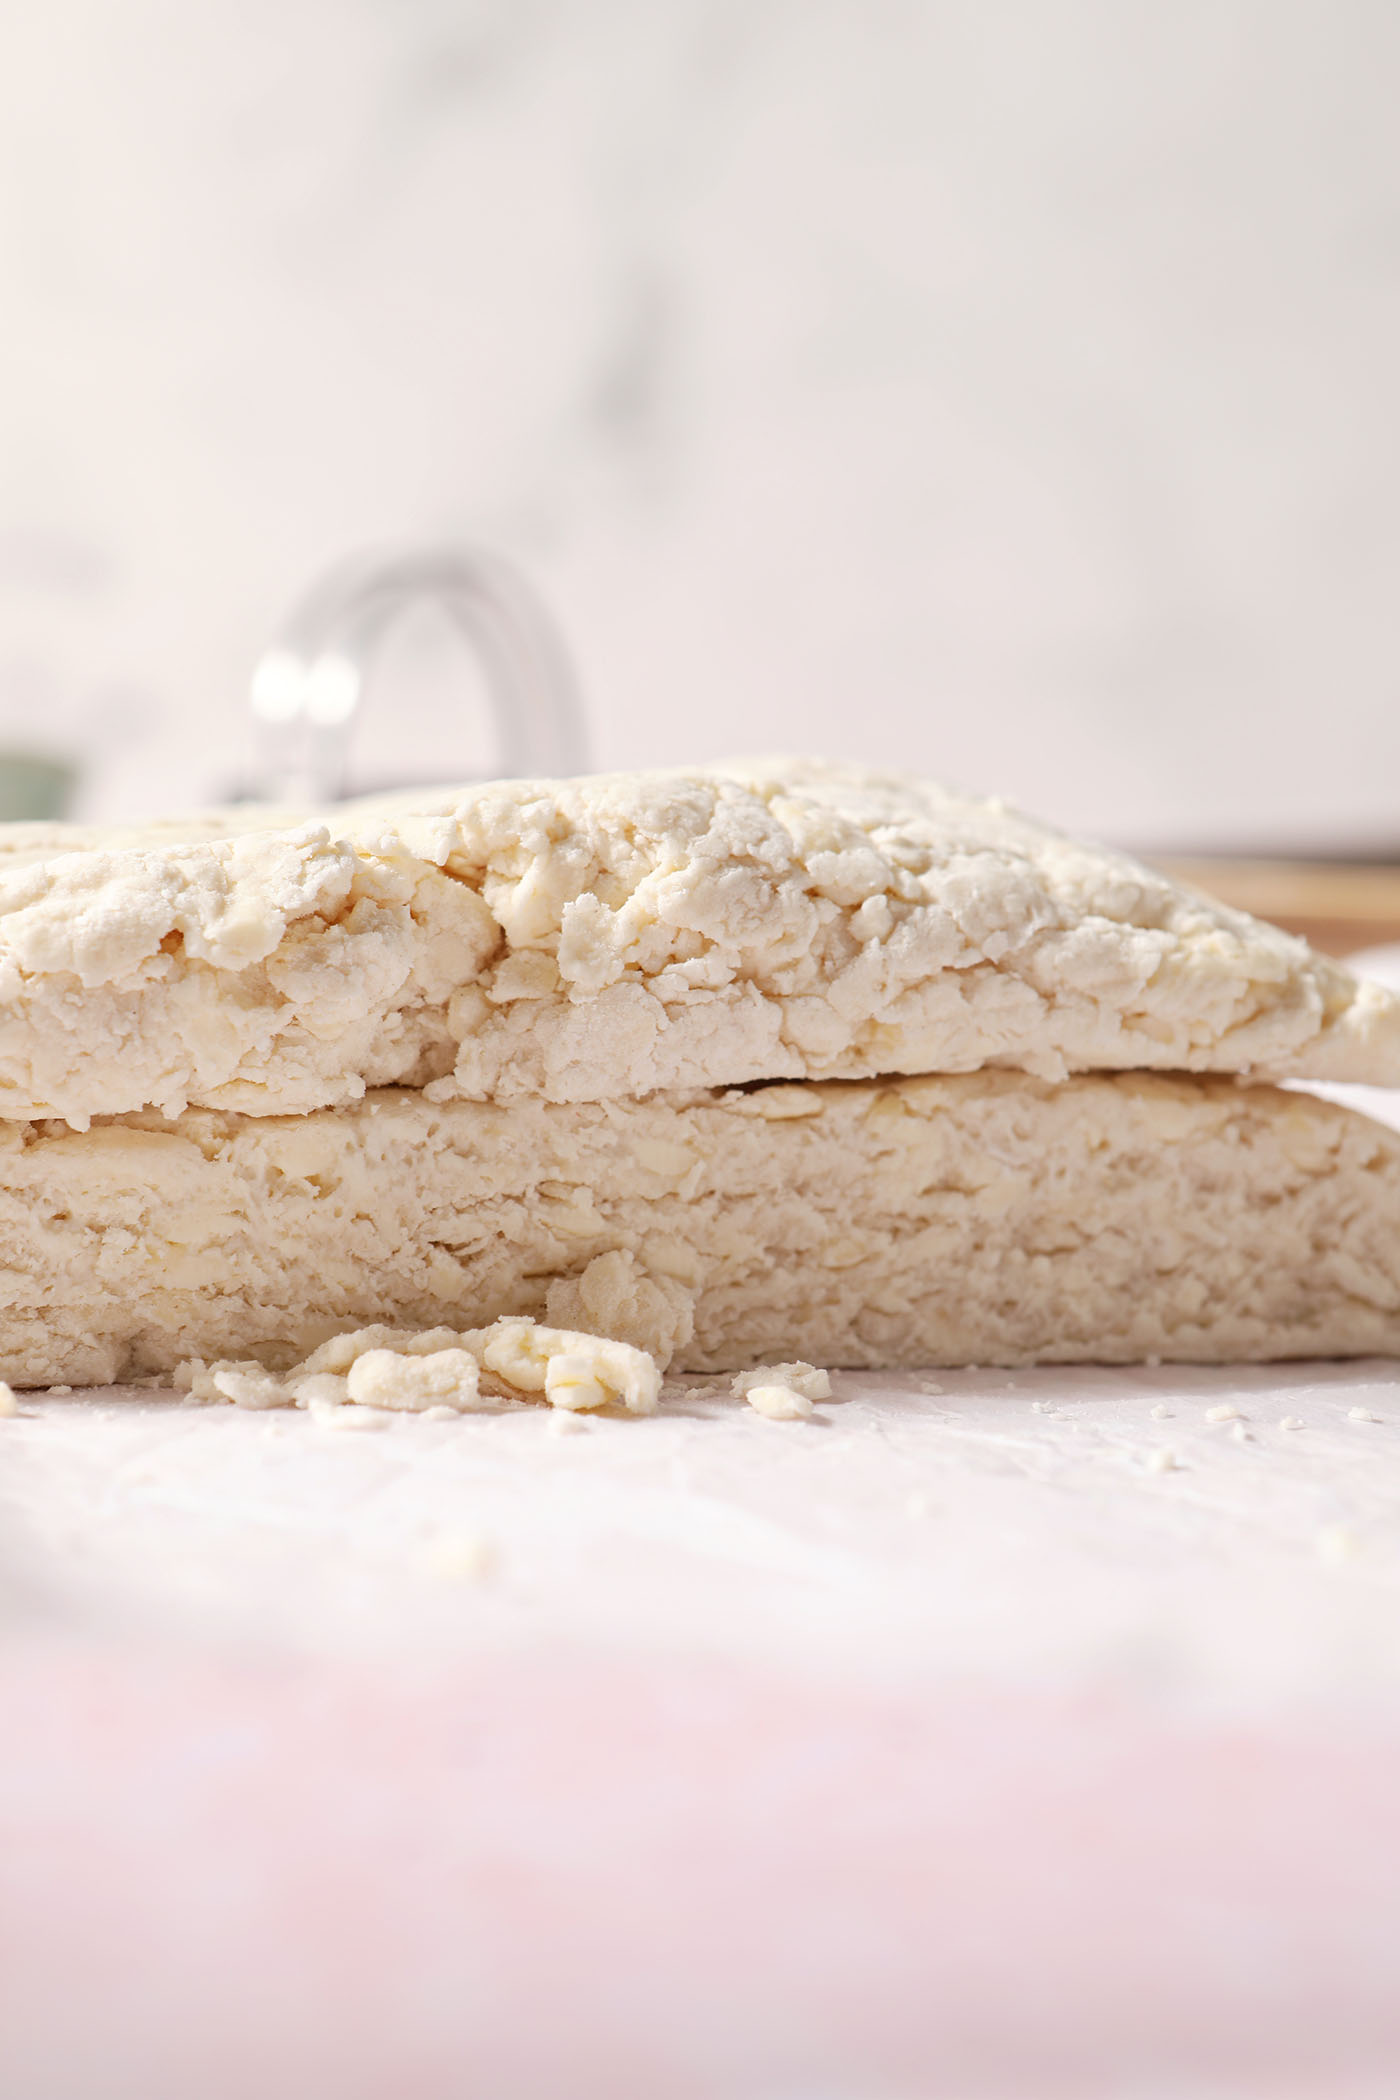
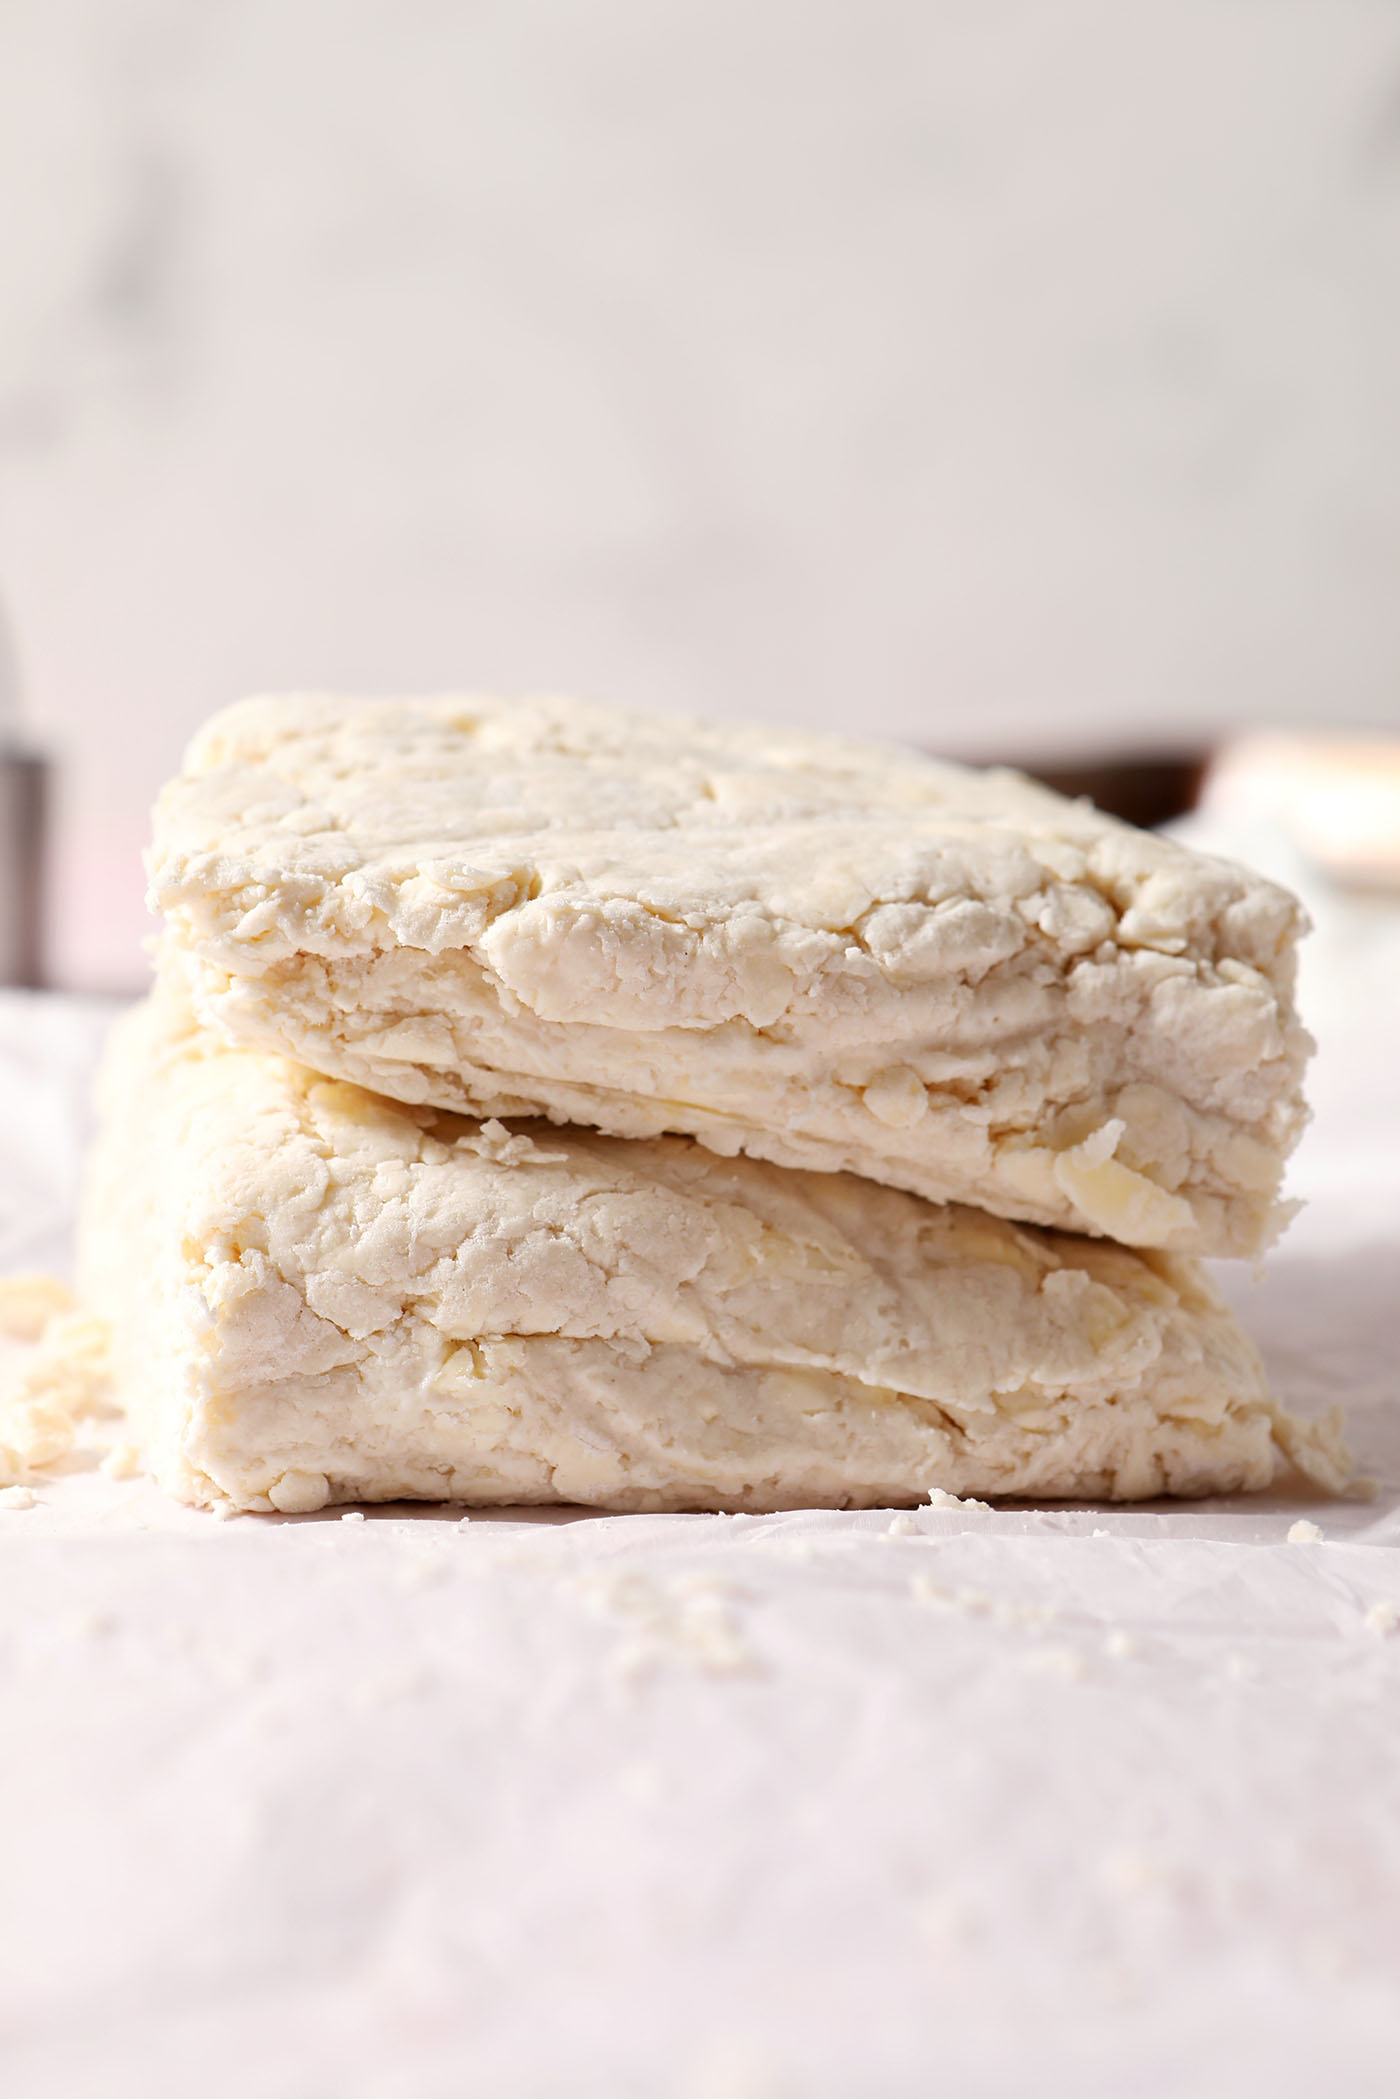
Cut and stack. Use a pastry scraper (or a sharp knife) to cut the dough in half down the middle to create two equal portions.
Stack it on top of itself. Fold the parchment over it and press it down again into a square or rectangle.
Do this two more times, totaling three slice, stack and presses.
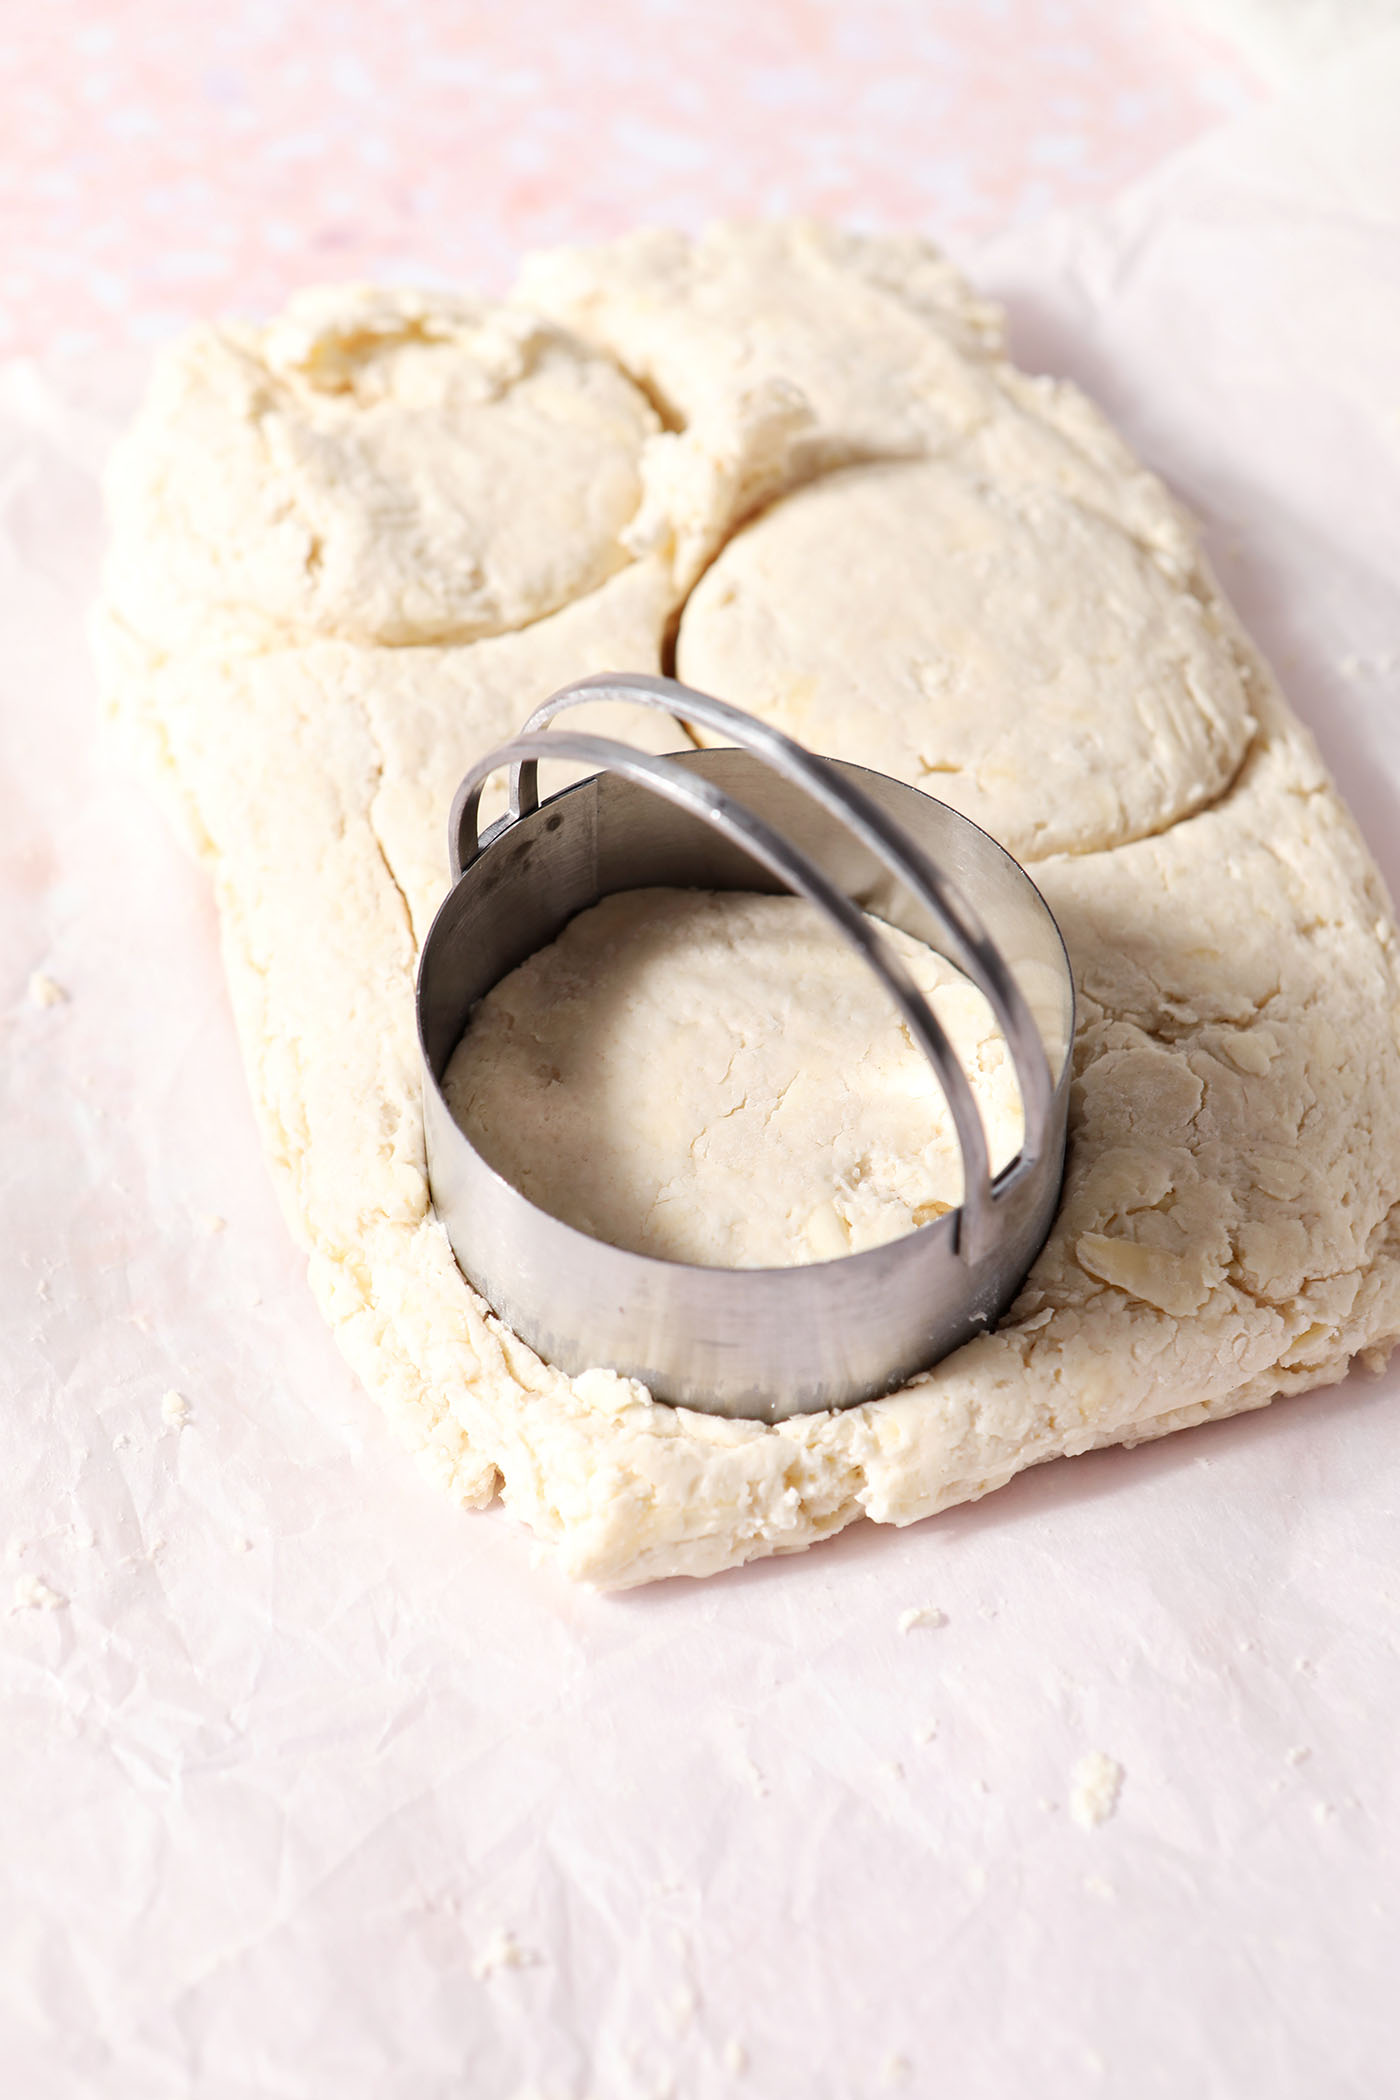
Cut the biscuits. After the third cut and stack, use a biscuit cutter or the same pastry scraper to shape the biscuits.
Pro tip!
If using a cutter, do not twist as you slice into the biscuit or this will prevent some rising in the oven.
Take any scraps and pat them into another rectangle and cut more biscuits accordingly.
Transfer to the prepared sheet pan, and transfer the biscuits to the freezer. Let them chill for 10-15 minutes. They can be here for longer, too.
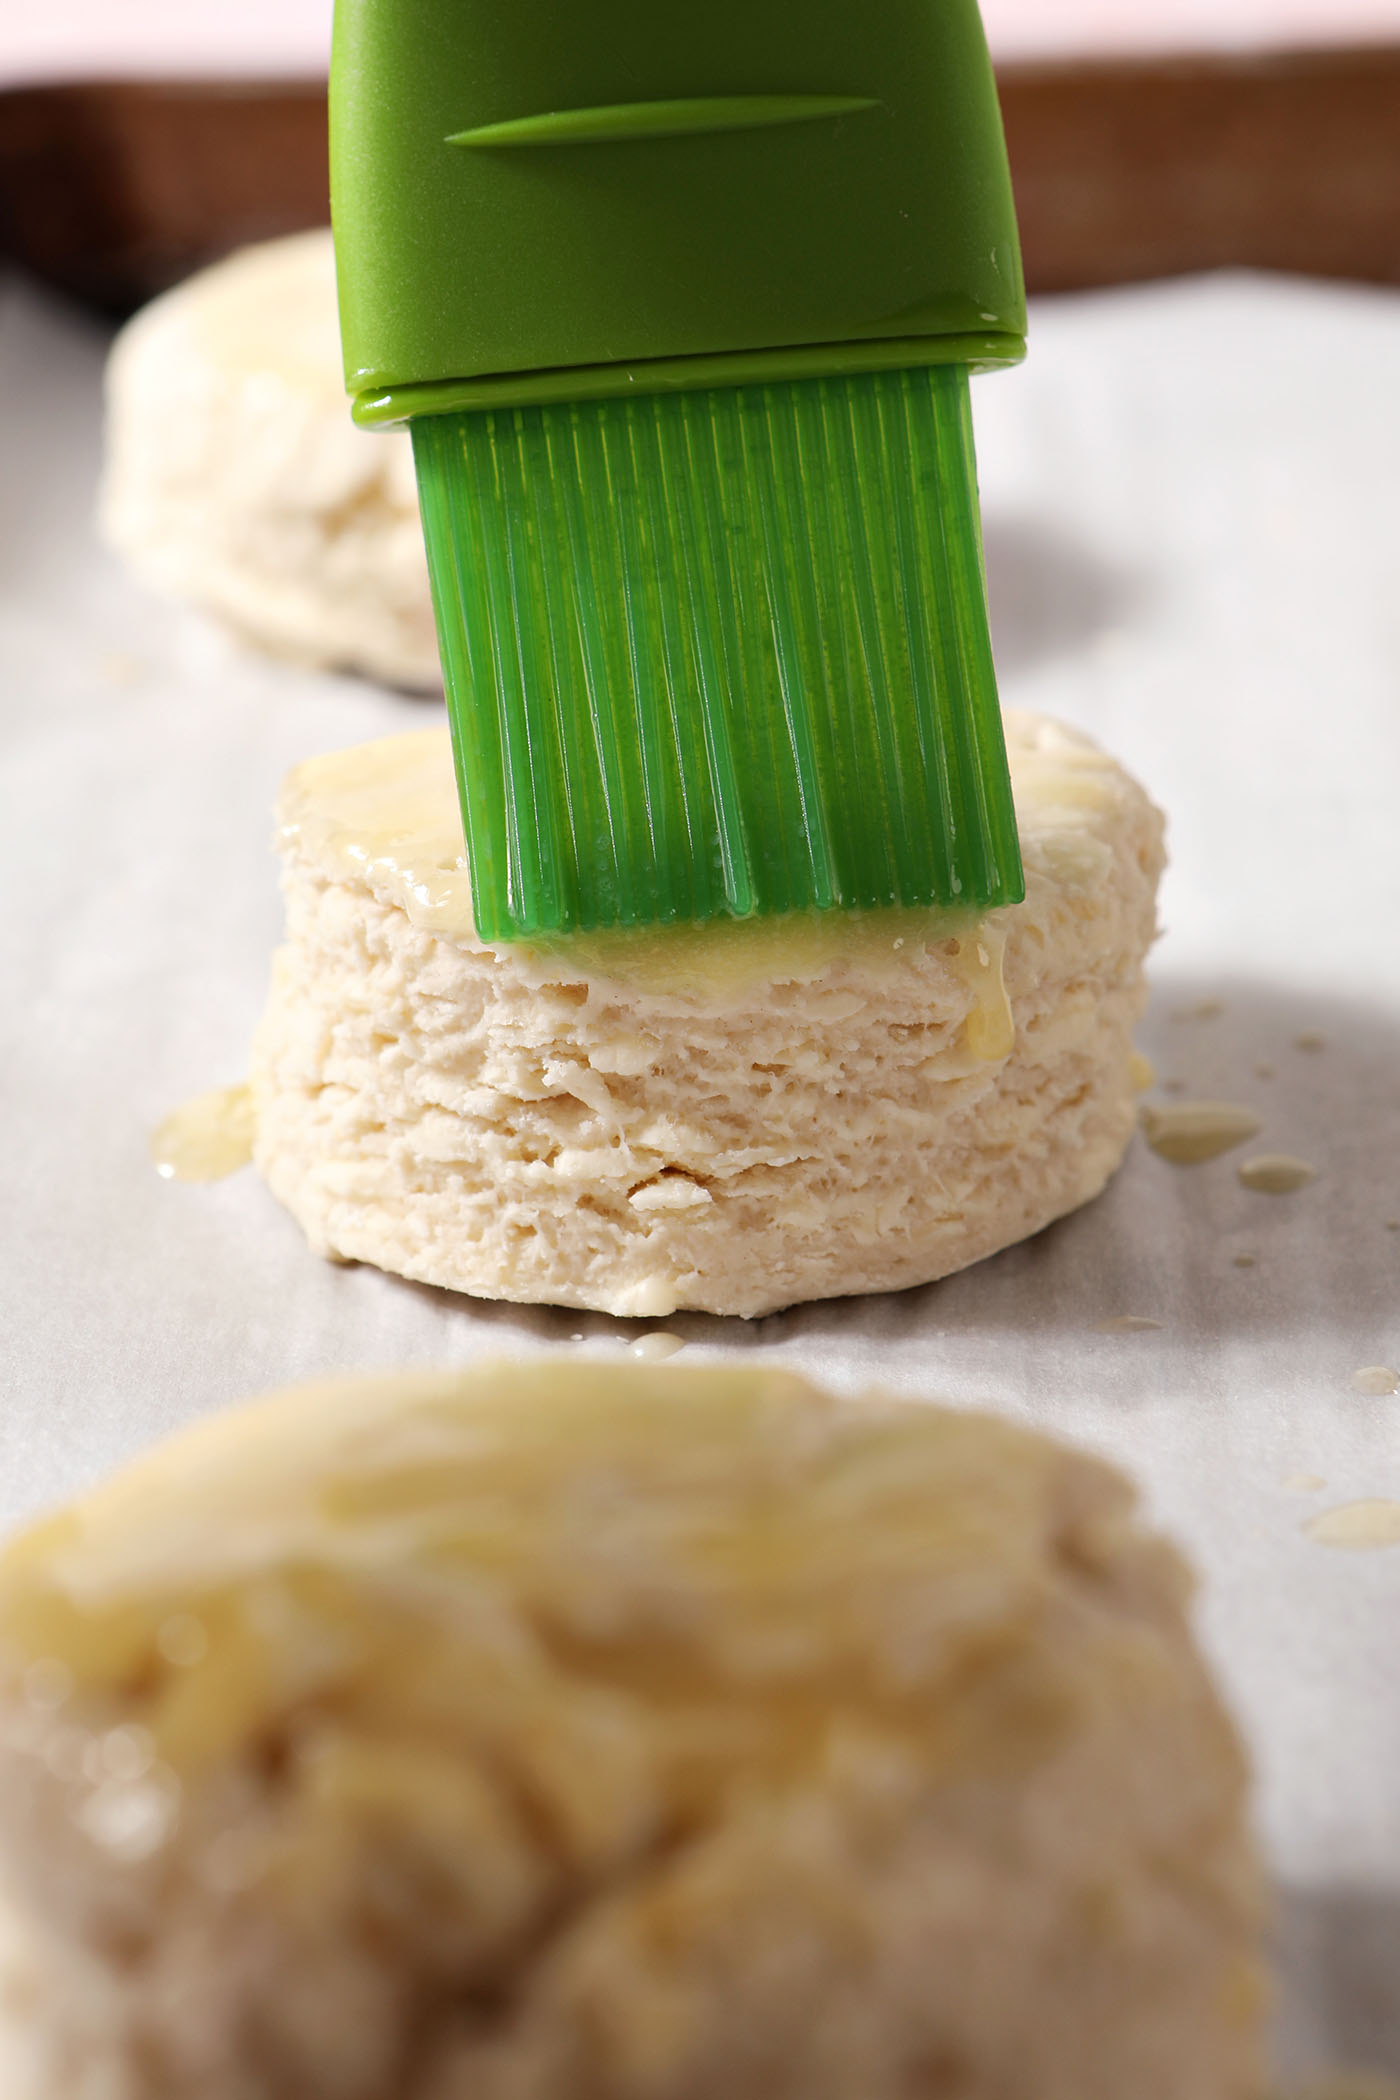
Remove the biscuits from the freezer, and brush the tops with bonus melted butter.
Bake for 15-17 minutes in the preheated oven, or until golden brown.
Let cool slightly before adding cream cheese frosting, if desired, and enjoy warm!
how to store:
Let the biscuits cool before transferring to an airtight container. Store in the refrigerator for 2-3 days. Reheat in the toaster oven or enjoy cold.
Erin’s Easy Entertaining Tips
Buttermilk Biscuits are a Southern breakfast staple and a great recipe to serve for brunch. (They go really well with white sausage gravy, if you want these to be the main attraction, but honestly, you can pair them with so many things.)
Here are a few tips and tricks to make it as easy as possible:
- Double or triple the recipe. If you’re feeding more than four people and/or you know your people will want more than one biscuit, I would make a few batches.
- Make the biscuit dough early. Follow the instructions up until the baking. Cut them, place them on a baking sheet and pop them into the freezer for a week in advance. Bake straight from the freezer!
- Set out the toppings beforehand. Make sure to have softened salted butter, maple butter or honey butter or even homemade jam.
- Serve in a basket with a cute tea towel to keep them warm.
- Serve ‘em alongside brunch with your favorite brunch recipes, like fruit salad, baked bacon and mimosas! (Or have a mimosa bar for guests to enjoy!)
Quick tips and tricks to making the best biscuits
- Have the right tools. This biscuit cutter is my favorite to use for biscuits if I want them to be round. If you don’t have one, use a drinking glass and a paring knife to cut out the biscuits. Do not twist as you are cutting the biscuits!
- The secret is in the flour blend. No White Lily or self-rising flour required. Just a simple combination of AP and bread flours that makes all the difference in the resulting biscuits.
- Cold butter is non-negotiable. We are using no shortcuts, and the payoff is a biscuit that’s pillowy on the inside with a satisfying golden crunch on the outside.
- Make the biscuits in advance and pop them into the freezer. Bake them straight from the freezer right before it’s time to enjoy them!
- Double or triple the recipe. These biscuits are excellent for sharing, so make more than you need!
Here’s how you can make them at home…
Buttermilk Biscuits
Video
EQUIPMENT
As an Amazon Associate and member of other affiliate programs, I earn from qualifying purchases.
- Nonstick baking mat or parchment paper
- Measuring cups measuring spoons and/or a kitchen scale
- Sharp knife bench scraper or a biscuit cutter
Ingredients
- 1 cup all-purpose flour
- 1 cup bread flour
- 3 tablespoons baking powder
- 1 ½ teaspoons kosher salt
- 8 tablespoons unsalted butter frozen
- ¾ cup buttermilk
- 1 tablespoon melted butter for brushing
Instructions
- Shred 8 tablespoons unsalted butter, and transfer it to the freezer for 30-45 minutes before.
- Preheat the oven to 425℉. Line a sheet pan with parchment paper. Set aside. The oven needs to be screaming hot.
- Measure 1 cup all-purpose flour, 1 cup bread flour, 3 tablespoons baking powder and 1 ½ teaspoons kosher salt into a large mixing bowl. Whisk to combine.
- Measure the frozen shredded butter into the bowl. Stir to combine, ensuring all pieces are coated in flour before proceeding. Make a well in the center for the buttermilk.
- Pour the cold ¾ cup buttermilk directly into the bowl. Stir until just combined, working quickly and efficiently. You don’t want the ingredients to get too warm or to overwork the flour because this leads to tougher biscuits. If it is too dry, add a tablespoon of buttermilk at a time until it just comes together.
- Place a sheet of parchment paper onto a flat surface. Flour lightly.
- Turn the biscuit mixture out on top of the parchment paper. Fold the paper gently on top of the biscuit mixture to press it into itself. Do this from side to side to form a square or rectangle. I like this action because it prevents you from getting your hands directly onto the mixture.
- Use a pastry scraper to cut the dough in half, and stack it on top of itself. Fold the parchment over it and press it down again into a square or rectangle. Do this two more times, totaling three slice, stack and presses.
- After the third time, use a biscuit cutter or the same pastry scraper to slice the biscuits. If using a cutter, do not twist as you cut into the batter or this will prevent some rising in the oven. Take any scraps and pat them into another rectangle and cut more biscuits accordingly.
- Place on the prepared sheet pan, and transfer to the freezer for 10-15 minutes.
- While the biscuits firm up in the freezer, melt a tablespoon of butter to brush on top of them.
- After the freeze, brush with 1 tablespoon melted butter and immediately transfer to the oven to bake.
- Bake for 15-17 minutes, or until tall, golden brown and buttery.
- Serve warm with your favorite toppings and enjoy!
Notes
Nutrition

About the Author:
Erin Parker is the recipe developer, food photographer and founder of The Speckled Palate, where she shares recipes, many Southern and Louisiana-inspired, and easy, low-key entertaining ideas since 2011. Whether you’re searching for a weeknight dinner or a party menu, Erin’s recipes are made for sharing with the people you love. Learn more about Erin and learn more about TSP.
Before leaving a comment or rating, ask yourself: